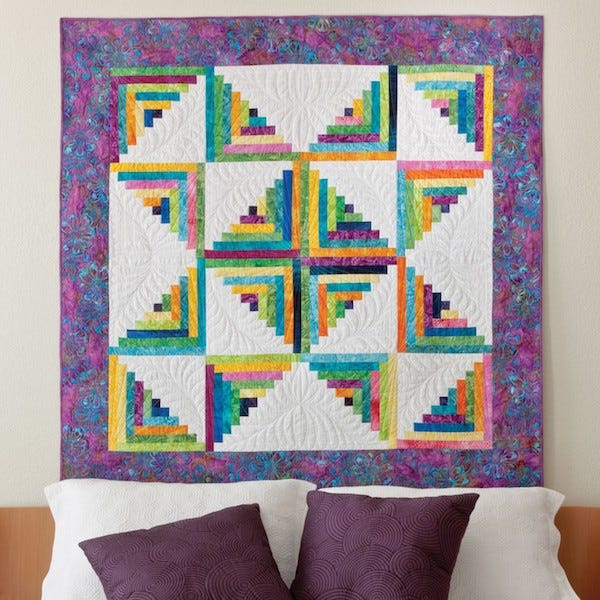
The Log Cabin is a classic block with endless design possibilities. Check out the GO! Scrappy Star Log Cabin Quilt Pattern for a fun block layout.
![]()
Follow along to see how easy it is to cut and sew the GO! Log Cabin Block. First, pick out your fabrics. To make blocks for the GO! Scrappy Star Log Cabin Quilt, you'll need a solid color for one half of the block and fabric that contrasts with your chosen solid for the other half of the block. We are using the royal blue solid for one half and the red, brown, and blue prints for the other half of the block.
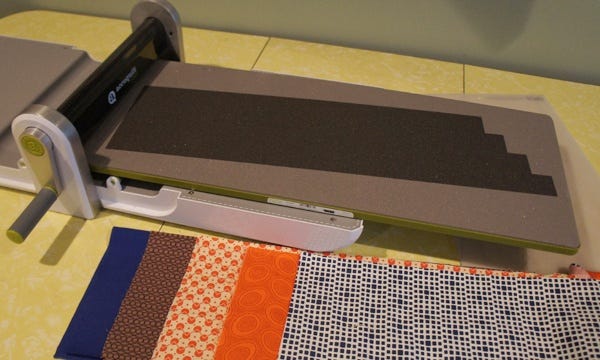
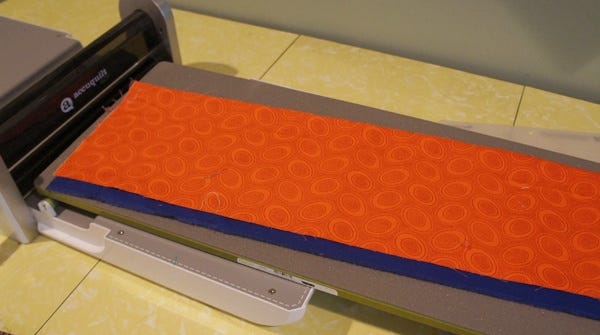
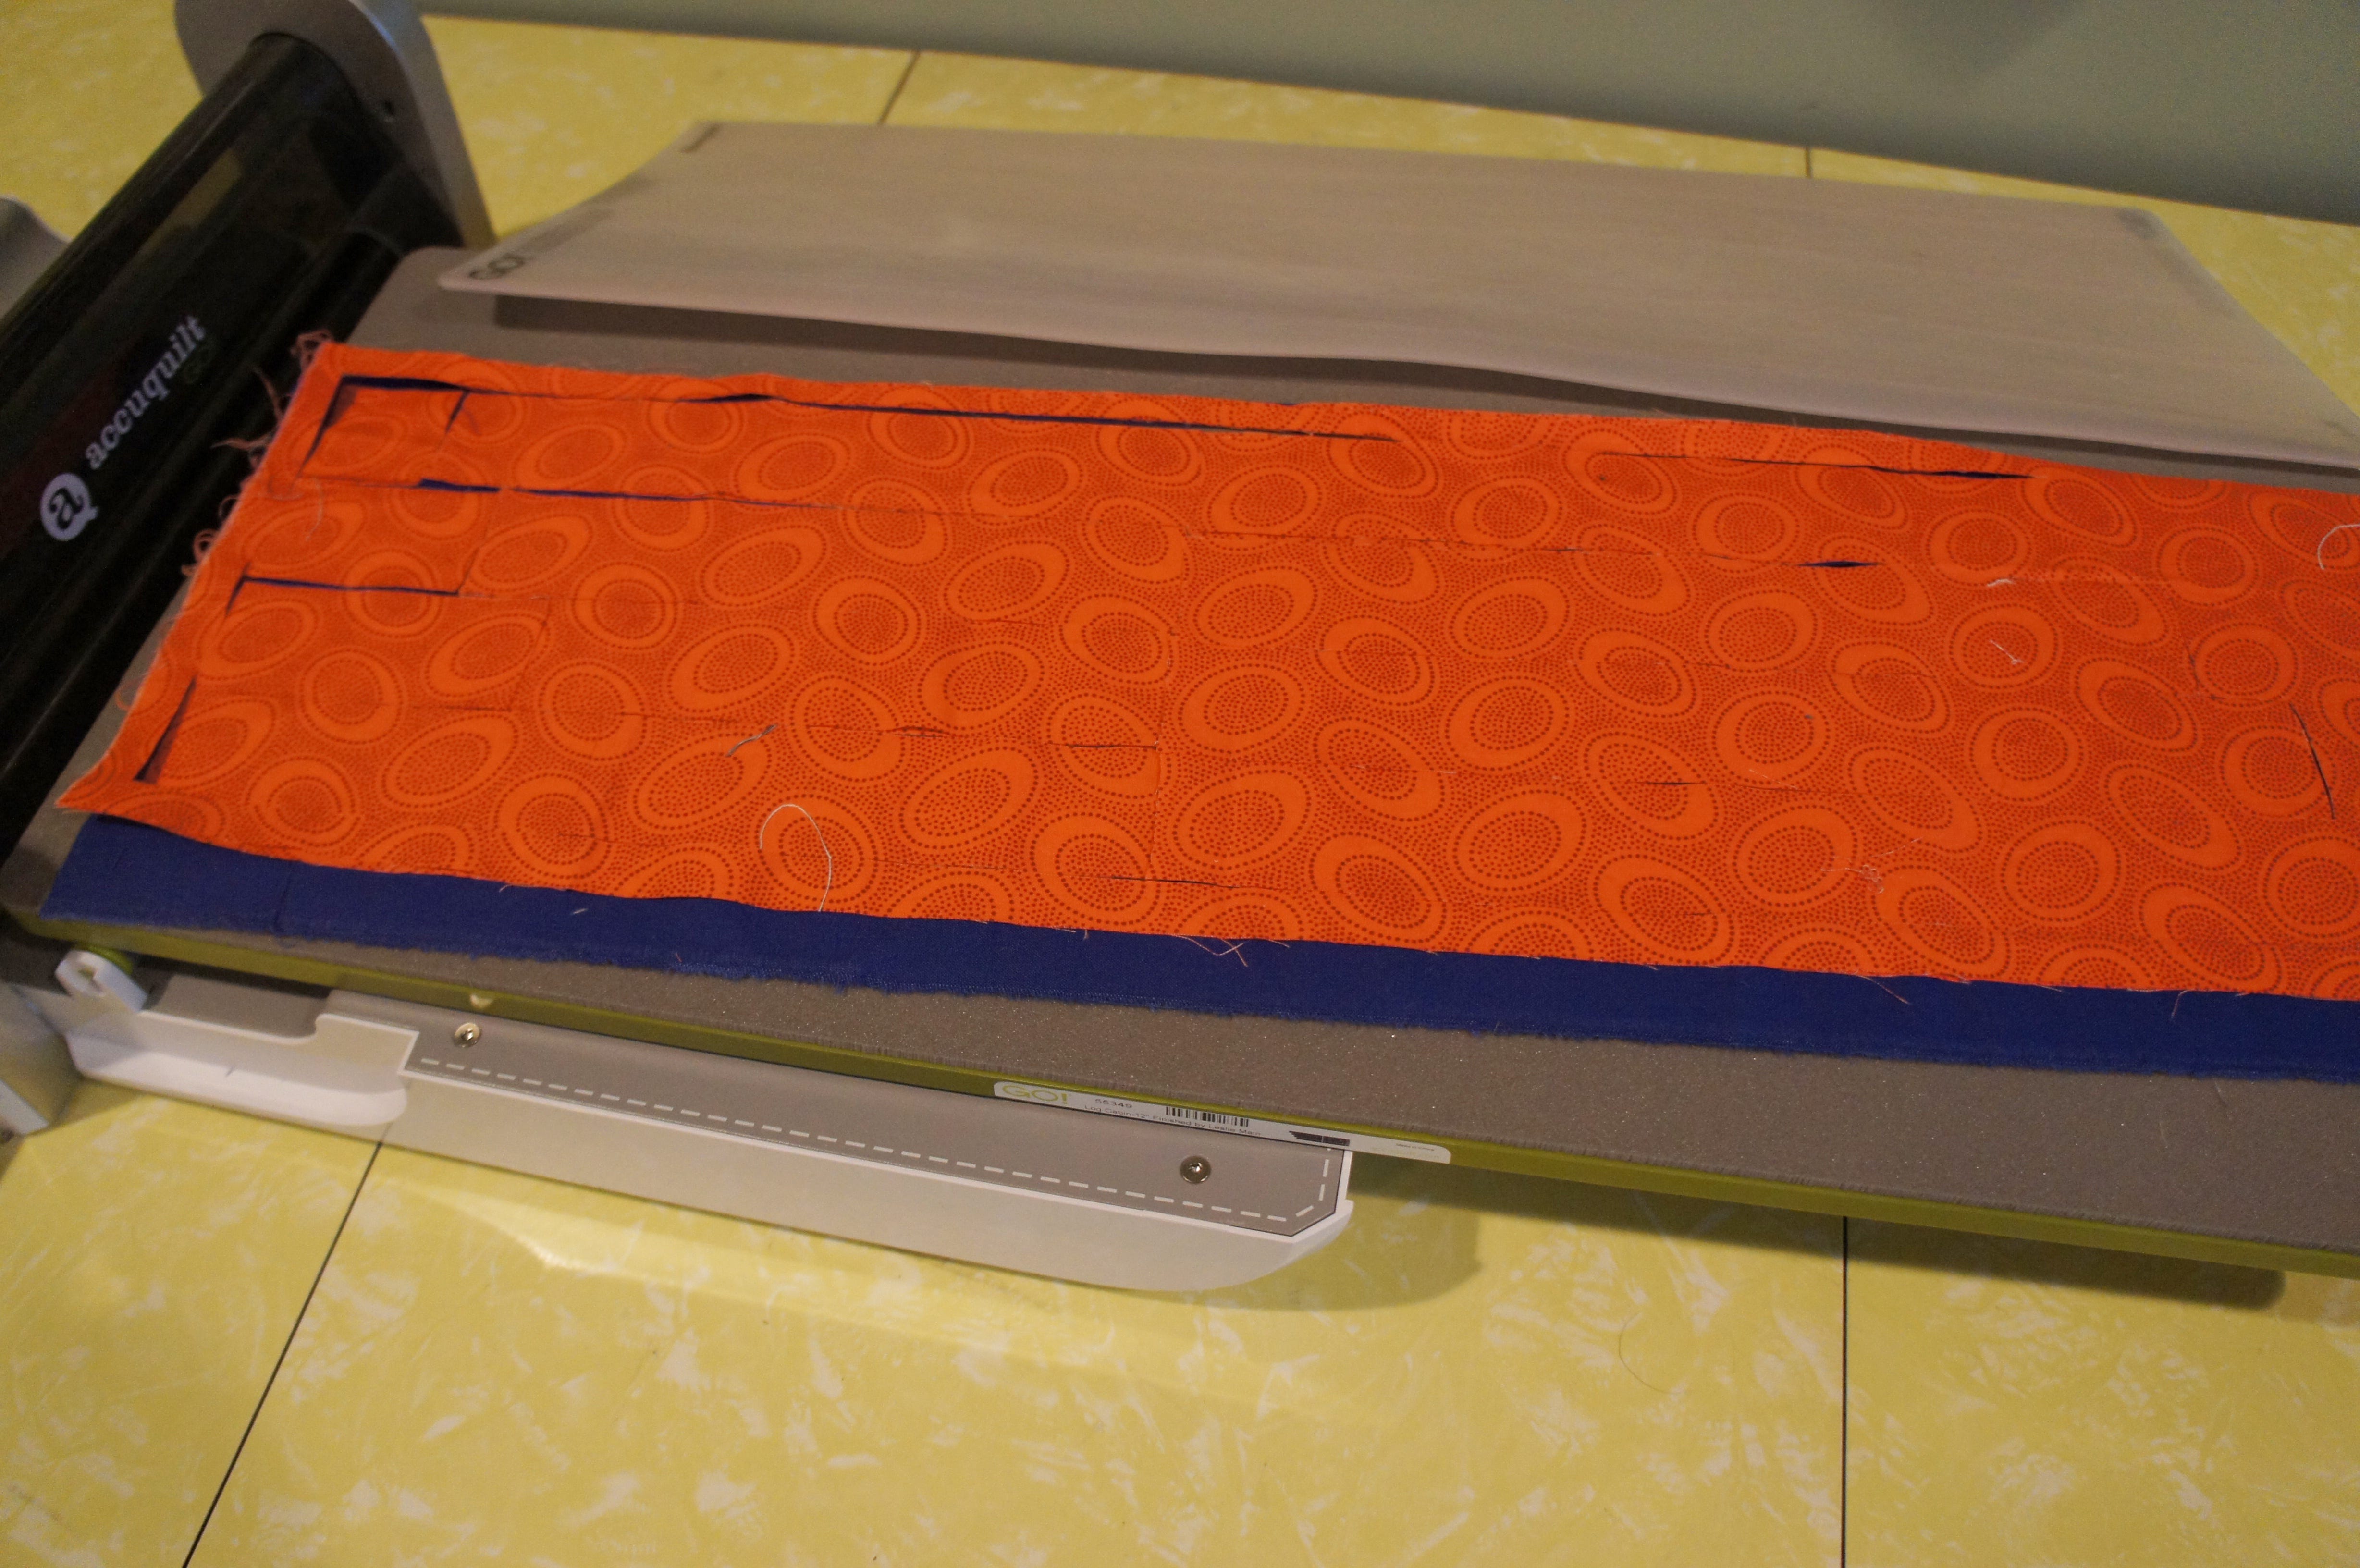
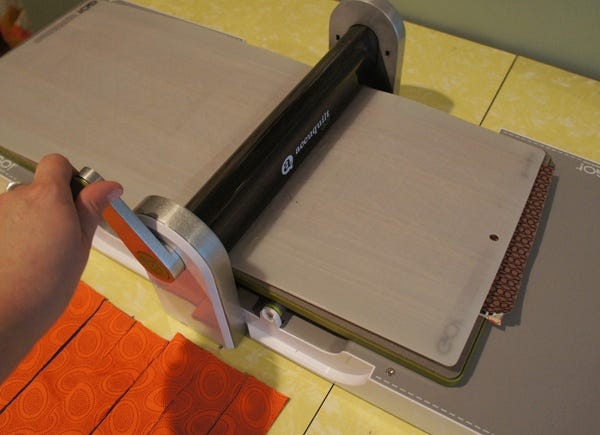
To start, layer up to six layers of fabric across the die board. Notice the fabric below is at an angle? The die blades are positioned across the board at an angle and it is important that your fabric is placed on the die at the same angle to keep your fabric grain oriented correctly! The lengthwise grain needs to travel perpendicular to the roller. Notice the blue fabric peaking out from underneath the red print? That is the selvedge edge of the fabric, lined up with the die label, and the cutter handle. This alignment ensure the lengthwise grain is perpendicular to the roller.
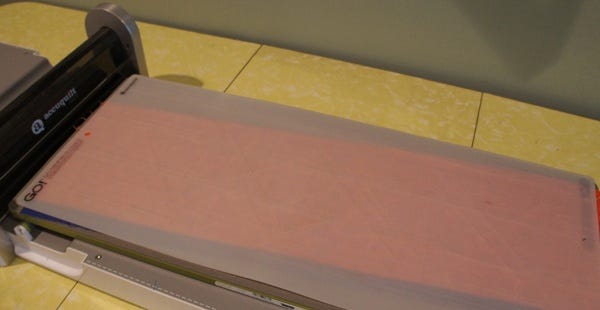
Place the cutting mat over the die.
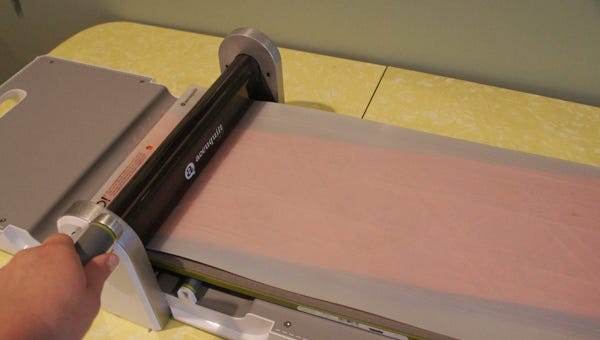
Roll through the cutter.
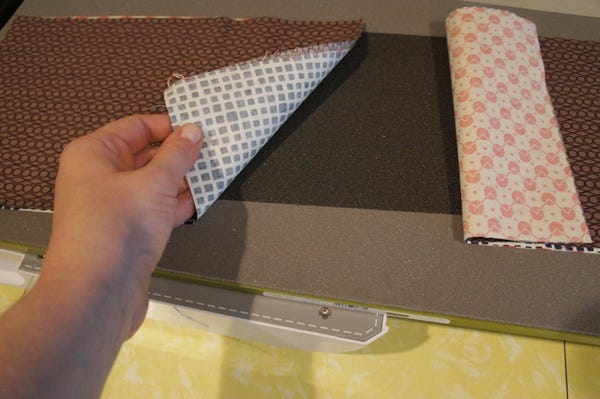
Slide the mat off the die to reveal your first set of logs!
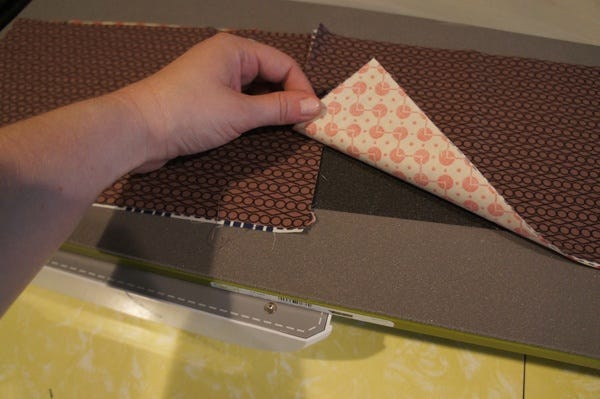
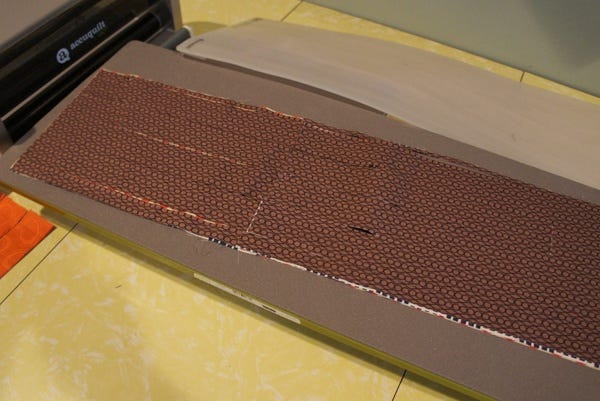
Continue cutting the rest of your fabric. Several of the prints we chose were fat quarters, so we have two pieces - one for the logs on the left hand side of the die and another for the logs on the right hand side of the die.
We're cutting three layers of fabric, so where the two piles overlap, there are the maximum six layers of fabric on the center blades of the die.
Cover the die with the cutting mat.
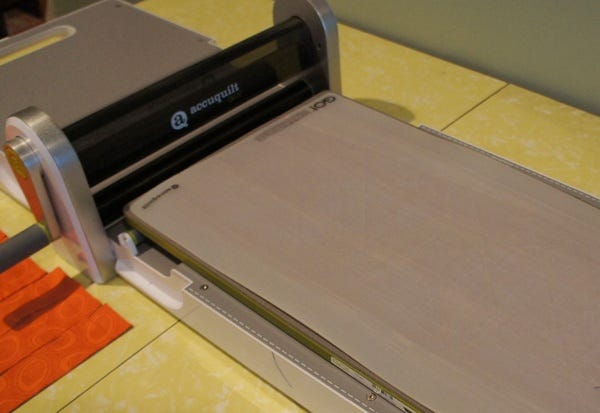
Roll through the cutter.
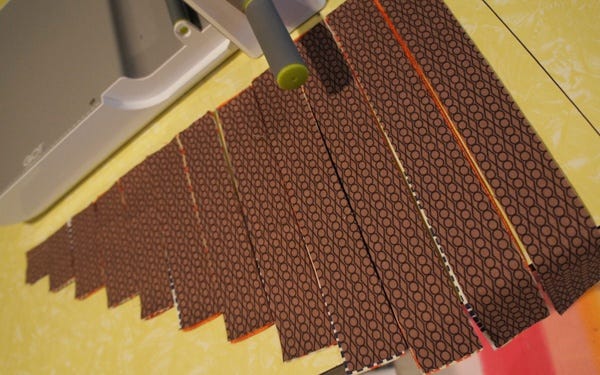
And here are the rest of your logs!
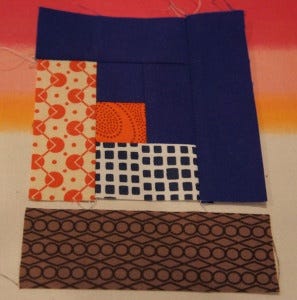
The key to success with the GO! Log Cabin Die is to keep your pieces in order. We've arranged them in size order so we'll be able to work down the line during sewing.
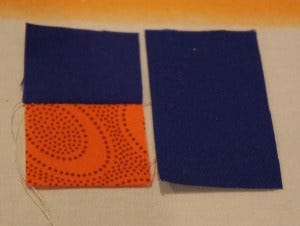
Head over to your sewing machine to get started! Grab one solid blue square and a printed square. Put fabrics right sides together and sew with a quarter inch seam.
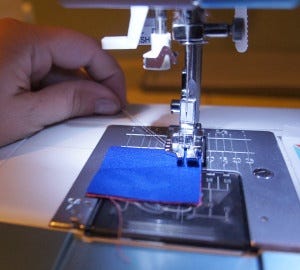
As with all log cabin blocks, you are building from the center out. Moving down the lineup of log cabin logs, grab the smallest rectangle of the solid fabric. Sew together.
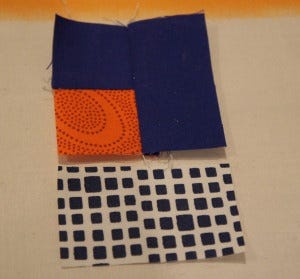
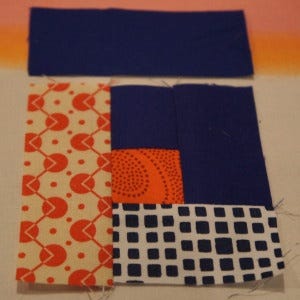
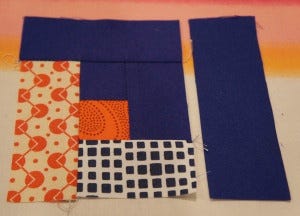
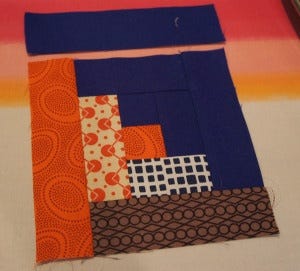
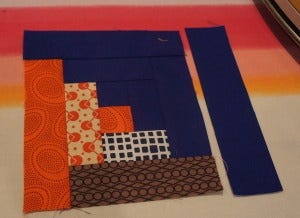
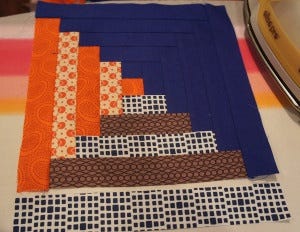
Press your seams to the outside, and continue sewing log cabin pieces around the center unit. Keep the printed fabrics on the left and the solid fabric on the right.
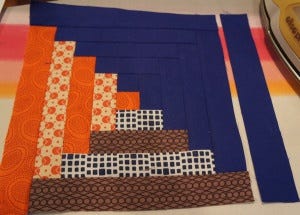
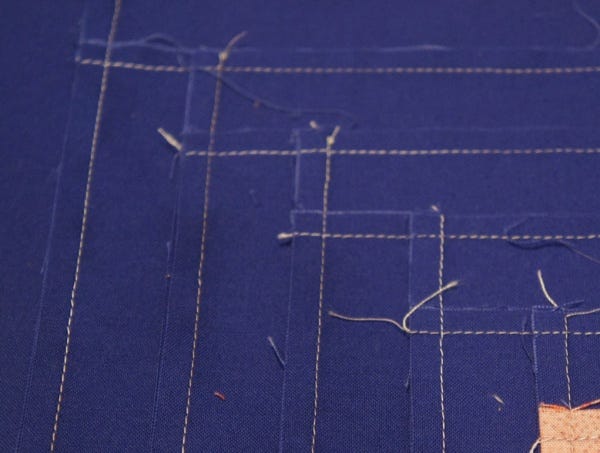
Careful ironing as your piece makes the back of your block look great too!
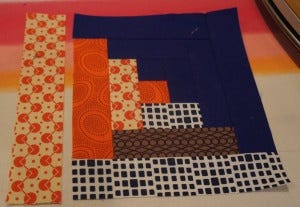
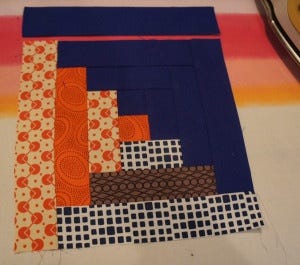
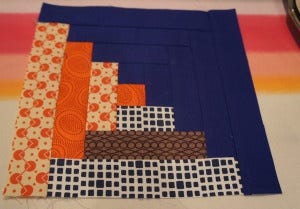
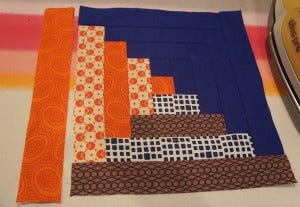
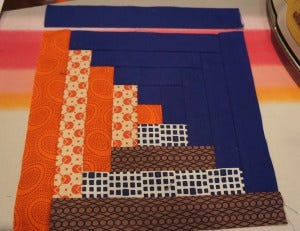
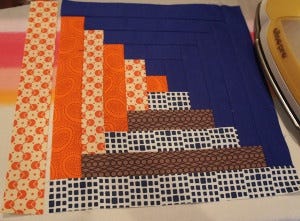
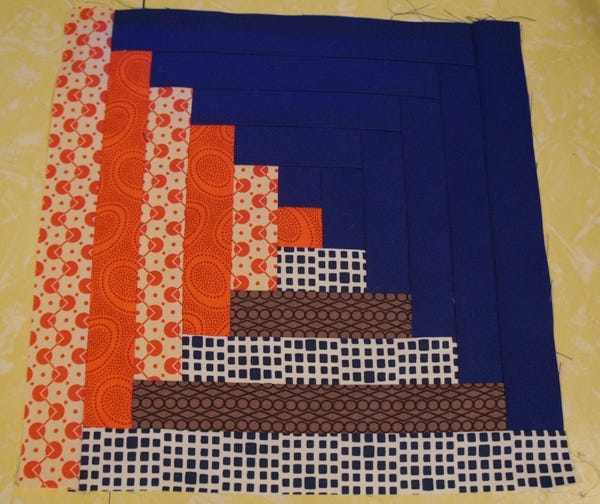
And here's the finished block! There are five rows of logs of each side of the red center.
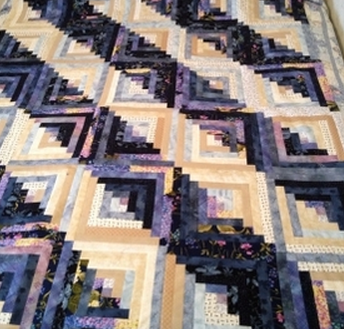
Head over to Quilter's Spotlight for even more Log Cabin inspiration, like this gorgeous quilt shared by Julie W.