Welcome to Part 4 of the 2023 AQS & AccuQuilt-Along Series: Scrappy Star Log Cabin Quilt!
My quilt top center is complete and it’s time to think about the final steps to finish this quilt-along off! With our blocks sewn together, it’s time for borders, backing, batting, quilting and binding, but if your top isn’t done or if you’re just joining us, no worries! This quilt-along is all about having fun and sharing inspiration with each other. With using the AQS Quilting Project Parade Facebook group page and other social media platforms, we’ve been able to see everyone’s projects, sharing inspiration and tips along the way.
Border Time
To border or not to border - that is the question! Alright, maybe I’m misquoting Shakespeare just a little here, but it’s decision time! Borders act as a frame for the main/center section of your quilt. Borders can be wide or thin as well as single or double (or more)!
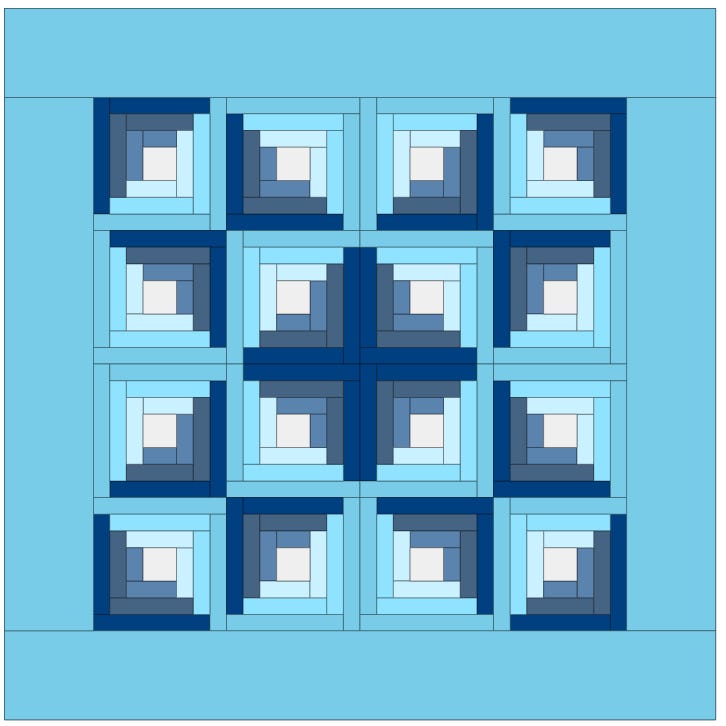
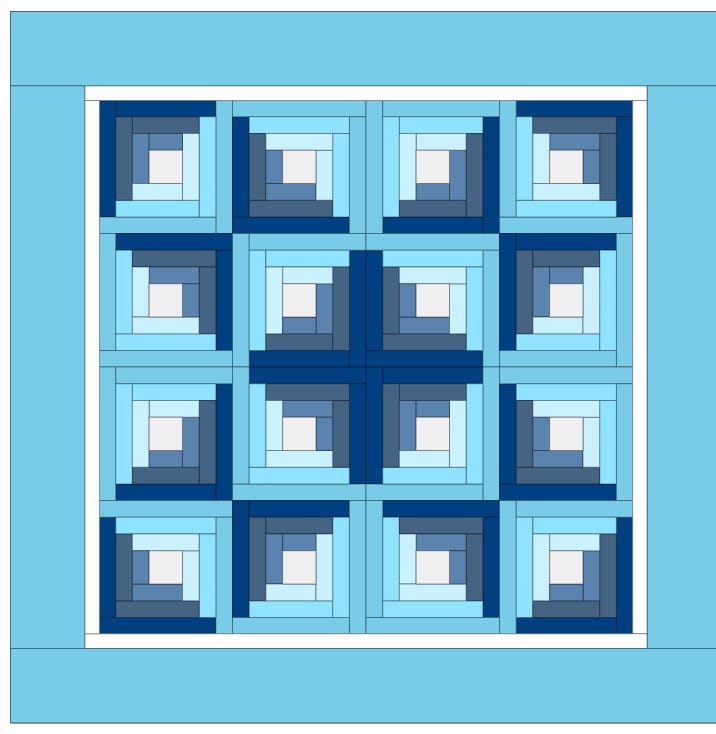
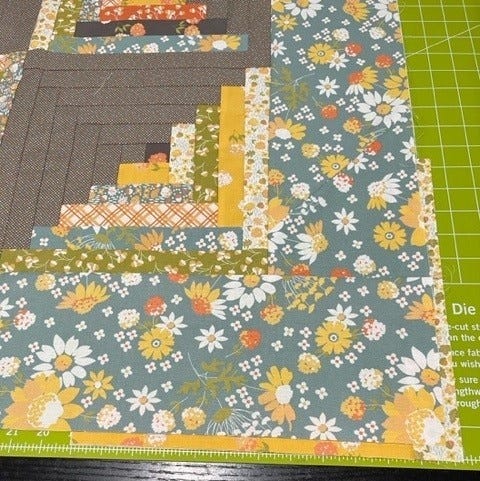
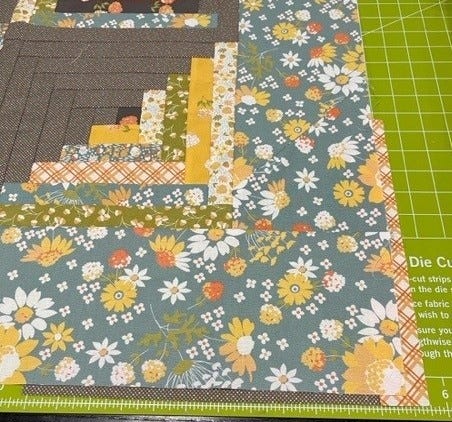
The pattern calls for a 6” finished border, cut with the GO! Strip Cutter-6 1/2” (6” Finished) Die, which is what I decided to do, but borders are a fun way to personalize your project! Here are two different looks I created using Electric Quilt 8 (EQ8) Quilt Design Software. One has a border that matches while the other one pulls a totally different color into the design.
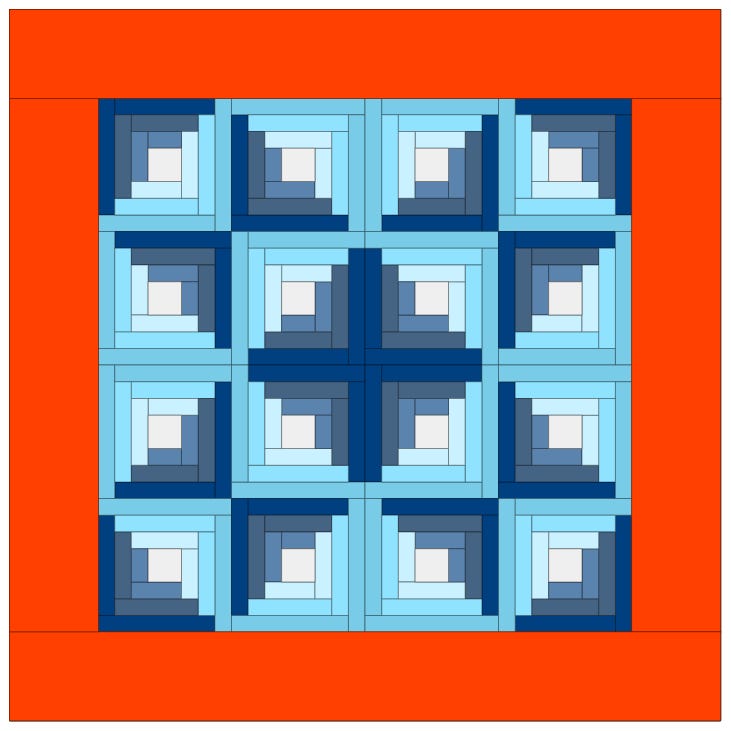
Now, what about using the GO! Strip Cutter-1 1/2" (1" Finished) 5 Strips and the GO! Strip Cutter-5 1/2" (5" Finished) Dies for a double border? The finished quilt will be the same size, but look at the difference it makes:
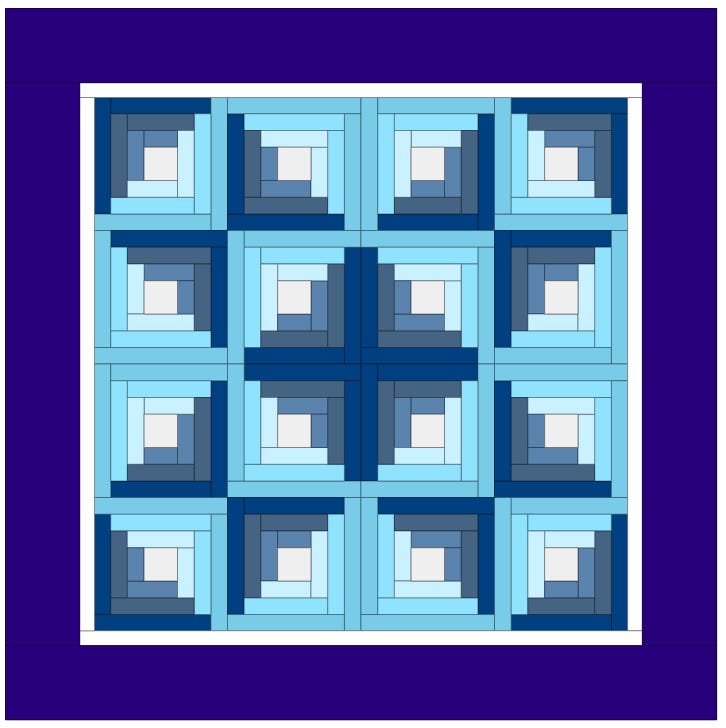
You could also eliminate the border if you wanted to. There are just so many options here!
Backing Time
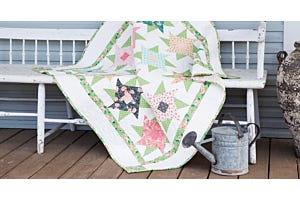
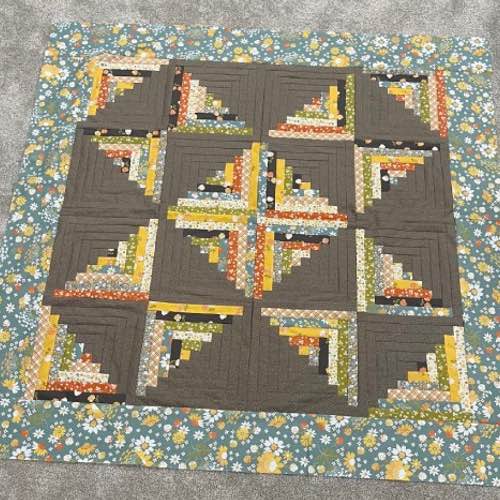
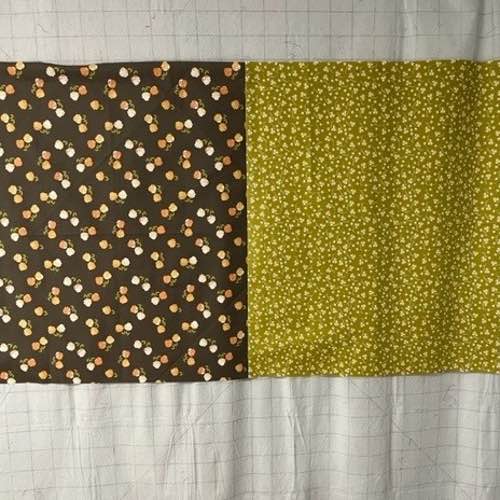
Here's a picture of my finished top. After giving it a good, overall press, it’s time to decide on backing! With all the scrappy fun going on with this quilt, I decided to use the fabrics left from piecing the top to create a unique back. I bought a “liberal” amount of fabric for this project, so I decided I would probably have enough and dove right in.
A design wall is really helpful if you decide to piece your backing. Start by measuring the completed top. You’ll want to add approximately 4” to each side of the quilt for both your backing and batting. If you're taking your quilt to a longarm quilter, be sure to check on their specific requirements. Mine also requests 1/2” seams for pieced backing, and another one I know likes them pressed to one side versus pressed open.
Scrappy backing is fun, but not required! You can also simply seam together one fabric to create a piece the correct size or use wider fabric. One of the bonuses of using 108” wide backing is all the fabric you may have left over to use as backing for smaller projects, like wall hangings!
Speaking of fabric, now’s the time to think about how you plan to use your quilt! I always use cotton quilting fabric on the back of bed quilts and wall hangings, but something soft, such as flannel or Cuddle, is wonderful for lap quilts.
Quilting Time
Do you plan to quilt your quilt yourself on a domestic machine, longarm machine or sit-down mid-arm machine? Are you taking it to a quilter? What type of design and thread? Oh, so many choices! Let’s think about options for this quilt.
When I look at my quilt, there’s a lot going on with the scrappy fabrics and all the prints, so I’m thinking simple on the quilting, and I’m leaning towards some free motion meandering in a blue-gray thread. Free motion quilting can certainly range from simple to complex. If you’re wanting to give it a try, but not comfortable with it, here’s a great technique I learned from my friend, Cathy M. Cathy’s part of our accounting team and an accomplished seamstress and quilter:
- Find a design you like – it can even be from a pantograph normally used with a longarm quilting machine.
- Next, trace that design onto white tissue paper!
PRO TIP: Miss Cathy recommends using black permanent marker for tracing your design as she's seen the graphite from pencil or color from other markers transfer to the fabric. - Pin this tissue onto a section of your quilt that’s already pinned/basted together. This way, you’ll have a design to follow as you go! (Isn’t she smart?)
PRO TIP: It's always smart to make a "test sandwich" of backing, batting and a top to practice with!
Some other methods to consider are straight lines, random curved lines or using your embroidery machine.
I’ve learned so much about quilting over the years from quilty friends, so I'm grateful to have so many choices when finishing quilts!
Border Time
One of my favorite tips to share with quilters who get stopped from finishing their projects towards the end is to make their binding first, but I didn’t take my own advice this time! I encountered certain commitment issues when it came to figuring out my border and binding until I got some blocks made this time.
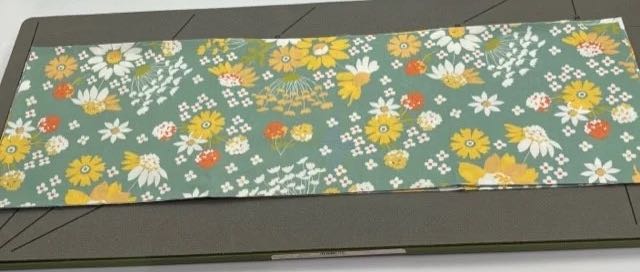
Binding can match your outer border and simply blend into the design, it can be a print that will make a statement or act as a frame and pull your design all together. Once the border was on my quilt, I was stumped on what direction to go, so I did some “auditioning.”
For my quilt, I went with my gold standard: the GO! Strip Cutter-2 1/2” (2” Finished) 3 Strips Die. The pattern uses the 2 1/4” cut binding that I know many quilters favor. Luckily, AccuQuilt has GO! Strip Cutter Dies for both! With following the pattern, I’ll need to cut a total of six Width of Fabric (WOF) strips, which means that I can cut all my binding in one pass!
Mitering my ends used to be a problem - until I discovered this little trick! Check out this video for perfectly accurate results!
I love hand-finishing my bindings, so I machine stitch mine to the front of my quilts, fold it over to the back and hand stitch it down. If you prefer machine finishing, I suggest sewing it onto the back of your quilt first and then folding it onto the front for stitching it down.
Am I Done Yet?
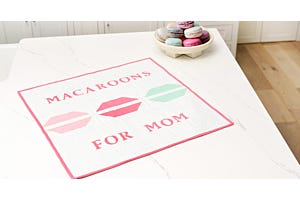
You’ve got two steps left to finish! The first is one that I often overlook, and that’s putting a label on the back of your quilt. It’s important to get that label on to show who made it, when it was made and more. The more information, the better, but just your name is a great first step.
The final step is taking a picture to post in the AQS Quilting Project Parade Facebook group and your other social media, so we can all see your project! Don’t forget to include the hashtag #AQSews in the description, too. I can’t wait to see the progress you all are making on your amazing projects!
Time for Show & Tell!
On Wednesday, May 3, we will have our Show & Tell livestream event and corresponding blog post. We’ll be highlighting your amazing projects, so be sure to get your pictures posted. Pam and I have loved making this project with all of you and we can’t wait to celebrate all of your wonderful creations!