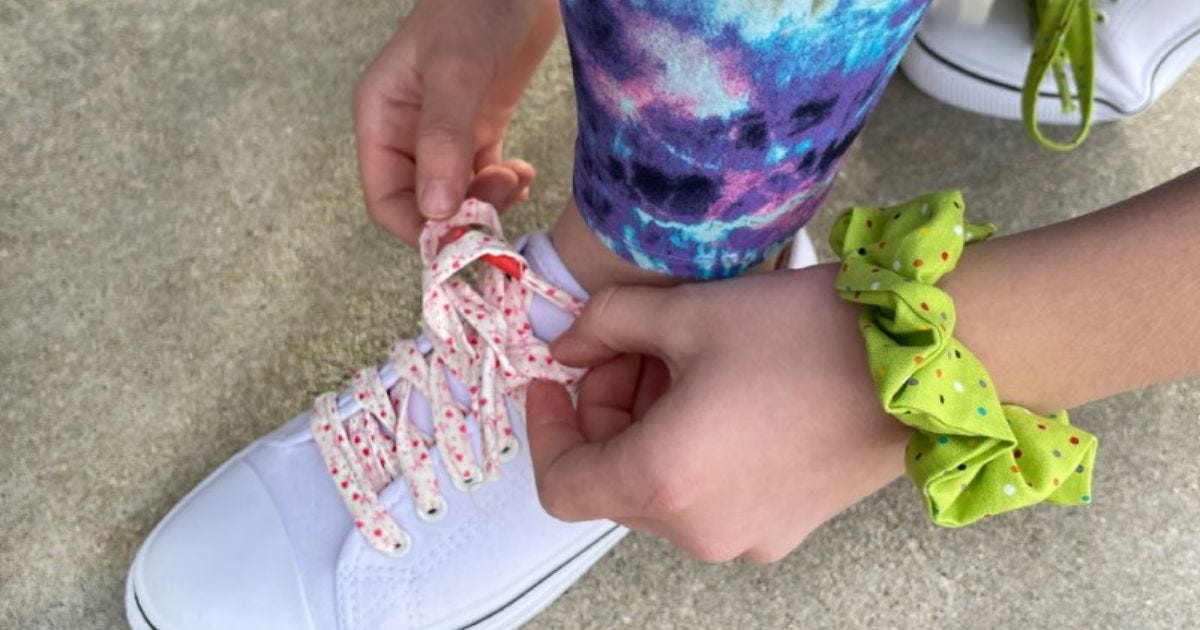
Got any tired looking tennis shoes laying around? How about giving them a little bit of a makeover for spring with some fun new shoelaces? How about taking it further and making matching hair scrunchies for the ladies in your life?
Both of these quick and easy craft projects require a minimum amount of sewing for maximum impact, and can even be created from scraps!
GO! Strip Dies to the Rescue
If there’s one quick and easy way to cut perfect strips of fabric, it’s with GO! Strip Cutter Dies. If you aren’t familiar with them, these handy dies are designed to cut Width of Fabric (WOF) strips quickly and accurately. Let’s get started on these strippy, scrappy projects!
Shoelaces
Shoelaces are basically long, narrow tubes of fabric with hard plastic ends, or aglets, on the ends to help you lace your shoes with ease.
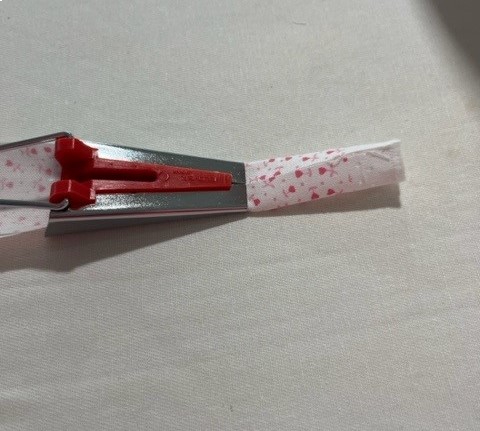
Using a bias tape maker is the easiest way that I’ve found to create long, narrow tubes of fabric – and before you ask, no, you do not need to cut bias strips of fabric for this. Width of Fabric (WOF) strips will work perfectly! I used a #18 red one, and if you’ve never used one before, let me show you how slick they are!
The directions said to cut strips of fabric 1 3/8” wide, but without a strip die that width I tried both the GO! Strip Cutter-1 1/4” (3/4" Finished) and the GO! Strip Cutter-1 1/2” (1" Finished) 5 Strips Dies – and I’m happy to report that both worked just fine. The easiest way to decide how long to make your shoelaces is to measure the old ones that are currently in your shoes. I made my adult size laces 49” long, so to create one pair of laces, I cut three WOF strips and pieced them together – more on that to come.
The trickiest part of this project is getting started! I left the selvedge ends on the fabric since they are a little more stiff and easier to feed through the bias maker.
1. Starting with one of the narrow ends of your fabric, right side down, start feeding it into the bias maker. You may want to use a pin to help move it through to the small end. The fabric will come out the small end with both sides folded to the center.
PRO TIP: I always do this at my ironing board using my full size iron to press the creases down really well.
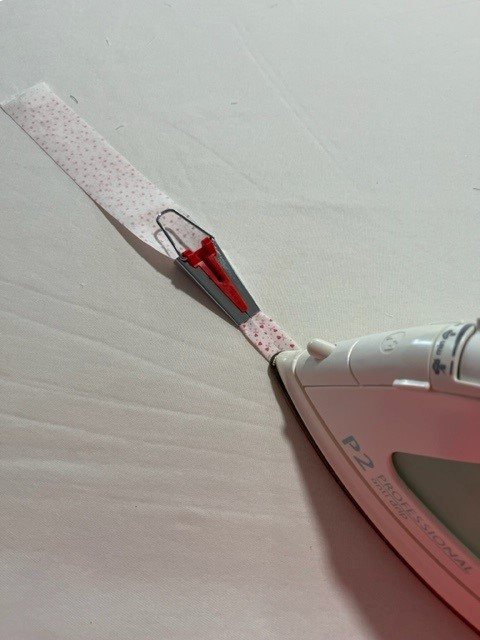
2. Continue pulling the bias tape maker back and pressing out the fabric coming out the small end.
3. When you complete the strip, go back to beginning of the strip. This time, fold it in half and press as you go until the entire strip is pressed.
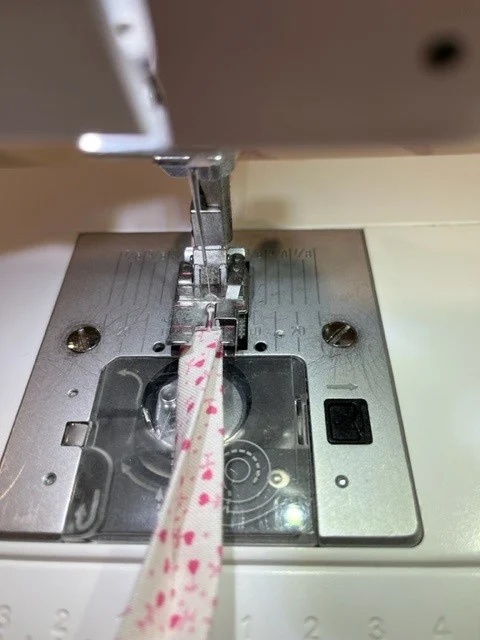
4. Then, top stitch the long edge with the double folds.
PRO TIP: If you don’t have a bias tape maker, you fold the fabric in half lengthwise and sew the long raw edges together with a 1/4” seam. The tricky part with this method is turning the strip right side out, but using a safety pin and feeding it back down inside your fabric tube will make the task easier.
Piecing Strips
With either method, you may well need to piece your strips to make each lace long enough. While you can do this with a straight seam across the short ends, you’ll get better results piecing the strips together like you do for quilt binding. Here’s a quick video showing how easy this is to do with a GO! Half Square Triangle Die:
The Ends
1. Once your strips are together, you’ll want to add an aglet to each end to make them easier to lace and to keep them from fraying. I suggest heat-shrinking ones that come with an adhesive on the inside of the little tube.
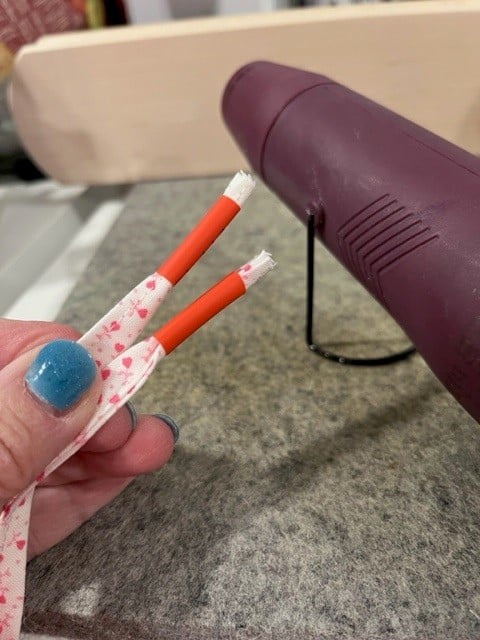
2. This last step is so satisfying! Just feed each end of the lace into an aglet tube about 1/2” long and pull the fabric out just past the end.
3. Use a heat gun (or hair dryer) to apply heat, which will shrink-fit the aglet to the lace.
PRO TIP: Holding the lace with needle nose pliers or just a clothes pin will keep you from burning yourself.
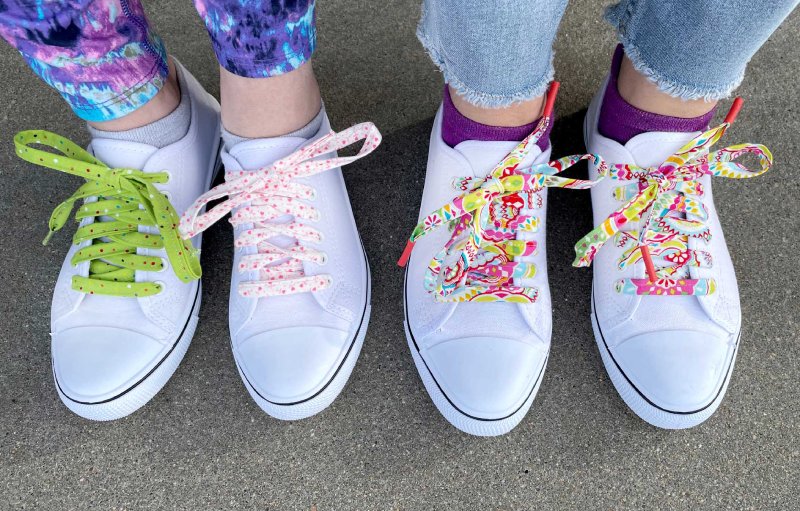
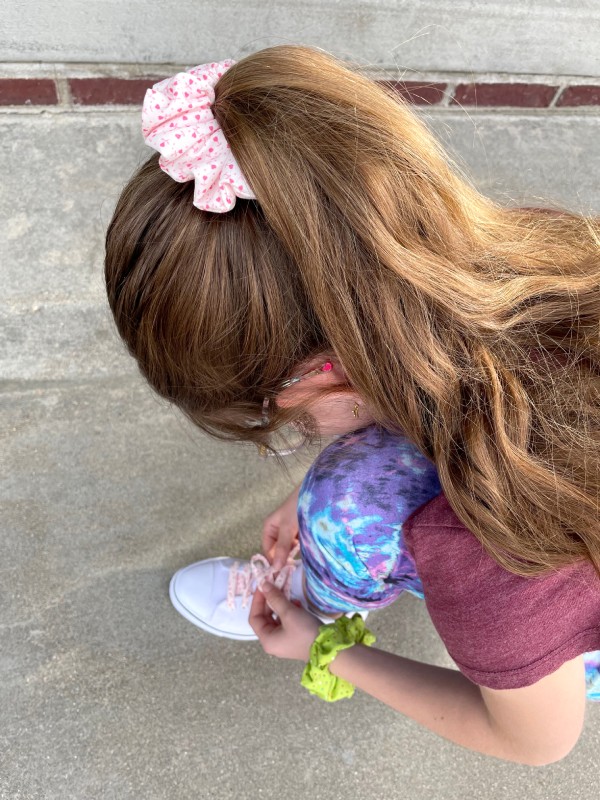
Just like that, you're ready to give any lace-up shoes a spring makeover!
Scrunchie Time
Here’s a fun way to make great use of your scraps! AccuQuilt Cutting Expert Pam Heller recently whipped up a batch of these cute useful items and shared her tips with me!
For each GO! Hair Scrunchie, you’ll need:
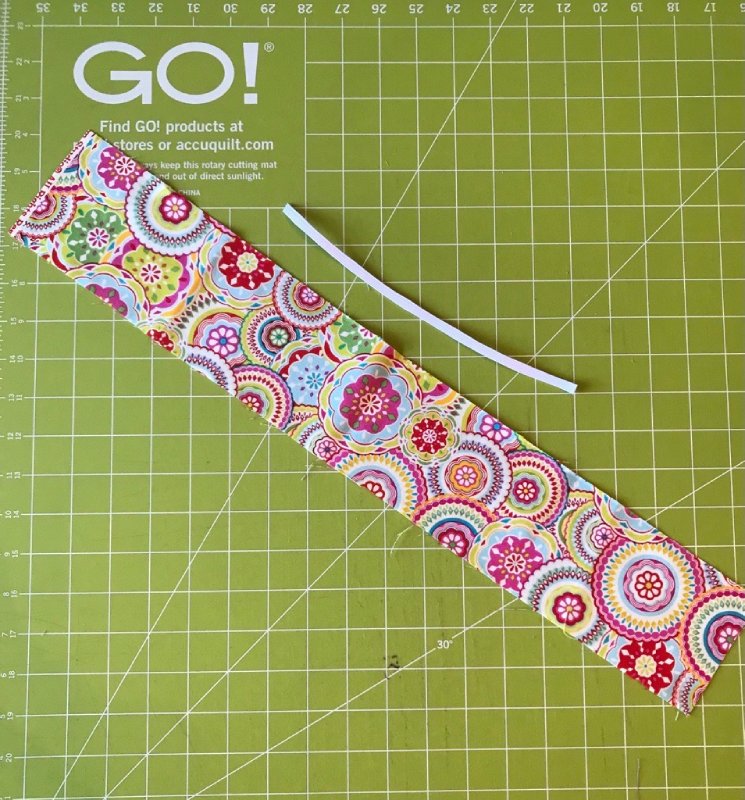
- One 3 1/2” x 21” rectangle of fabric
- Cut this using the GO! Strip Cutter-3 1/2" (3" Finished) 2 Strips with Angled Guidelines Die
- One 8” piece of 1/2” elastic
1. Get started by folding the fabric in half the long way with right sides together.
PRO TIP: Be sure to pin as needed to keep the fabric flat!
2. Before stitching along the long edge, be sure to turn one short end back 1” and press.
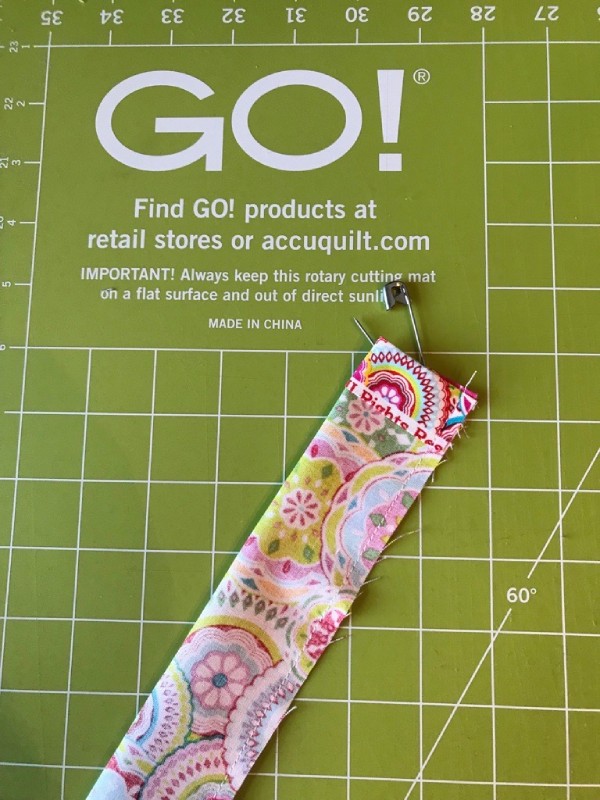
3. Sew along the long raw edges with a 1/4” seam to create a long fabric tube.
4. Attach a safety pin to one end and use it to turn the tube right side out.
5. Remove the pin and press flat.
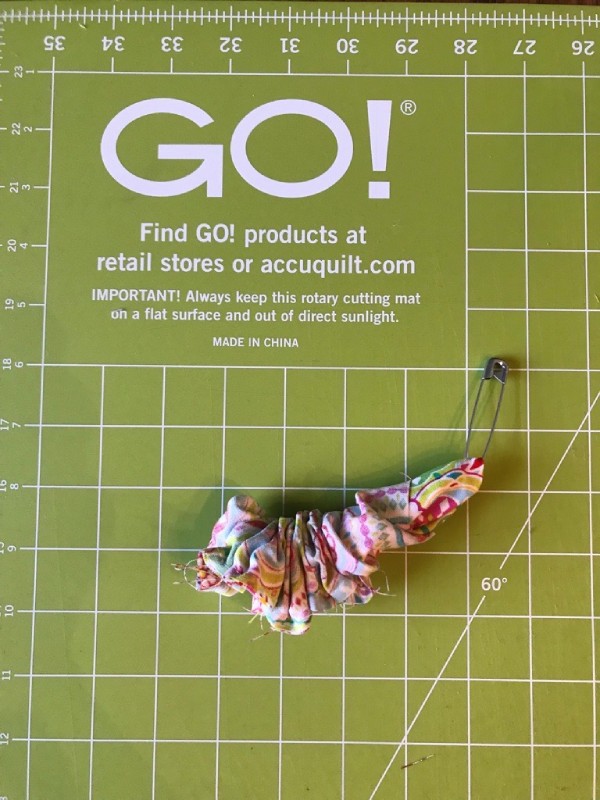
6. Attach a safety pin to one end of the elastic piece and use that to feed it through the tube. It’s helpful to pin the elastic to each end, so you don’t lose the end.
7. Once fed through the tube, tie the ends of the elastic together securely.
8. Insert the raw end of the tube into the finished end and sew together.
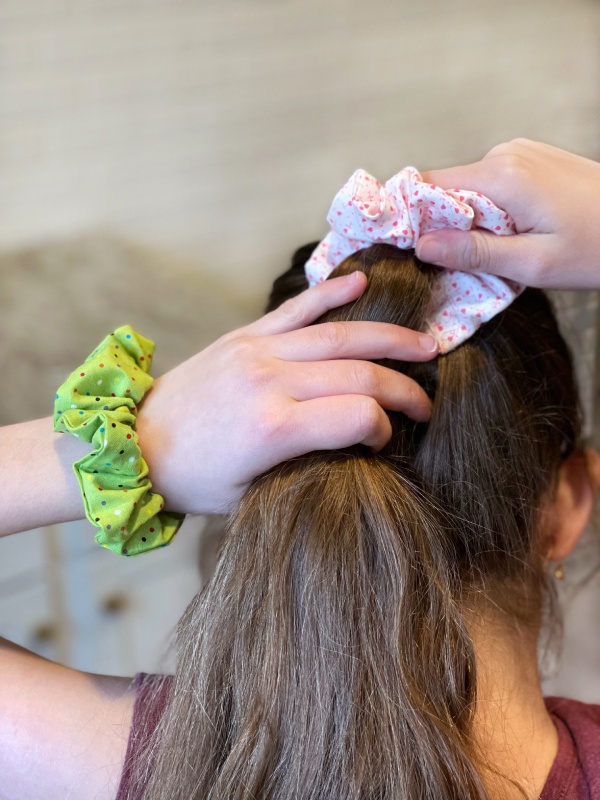
These are so quick to make that you’ll soon have them for every outfit and holiday!
GO! Get Scrappy
Hang onto those scraps, grab some GO! Strip Cutter Dies and jump into making these darling low-sew projects!
If you make your own version the scrappy shoelaces and GO! Hair Scrunchies, please use the hashtag #AccuQuiltBuilt and tag @AccuQuilt on social media so that we can see your cute creations!
"