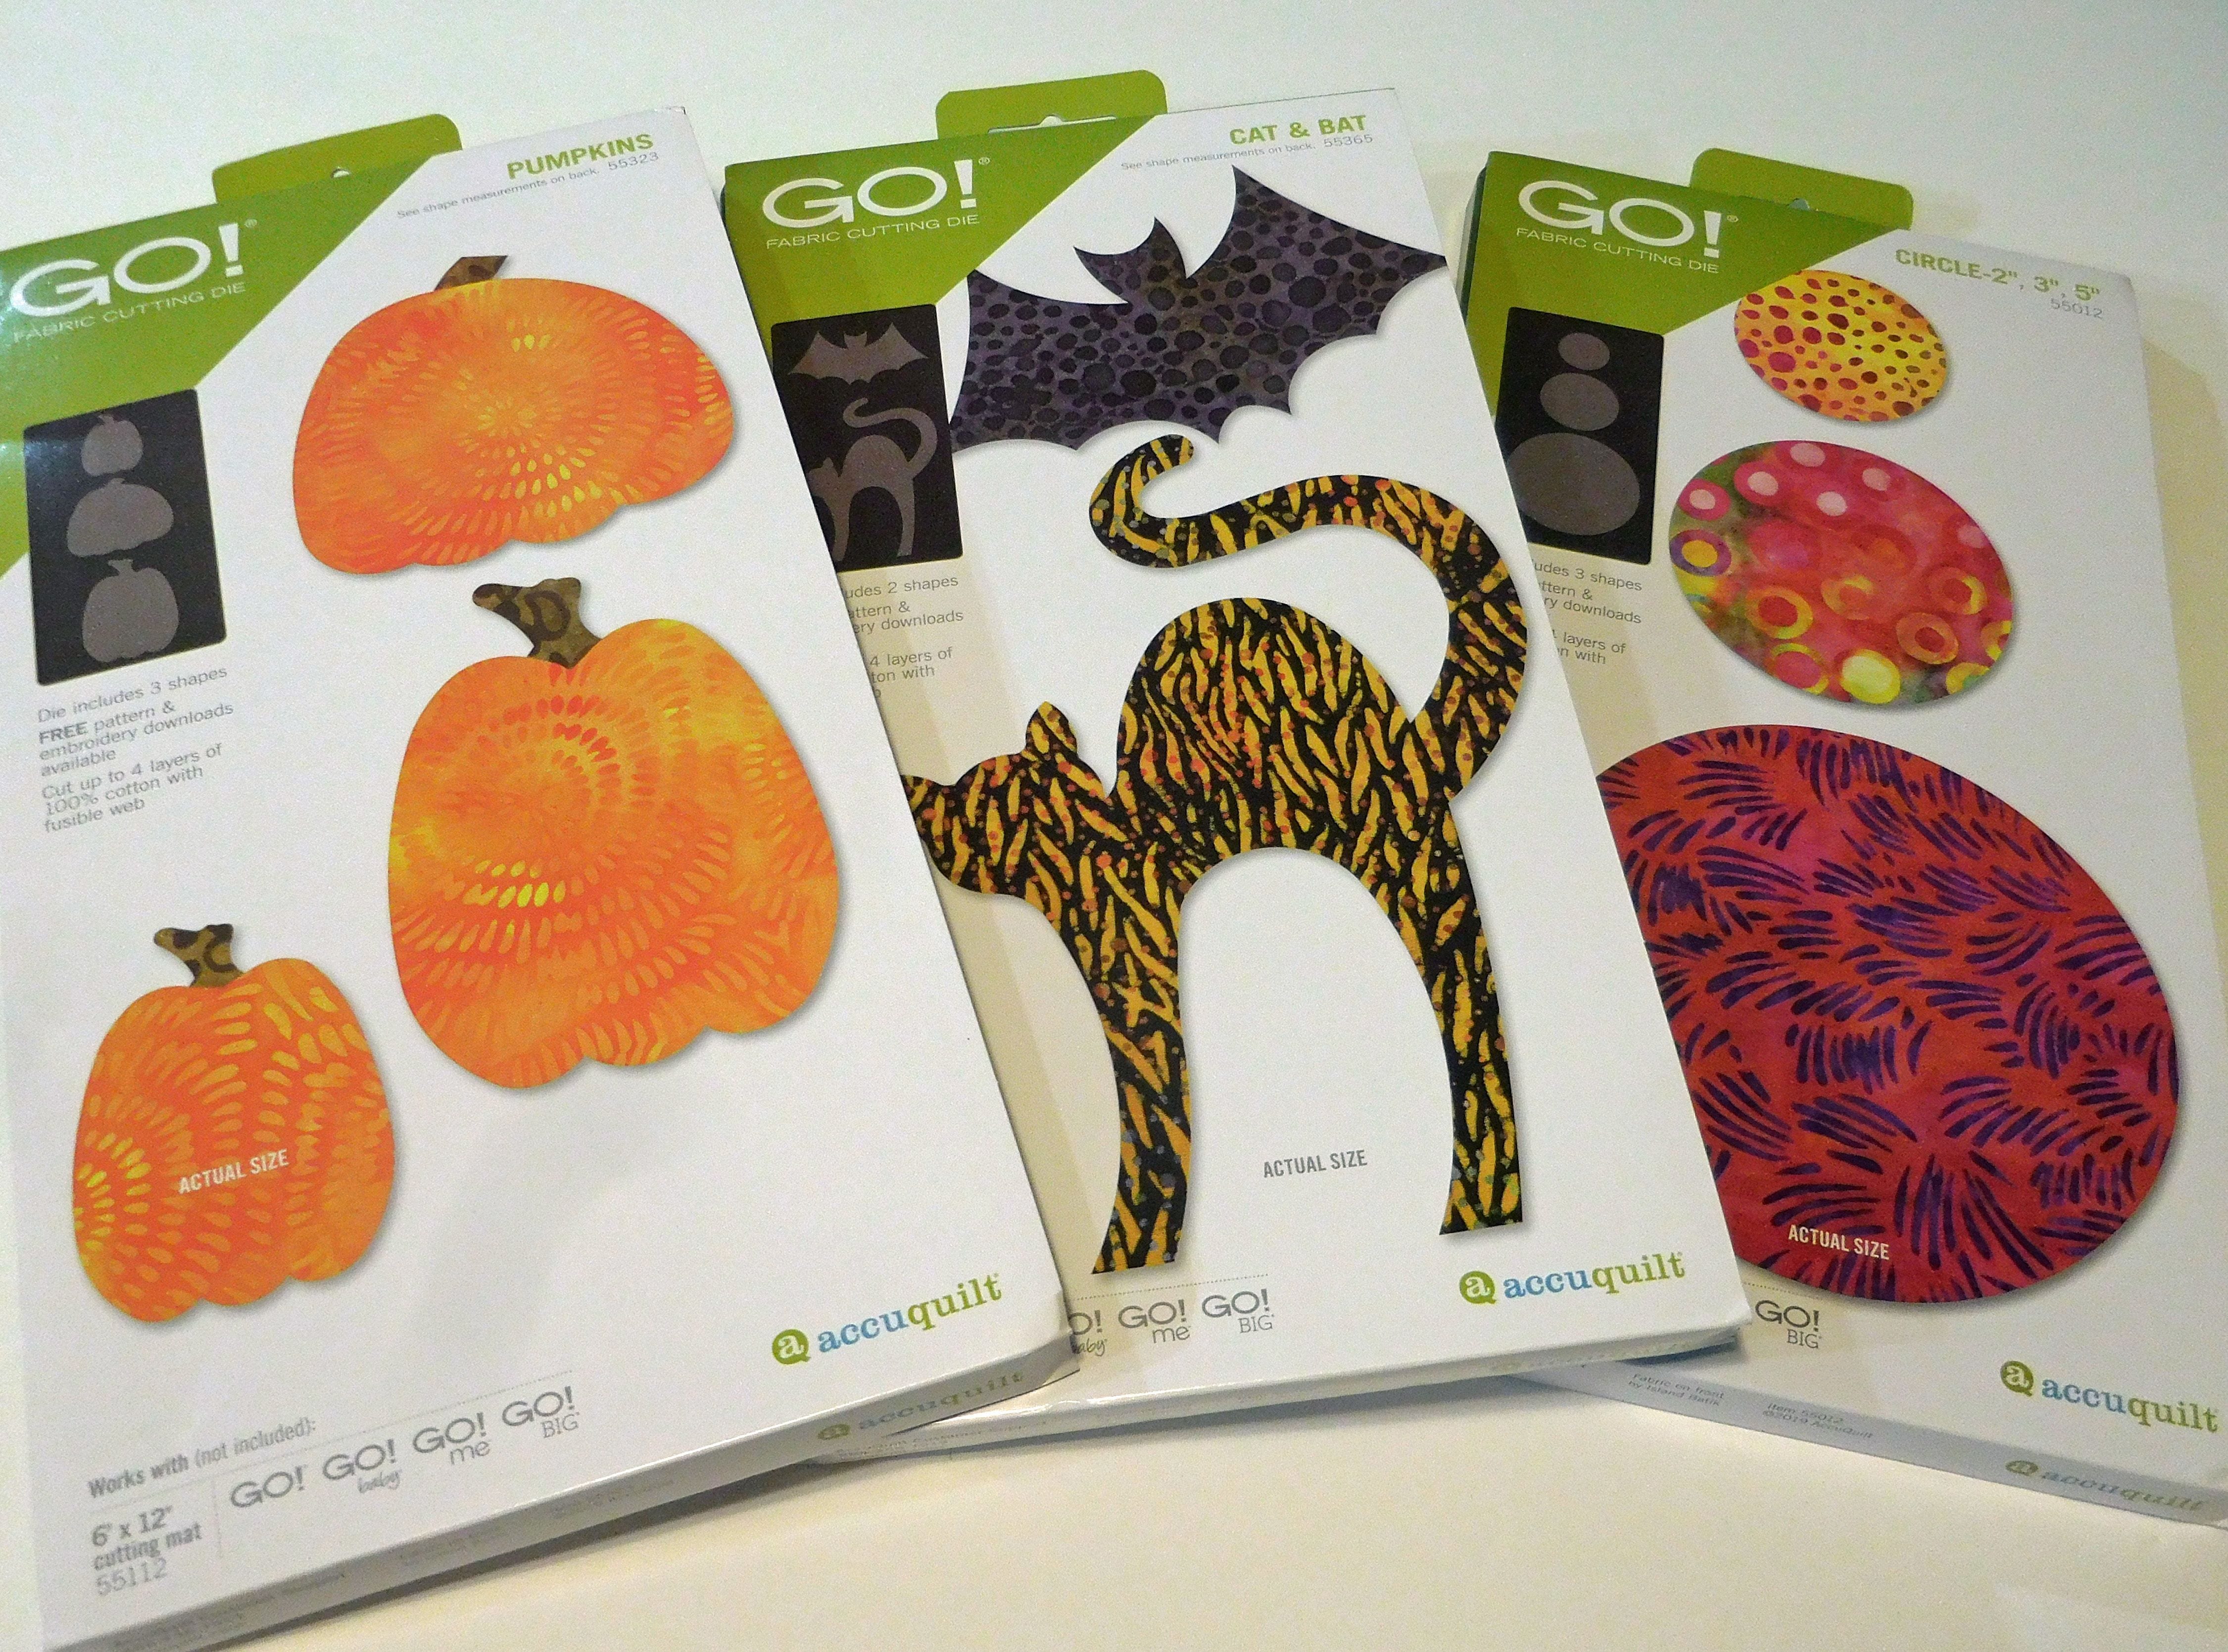
For this wall hanging you will need the following AccuQuilt Dies:
GO! Pumpkins (55323)
GO! Cat & Bat (55365)
GO! Circles 2”, 3”, 5” (55012)
GO! Strip Cutter-1 ½” (1" Finished) (55042)
GO! Strip Cutter-2 ½” (2" Finished) (55017 or 55014)
The GO! applique dies in this project.
Supplies Needed:
Orange fabric for pumpkins (I used three different ones)
Black fabric for cat and bat
Gold for the moon
Thread to match the applique fabrics
Background fabric of your choice- ½ yard
Fabric for binding 6” x WOF (width of fabric)
Green fabric for checkerboard borders
Fusible web for appliques
Backing fabric: 20” x 14”
Batting: 20” x 14”
Iron
Cut Your Applique Shapes
Using fusible web of your choice, follow manufacturer's instructions to apply it to the wrong side of your black, orange and gold fabrics. Then place your fabrics on the die. NOTE: be sure to decide which direction you want your cat facing before cutting. The photo below shows you what you need to cut. I used the 5” circle for the moon.
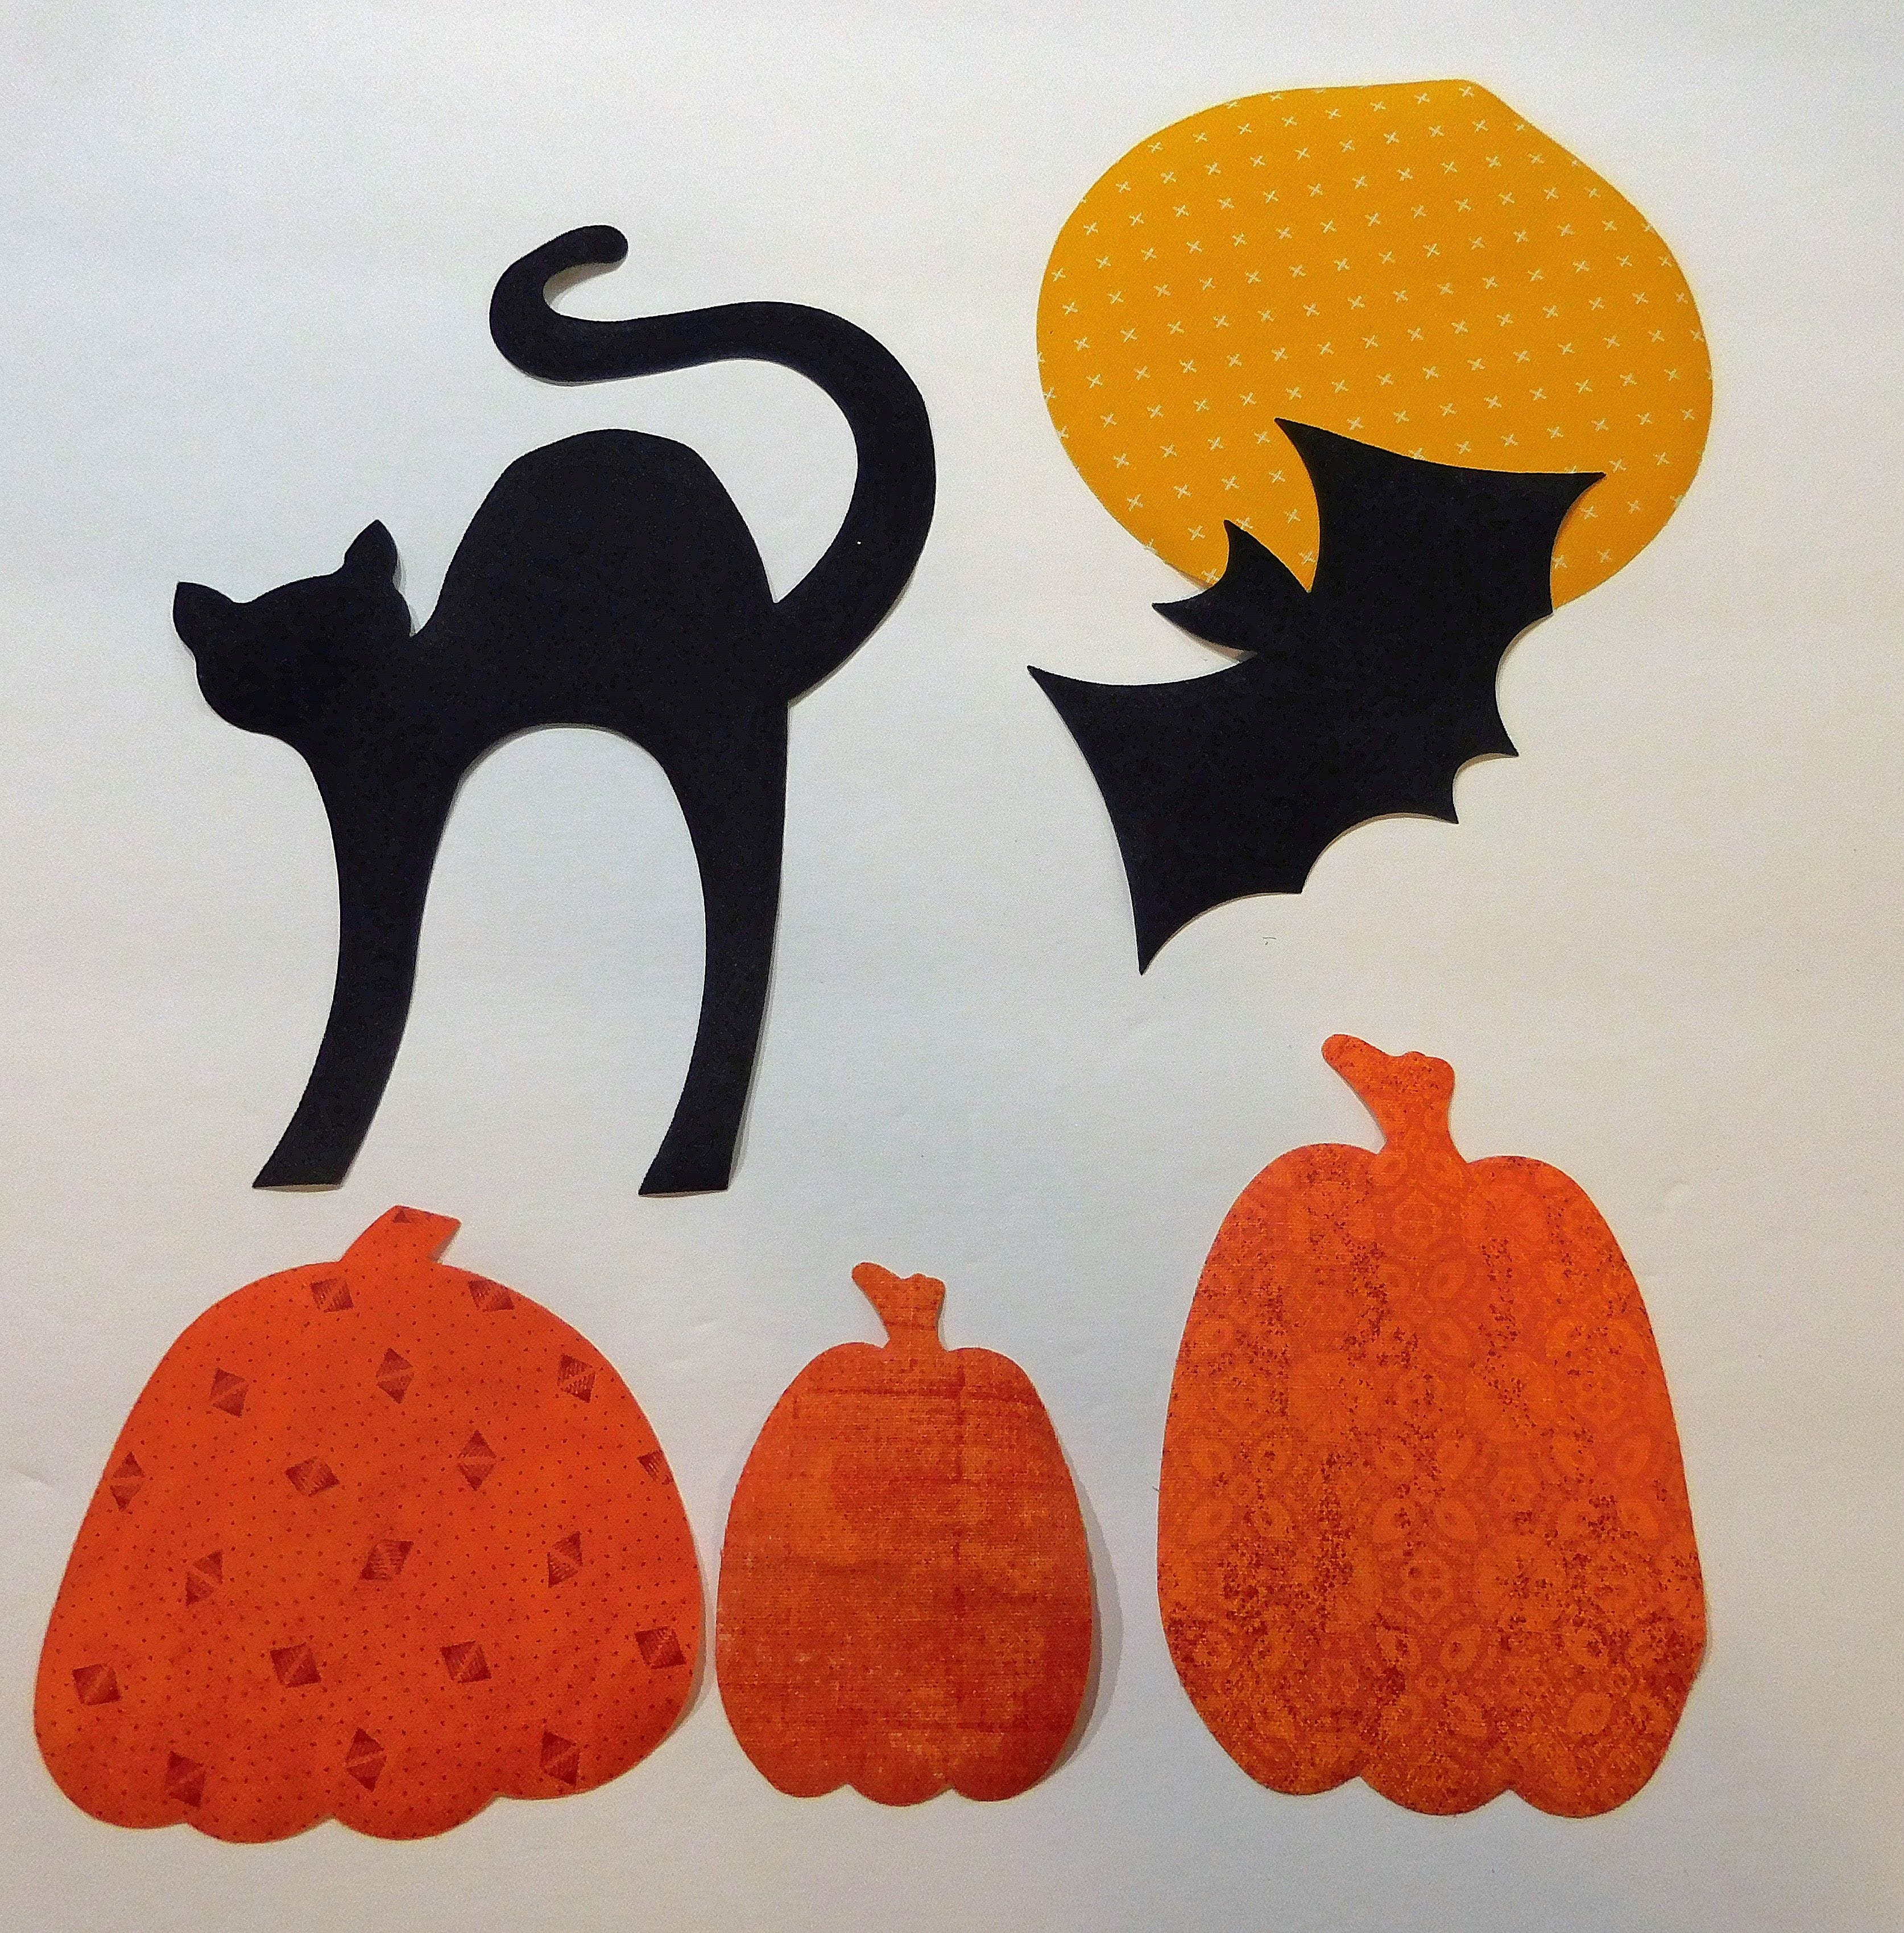
Perfectly die cut shapes.
Cut your background fabric 12 ½” x 18”.
Cut one strip of green fabric and one strip of background fabric width of fabric (WOF) x 1 ½” using your GO! Strip Cutter-1 1/2" (1" Finished).

Background fabric and cut strips.
Checkerboards
Make a strip set by sewing together one of the green and and one of the background 1 ½” strips. Cut that set into 8” segments and lay on the 1 ½” strip die as shown in this photo.
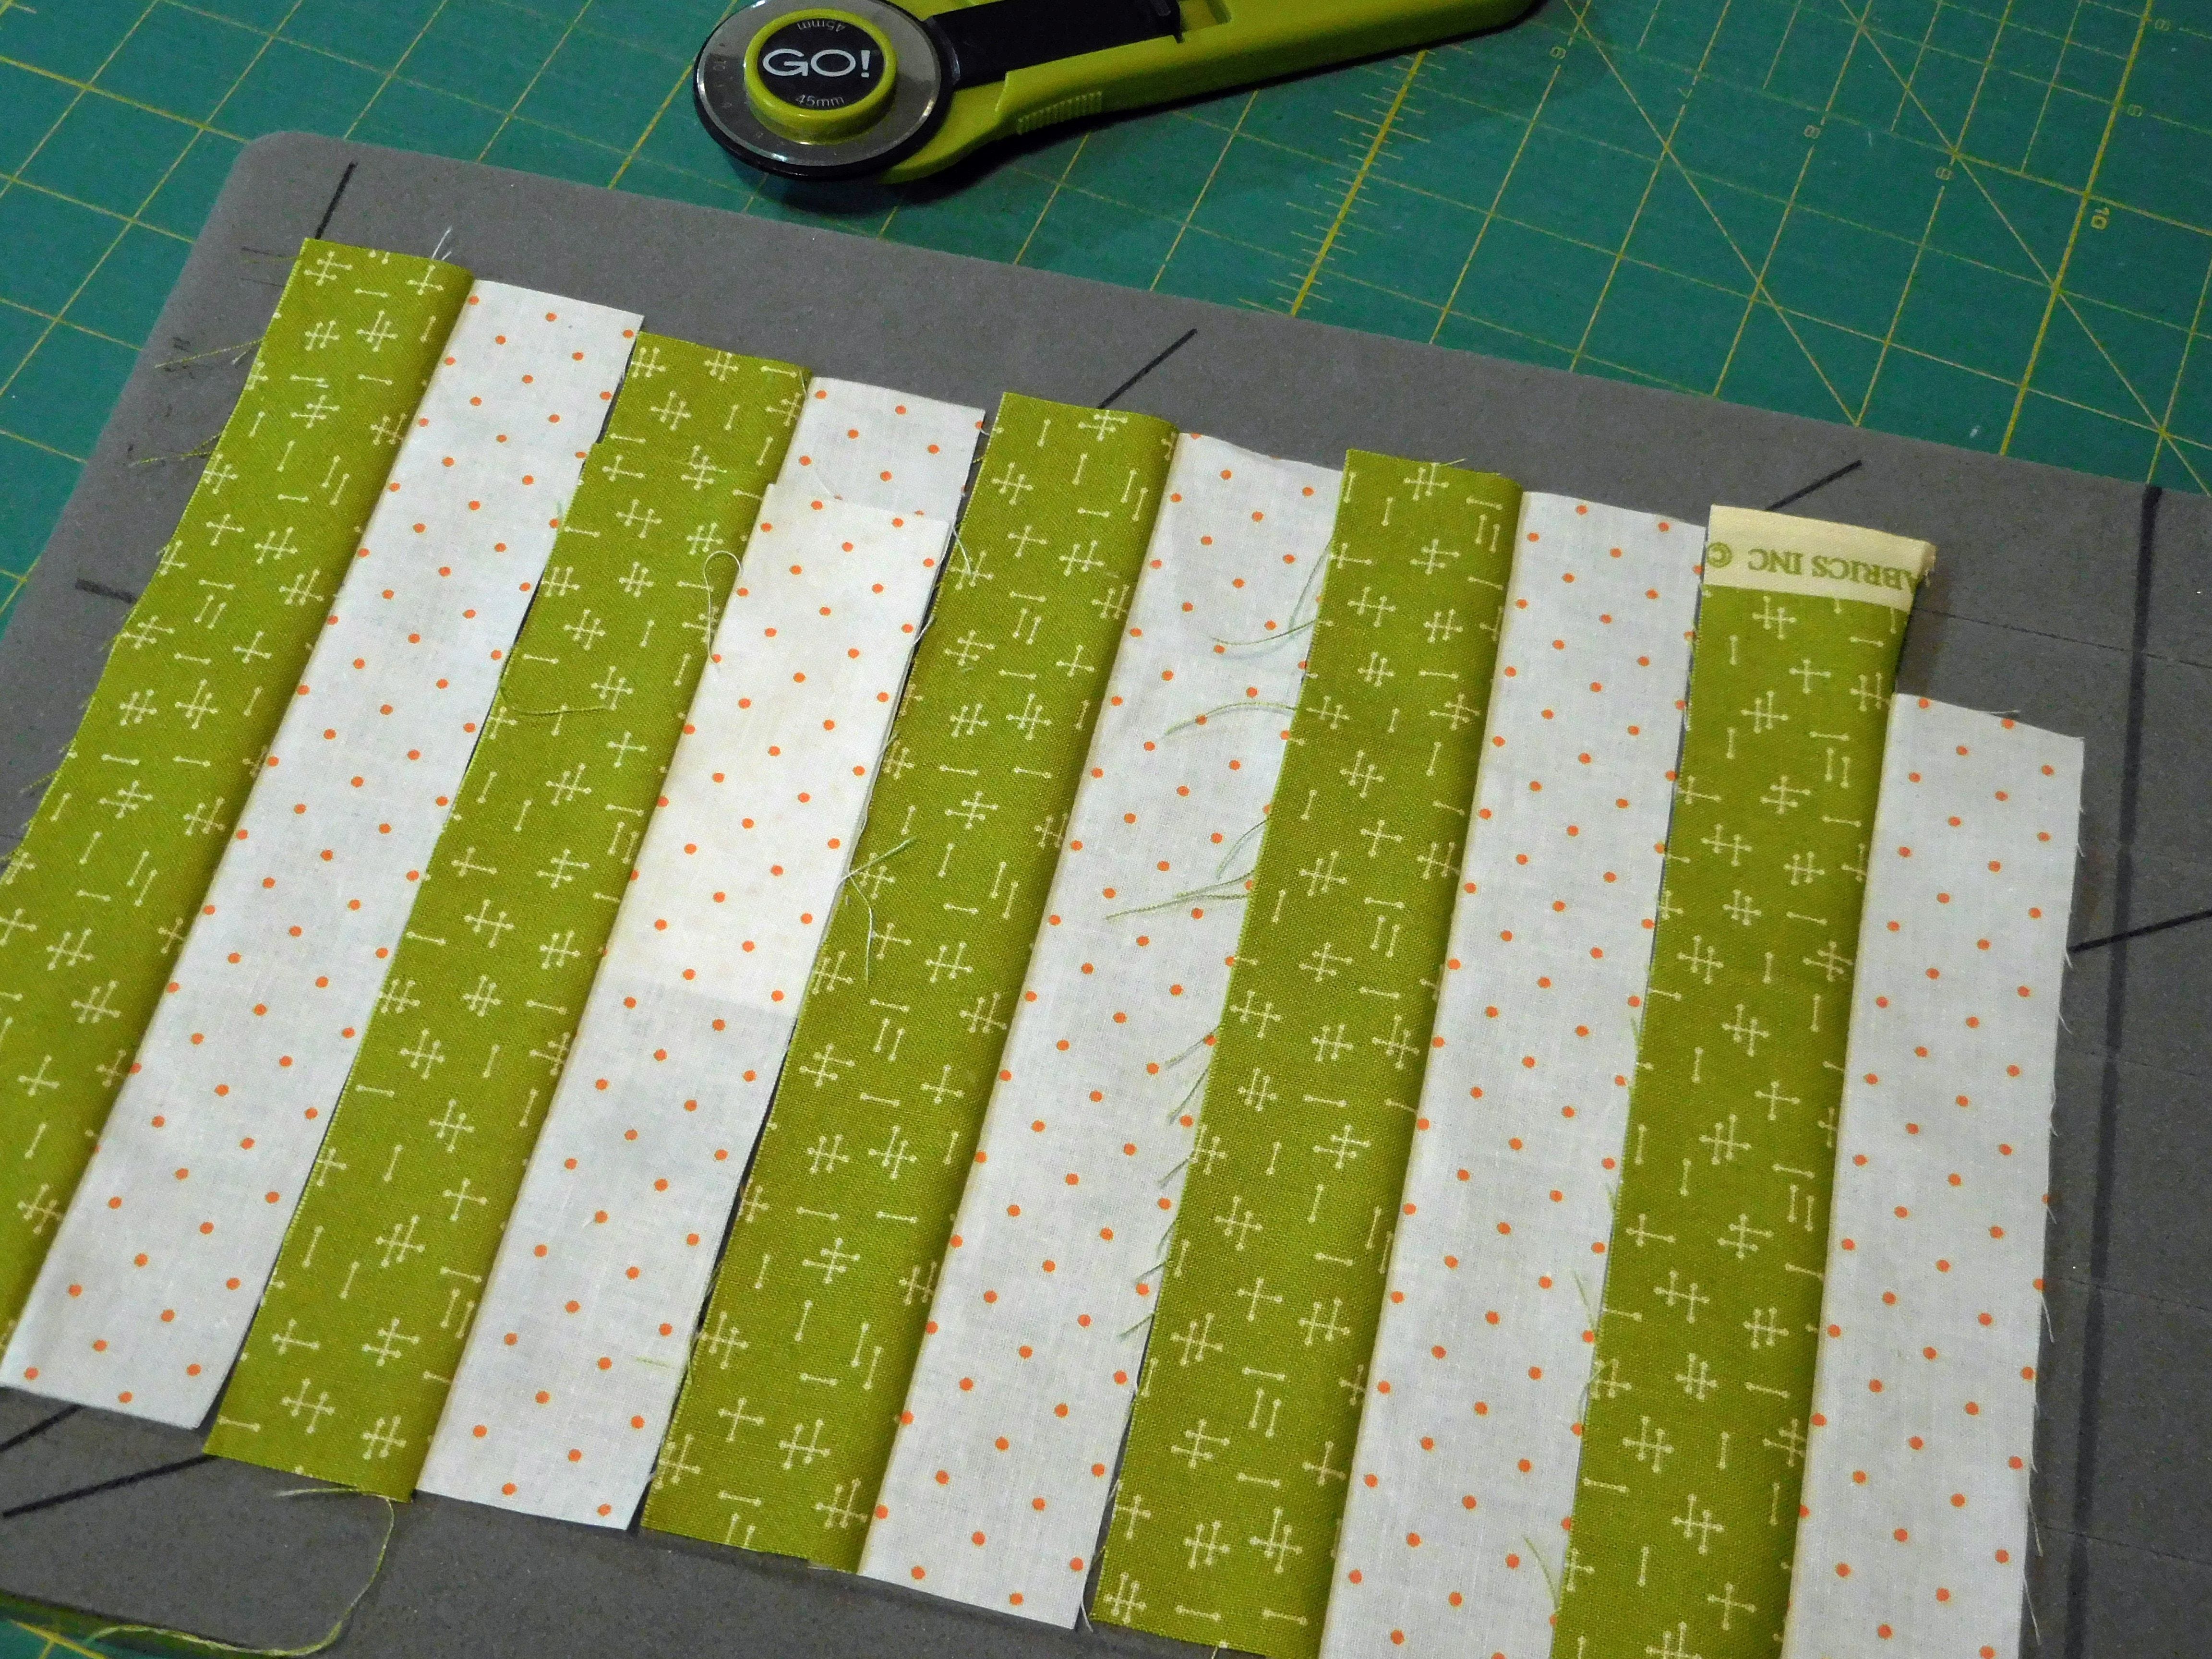
Strip sets laid across the die.
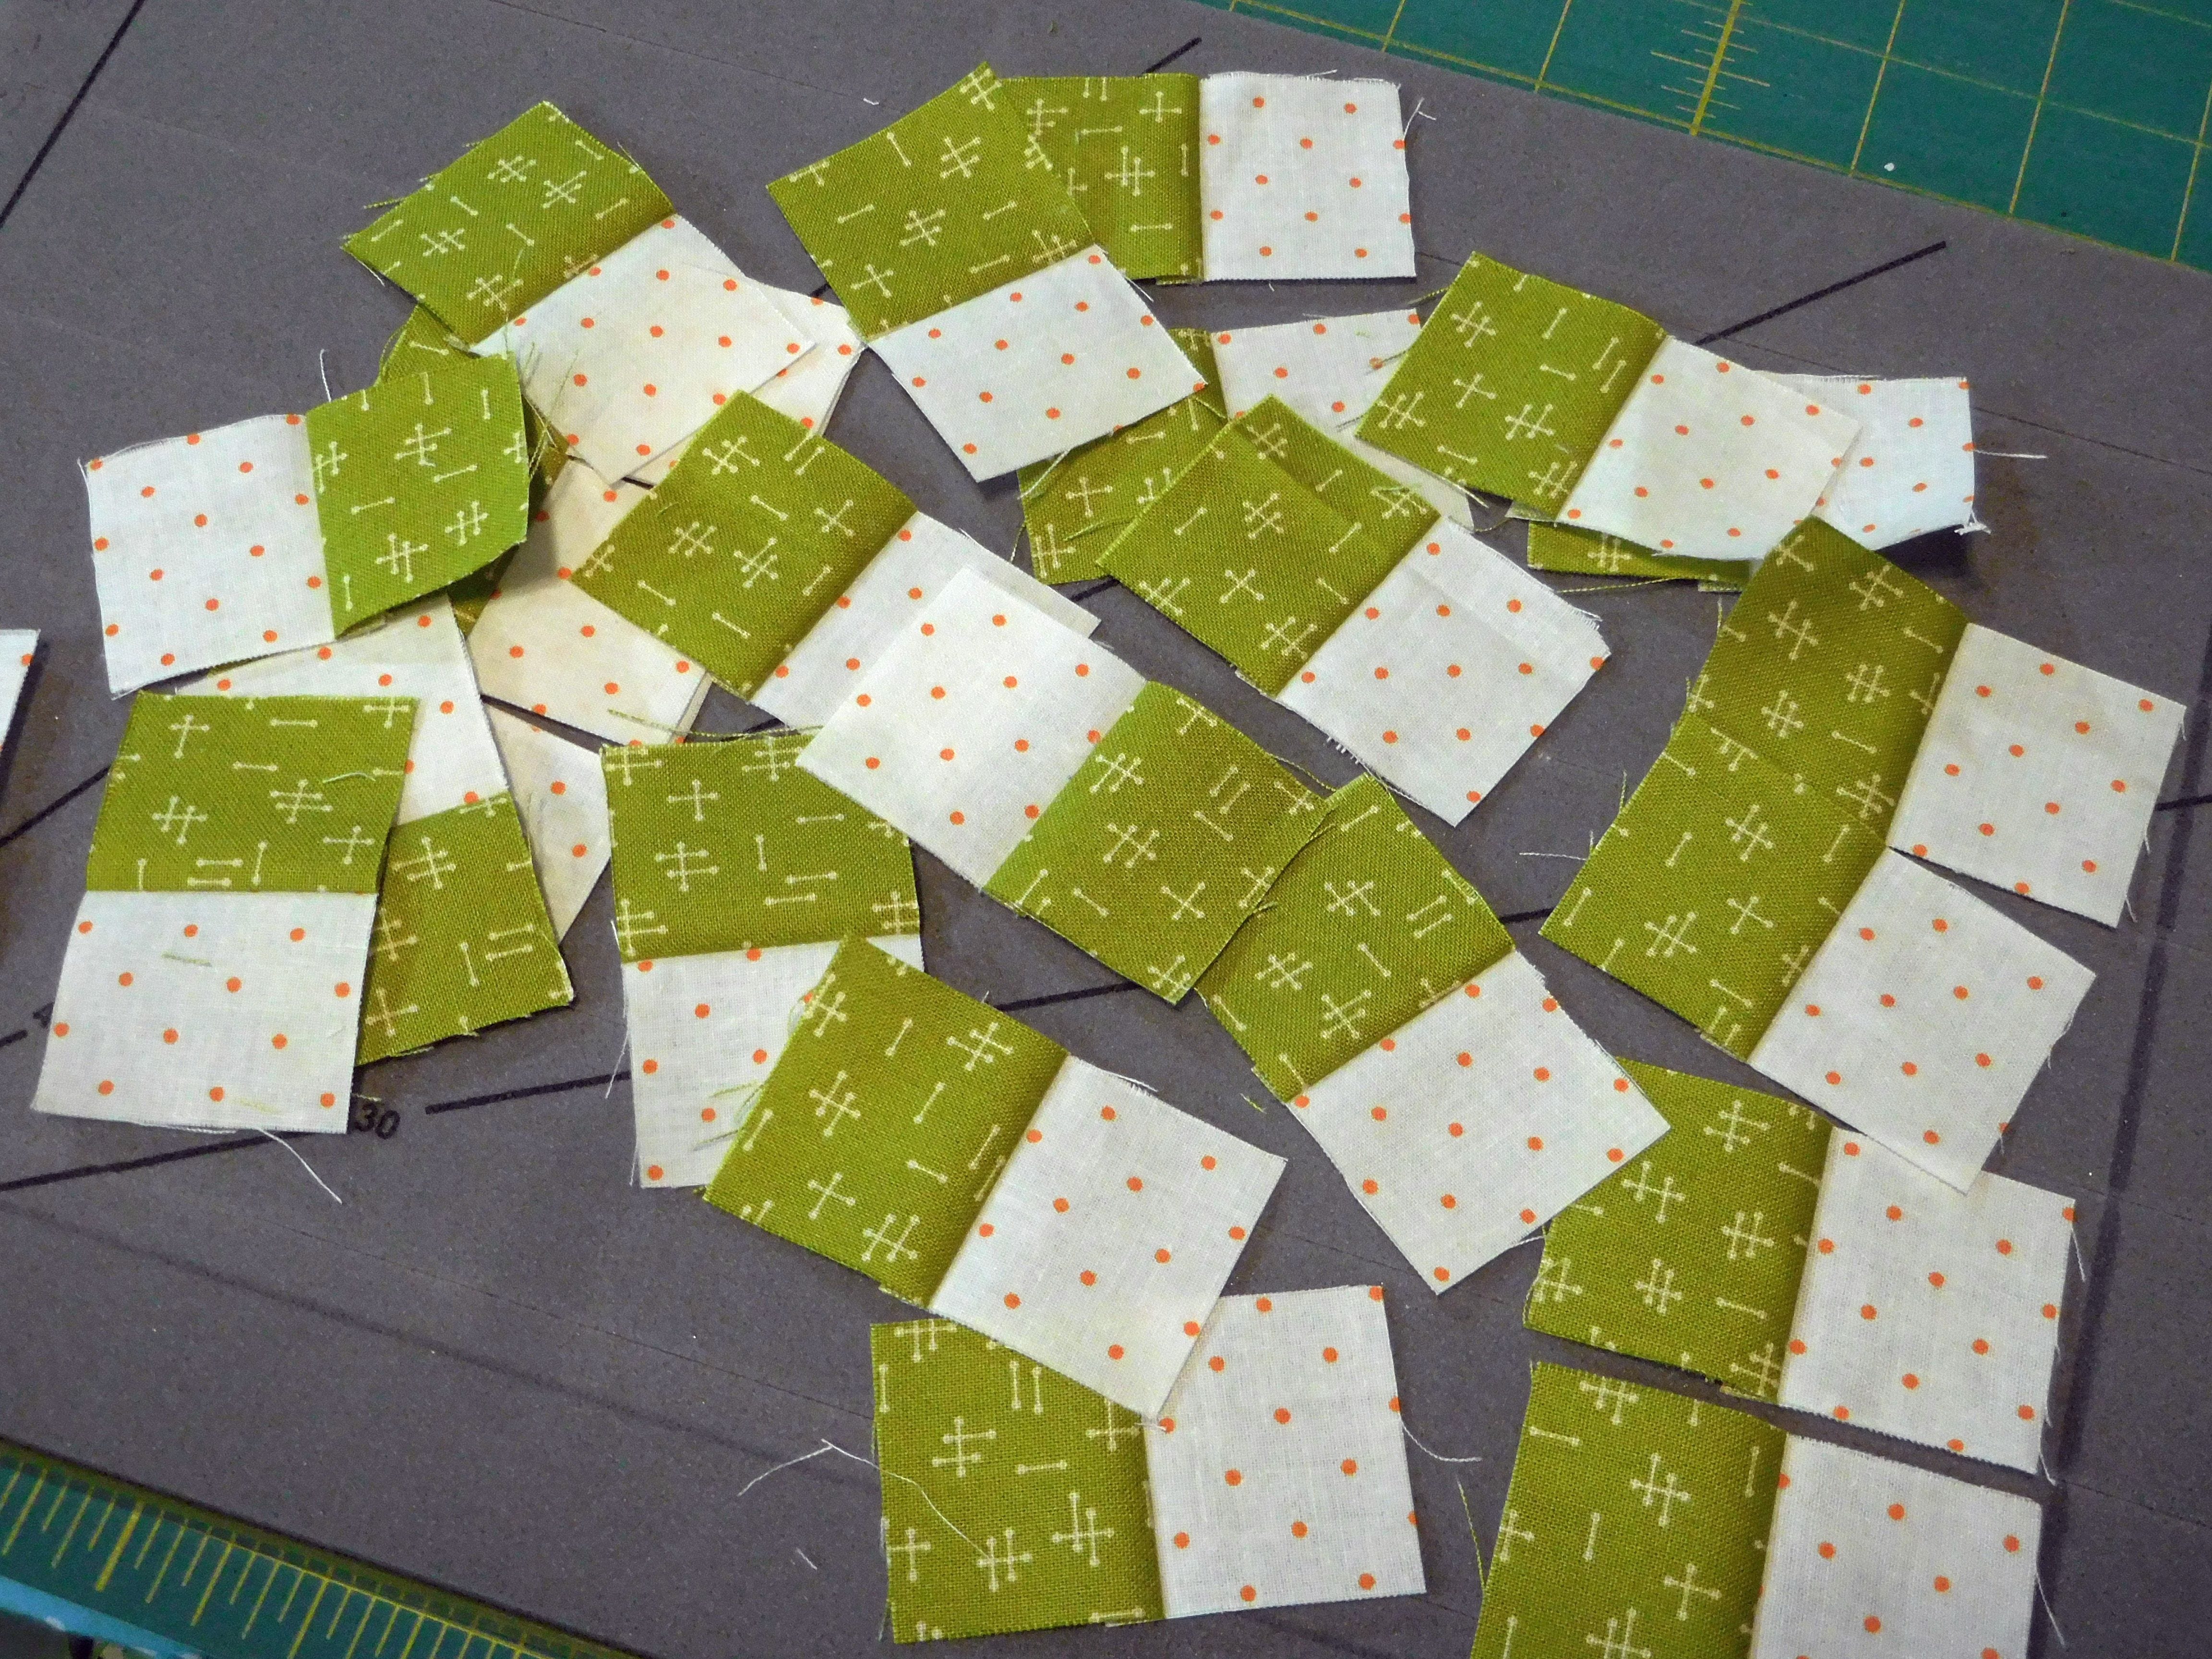
After the strip sets have been cut apart on the die.
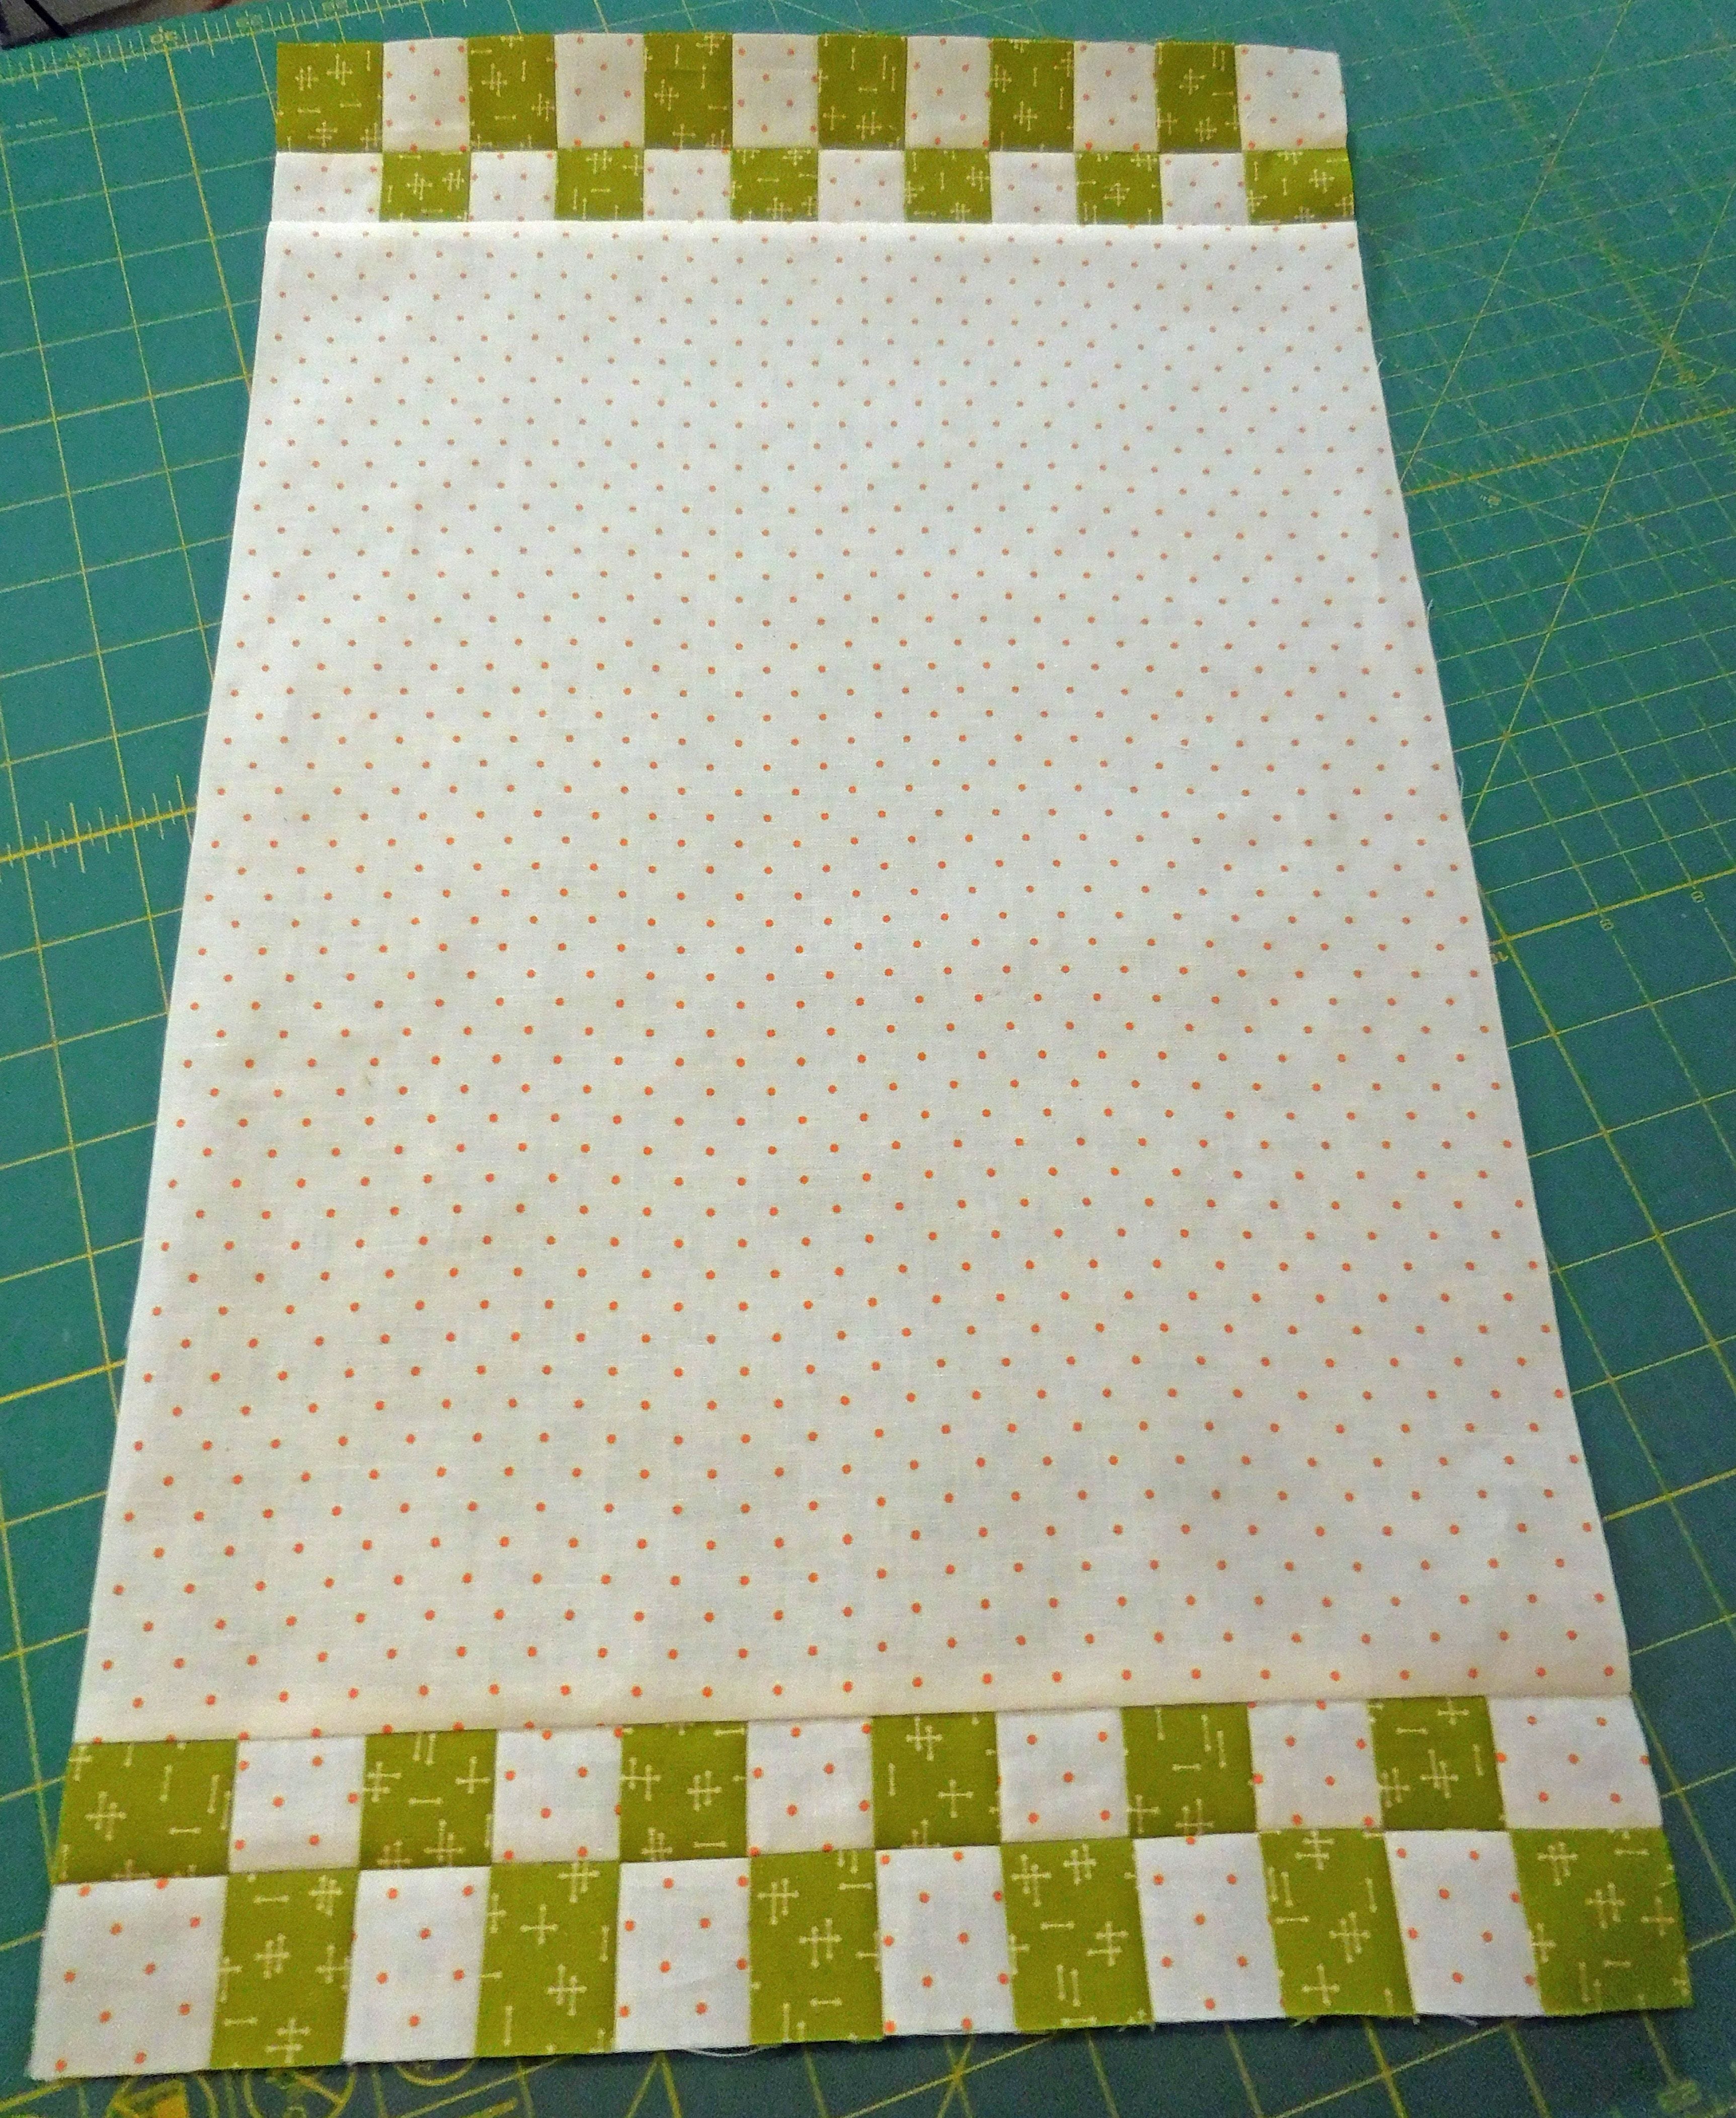
Here's the assembled background with checkerboard borders.
Applique
Choose your favorite way to applique, machine or by hand. AccuQuilt has free downloads of many appliques if you own an embroidery machine. I do not have access to an embroidery machine so I use a zigzag on my domestic sewing machine. Position the die cuts where you want them…
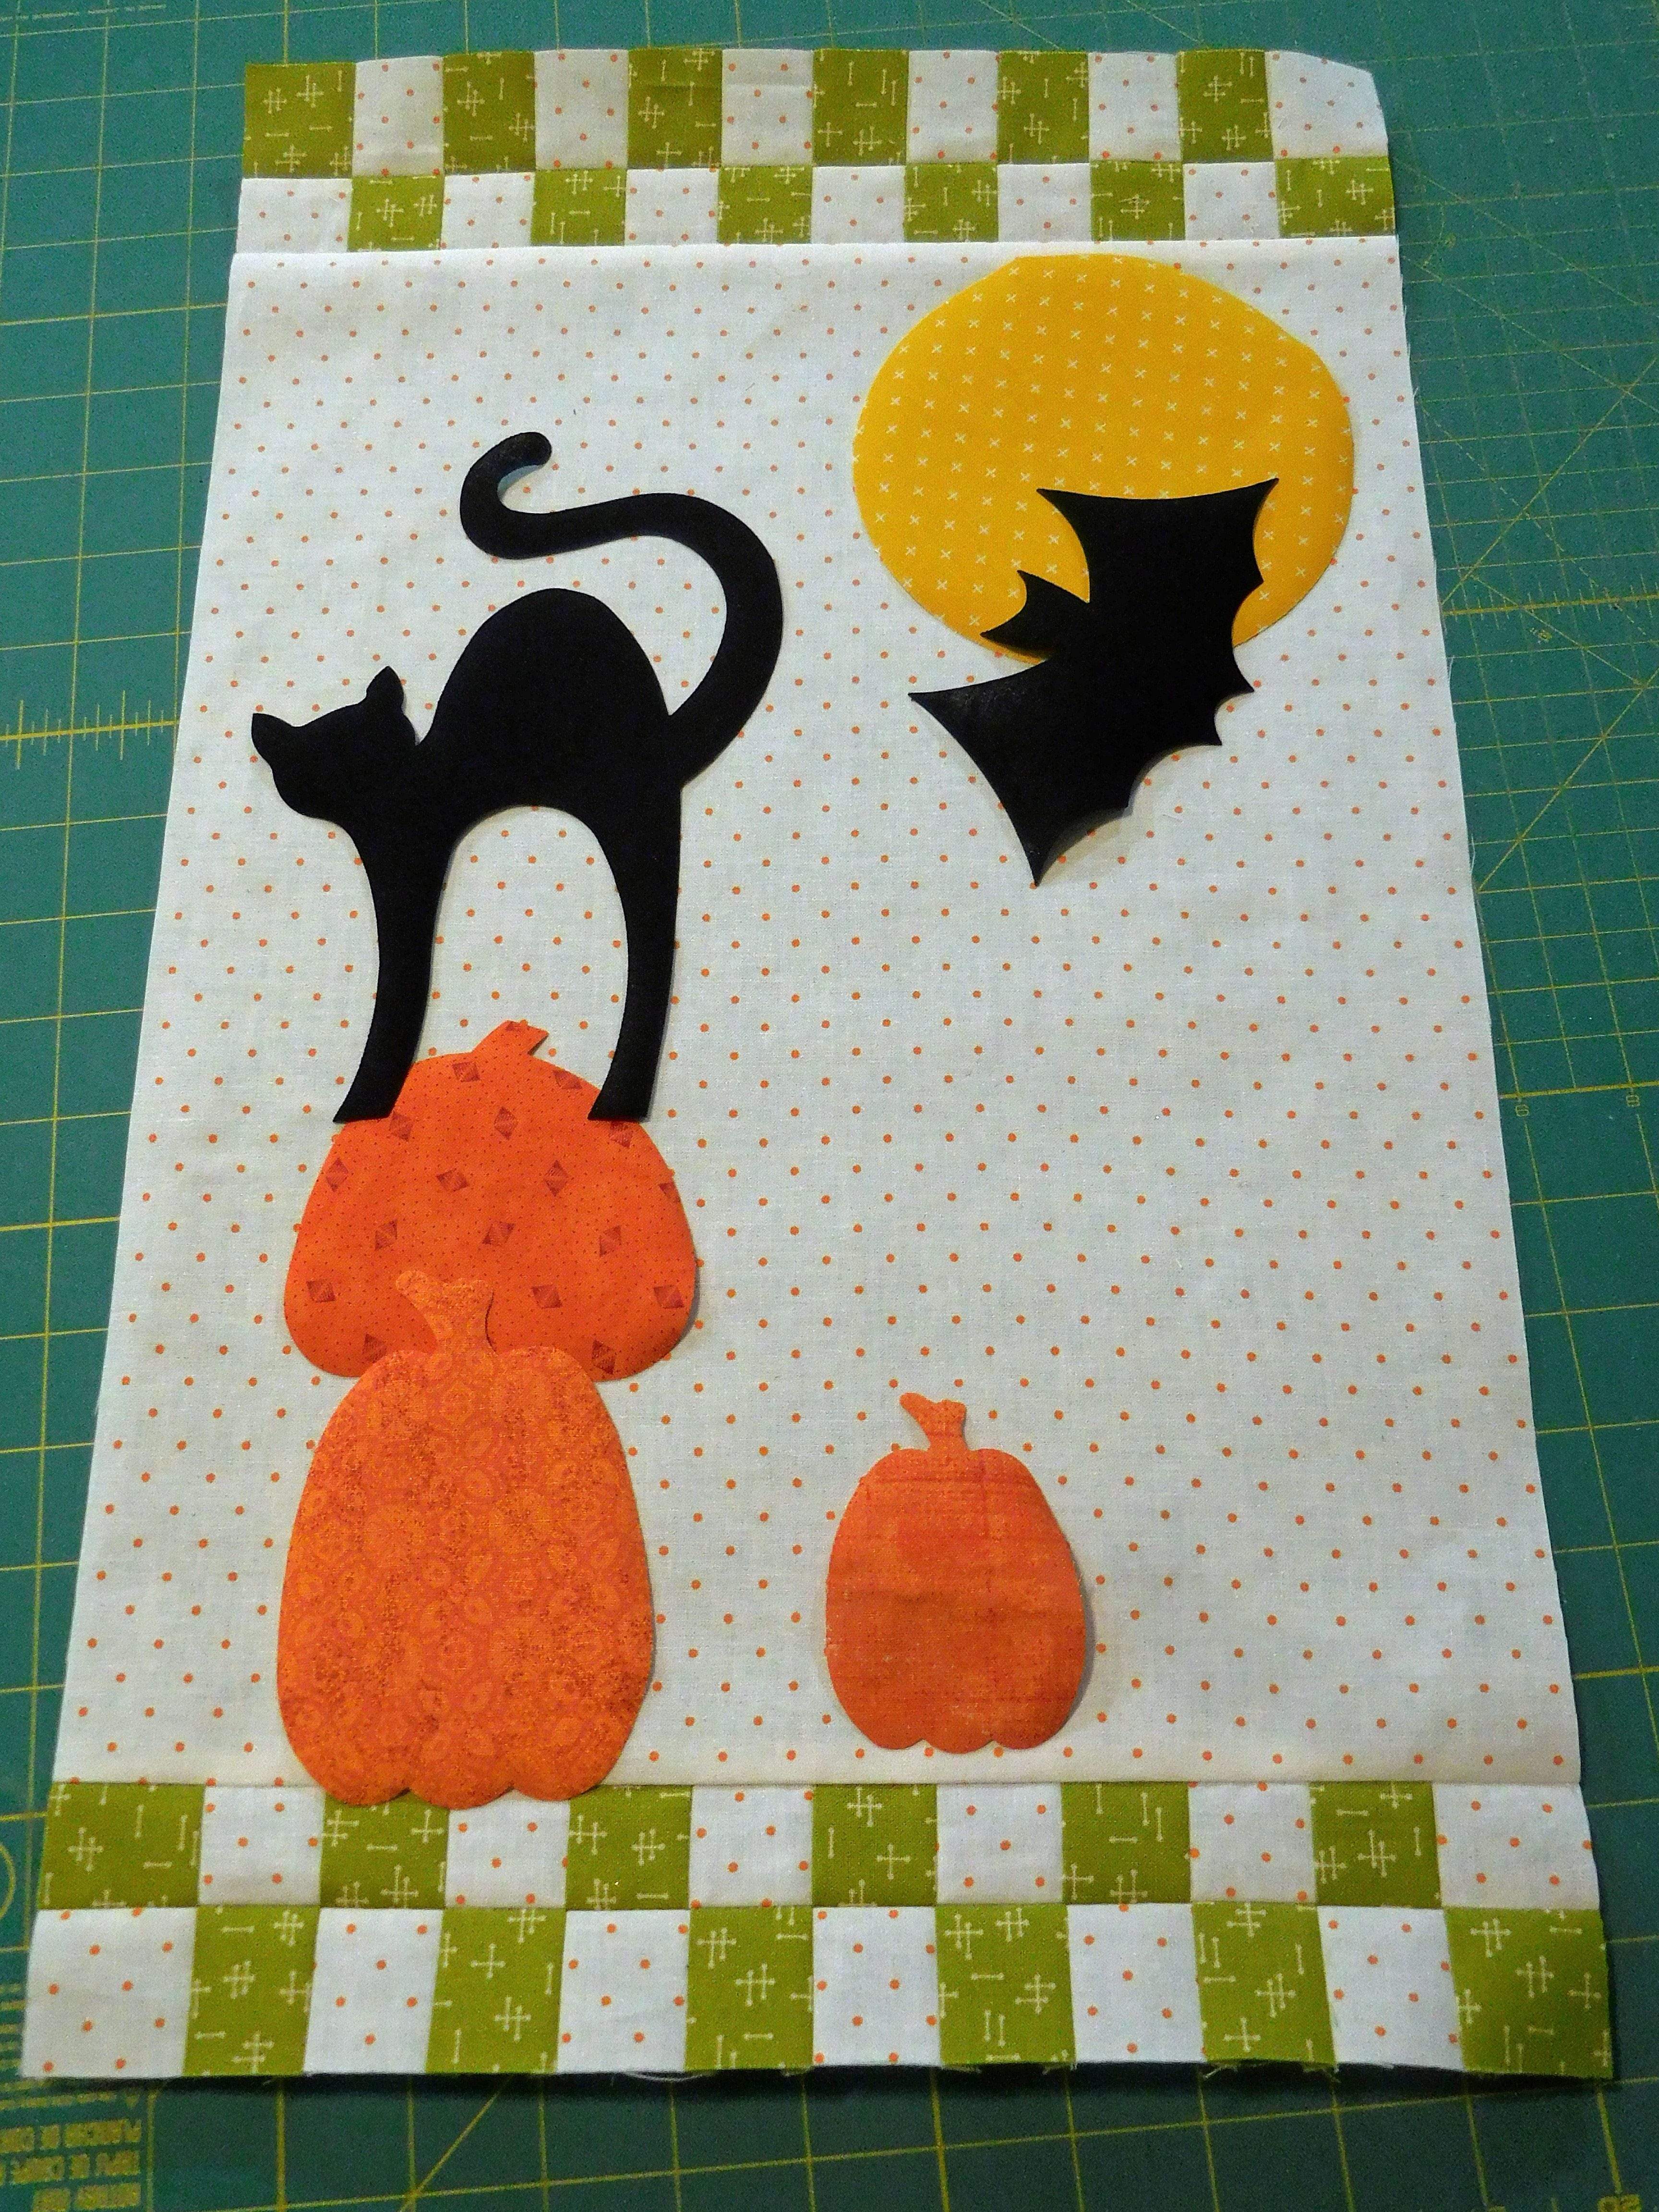
Have fun placing your applique shapes.
Another creative layout.
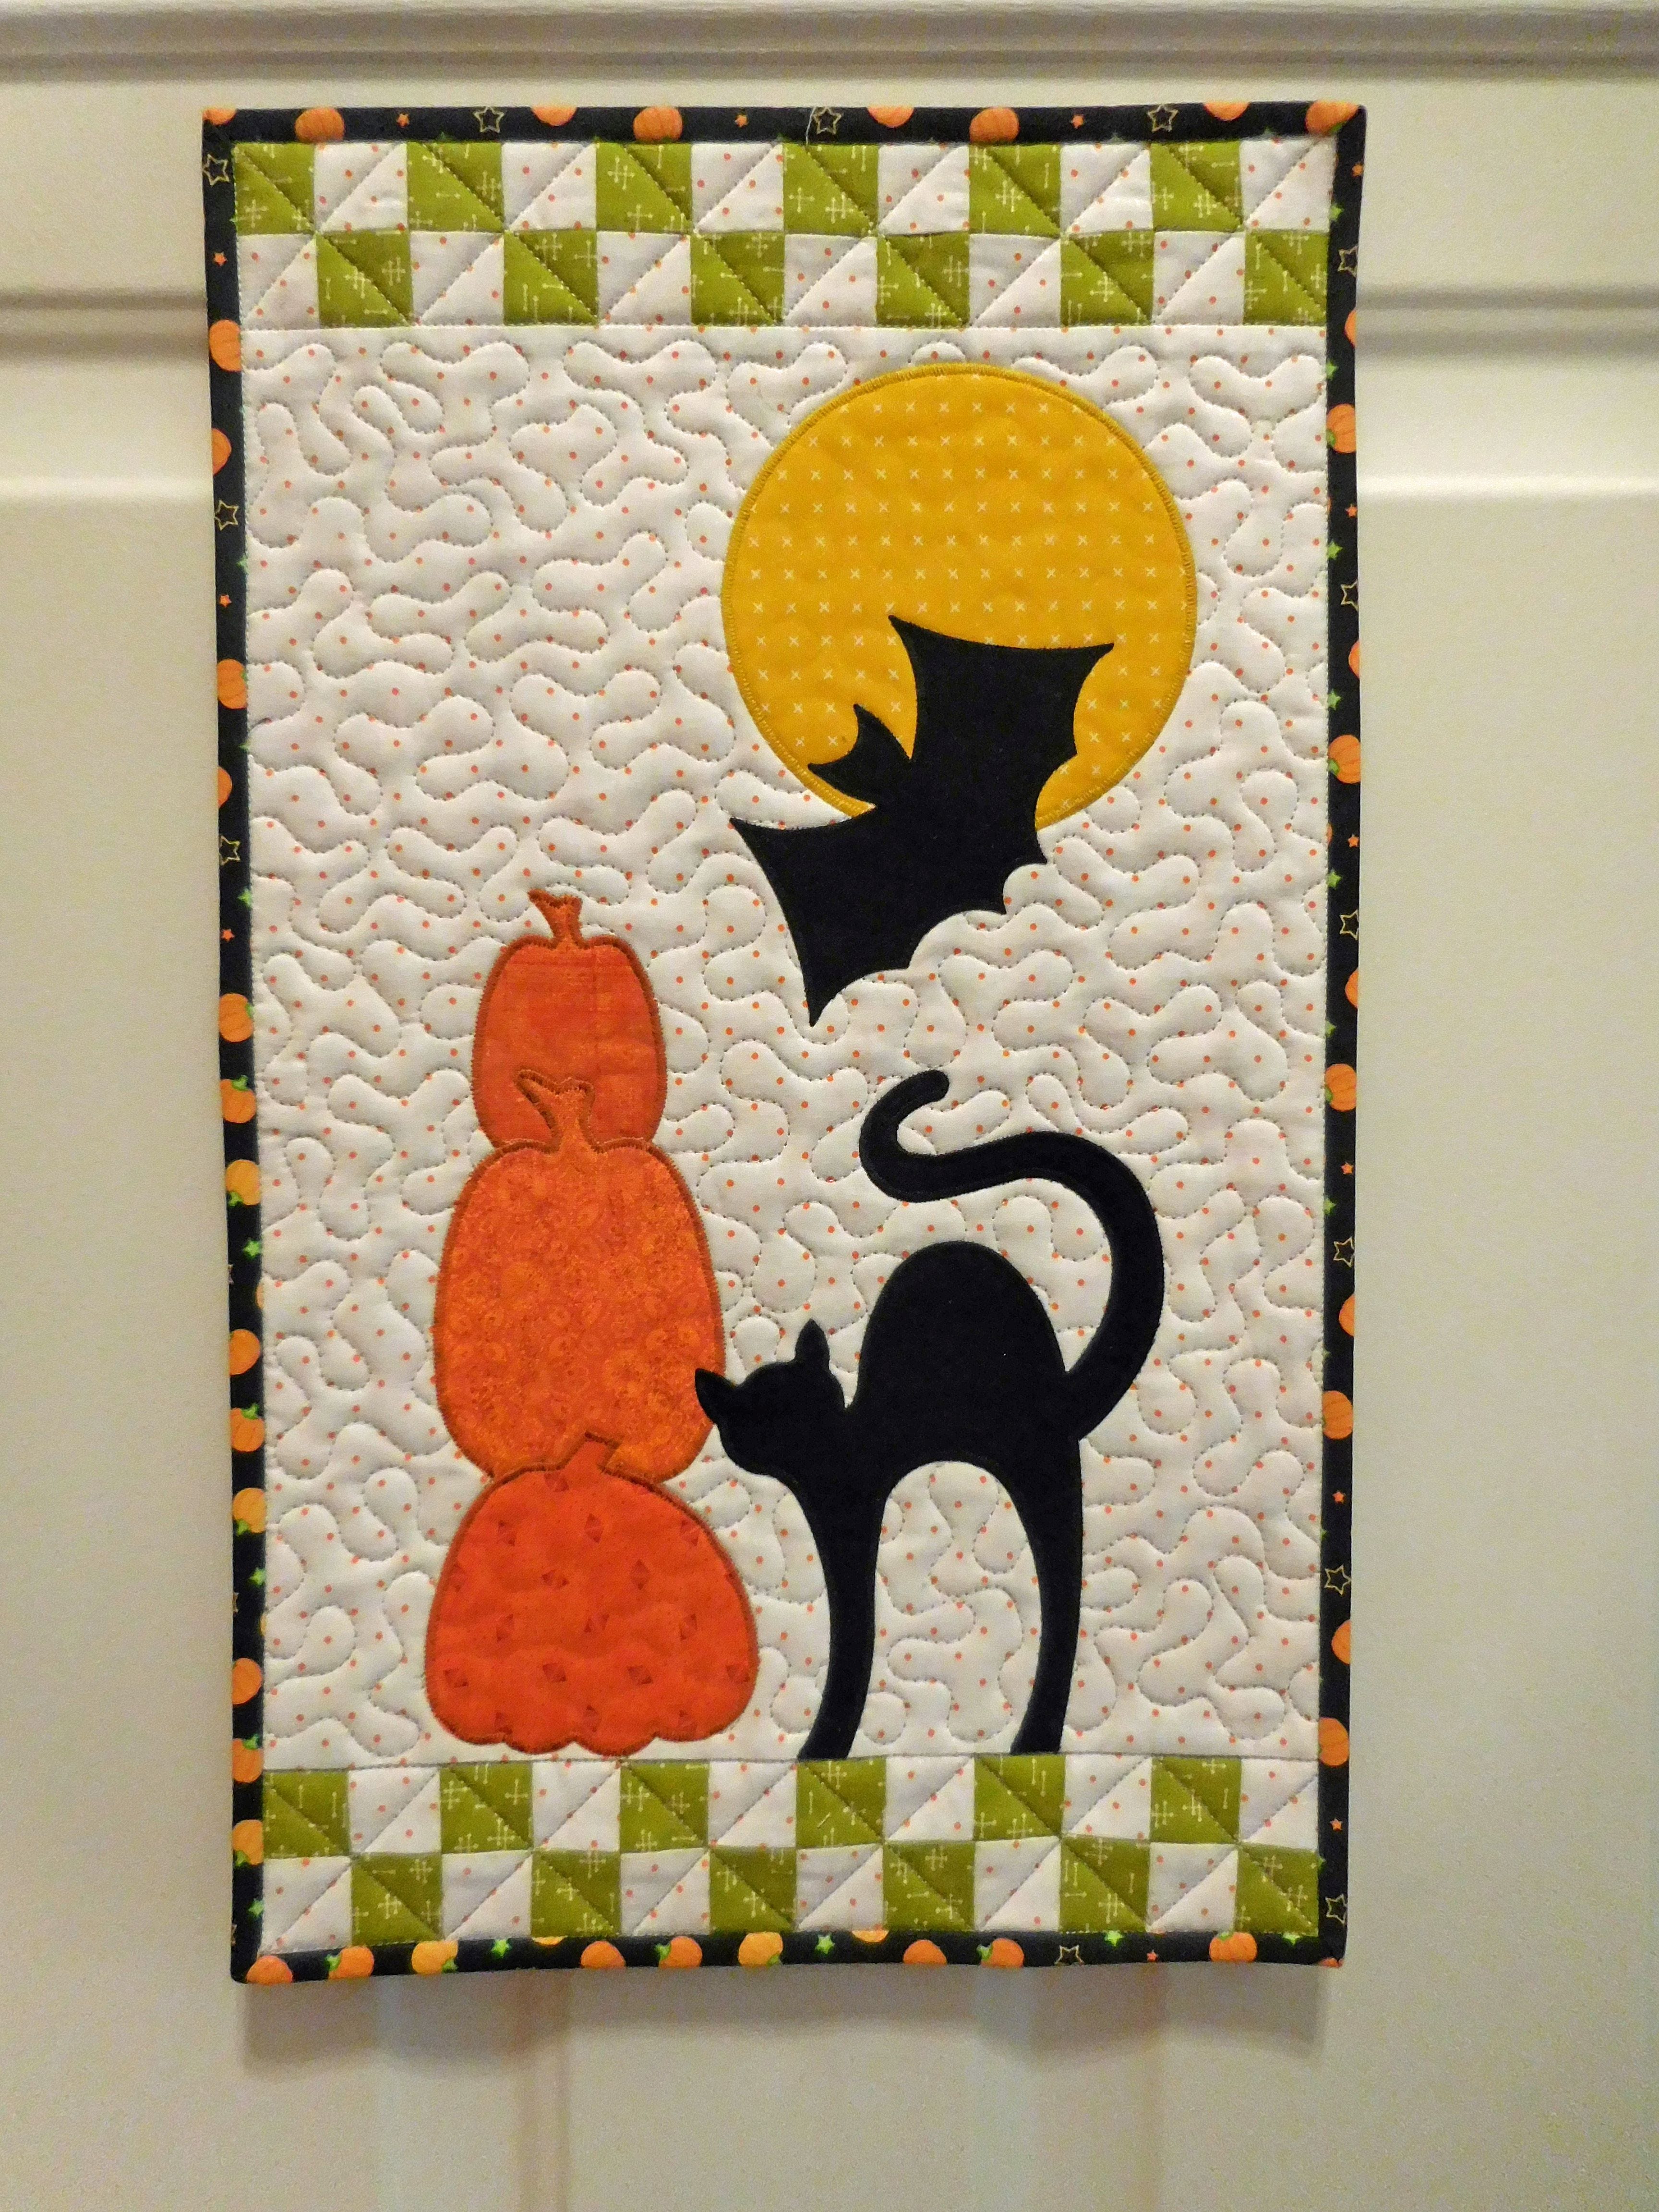
Sandwich the backing, batting and wall hanging top and quilt as desired. Bind your project either using either 2 ¼” x WOF strip. I was able to bind with just one strip. But if your fabric isn’t wide enough you will need a second strip. Now it’s ready to hang either on the wall or on your door!
I hope you will give this fun Halloween project a try. If you do, please share the photo on social media using the hashtag #AccuQuiltBuilt or #AccuQuilt. And tag @AccuQuilt and @Vickiscraftsandquilting on Instagram.
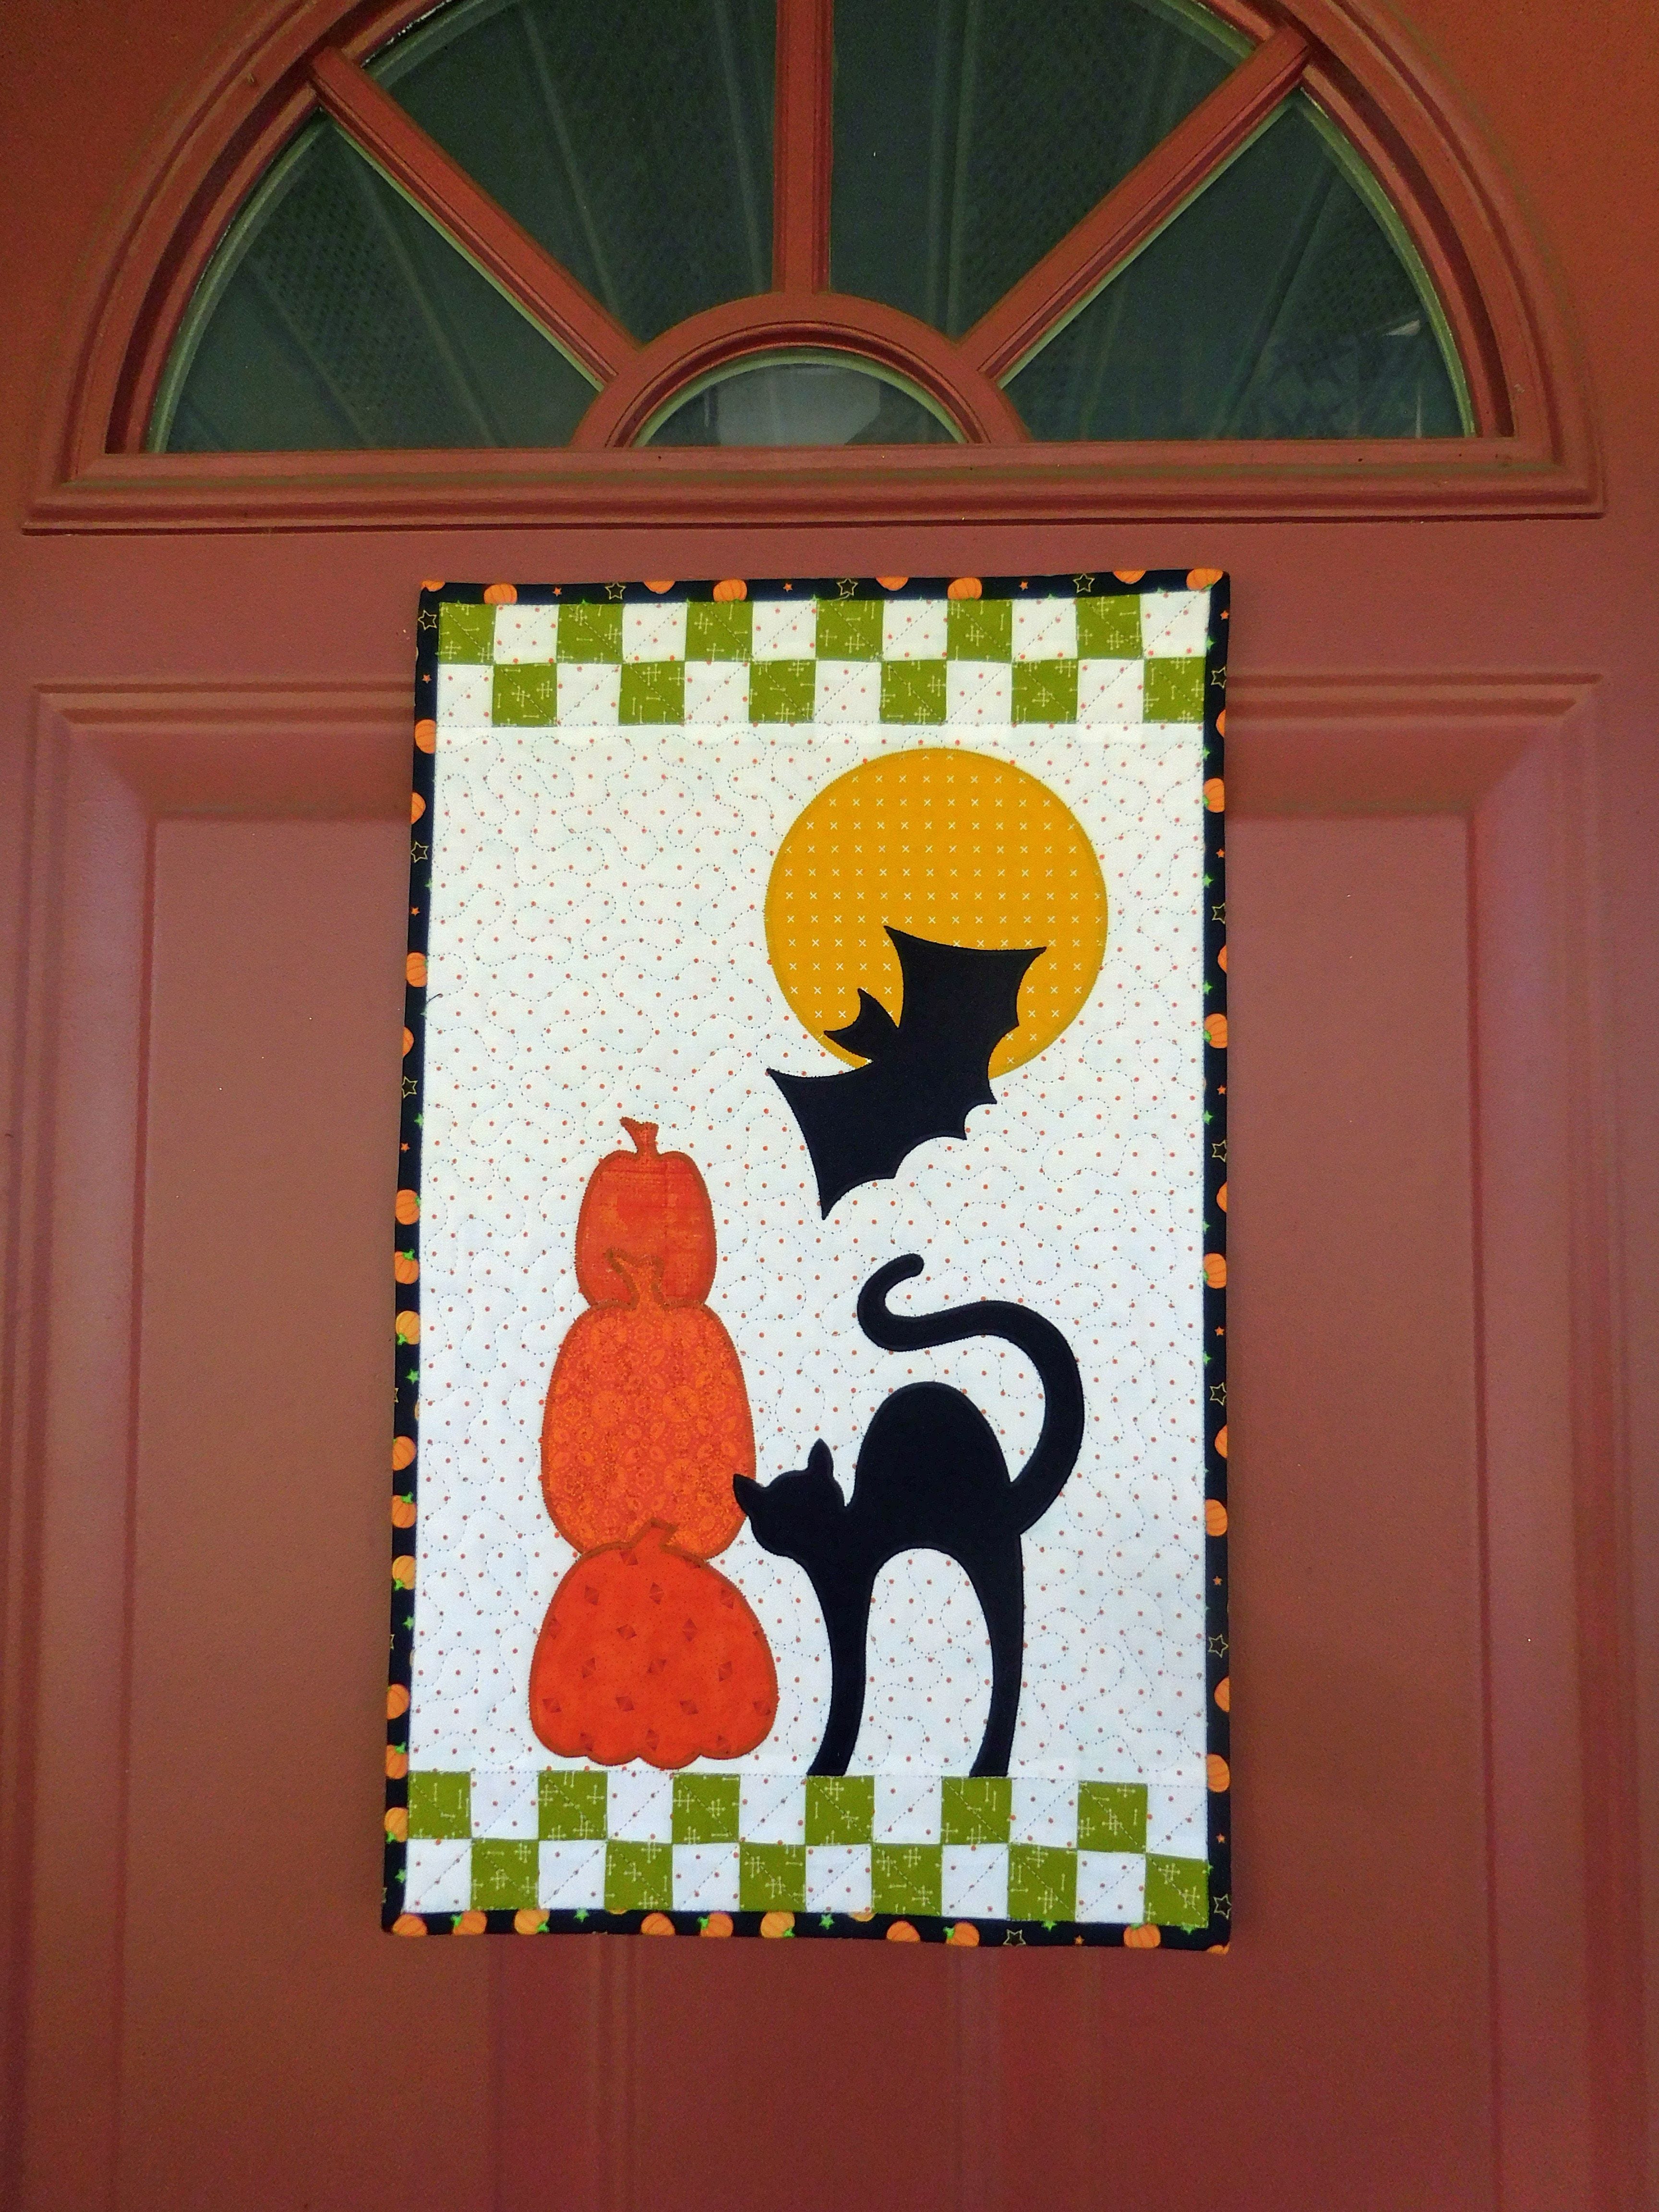
Here's the finished project hanging on Vicki's door.