
 888-258-7913



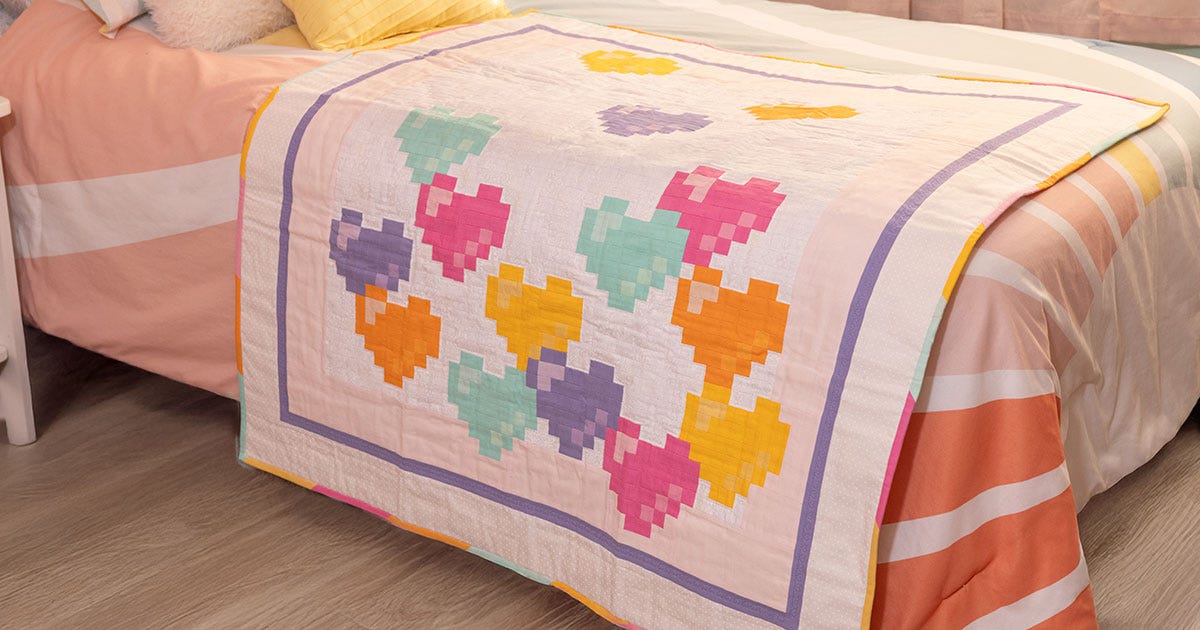
Pixel quilting is a captivating fusion of traditional quilting and modern pixel art, marrying traditional artform with often very modern subject matter! Inspired by pixelated graphics evocative of retro video games, this modern quilting technique transforms meticulously arranged squares of fabric into images as simple as an 8-bit video game character or as intricate as a Georges Seurat.
Why Pixel Quilting?
- Pixel Art Influence – Each fabric square represents a pixel, forming a digital-inspired mosaic.
- Creative & Precise – A balance of structured patterns and artistic freedom.
- Retro & Modern Appeal – A nod to classic 8-bit designs with a fresh quilting twist.
Is your interest piqued? Well, square up! Let’s explore the fundamentals of pixel quilting, walk through a step-by-step creation process and highlight some handy tools that streamline the experience.
What Is Pixel Quilting?
Pixel quilting involves translating an image into a grid of fabric squares, each representing a pixel. It allows quilters to bring digital-inspired designs into the tangible world of textiles. Think retro video games, cross stitch patterns and perler bead crafts. And pixel quilting isn’t just limited to blankets! Use this technique for any type of quilted project.
-
 GO! Rainbow Pixel Trucker Hat Pattern by Chris Marchini of Rose City OriginalsSpecial Price $0.00 Regular Price
$2.99You Save $2.99
Where to Find Inspiration for Pixel Quilting
- 8-bit Video Game Characters – Classic figures like Mario, Zelda or Space Invaders.
- Nature-Inspired Designs – Trees, animals and landscapes translated into geometric patterns.
- Abstract Geometric Shapes – Bold, modern color-blocked designs.
Why Try Pixel Quilting?
- Beginner-Friendly – Straightforward designs make it accessible.
- Great for Fabric Scraps – Utilize leftover materials effectively.
- Highly Customizable – Turn any image into a quilted masterpiece!


Essential Tools & Materials for Pixel Quilting
Having the right tools ensures precision and efficiency in your quilting process.
Fabric Selection
- Pre-cuts, fat quarters and scraps – Ideal for structured quilt planning.
- Best Fabric Choices – High-quality cotton works best for precision.
Must-Have Quilting Tools
- Rotary Cutter, Ruler & Cutting Mat – Essential for accurate fabric cutting.
- AccuQuilt GO! Cutters & Dies – Speed up cutting with precision tools
-
 GO! Square-1 1/4" (3/4" Finished) DieSpecial Price $49.99 Regular Price
$59.99You Save $10.00 -
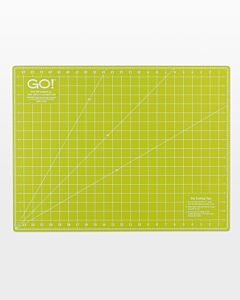 GO! Rotary Cutting Mat-18" x 24" Double SidedSpecial Price $39.99 Regular Price
$49.99You Save $10.00 -
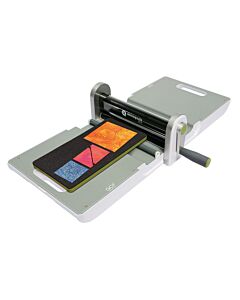 GO! Fabric Cutter Starter SetSpecial Price $329.99 Regular Price
$379.99You Save $50.00
The Game-Changer: The New Pixel Quilt Die
For quilters looking to maximize efficiency, the new GO! Square-1¼" (¾" Finished) Die is a must-have tool. This innovative die allows you to cut a staggering 54 perfectly sized squares in a single pass through the cutter – an absolute game-changer for those working with high-volume pixel designs.
Why It’s Essential for Pixel Quilting:
- Precision Cutting: Every square comes out exactly the same size, ensuring clean lines and perfect alignment in your quilt.
- Time-Saving: Traditional rotary cutting takes significantly longer; with this die, you’ll dramatically reduce prep time and get to the fun parts – sewing! – much faster.
- Optimized for Pixel Quilting: The die’s square size is the ideal standard for pixel quilting, making it the preferred choice for creating intricate, detailed designs with ease.
- Less Waste: With an optimized layout, fabric waste is minimized, meaning more efficient use of materials and less trimming required.

If you’ve been hesitant to tackle a pixel quilt because of the sheer number of fabric pieces involved, this die eliminates that challenge. With just a few passes, you’ll have hundreds of precisely cut squares ready to piece together your next masterpiece!
Additional Supplies
- Iron & Ironing Board – Keep fabric flat for seamless sewing.
- Quilting Thread, Pins & Batting – The key components for assembling your quilt.

How to Make a Pixel Quilt: Step-by-Step Guide
Step 1: Choose or Create a Pixel Design
Select a pixelated image or design your own using graph paper or digital tools.
Step 2: Plan Your Quilt
Determine quilt size, grid layout and fabric colors.
Step 3: Cutting Fabric
Cut fabric into uniform squares (commonly 1.5”–3”).
Organize by color and layout before sewing.
Step 4: Arrange & Sew Blocks
Lay out squares following your pixel design.
Sew row by row, pressing seams flat for a smooth finish.
Step 5: Assemble the Quilt Top
Join all rows to form the completed quilt top.
Double-check alignment before final stitching.
Step 6: Quilting & Finishing Touches
Add batting and backing fabric.
Quilt the layers together using hand or machine stitching.
Finish with binding for durability and a professional look.
Tips & Tricks for Successful Pixel Quilting
- Use Pre-Cut Fabric Bundles – Simplifies color selection and cutting.
- Work in Small Sections – Assemble manageable blocks before piecing the whole quilt.
- Leverage Technology – Cut precisely with AccuQuilt GO! Dies.
- Stay Organized – Keep materials sorted for an efficient workflow.
- Practice Patience – Small, consistent steps lead to stunning results.
Pixel quilting blends creativity, nostalgia and craftsmanship into a rewarding quilting technique. Whether you’re recreating a beloved game character or designing a bold, modern geometric quilt, the possibilities are endless. Happy quilting!


