

Hi everyone, it's me Bea from beaquilter again. I have a fun remake to show you today. You'll see how easily you can make a variety of table toppers from just one pattern.
Table Toppers - What's Old is New Again!
A while ago on Accuquilt's Facebook page, I saw this table topper that I had made in 2011. It was the first project I made after getting a GO! Fabric Cutter and a Mix and Match set. That set would be the equivalent to the 12" GO! QUBE set today.
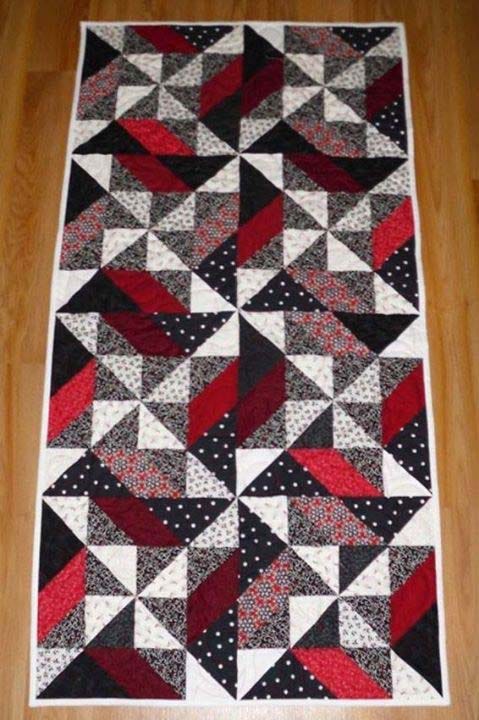
I made the original table topper in black and white and red scraps. I had no rules for the placement of the scraps except that the parallelograms were red and where the black and white fabrics were placed. There were no rules as far as the scrappy-ness of it :)
The original table runner was 24" x 48". I actually still have it now. It's holding up my GO dies!! I have metal shelves that don't have a solid shelf. I needed something underneath the dies to keep them from falling through the cracks, so I've used this table runner there for years.
When this table runner was shown on the AccuQuilt Facebook page I was itching to remake it. I wanted to use a different GO! QUBE Mix & Match Set and to try different colors of quiting fabrics!
So I decided to use my 6" QUBE Mix & Match Set!
I copied the runner design into Electric Quilt and came up with this.
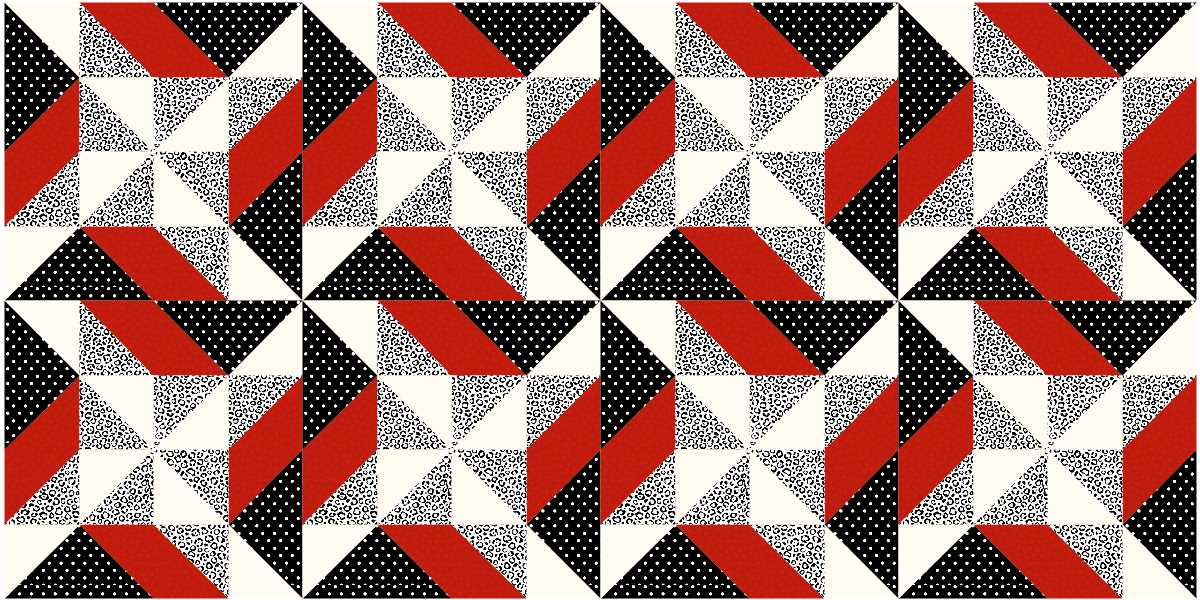
Then, I changed the design to 6" blocks and changed the colors around.

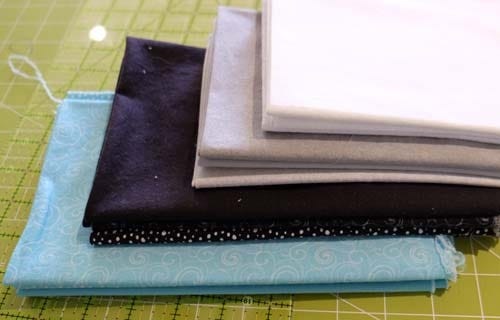
I found these quilting fabrics that I thought would be great for it. I used a fat quarter of each of 3 turquoise/teal, 3 black, 3 grey, and 3 white fabrics.
EACH (set) is repeated 5 times (3 "different" blocks x 5).
From each of the white AND grey fat quarters I cut out 40 EACH of shape #5 (from 3" strips). That's 120 white + 120 grey.
From each of the black fabrics, I cut out 20 EACH of shape #4 (from 4 3/4" strips). That's a total of 60.

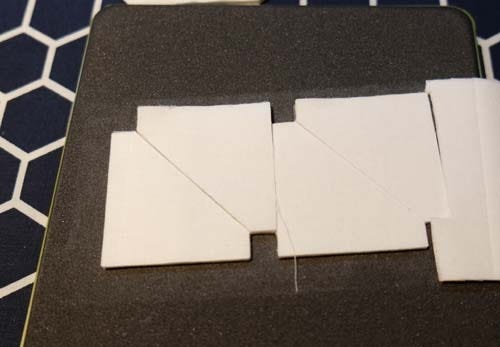
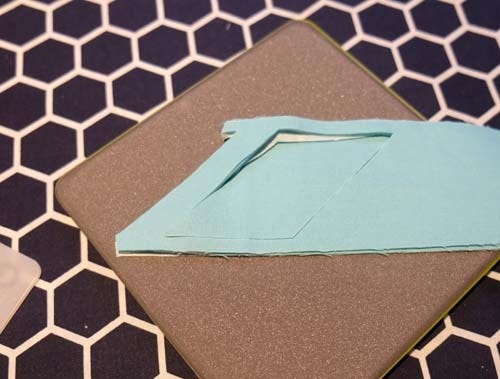
From each teal/turquoise, I cut out 20 parallelograms shape #7, WRONG side up!! 60 total.

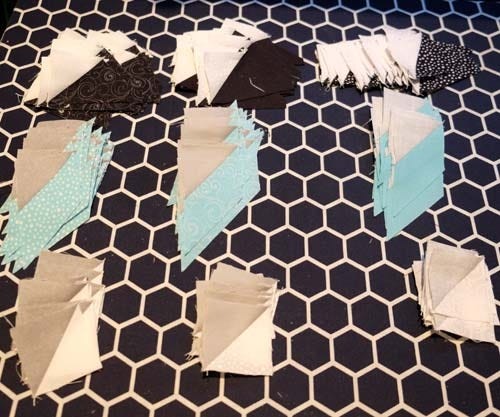
Here's a picture of all the cut pieces.

I'm all about being fast and efficient when sewing. I sewed as much together as possible in one sitting.
A white triangle to the left side of a black QST. A grey triangle to the side of a parallelogram and sets of grey and white triangles into HSTs.
I kept the same colors together, It's hard to tell from the picture, but I used the same white print on the side of the black swirl QST and another one to the side of the solid black, and so on.
There are 20 of each set of black QSTs and also the parallelogram and the grey and white HSTs.
I then paired up the sets. Here the turquoise dotted fabric has a solid grey, from the grey and white HSTs I found the solid grey pile, then whatever white that's with, I found the black with the matching white triangle on it.

Then I sewed the parallelogram sets together with the black QSTs into a rectangle unit. There are 20 of each.

Then I sewed the small HSTs together. I actually did make a mistake. (Rather a DESIGN element.) I love the end result, so I totally meant to do that ;)
To reduce bulk I ironed the seams open!

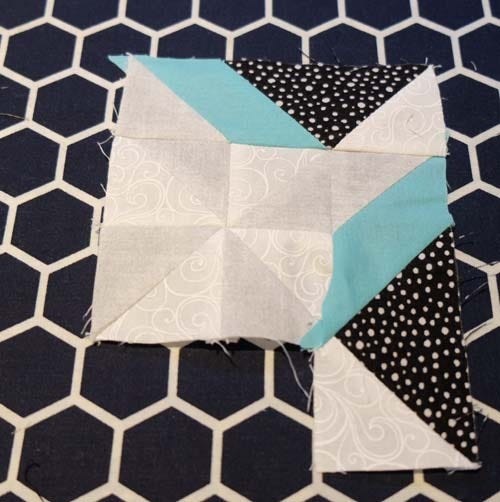
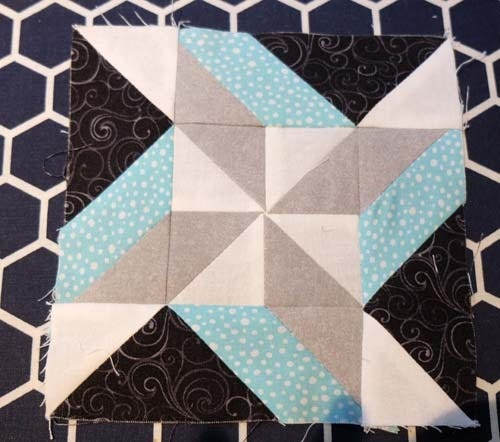
I sewed them into little pinwheel blocks and then matched up the colors with the already made rectangle units.
I have to say that working with the 6" GO! QUBE Mix & Match Set is SEW fun. The pieces are SO tiny, I love it!!

The first seam is a bit strange, not really tricky, but just different :)
I laid out the rectangle unit above the middle pinwheel block and sewed about half way in from the top left. Then I opened it up and carefully ironed just a bit for that seam to lay flat near the edge.

Then turn the block clockwise and add another rectangle unit. Now, you can sew the whole seam and iron it.
Continue all the way around. Then at the end you have to finish the last of the first seam.
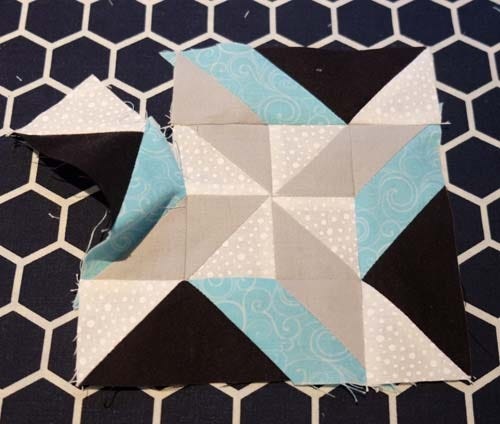
Iron it flat! I think this is where I noticed that the middle pinwheel was actually sewed together "wrong".
The pinwheel was supposed to have the colors switched but I LOVE this new look!! See how the middle extends into the outside part of the block. I think makes it very modern looking.
Of course, repeat with all the rest of the blocks if you haven't already.
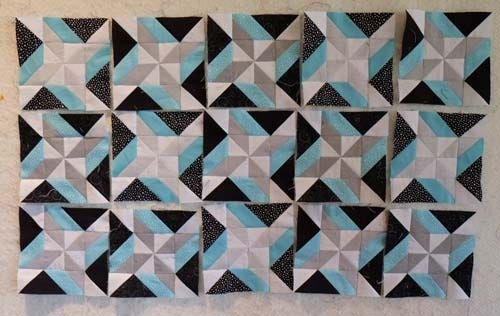
Then, arrange them on a wall to see how it will look.
I ended up having the same blocks go diagonally down from top left to the right.
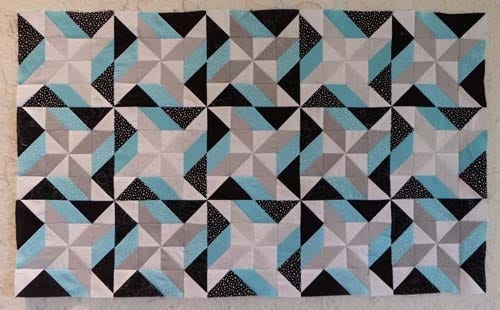
Sew the blocks together.
Now, the secondary black pinwheel shows up better, too.
Quilt and bind!
I used a grey striped fabric for the binding.

I quilted in the ditch to keep is simple and more modern.

A cute and simple table topper to make.

Of course, you can use any size GO! QUBE you'd like and make more or less blocks depending on if you want a table topper or a baby quilt or a bigger quilt!?
I'd love to see different versions of your table toppers!!
My new version sure ended up looking totally different than the original, but that's what I love about quilting. The same block/pattern looks so different in different colors and fabrics.
Have fun!


