
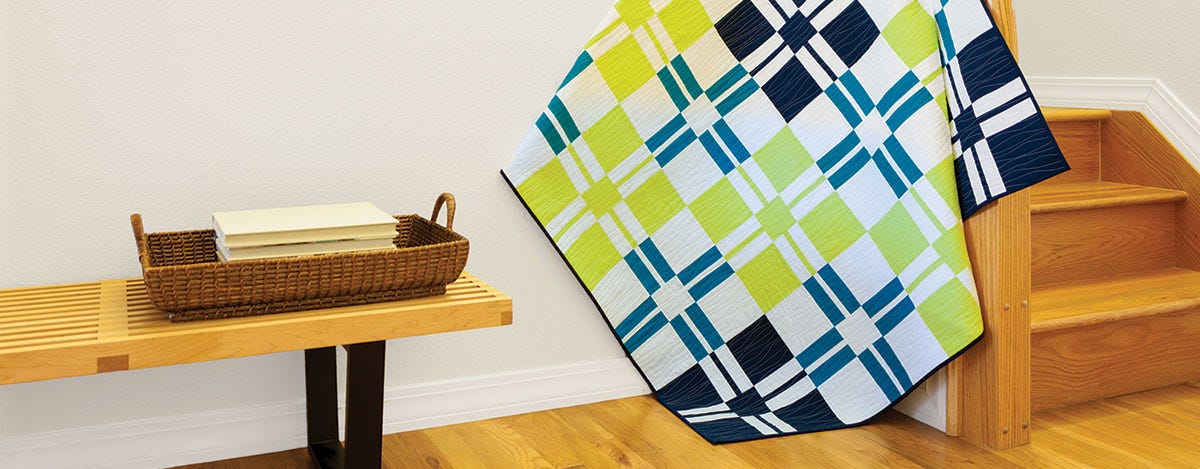
Hello quilters and fellow sewing enthusiasts! My name is Belinda Karls-Nace and I am back as guest writer on the AccuQuilt Blog today. For those of you that are unfamiliar with my work, I'm a quilting and needlework designer, creator, finisher, and teacher (and the author of the Samplings from a Blue Ribbon Girl blog)...and lucky enough to design projects and create quilt samples for AccuQuilt. Recently, I worked on a very special geometric project for AccuQuilt and today I am here to share it with you...the GO! Add It Up Bed Quilt.
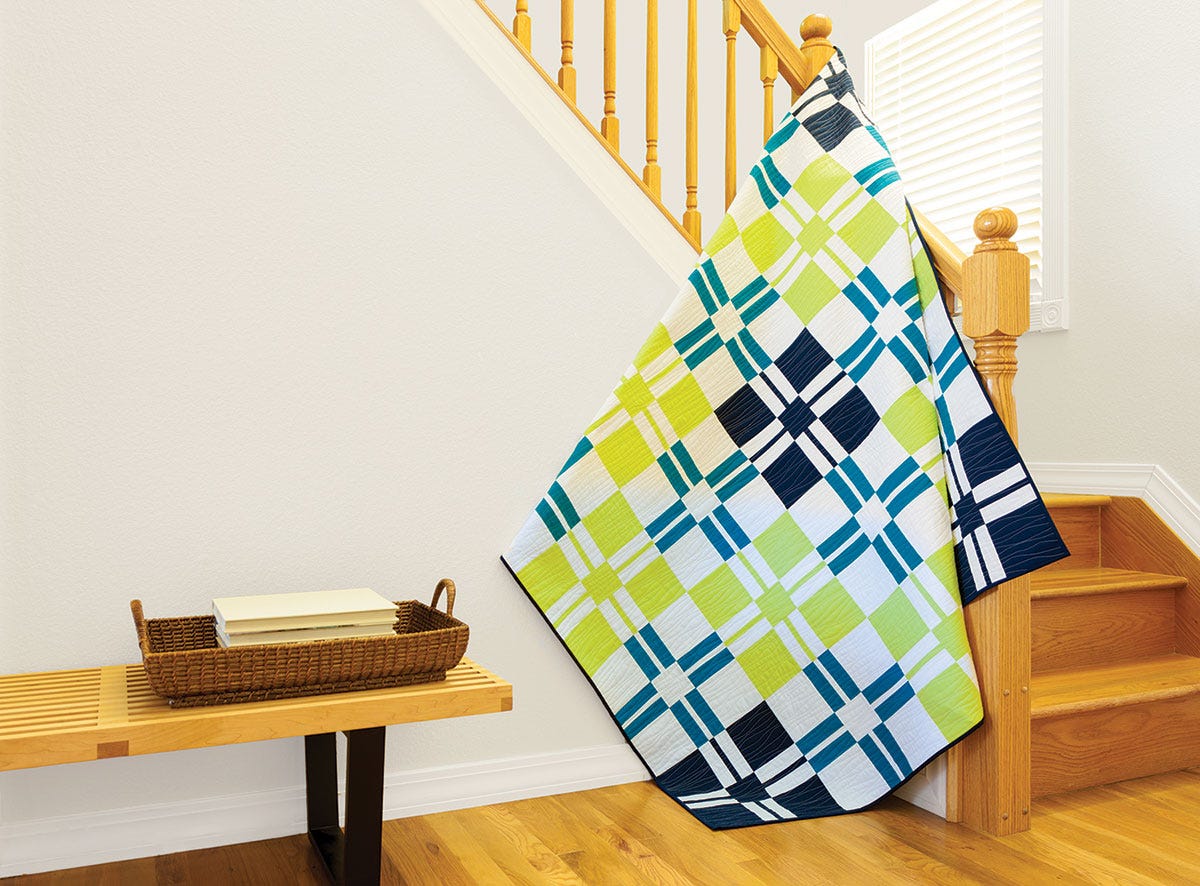
The quilting world seems to be buzzing with geometric quilts...designs with crosses and plus signs seem to be popping up everywhere. So, when AccuQuilt suggested I work up some plus sign quilt ideas, I was more than ready for the challenge. I already had a few sketches in my design book, so I decided to put my sketches to work in my EQ7 Software...and a short time later the GO! Add It Up Quilt was born. This entire quilt is made using the GO! Square-3 1/2", GO! Square-5", and GO! Strip Cutter-1"...and would be enjoyable for a beginner or advanced quilter. With the AccuQuilt GO! Fabric Cutter, I was able to quickly and accurately cut all the components in an evening and was ready for a weekend of sewing. I started by piecing all the strips sets and then sub cutting each one into 5" sections. Once that was complete, it was a simple task to lay out the 12" blocks and assemble each with chain piecing...in fact, the whole quilt top came together in a weekend.
While I am here visiting, I do have a few "tips and tricks" to share with you that may make things a bit easier for you. I like to press and use a light spray starch on all fabrics before running them through my GO! Fabric Cutter - especially when cutting strips - it keeps the shapes nice and crisp and keeps the fabric stable for piecing. Also, when working with the strip sets, be sure you are "pressing"...you don't want to iron back and forth, as it may distort the straight edges. For this particular project, if you follow the instructions and always press toward the darker fabric (even with the narrow strips), all of your seams will nest together perfectly for piecing. ...and one final note...I am not a huge "pinner", but I found it extremely beneficial to match and pin all the intersections for beautiful straight seams...for this design, it was worth every minute...and matching the nested seams was a breeze.
All in all, designing and creating the GO! Add It Up Bed Quilt was a "positive" experience and I hope you will make the time to do a little "addition" yourself! If you want a smaller project, trying making one row for a table runner...or make several rows for a bed runner....or four blocks would make a great pillow. These 12" blocks are quite versatile and very addicting...and I hope my guest blog post will inspire you to make a GO! Add It Up project of your very own. As always, I would be thrilled if you visited me via my blog, website, or social media - stop by for a happy, quilty visit - I always enjoy meeting and inspiring new virtual friends!


