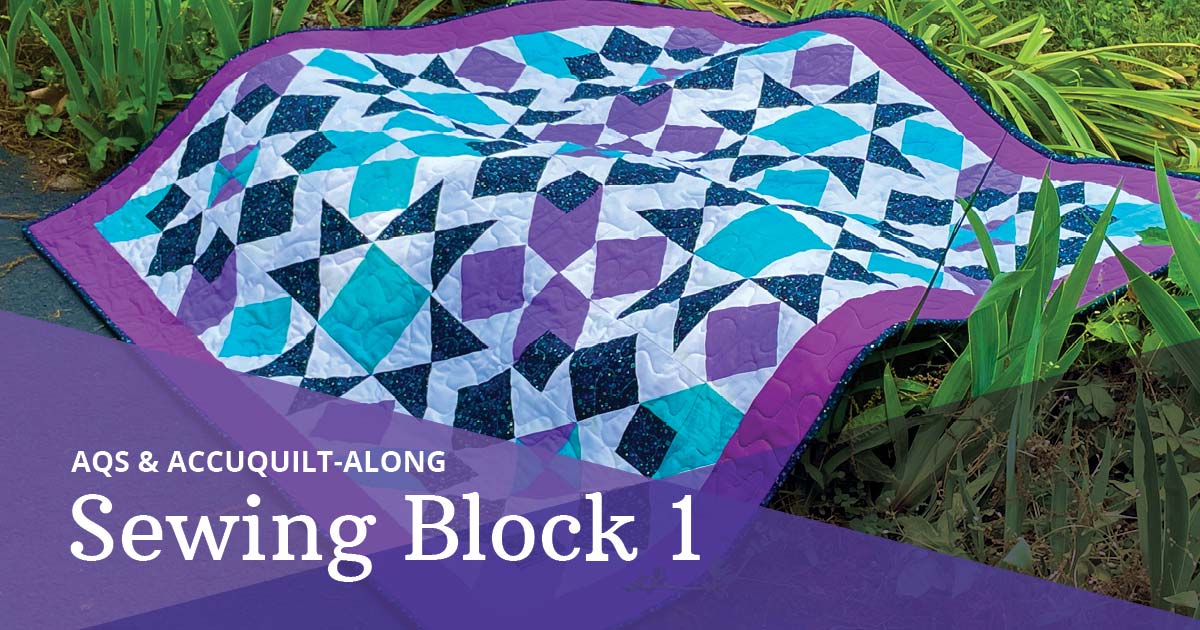
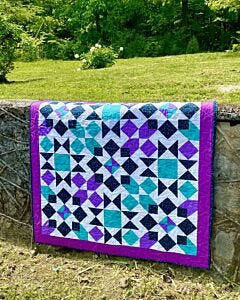
The second AQS & AccuQuilt-Along for the year is off and running! With our pieces cut and organized, it’s now time to look at sewing them into the units we will need to build Block 1 for this project.
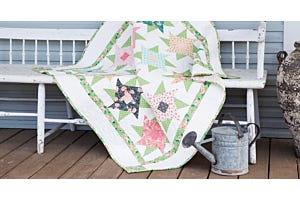
If you’re just now joining us, you can find all the information about this project in our blog posts from March 27 and April 10, or by watching those events on our YouTube channel. We’re making the Simply Qubed Throw Quilt designed by Anita Amador. This project will help quilters of any skill level get comfortable working with the GO! Qube System and shapes. AccuQuilt Cutting Expert, Pam Heller and I will be following the pattern and using the GO! Qube Mix & Match 10” Finished Block. We cut and organized our pieces last week on the April 10 show.
While the pattern is written using the 10” size Qube, the true beauty of the Qube system is that each size GO! Qube has the same shapes, just in different sizes, so you can create this project with any size Qube – it will simply finish to a different size.
You can find traditional cutting instructions from AQS in our March 27 blog post.
-
 GO! Simply Qubed Throw Quilt PatternSpecial Price $0.00 Regular Price
$4.99You Save $4.99 -
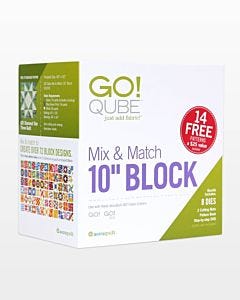 GO! Qube Mix & Match 10" BlockSpecial Price $309.99 Regular Price
$472.89You Save $162.90
Let's GO!
You’ll need to download the free pattern from our website. (Tip: be sure to log into an account before starting the download or it will not work) We’re going to be sewing the units to make up Block 1 this week, so let’s get started by taking a look at the block. The GO! Qube System is built on a 4-patch block layout, also known as a 2 x 2 grid. This block is a 9-patch, or a 3 x 3 grid. What does that mean? Well, if you’re using the 10” GO! Qube with a 2 x 2 grid, your blocks will finish to 10” when sewn into your project. Since we are using a 3 x 3 grid, our blocks fill finish to 15” when sewn into your project!
I’ve been getting questions on how to calculate the size of the finished blocks with other size Qubes – and here’s how to figure that!
When you look at the 2 blocks we are making for this project, you’ll see that they are laid out in a 3 x 3 or 9-patch grid, but the finished size of GO! Qube blocks are based on a 2 x 2 grid or 4-patch layout. Since all the shapes in each GO! Qube will relate back to Shape 1, look to see the finished size of Shape 1 in the GO! Qube you’re using, for example the GO! Qube Mix & Match 4” Finished Block. In this Qube, Shape 1 will finish to 2”. Take your 2” finished size x 3 (since there are 3 blocks across) and you’ll see that using the 4” GO! Qube for these blocks, they will finish to 6”.
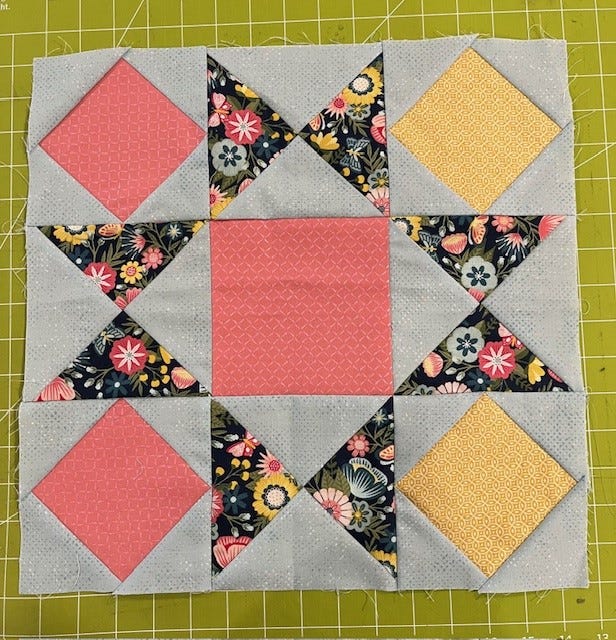
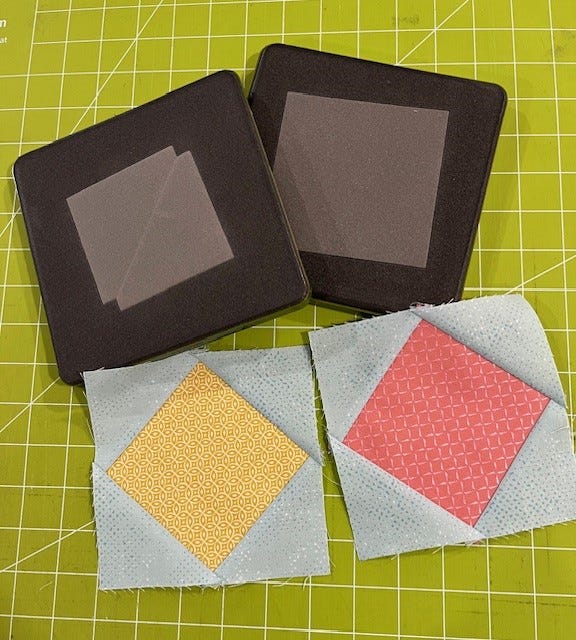
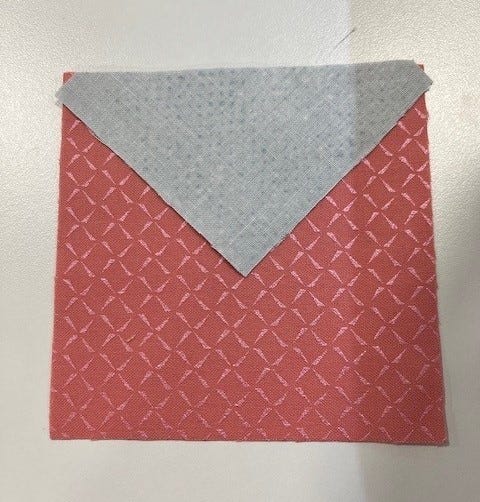
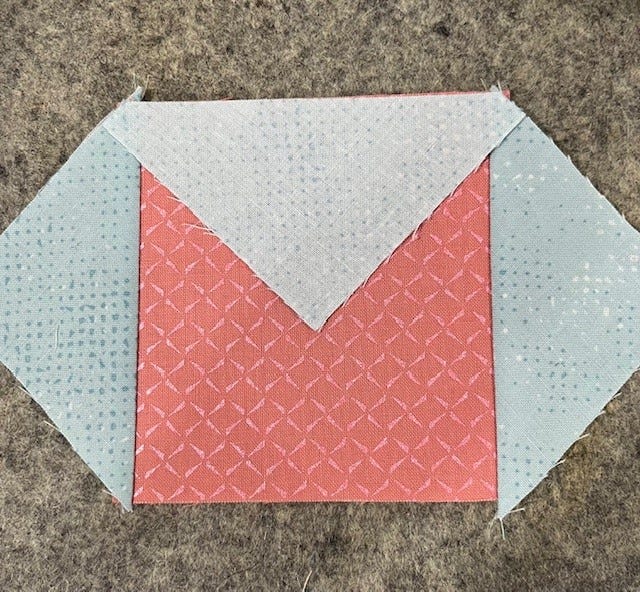
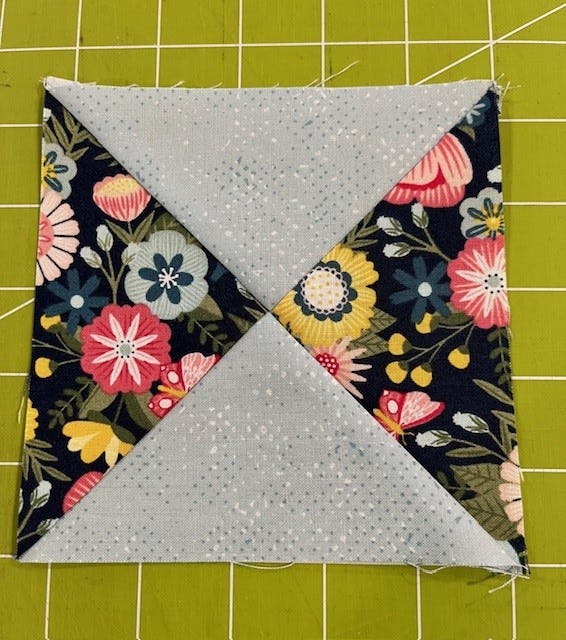
Square on Point Units
For Block 1, we’ll be piecing together two basic units, starting with Square on Point, also known as a Square in a Square. This is a great unit to get comfortable with, because you’ll see it again and again in quilt patterns!
The center of the unit is Shape 6, the Square on Point. Happily, AccuQuilt has done all the math for us, and when you sew Shape 5 half square triangles to each side of this square, it will create a perfect unit that will measure to the same size as Shape 1 in your GO! Qube.
The key with making this unit is sewing the triangles onto opposite sides. You’ll notice that when you lay your first triangle along one side of the square, tiny corners of the square will peek out – but don’t panic! These units are perfect for chain piecing – so trust me about those tiny corners and sew a triangle onto the first side and repeat on the opposite side.
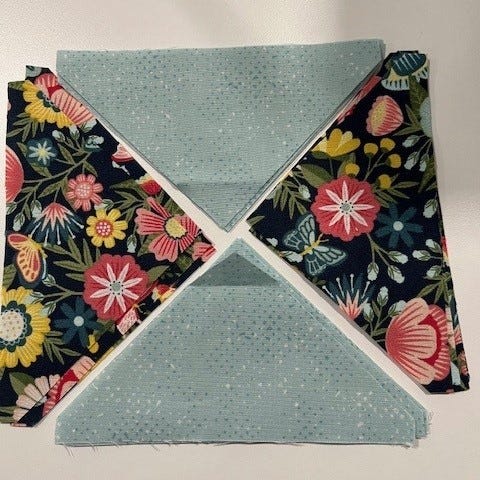
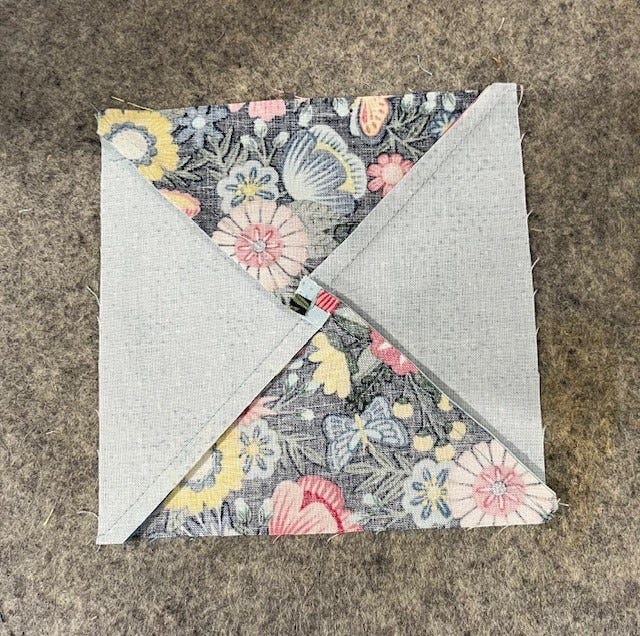
Quarter Square Triangle Units
Let’s talk about quarter square triangles. These are triangles that are designed to be sewn together so that 4 together will form a square. With the GO! Qube System, the quarter square triangle is Shape 4, with 4 sewn together finishing to the same size as Shape 1 in that Qube.
I’m often asked what makes these triangles different than half square triangles, and if they can be use as half square triangles instead of quarter square triangles. While technically you “could” sew 2 quarter square triangles together to form a square, here’s why you shouldn’t! The first reason is math – it simply won’t finish to a standard size block but the most important reason is lengthwise grain of your fabric.
The die is designed so you cut these shapes with the tighter grains of your fabric on the outside of the unit, with the bias edges sewn into the unit. If you were to sew these triangles together to form a square with 2 of them, it would put that stretchy bias on the outside of your unit instead of the inside, never a good idea!
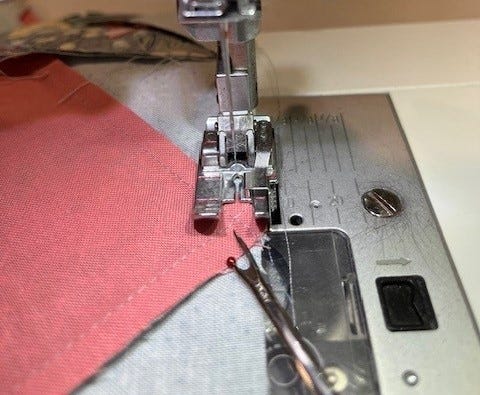
So, are there any tricks to working with quarter square triangles? Well, first is to make sure you keep them separated from those half square triangles, but it’s really to making sure you sew them together in the correct order. I always lay mine out to keep me from having to “unsew” them later!
This is another great unit for chain piecing, and I suggest laying them out and sewing pairs together. When you press your pairs, I suggest pressing to the dark side so you can nest those center seams for perfect center points.
Once you’re really comfortable working with quarter square triangles, you’re going to start seeing them everywhere! They are key to so many basic quilt blocks beyond the Ohio Star!
Block Assembly
With all your units together, sewing these blocks is a snap! Follow the pattern for the layout instructions for sewing together your rows and sewing the rows into blocks, but here’s my tip for sewing square on point units into your projects – sew them with that unit on top so you can be sure you don’t sew over the tip of the square!
Following the pressing directions in the pattern will make it possible for you to once again nest your seams. You’ll be making a total of 4 of Block 1 for this project.
What's Next?
That’s it for this week! Next week, we’ll be sewing together Block 2 for this quilt. Block 2 will give us even more opportunities to get comfortable with sewing square on point units while exploring the design possibilities that the humble half square triangle opens up for quilts.
In the meantime, relax, enjoy the process and be sure to share your progress pictures with us on the AQS Quilting Project Parade Facebook page. Remember, you can watch the replay of our April 10 AccuQuilt Live show where we will be sewing this block and answering questions anytime on our website or YouTube.