


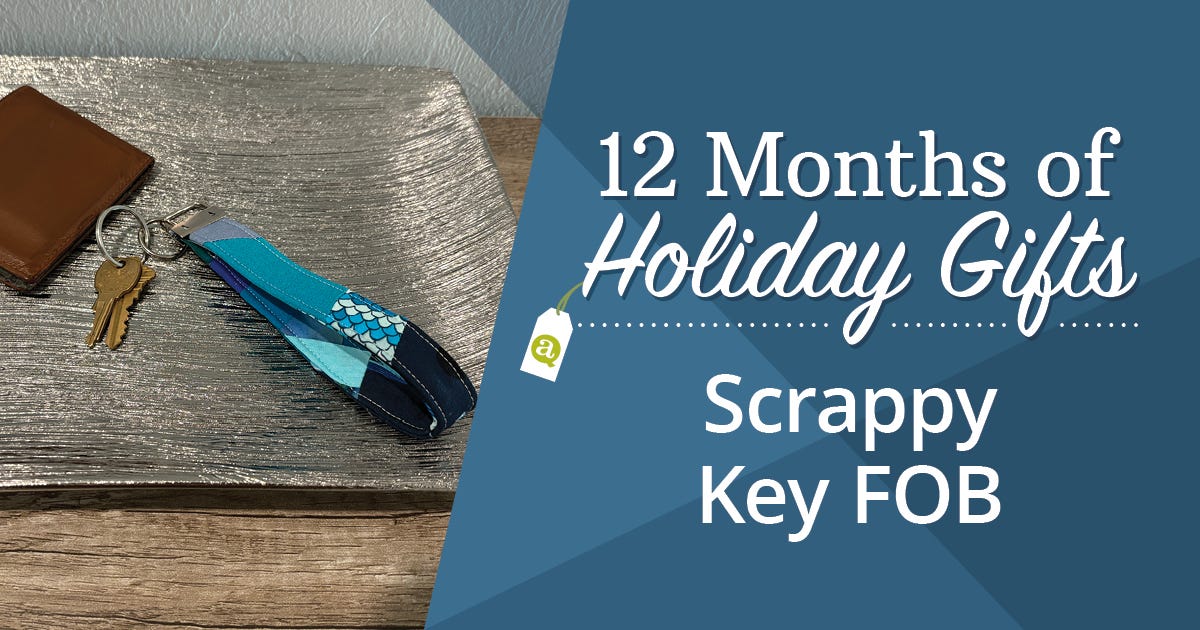
Are you ready for November’s project? This month we’re making key fobs! I love scrappy little projects like this one - once you make one, you will want to make a whole bunch, because them are so quick and easy.
First, you will want some key fob hardware. I get mine from Amazon. I do end up with a bunch sitting in my drawers, but I don’t mind too much.
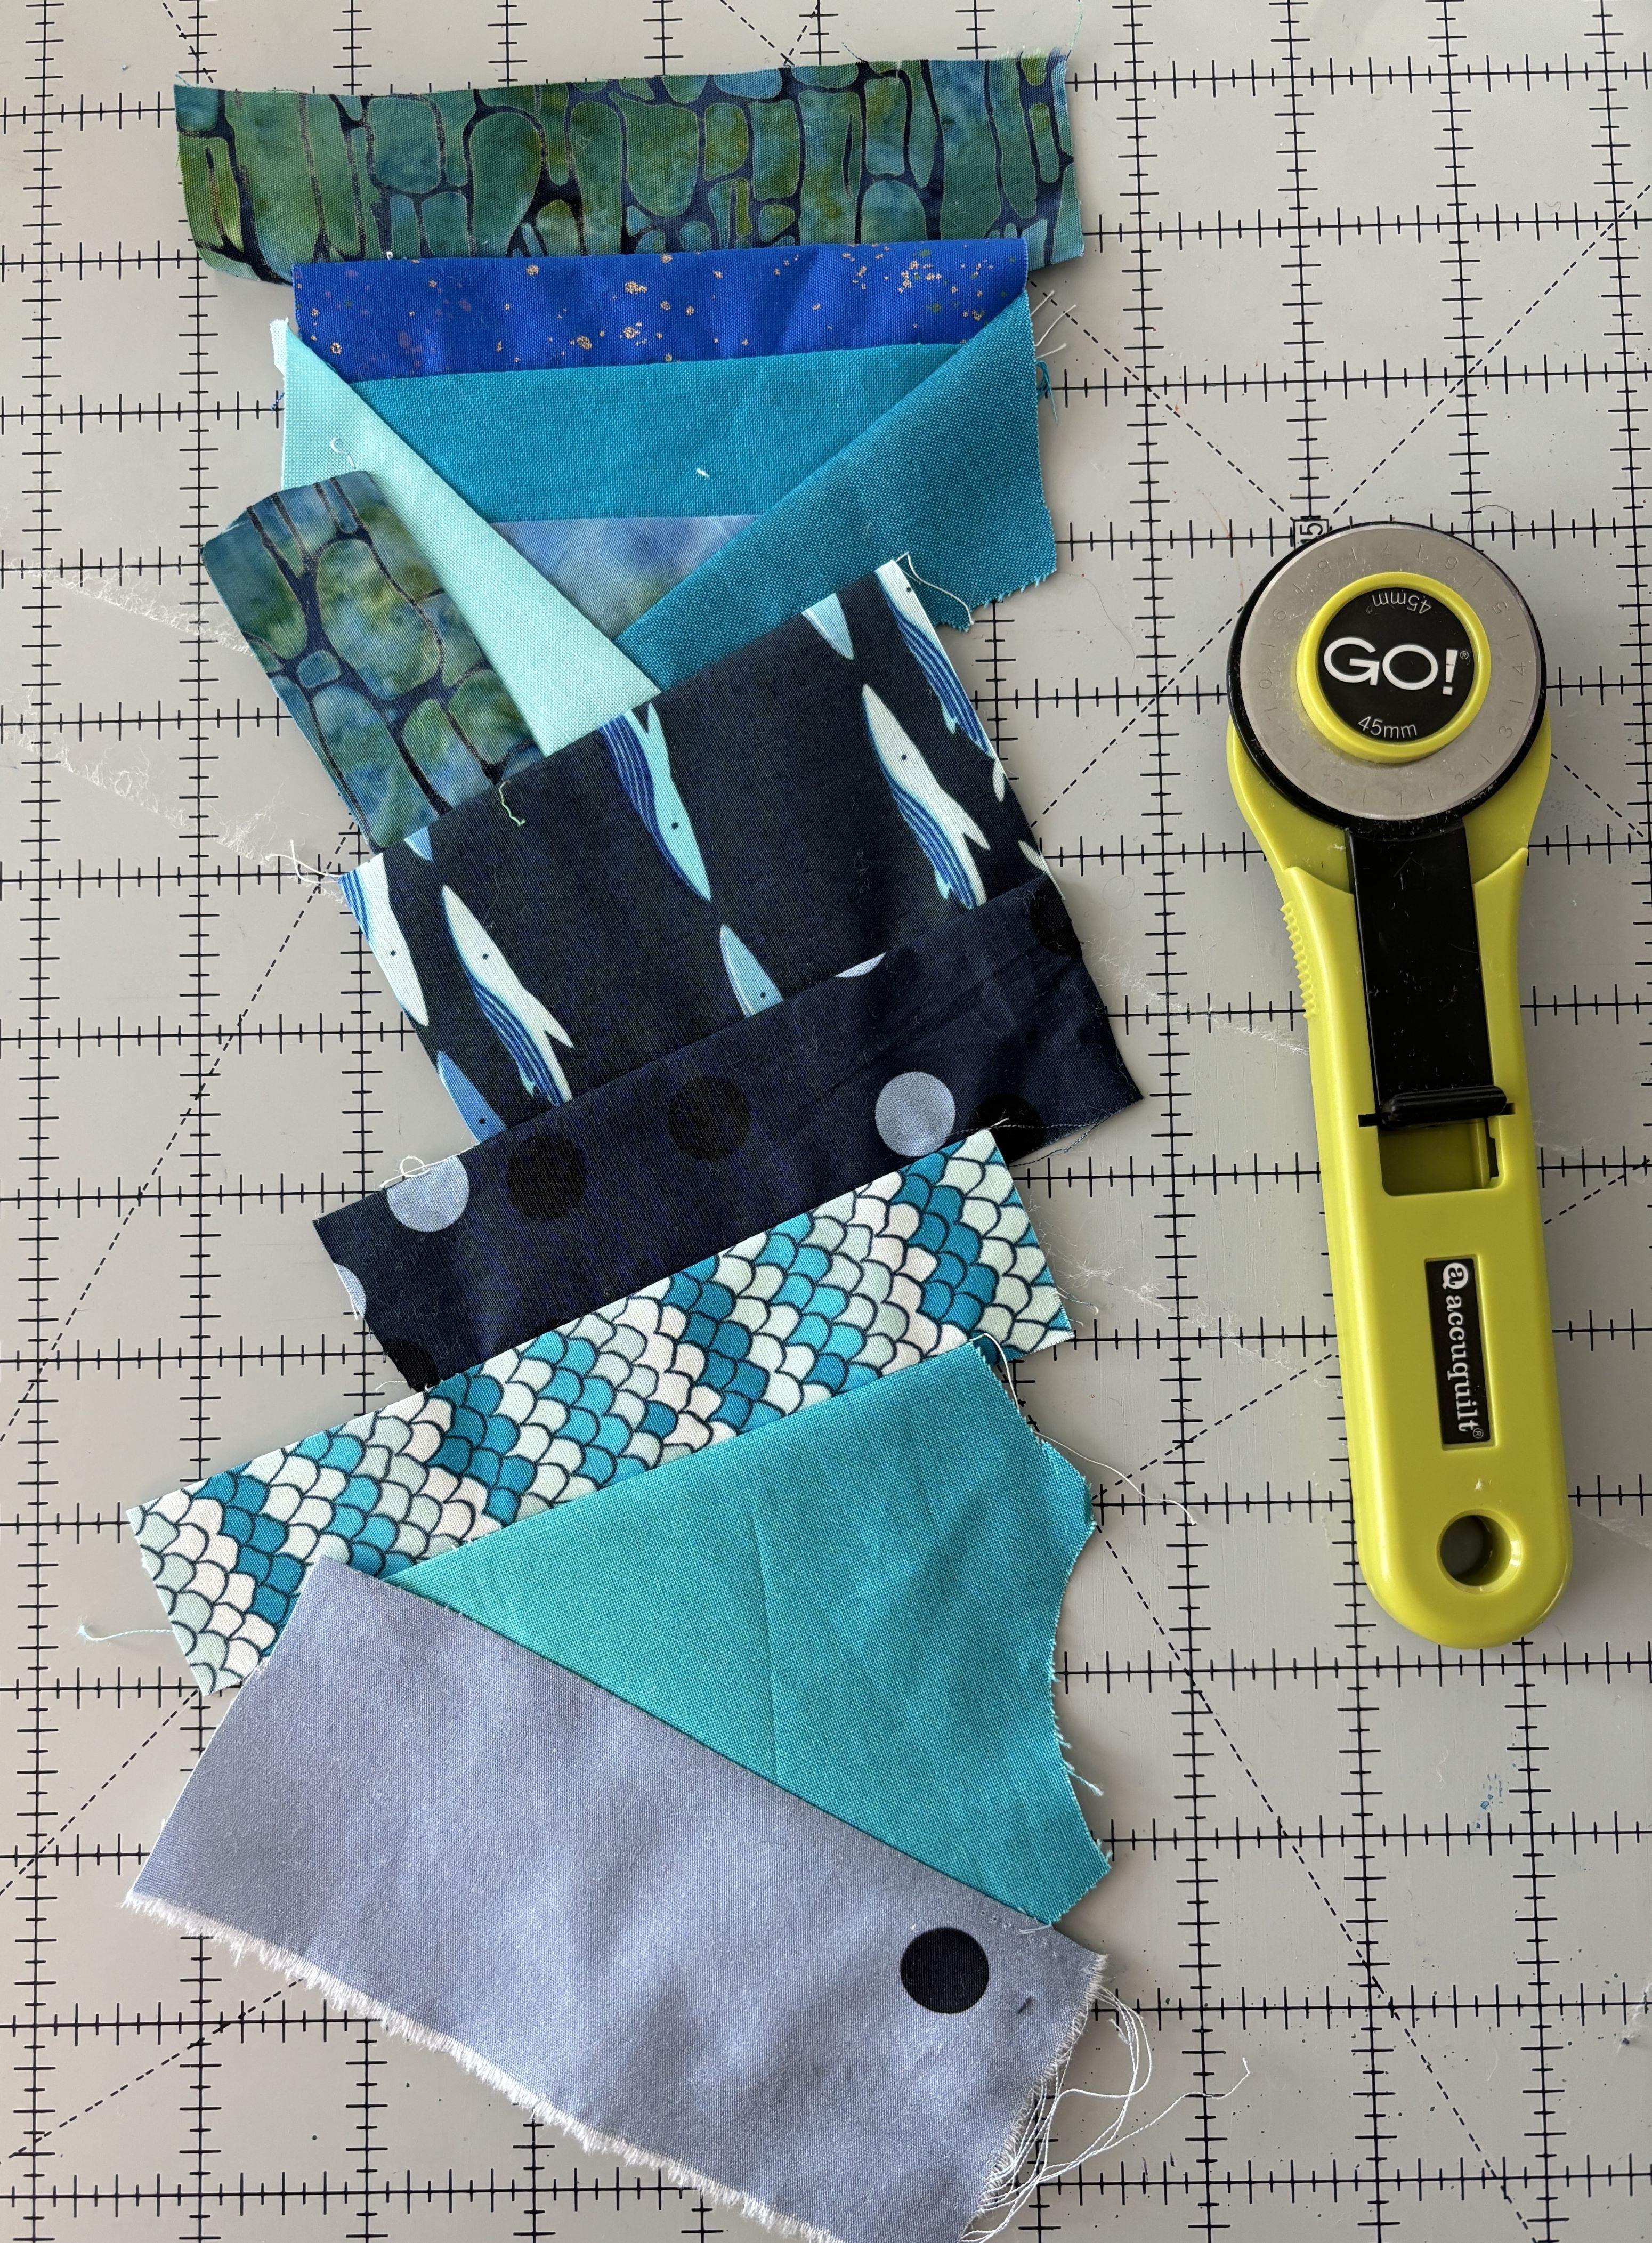
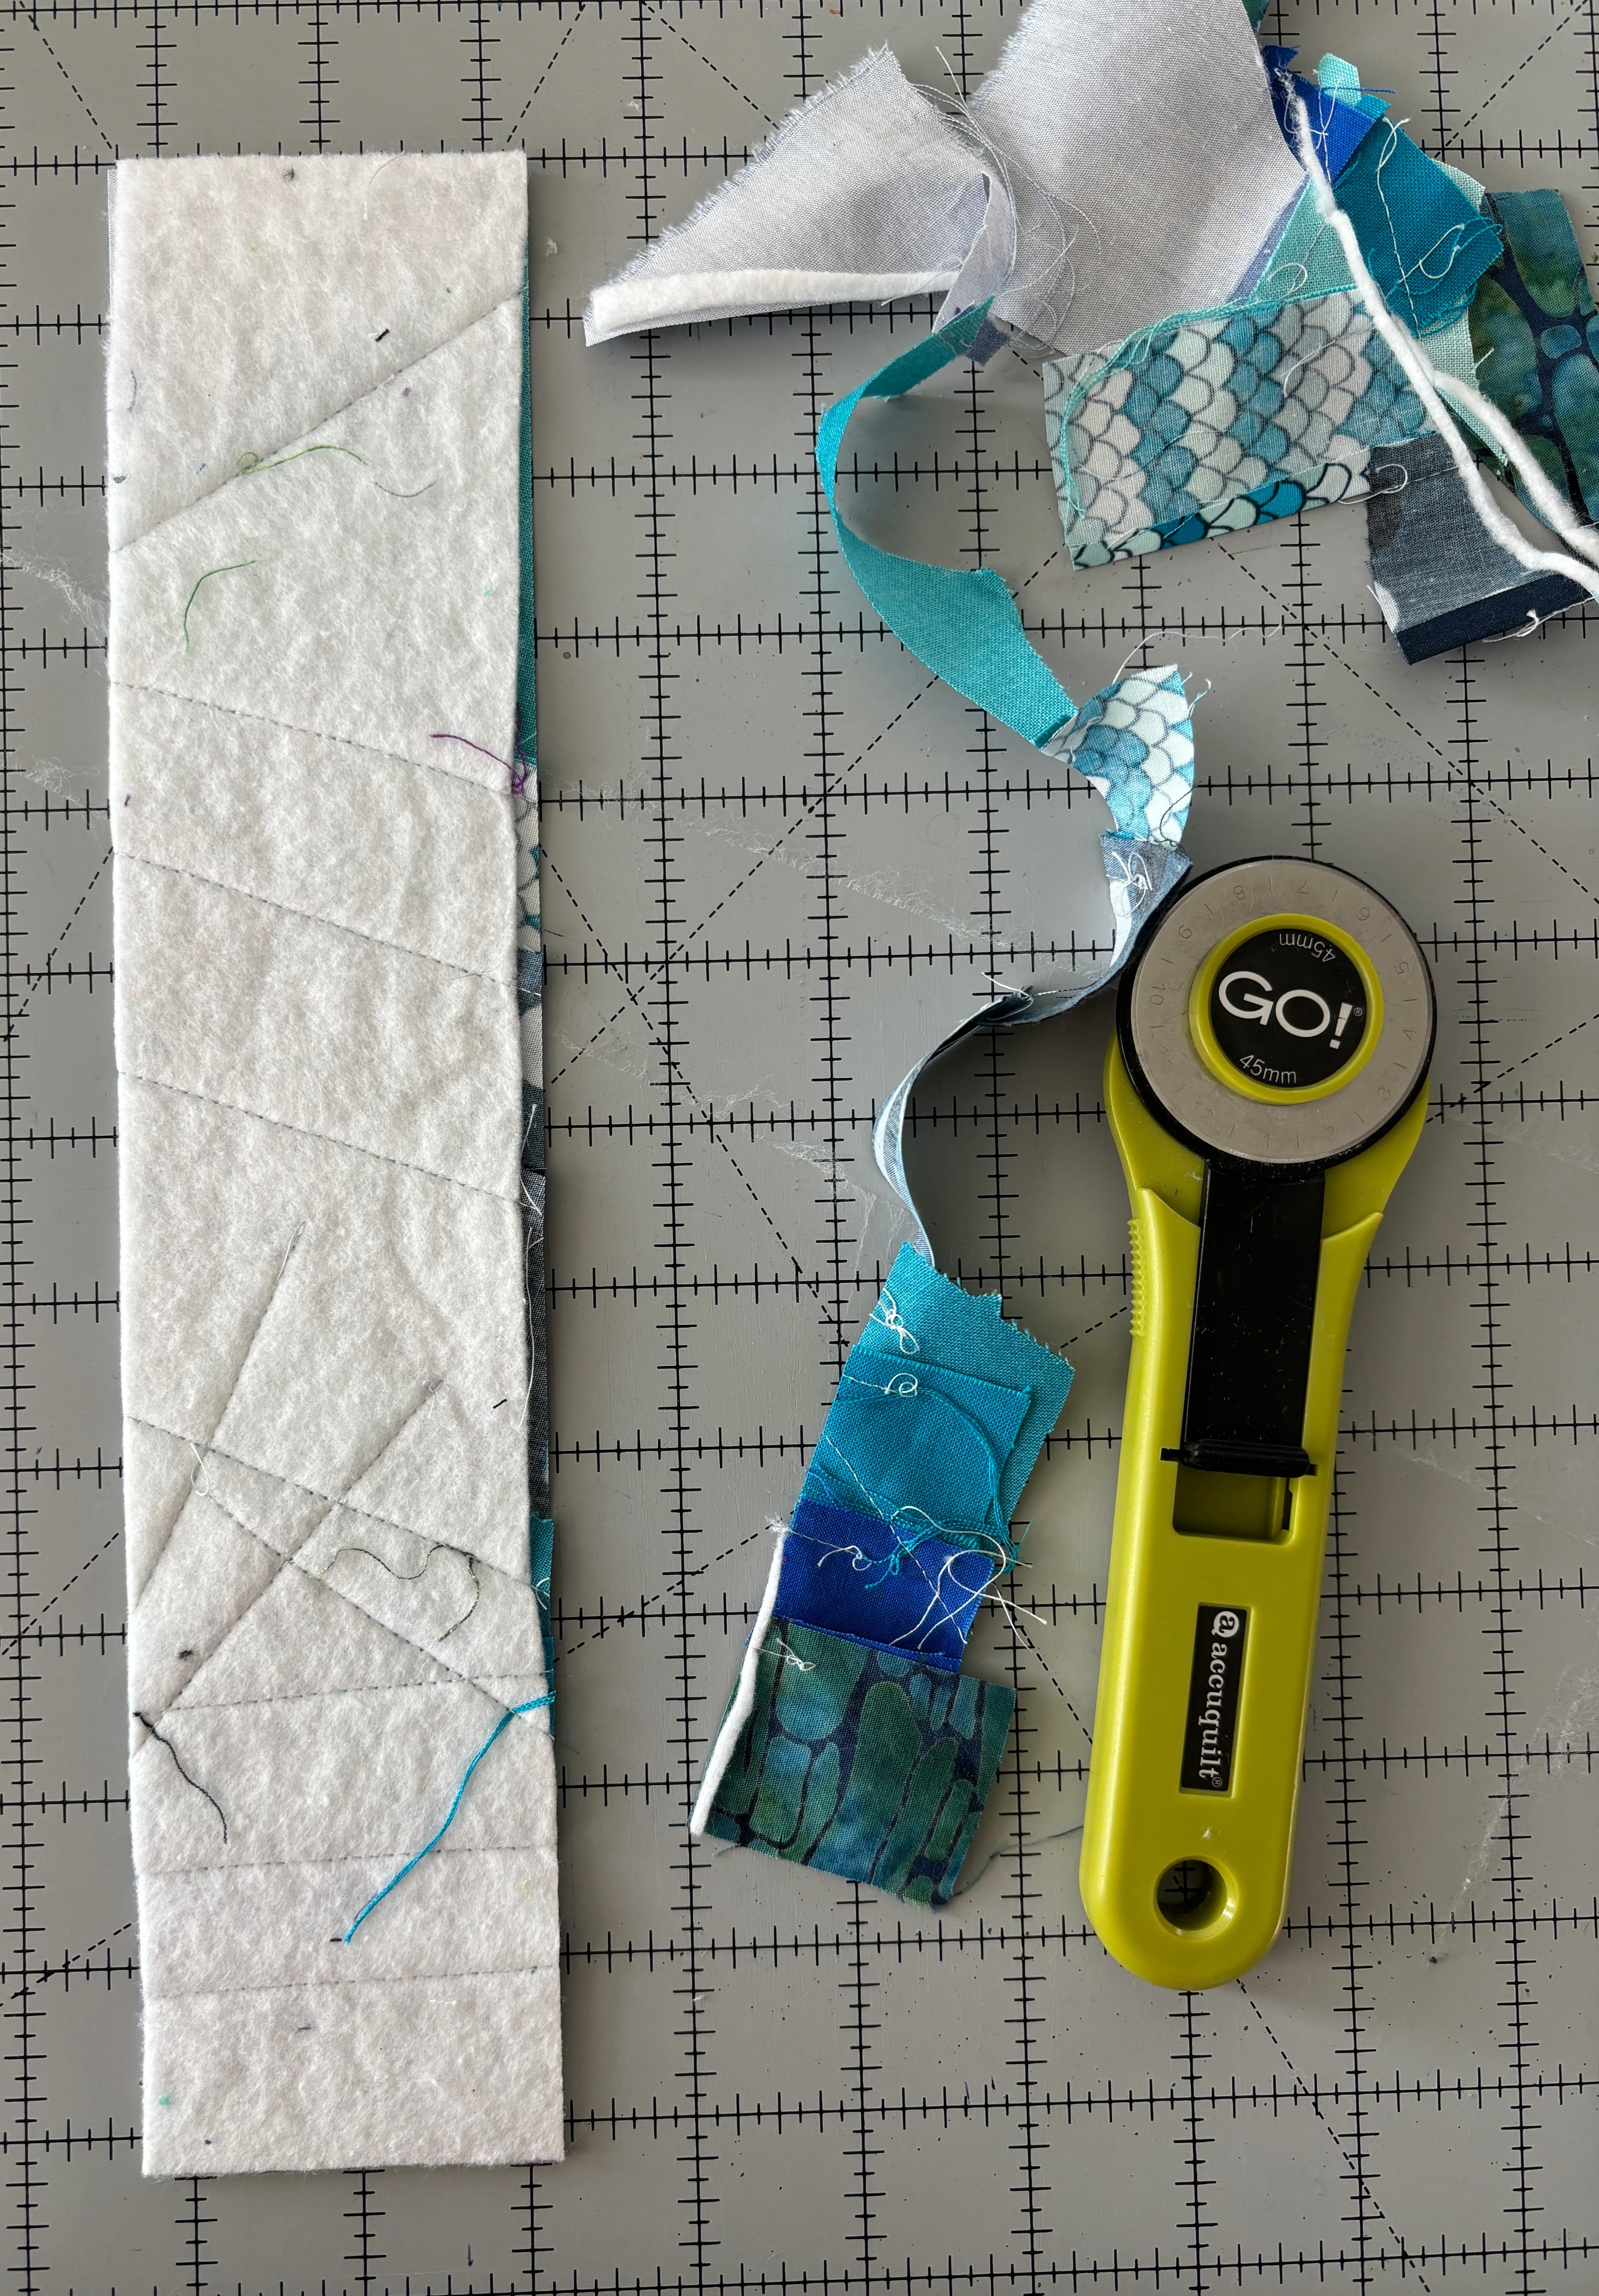
For this project, I used my GO! Strip Cutter 2 1/2" (2" Finished) die and a bunch of scraps.
Supplies
Key fob hardware
Pliers
2 ½” strip cutter
Sewing machine
Fabrics
Fabric scraps
2 ½” x 12 strip of batting
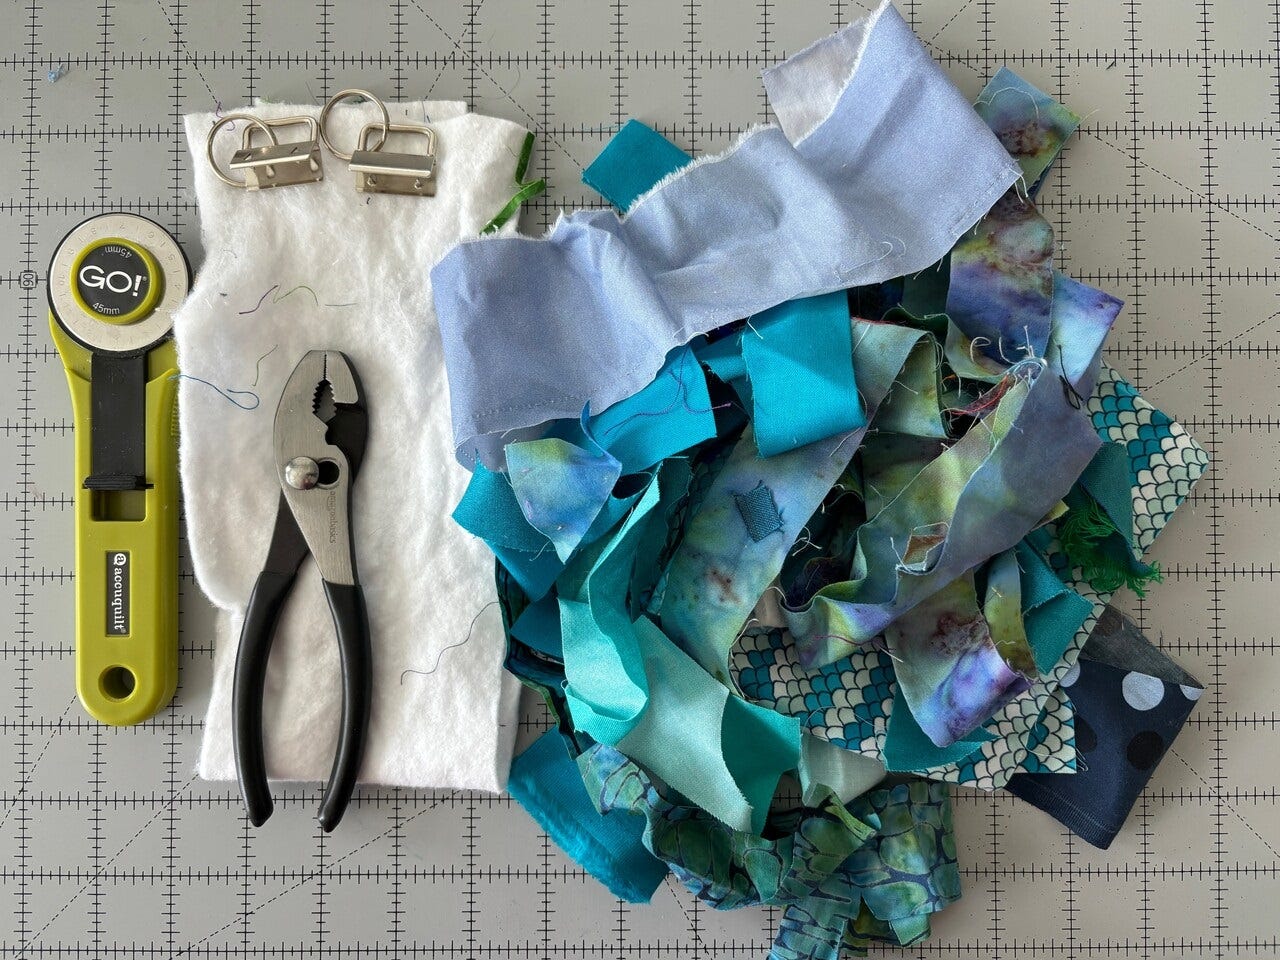
Supplies all gathered together.
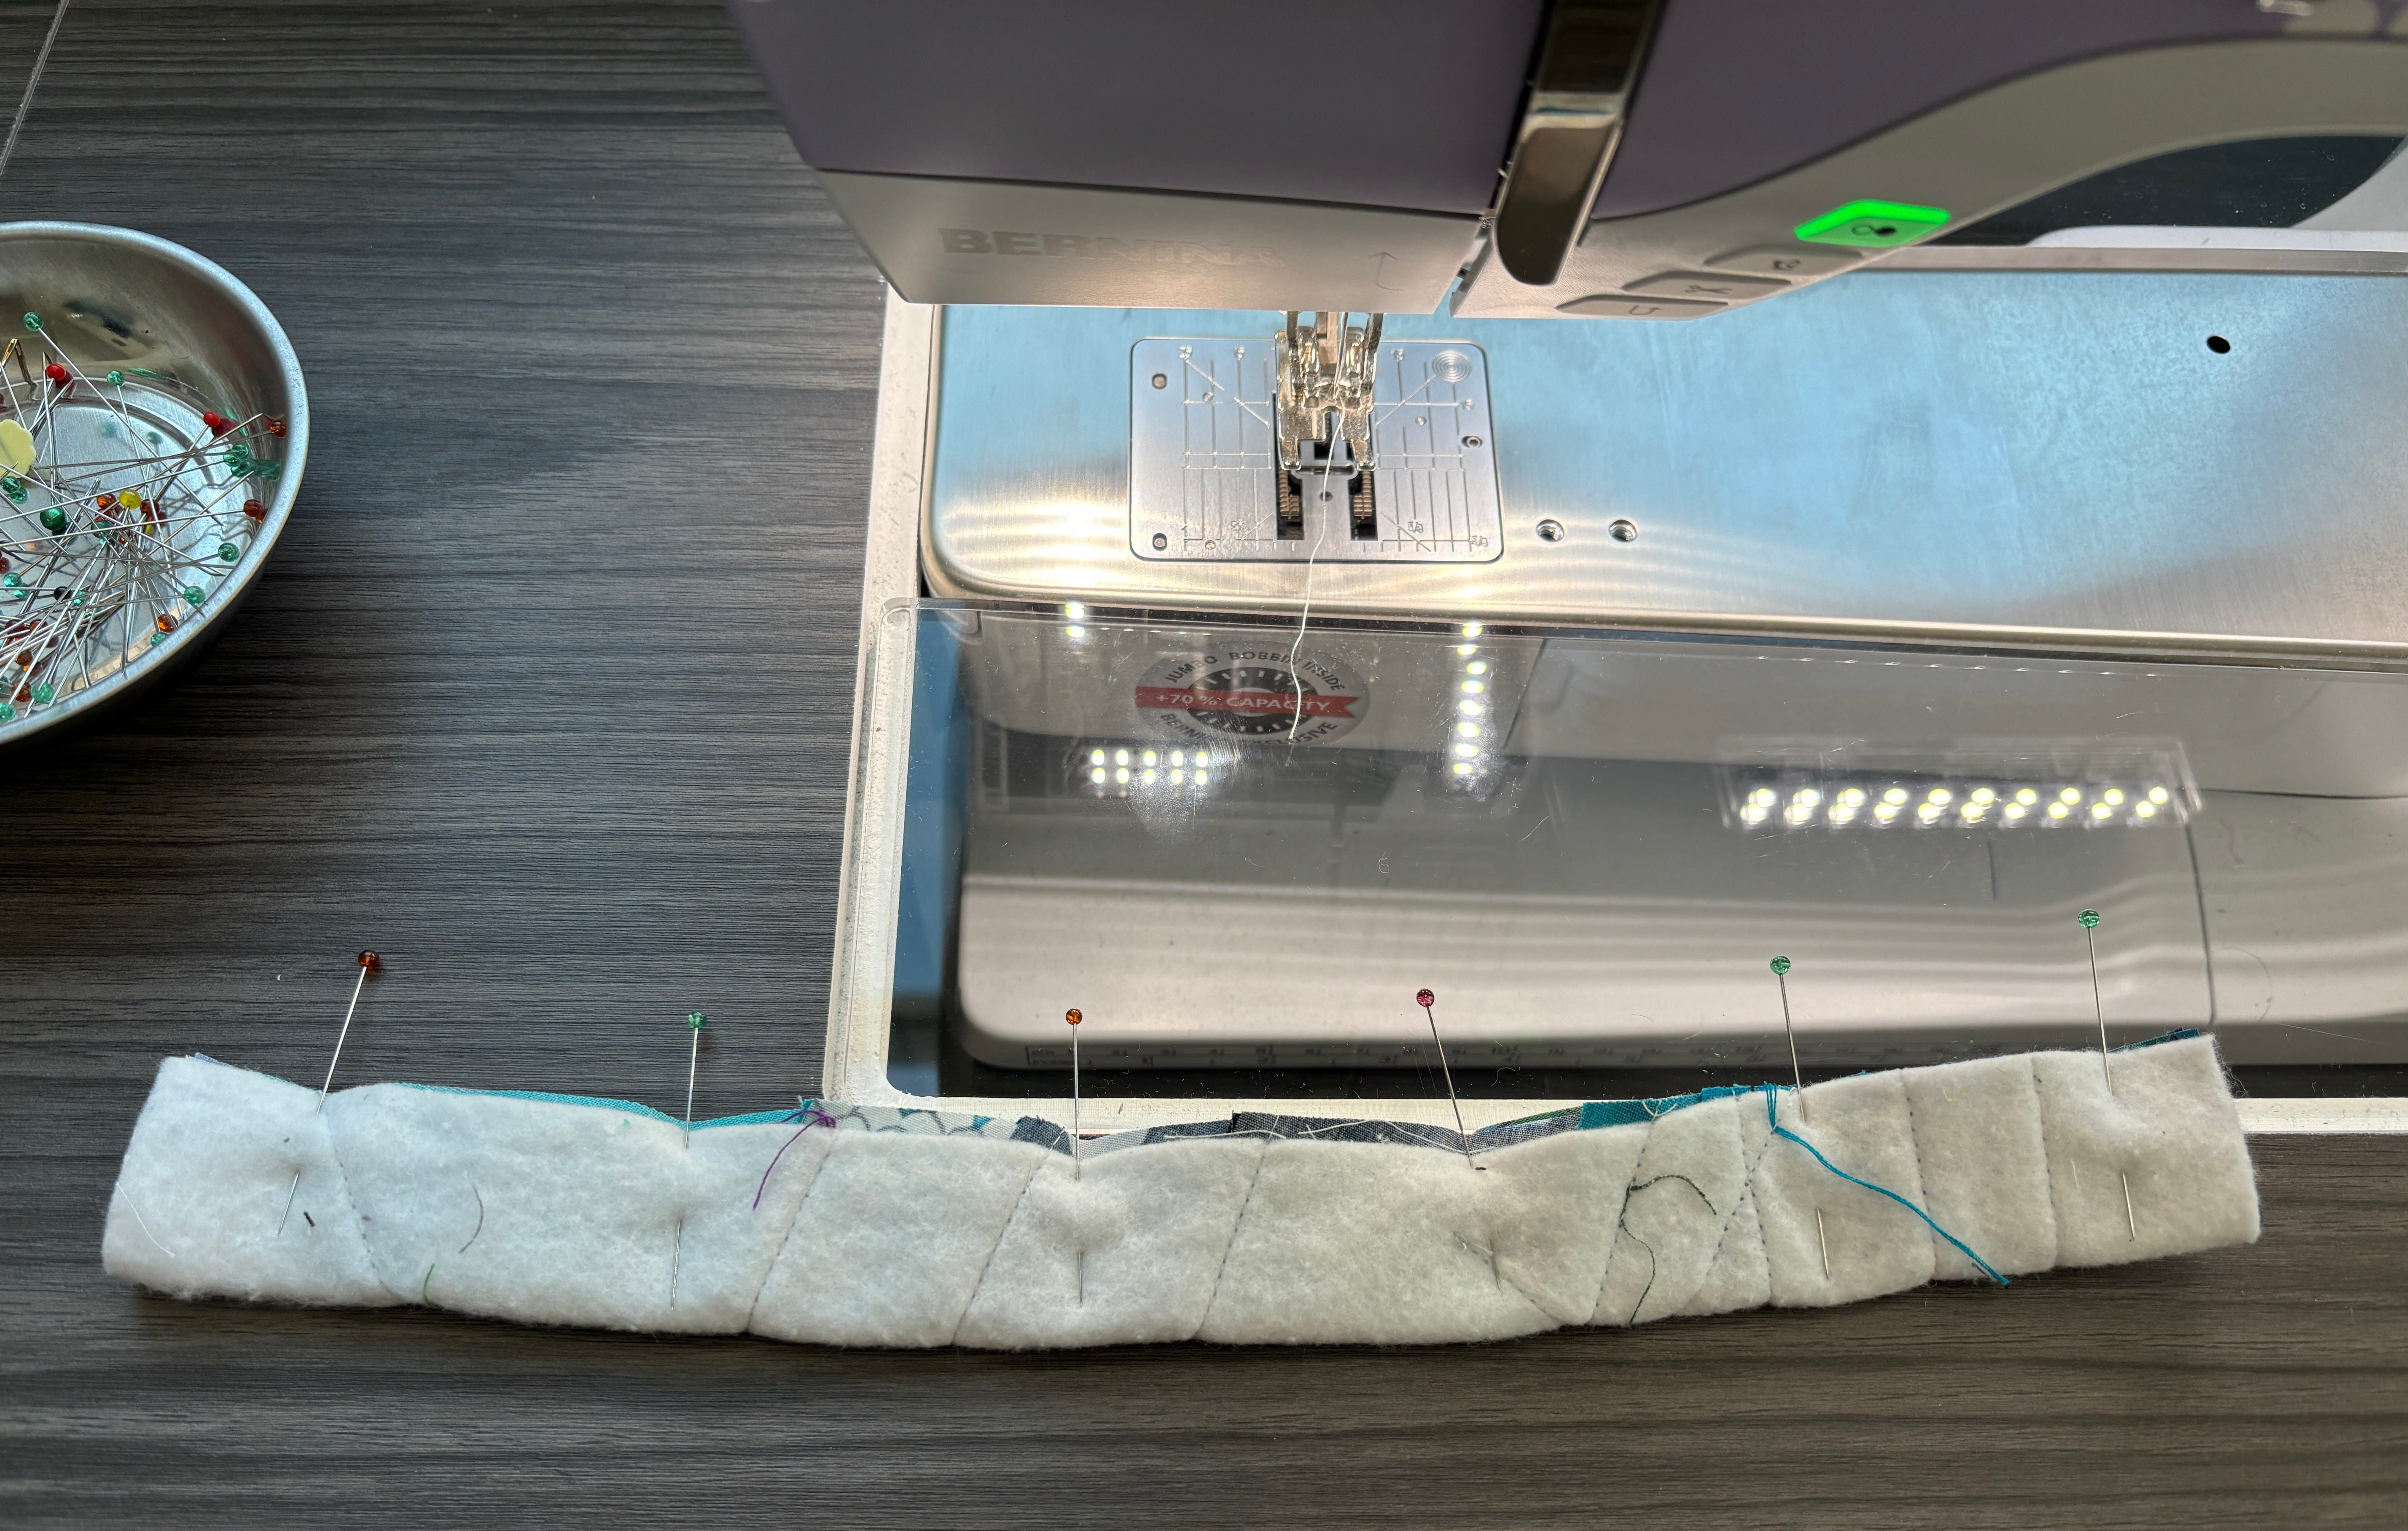
I start with cutting my batting strip to size. Then I can use it as a layout guide to do a simple stitch and flip key fob.
Take your first scrap and lay it over your batting, right side up. Take your next scrap and lining up the raw edges, place it right side down over the first scrap.
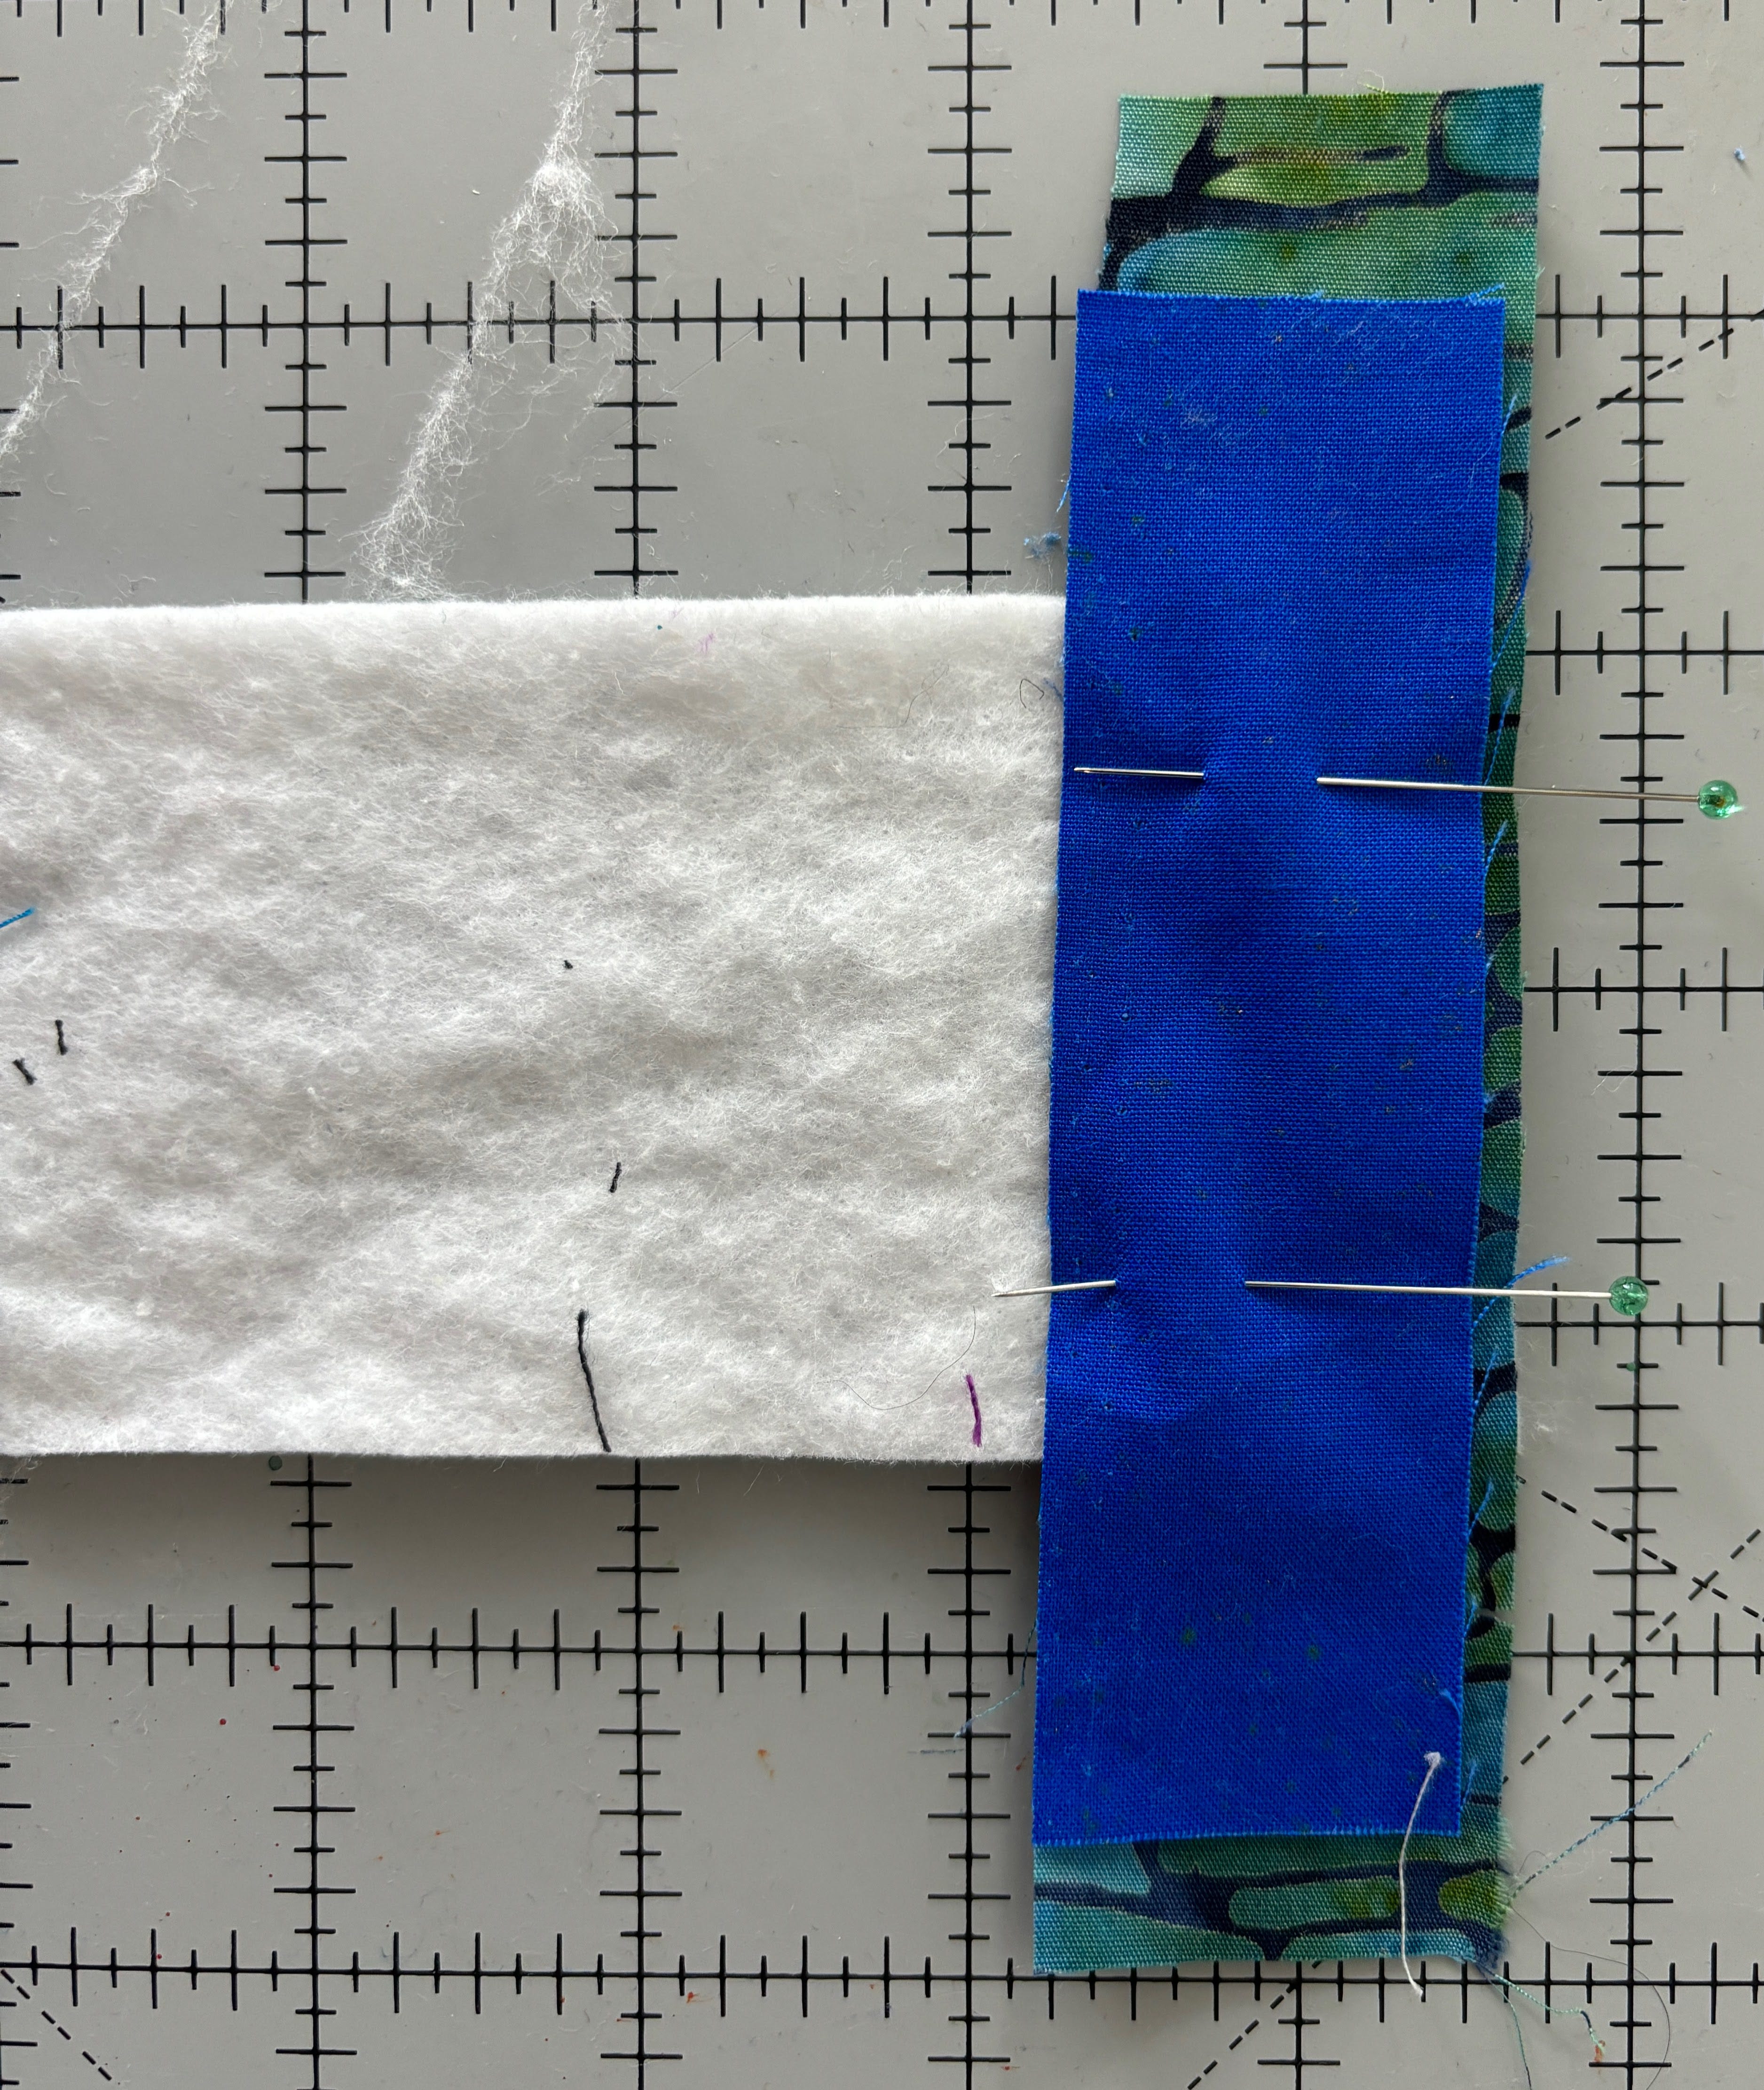
Your batting is your base and guide.
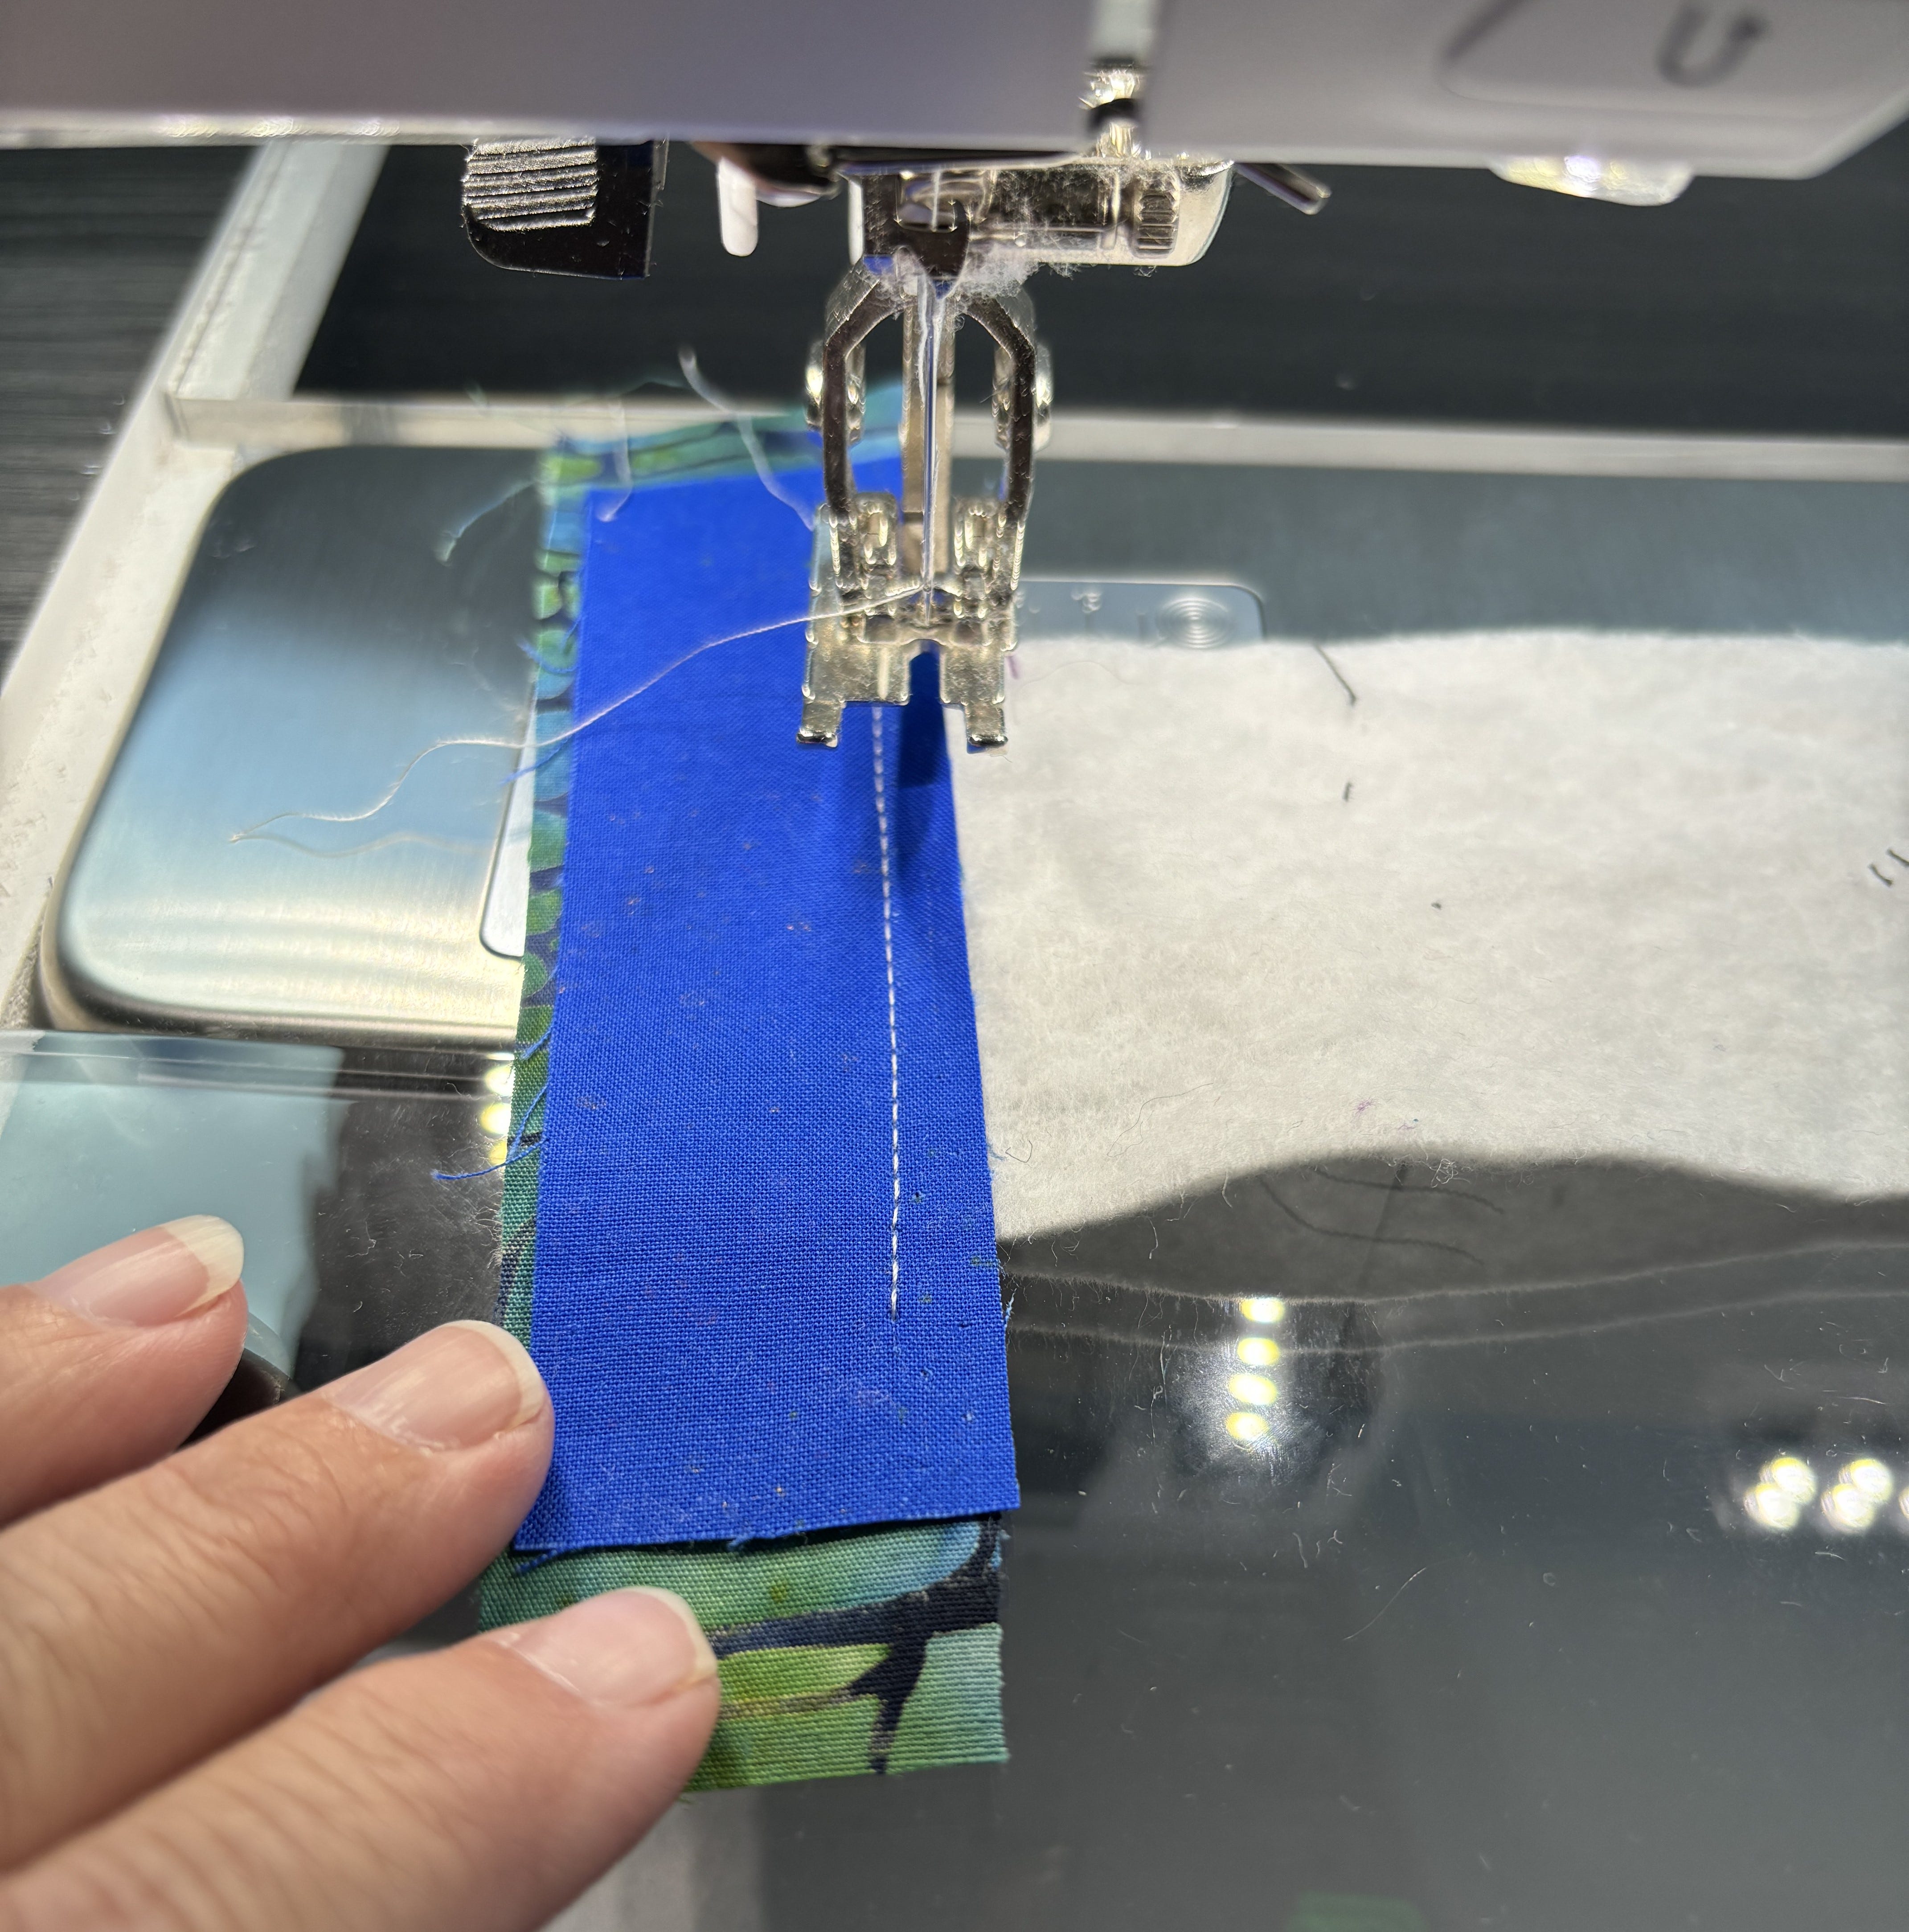
Stitch, using a 1/4" seam allowance.
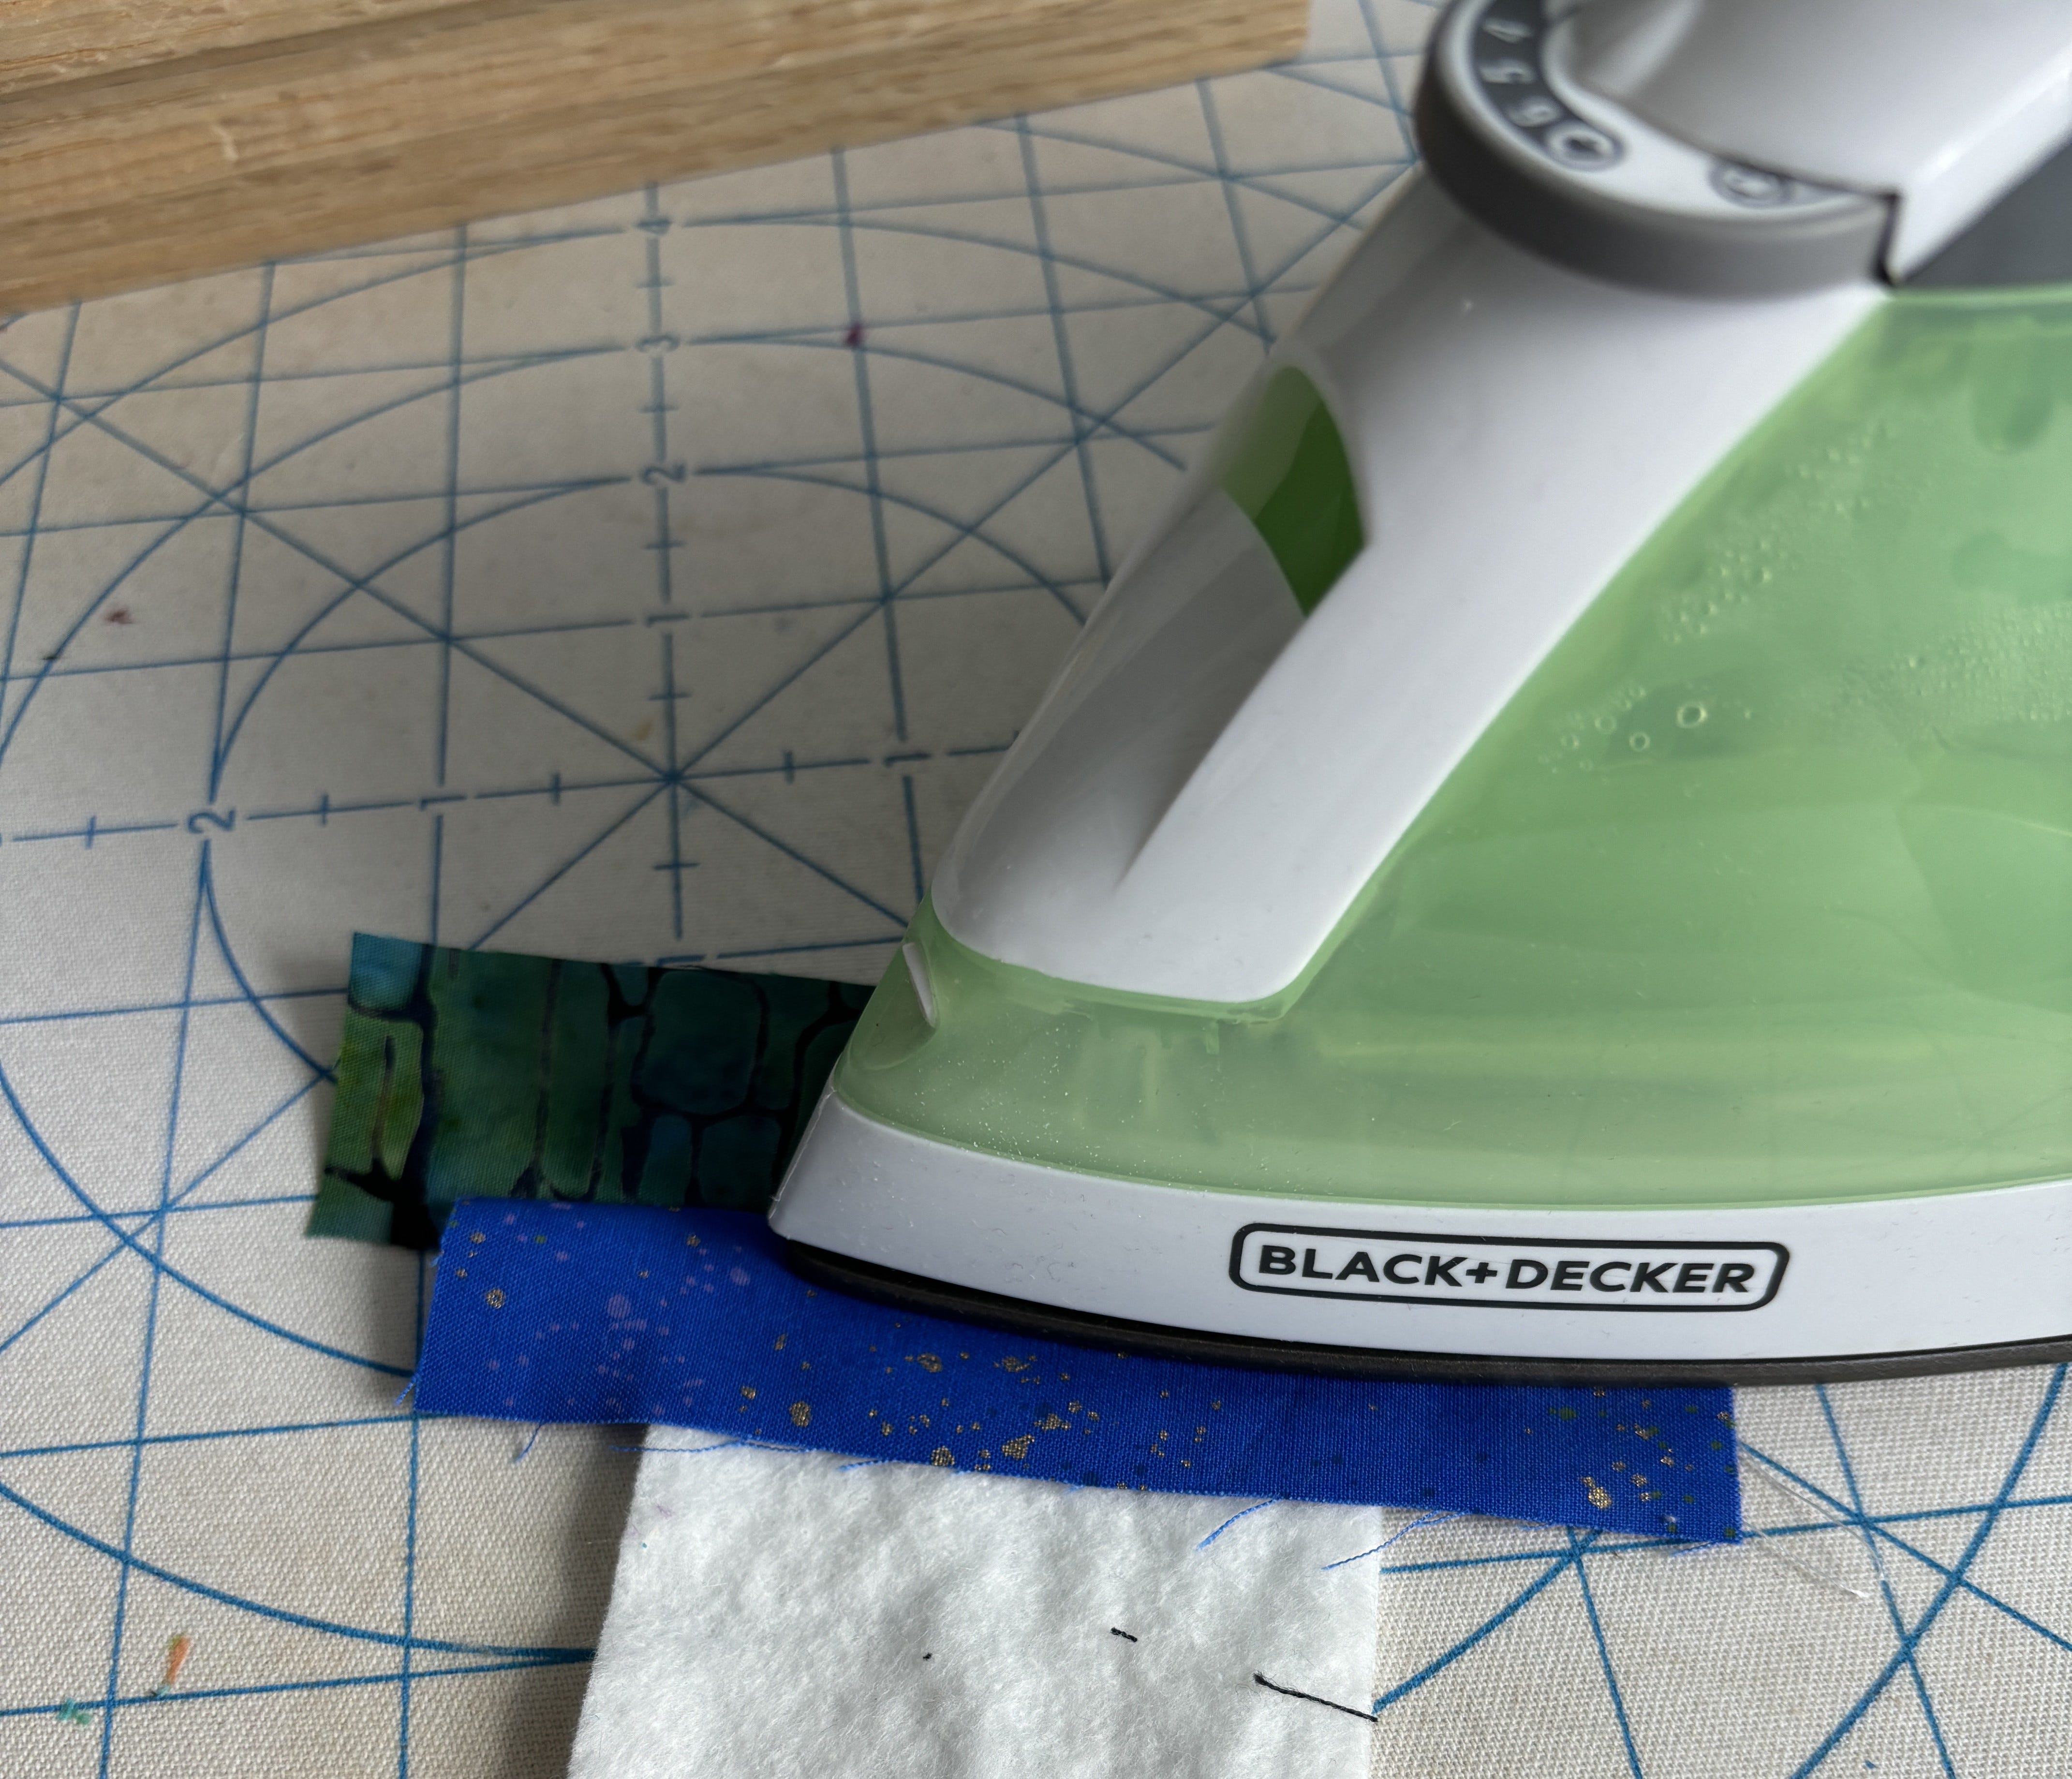
Flip over and press. Take care to avoid touching the batting with the iron unless it is 100% cotton.
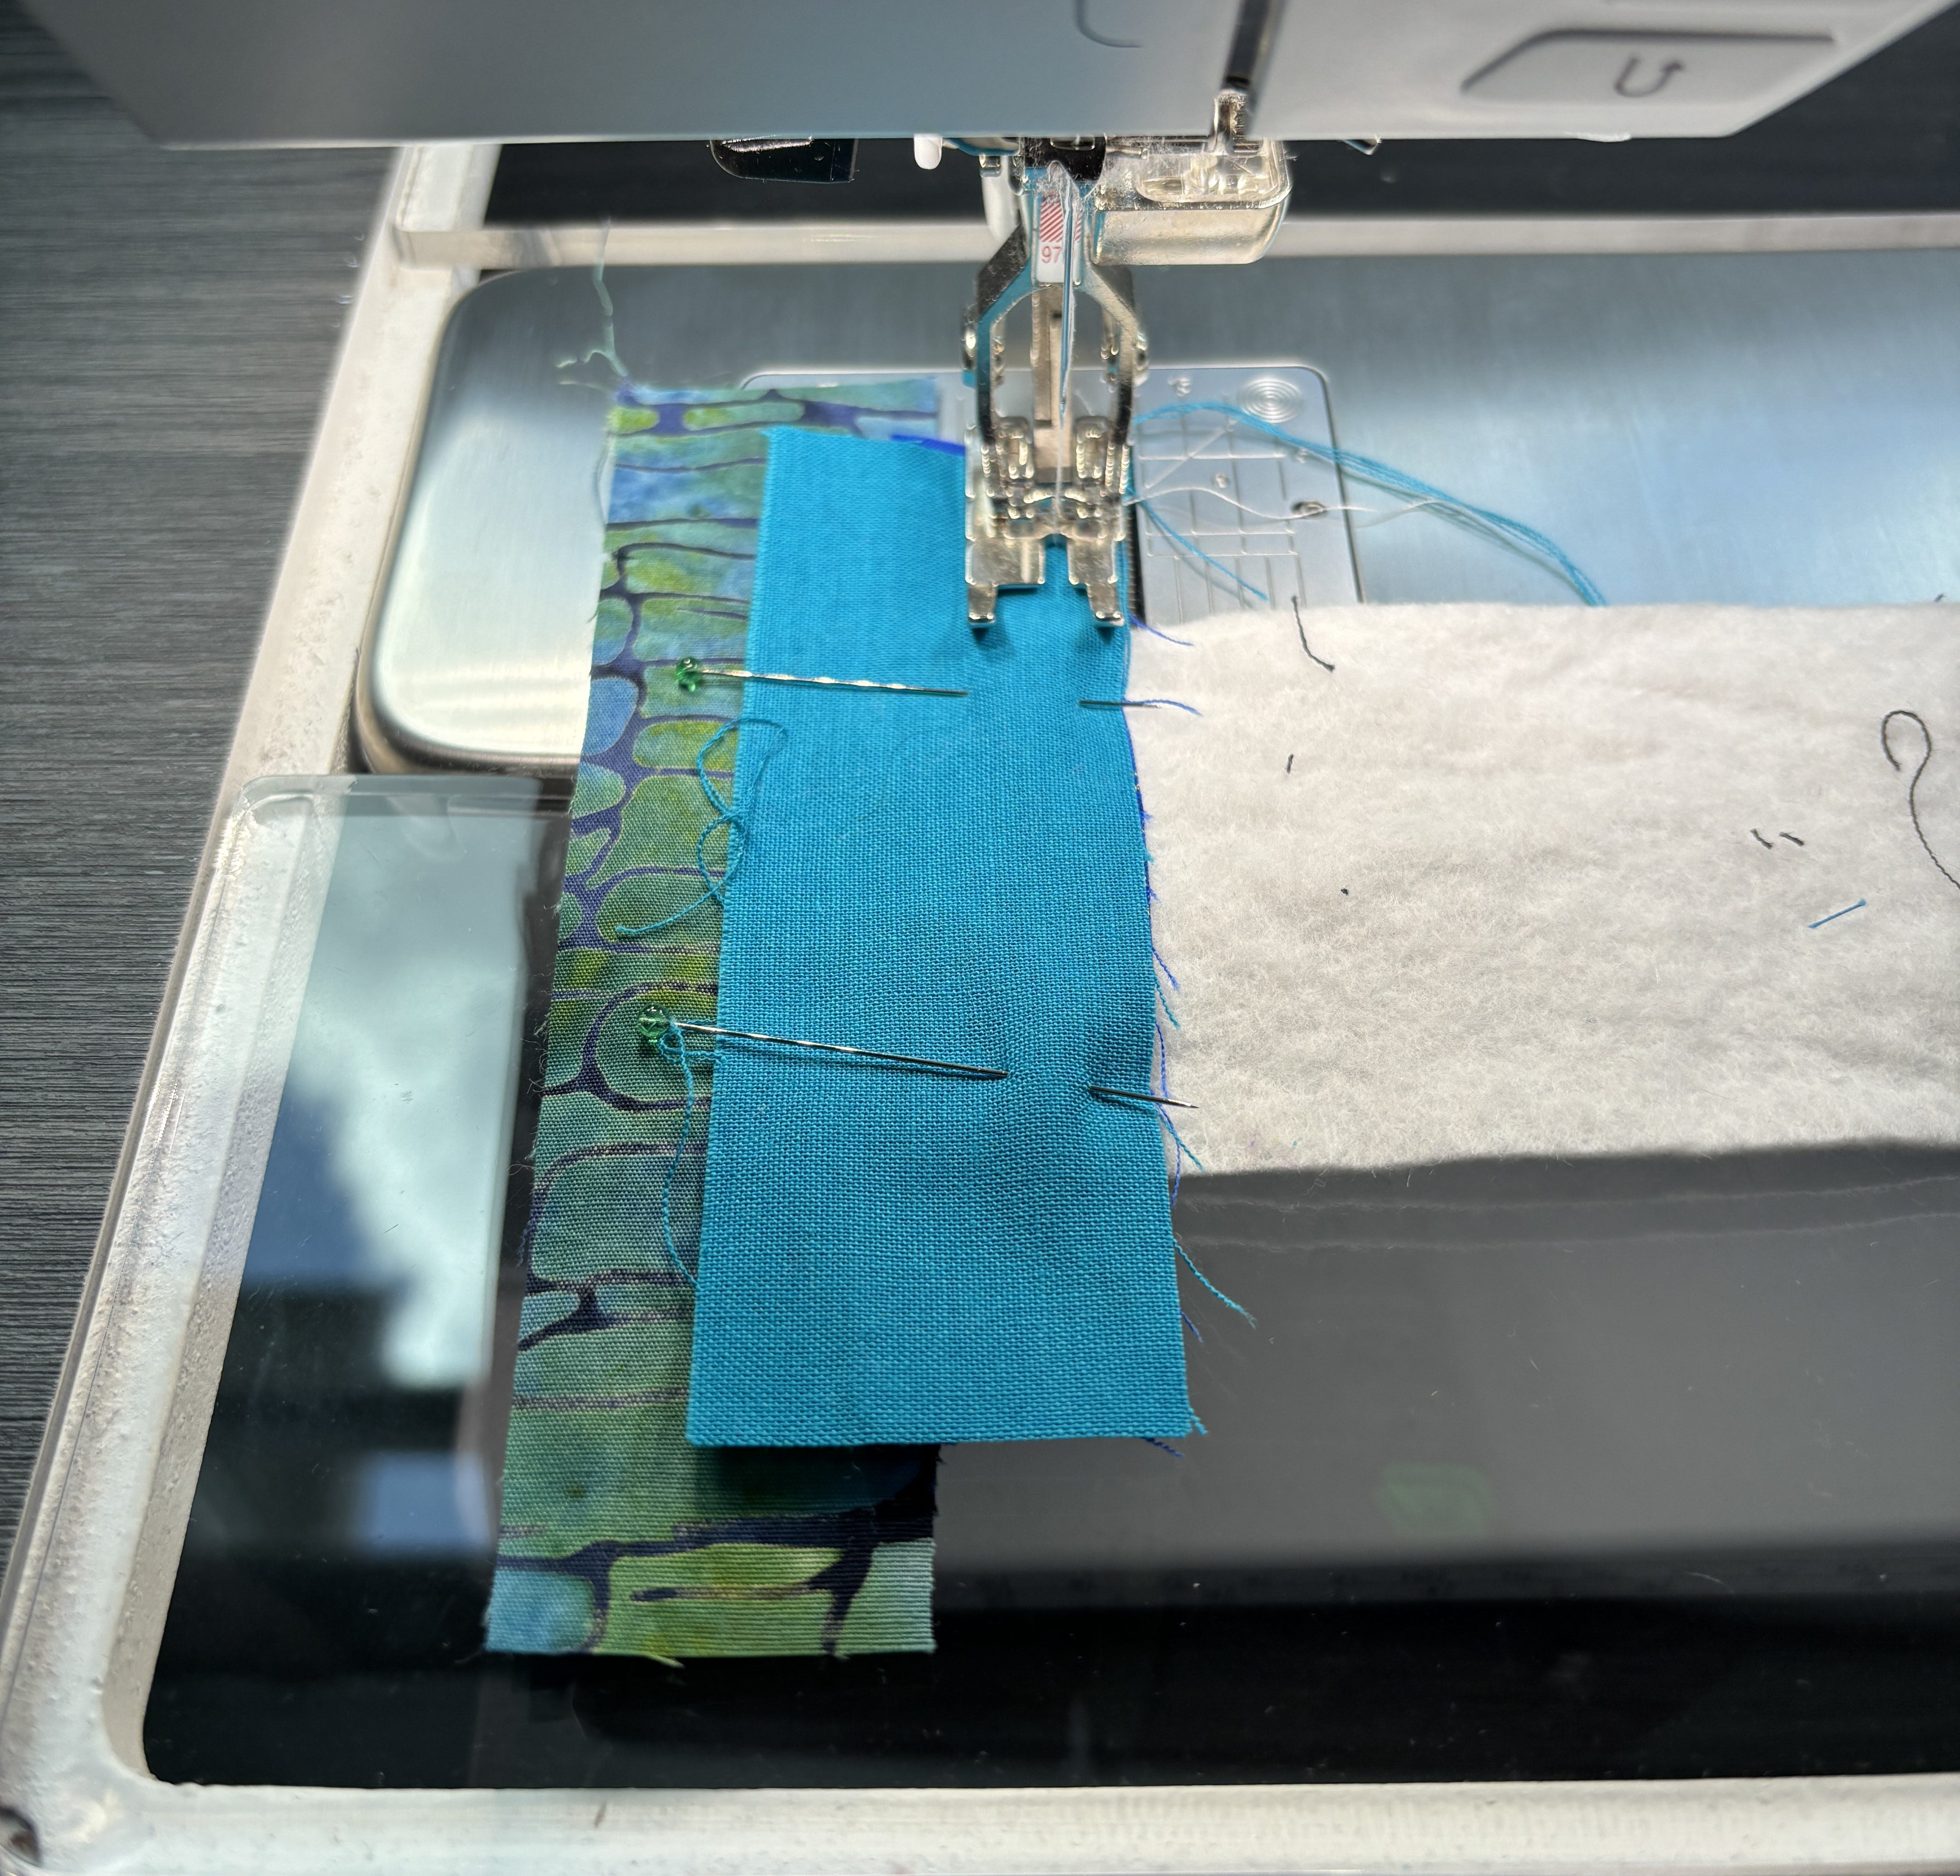
Lay your next fabric scrap over the second, lining up your raw edges. Stitch, using a ¼” seam allowance. Flip over and press.
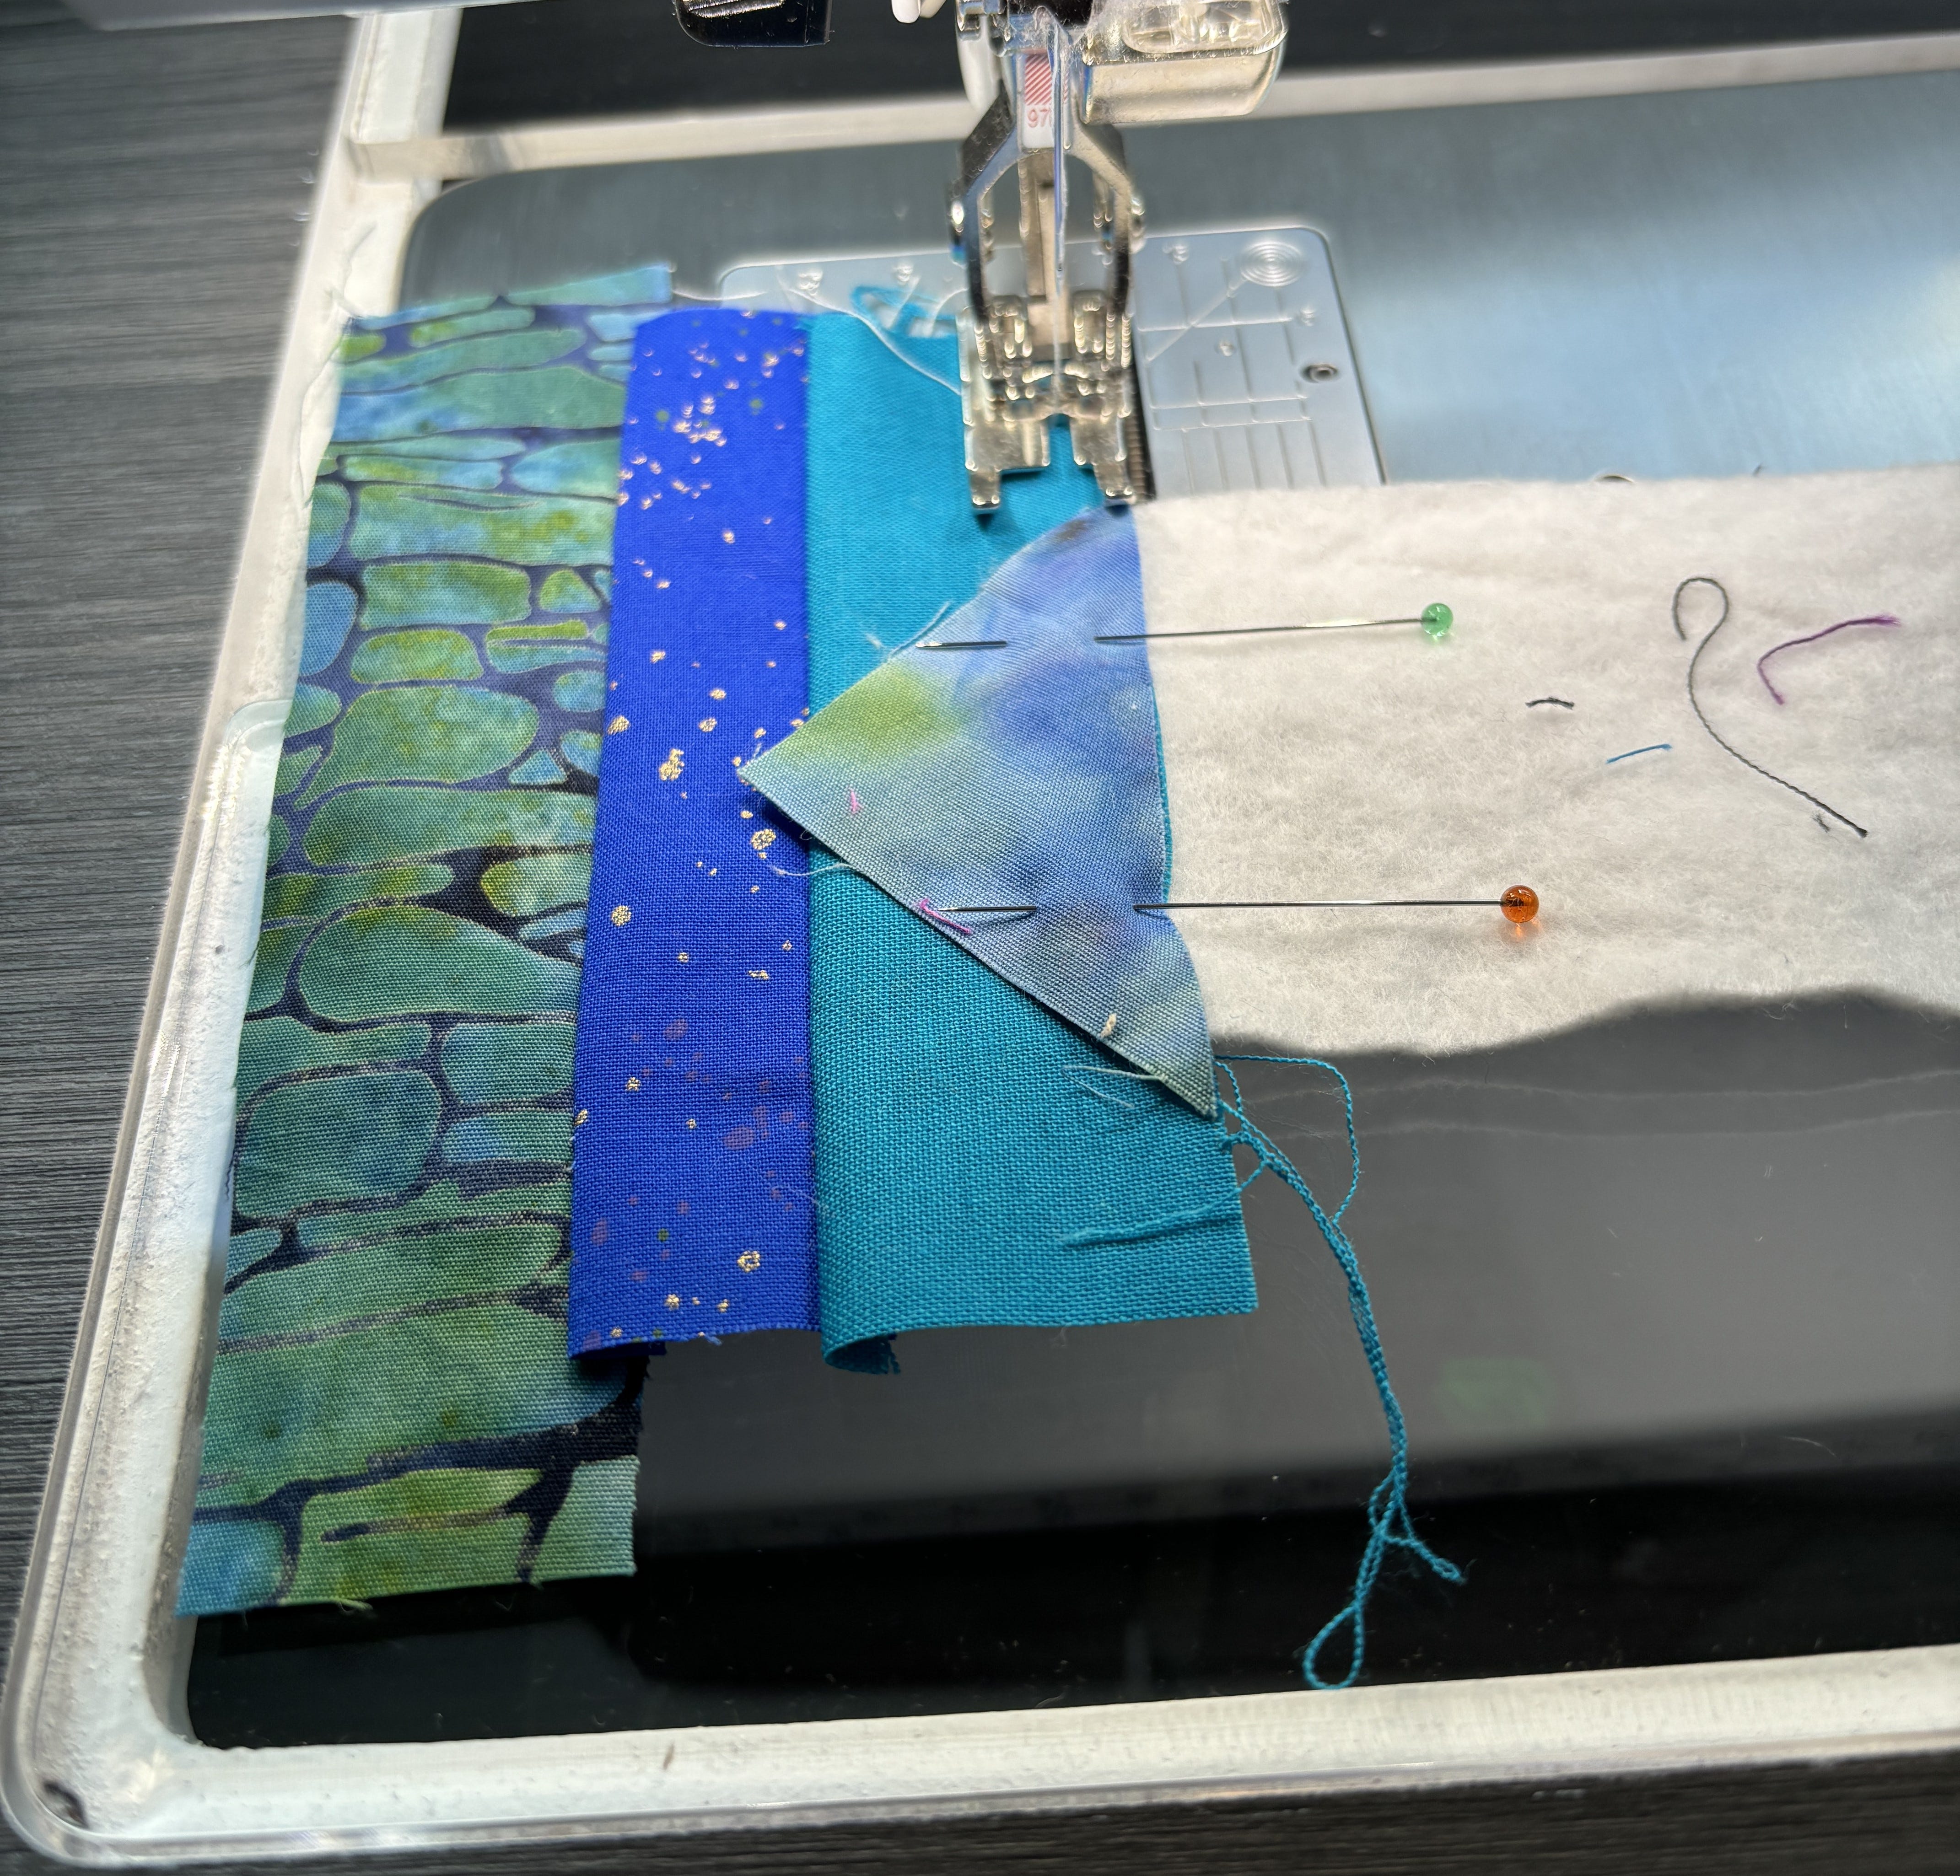
You can see, I sometimes add odd shapes to my piece. It complicates the piece, and I like that it looks a little more interesting than just straight strips.
Repeat until you have fully covered your batting piece.
Place your piece, batting side up, on your cutting mat and trim to 2 1/2" x 12".
Fold in half lengthwise, fabric sides together. Stitch closed with a ¼” seam allowance. Take a few back stitches at the start and end of your seam to secure.
Pinned with right sides together.
Turn your tube right side out, being careful not to rip your stitches. There are lots of different ways to turn tubes, and this one is a bit of a challenge. Be patient, and you will get it. I used a large safety pin on this one, combined with a chop stick, but forgot to take a photo in the excitement.
Press it nice and flat, then top stitch 1/4" away from the edge all the way around your piece.
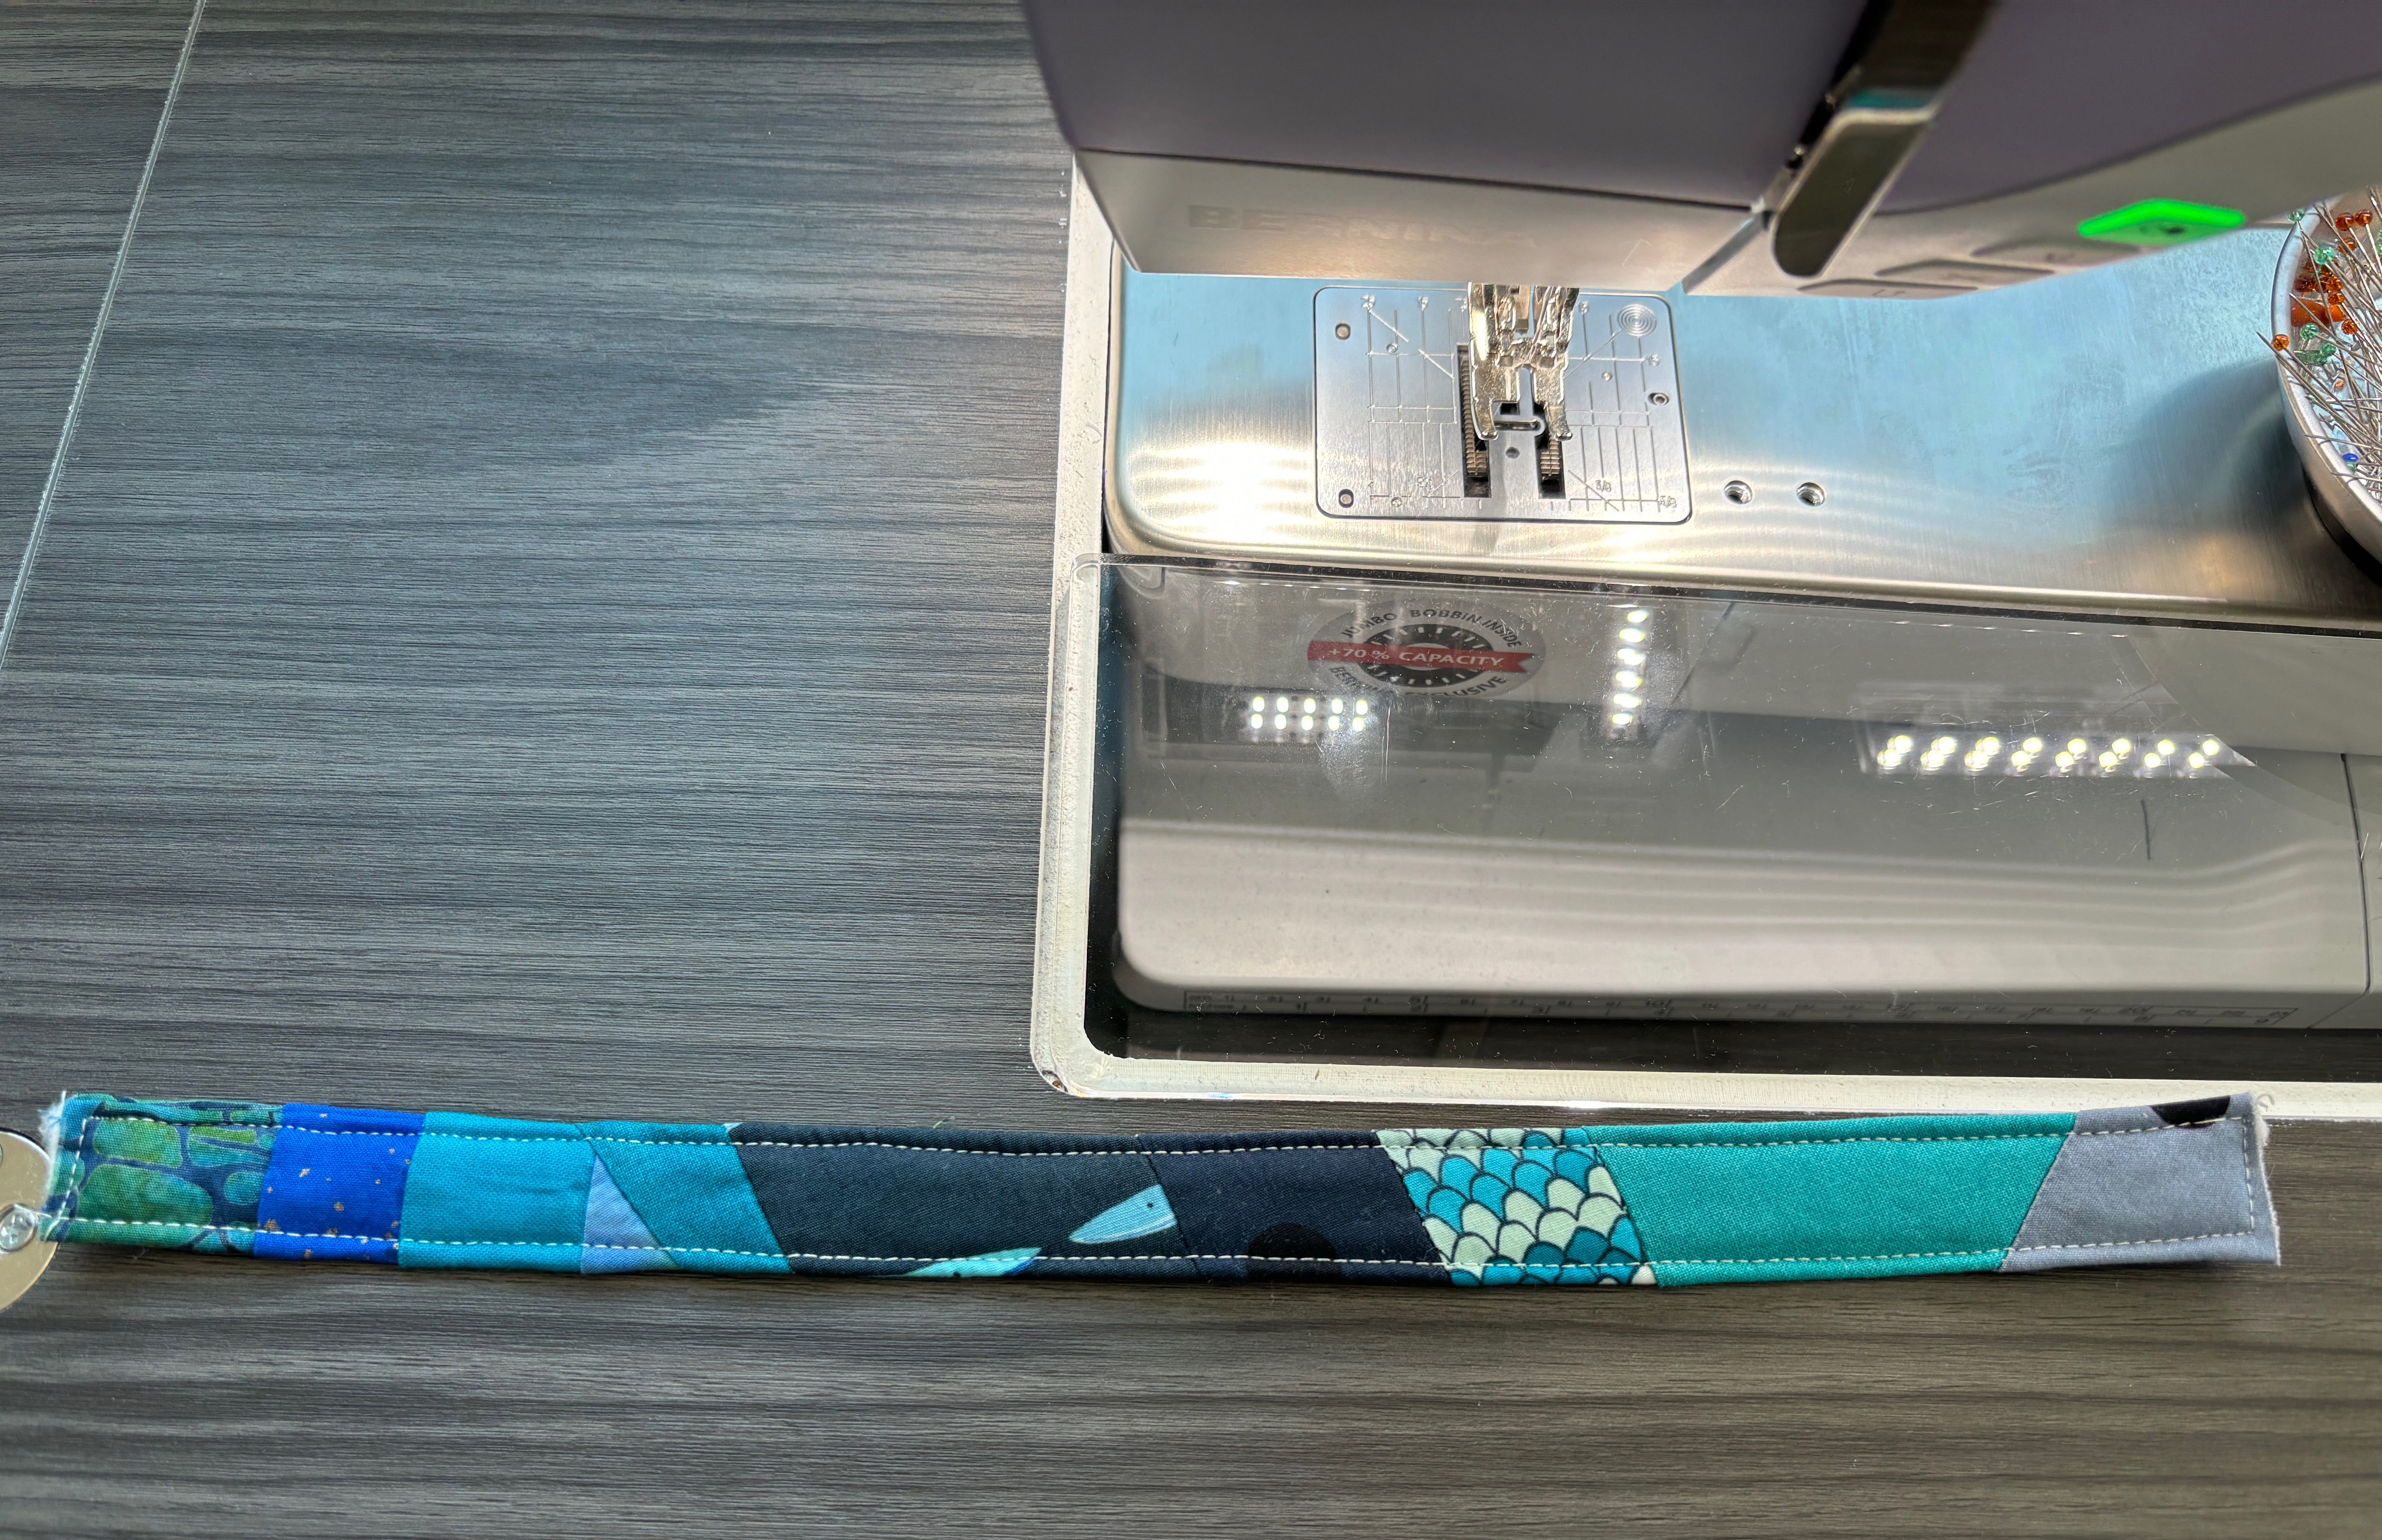
Top stitching gives a professional finish to your piece.
Fold in half with short, raw edges together, to make your key fob handle. Insert the raw edges into the clamp on the hardware and squeeze shut using pliers.
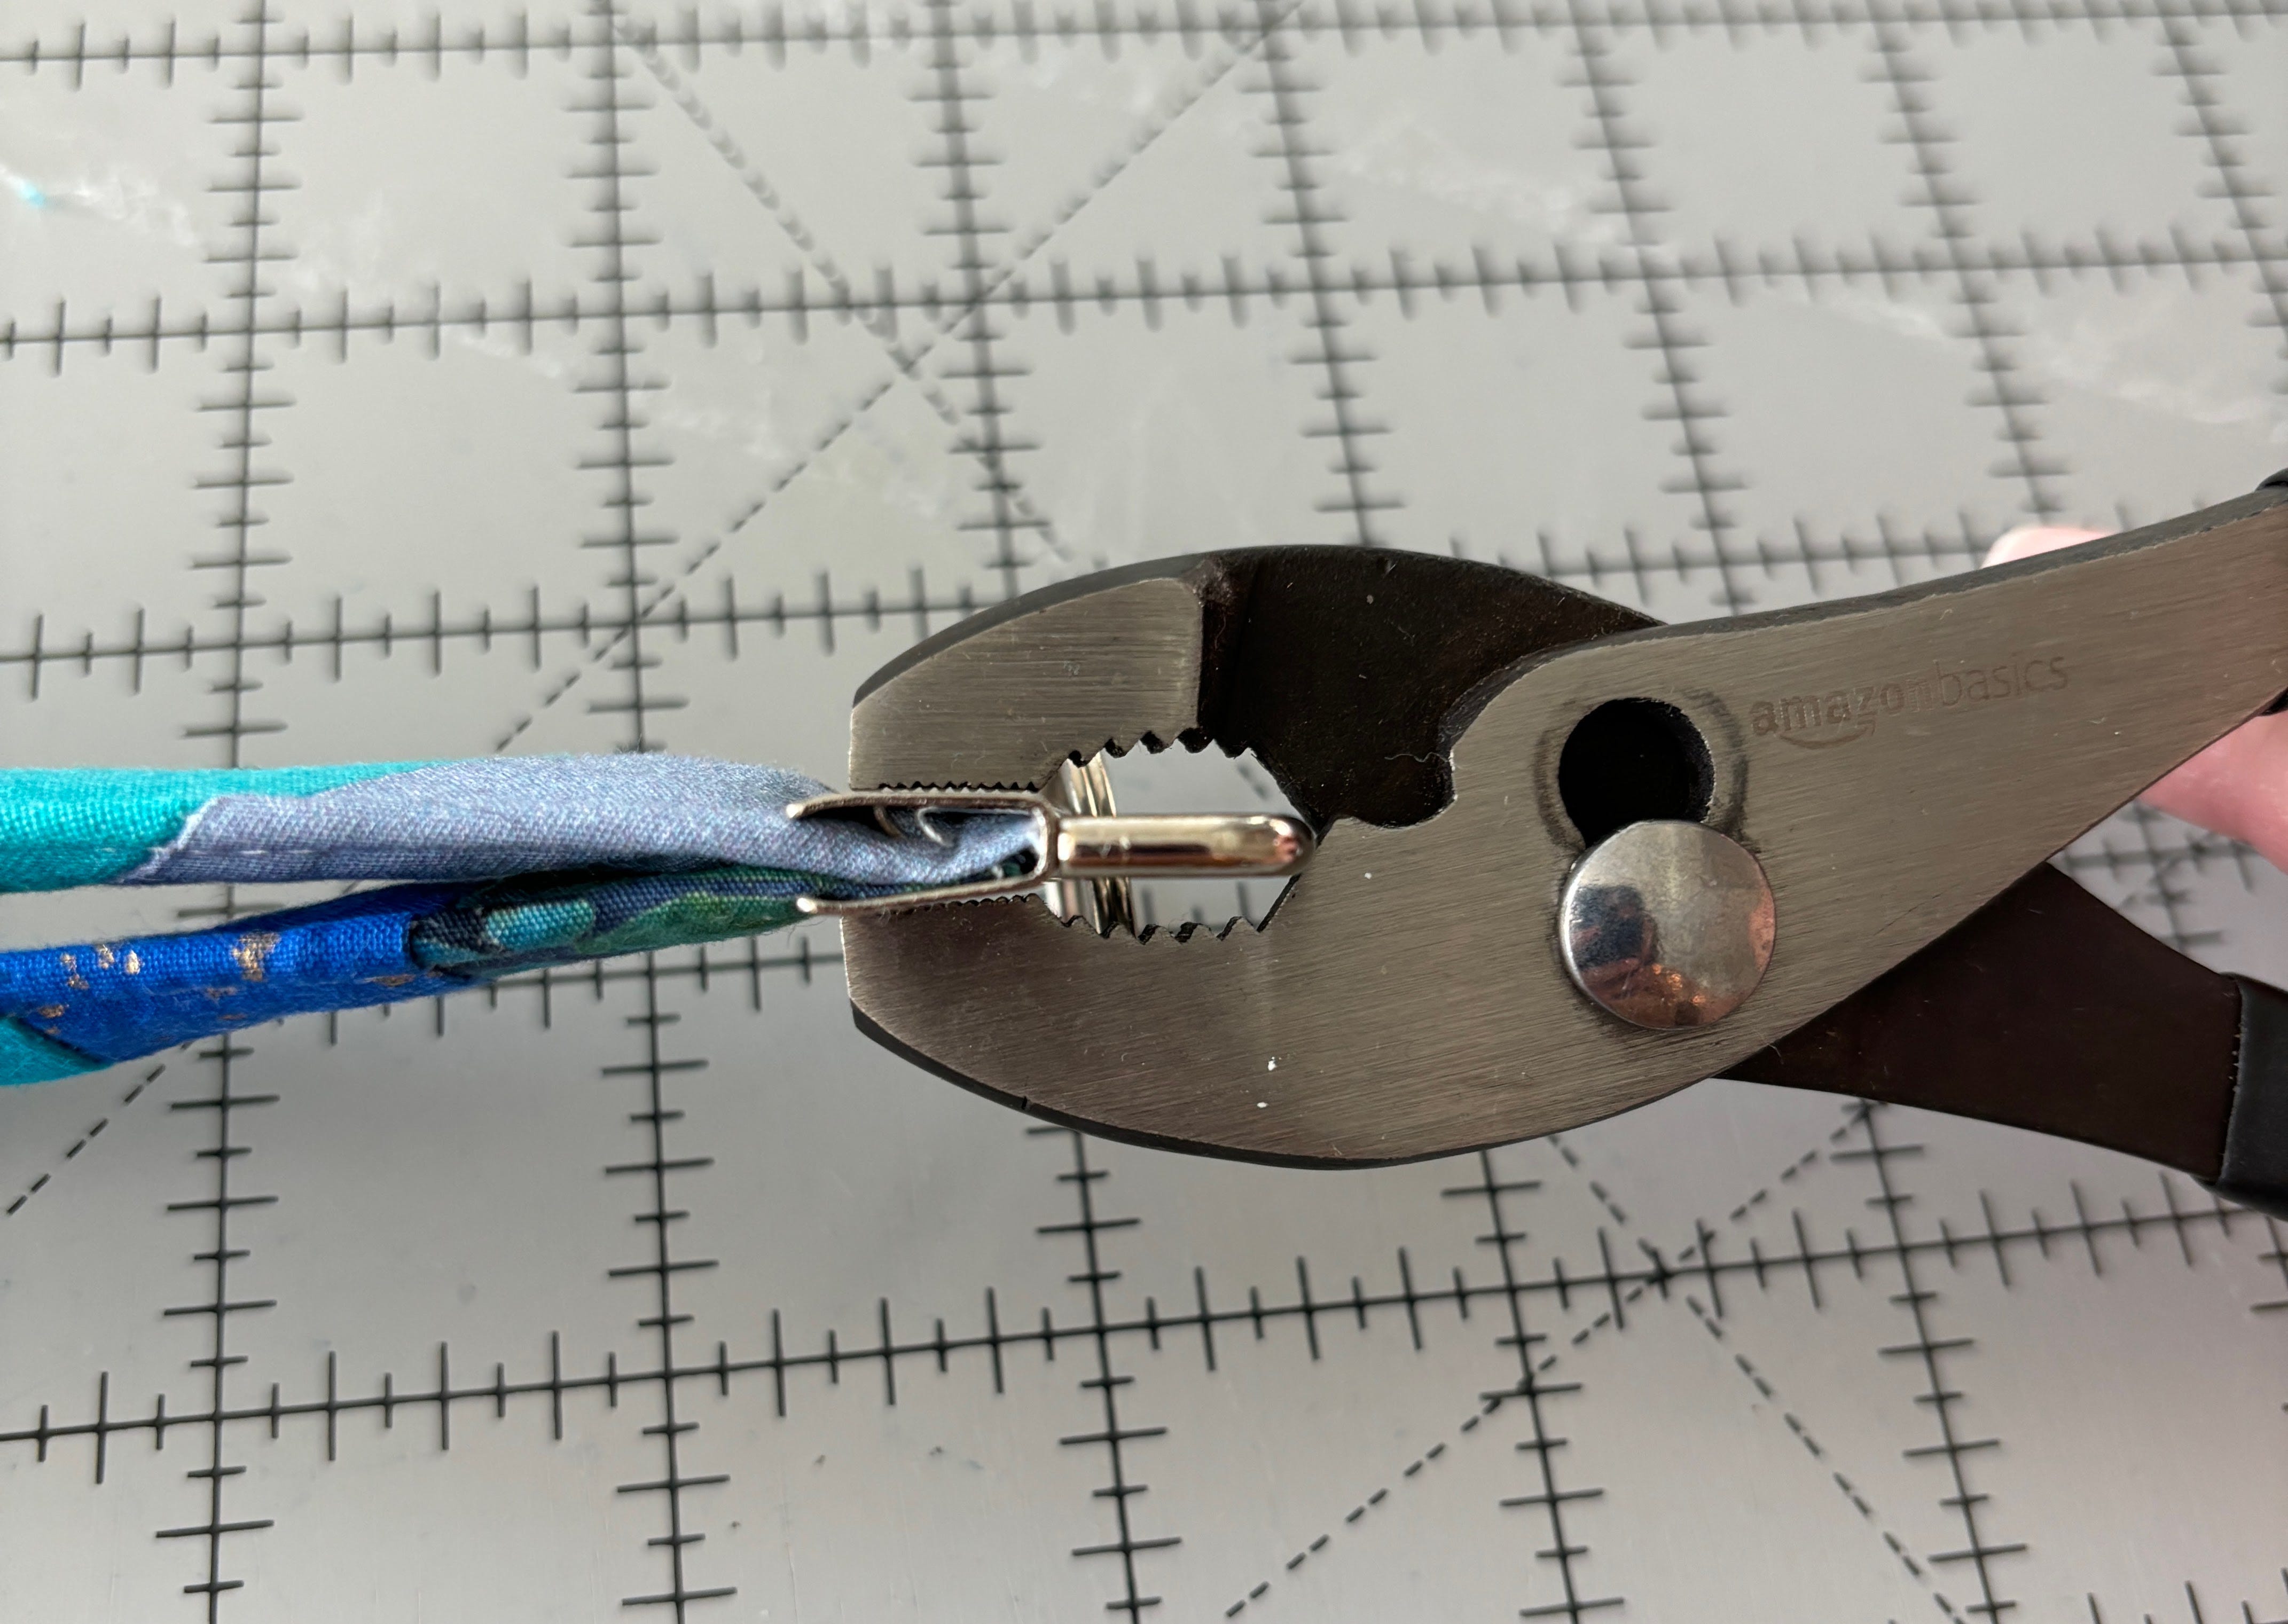
Squeeze the hardware together to secure the handle inside the hardware.
Done! Add your Scrappy Key Fob to your gift pile and admire all your hard work.
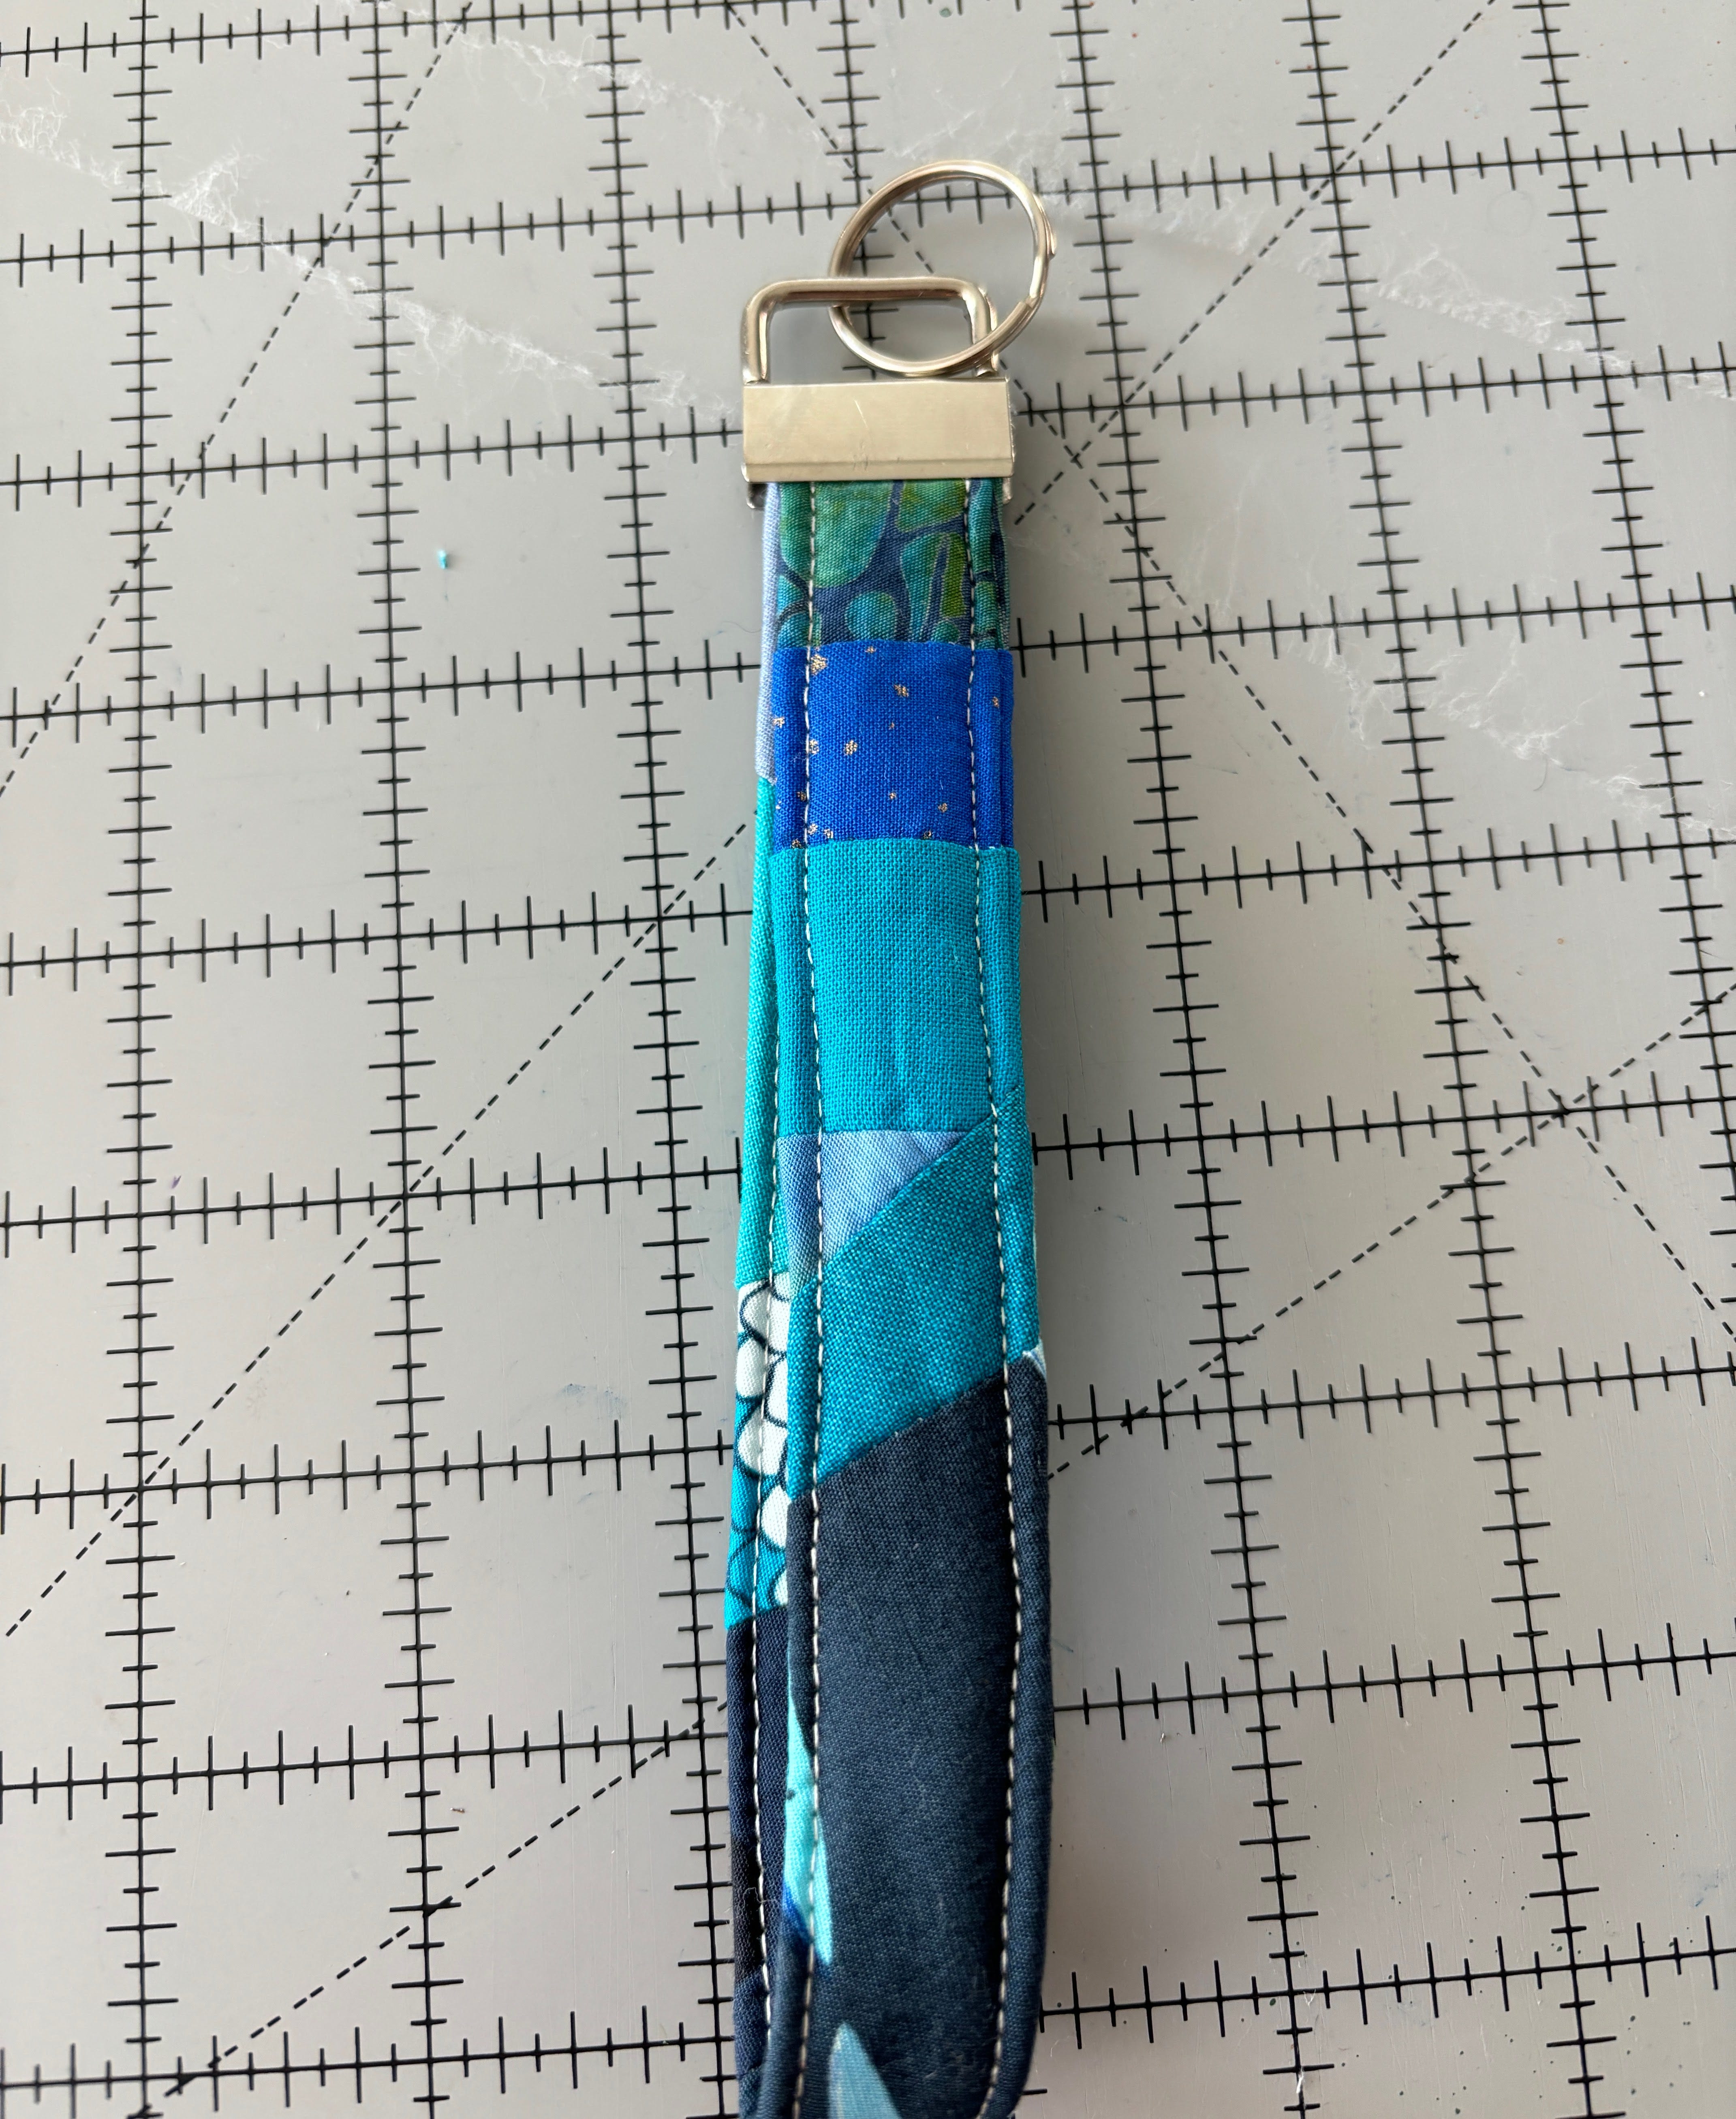
A finished Scrappy Key Fob, all ready for gifting.

This key fob makes a fun and useful gift for anyone on your list.

Eleven months done!


