

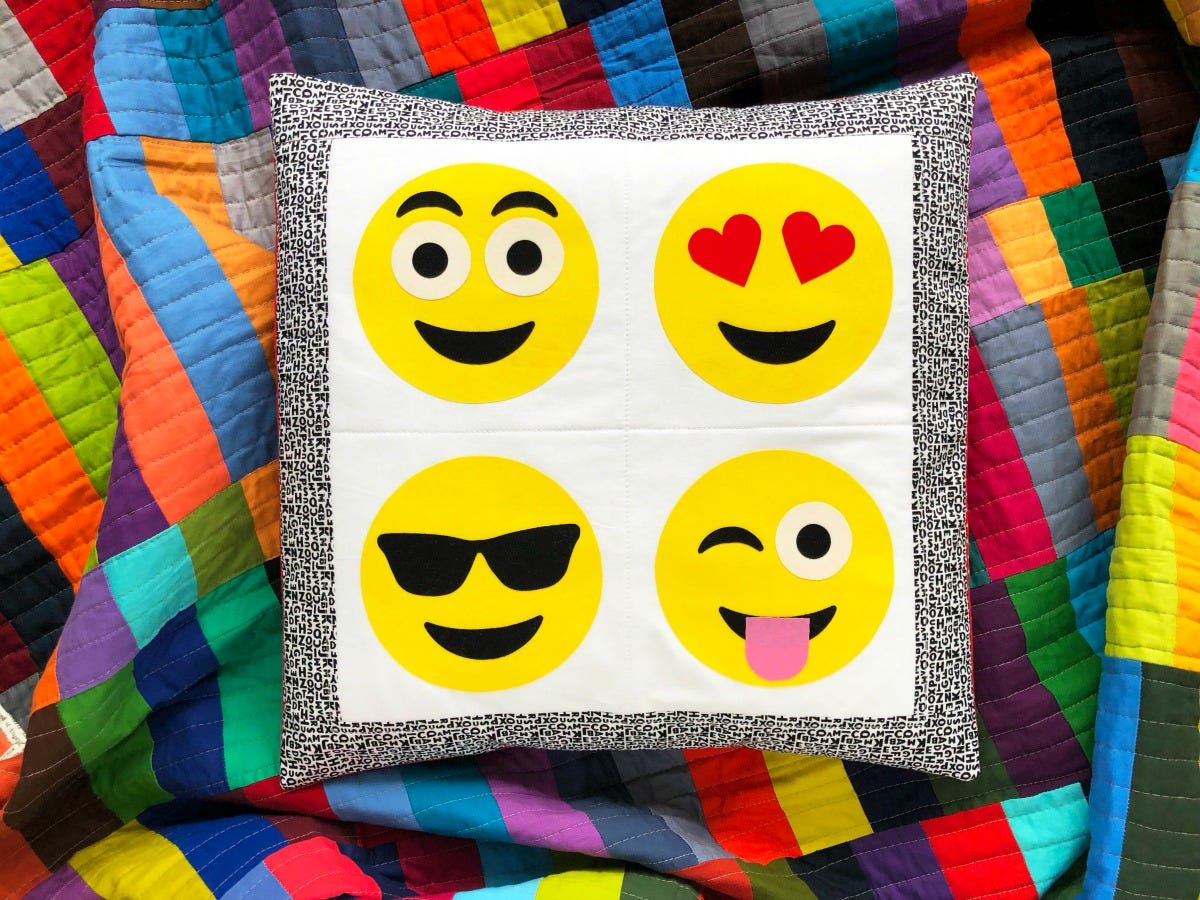
Hi everyone, my name is Nicole Daksiewicz from Modern Handcraft and I am here today to share a pillow project I created using the new AccuQuilt GO! Emoji Limited Edition (55191) die. Emojis are a perfect way to express your current state of mind - you can send a quick image and let your friends know you are happy, in love, excited or cry laughing so hard only the cry laughing emoji will do.
See all our 2019 Limited Edition dies here! They're not going to be here for long, so get them before they're gone!
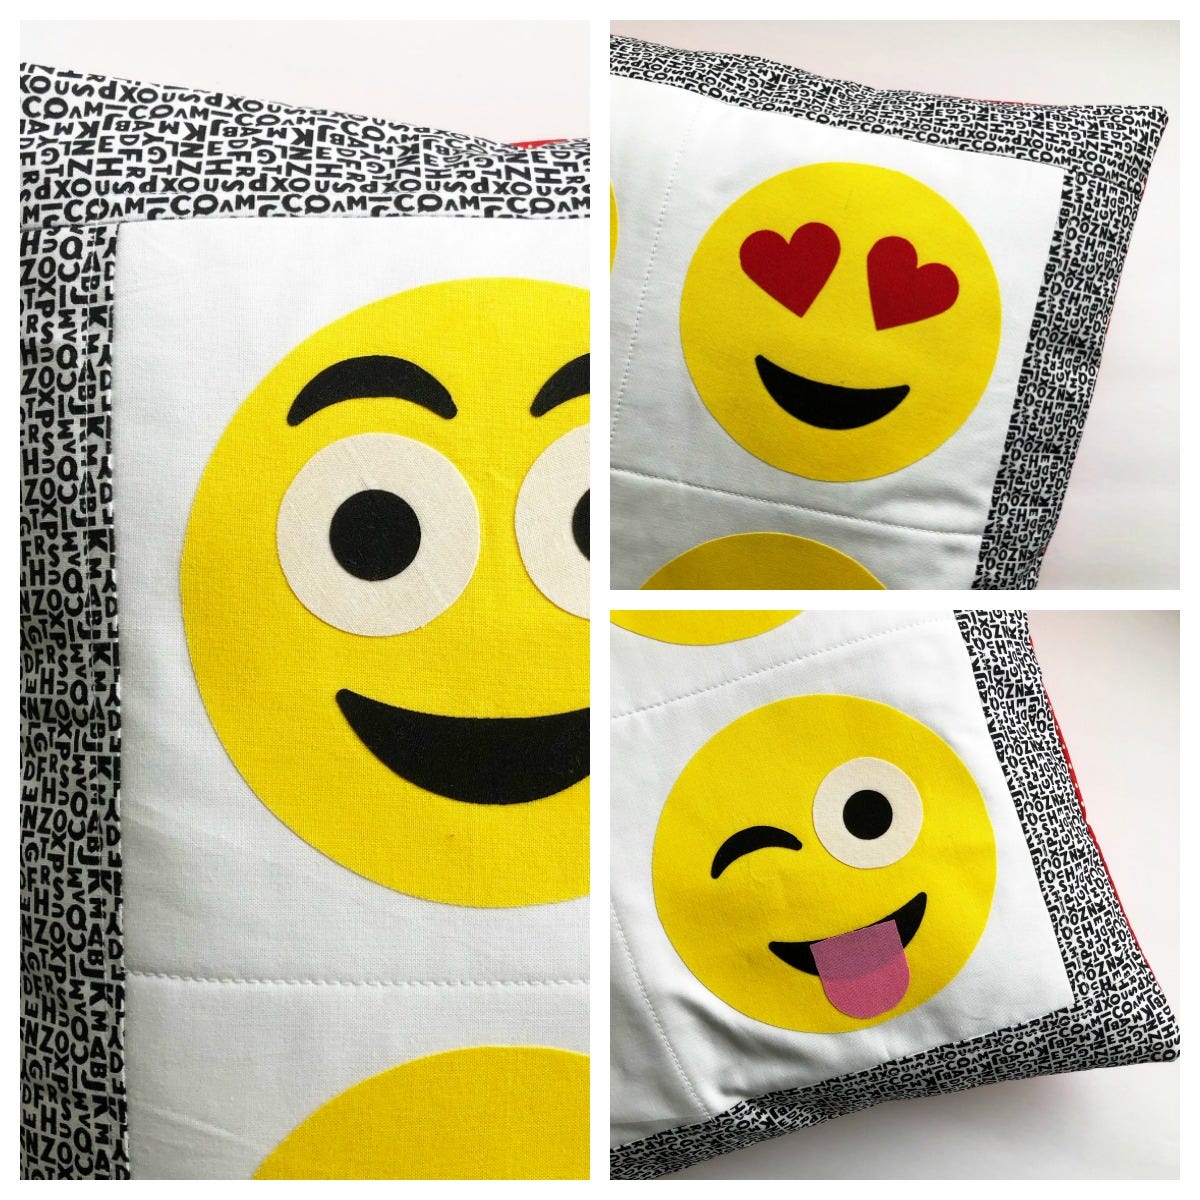
My son loved watching me make this pillow and helped choose the different combinations of faces to use. You can make this project more kid-friendly by having a pre-made pillow cover or canvas bag and assist them with the ironing. My guess is this will be a craft we make when we have his friends over or maybe a jumpstart on a craft for his next birthday party. The faces are totally customizable so he and his friends can play around with the expressions they like most.
Below are the faces my son and I chose for my pillow:
Materials needed:
- AccuQuilt GO! Fabric Cutter
- AccuQuilt GO! Emojis die (551122)
- GO! Cutting Mat 6" x 12"
- Main fabric square measuring 14" x 14" square
- Accent border fabric - Fat Quarter
- Scraps of fabrics for face, measurements for each part listed below
- HeatnBond Ultra Hold - no sew fusible
- (2) rectangles of fabric measuring 13" x 18" for envelope backing
- Fusible fleece or batting measuring 19" x 19" square
- General sewing tools: sewing machine, scissors, straight pins, coordinating thread, iron
Instructions:
1. Begin by preparing emoji fabrics for cutting by ironing on the Ultra Hold fusible to the wrong sides of your fabric pieces. Below is a guide for how large of a piece of scrap fabric you will need for each part. I like to cut my fusible just a bit smaller and iron onto the back. Let pieces cool completely before you try cutting with machine.

- Face 6" x 6"
- Sunglasses 2" x 5"
- Tongue 2" x 2"
- Heart 2" x 2"
- Eye 1" x 1"
- Eye (white) 2" x 2"
- Wink 1" x 2"
- Tear 1½" x 2½"
- Smile 1½" x 3"
2. Place die on cutter, foam side up. Place fabric on top of the shapes you want to use. Place cutting mat on top of fabric.
Note: You can pass 6 layers of fabric through the cutter at a time, but fusible is considered a layer. So, with fusible on each fabric piece, I'm cutting no more than 3 shapes at a time.

3. Push die, fabric and mat firmly against roller. Turn handle in direction you want the die to go. Remove mat, die-cut shapes and excess fabric. Add new fused fabric and cutting mat on top of die, repeat process until you have the required number of pieces cut.

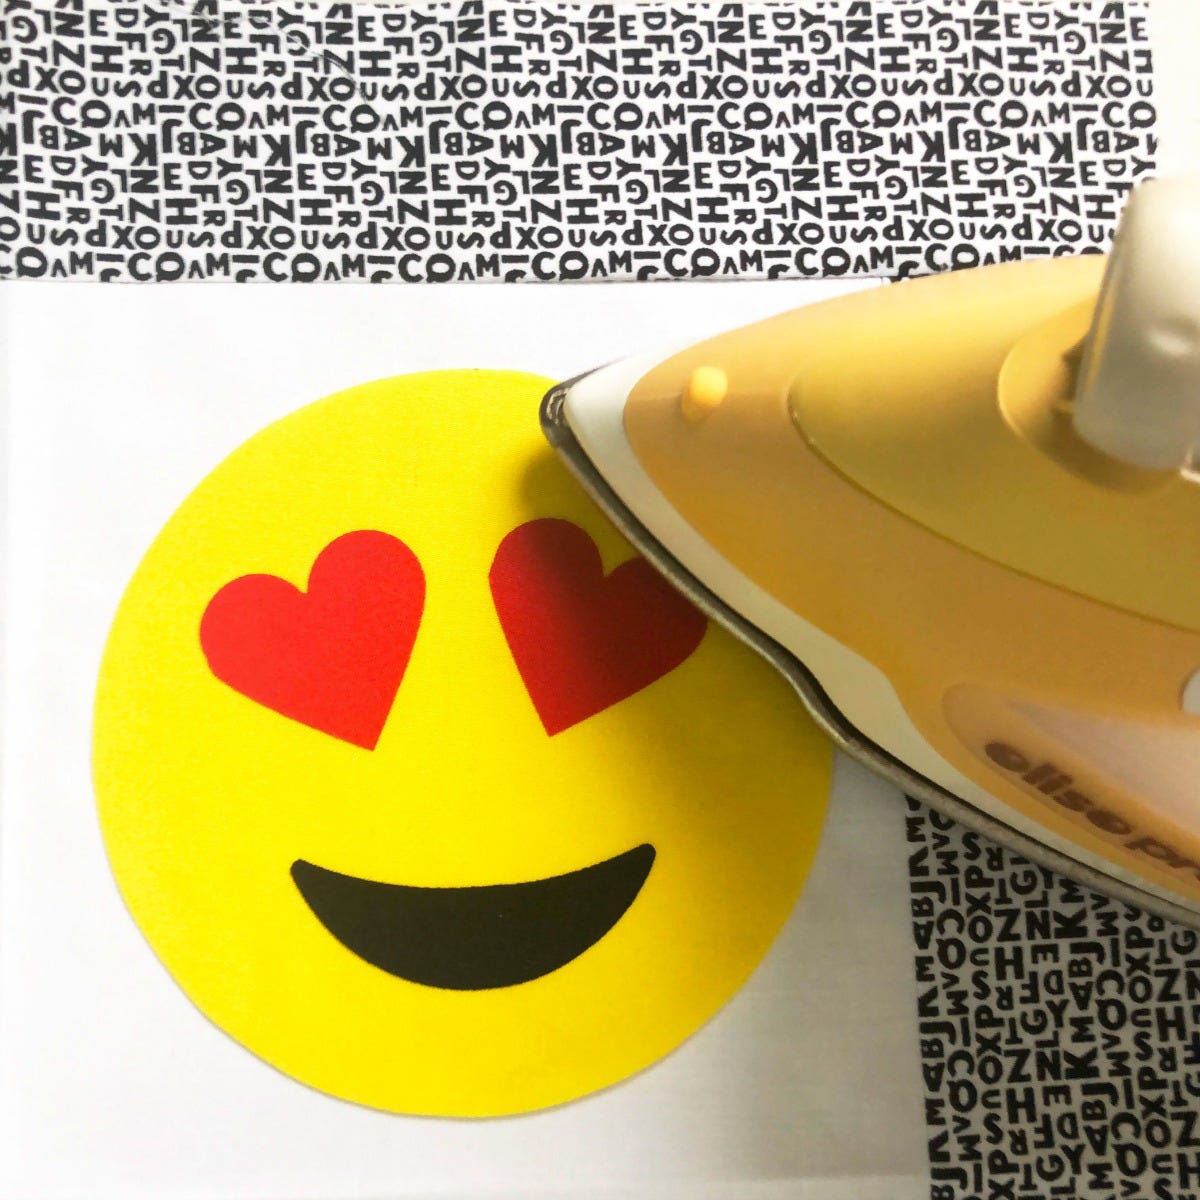
4. Only peel off the fusible paper from behind the pieces you're using to decorate the faces - do not remove paper from behind the face circle yet. Place shapes on the face in the position you want them to be and iron. Let cool.
Read more about the new Limited Edition GO! dies here!

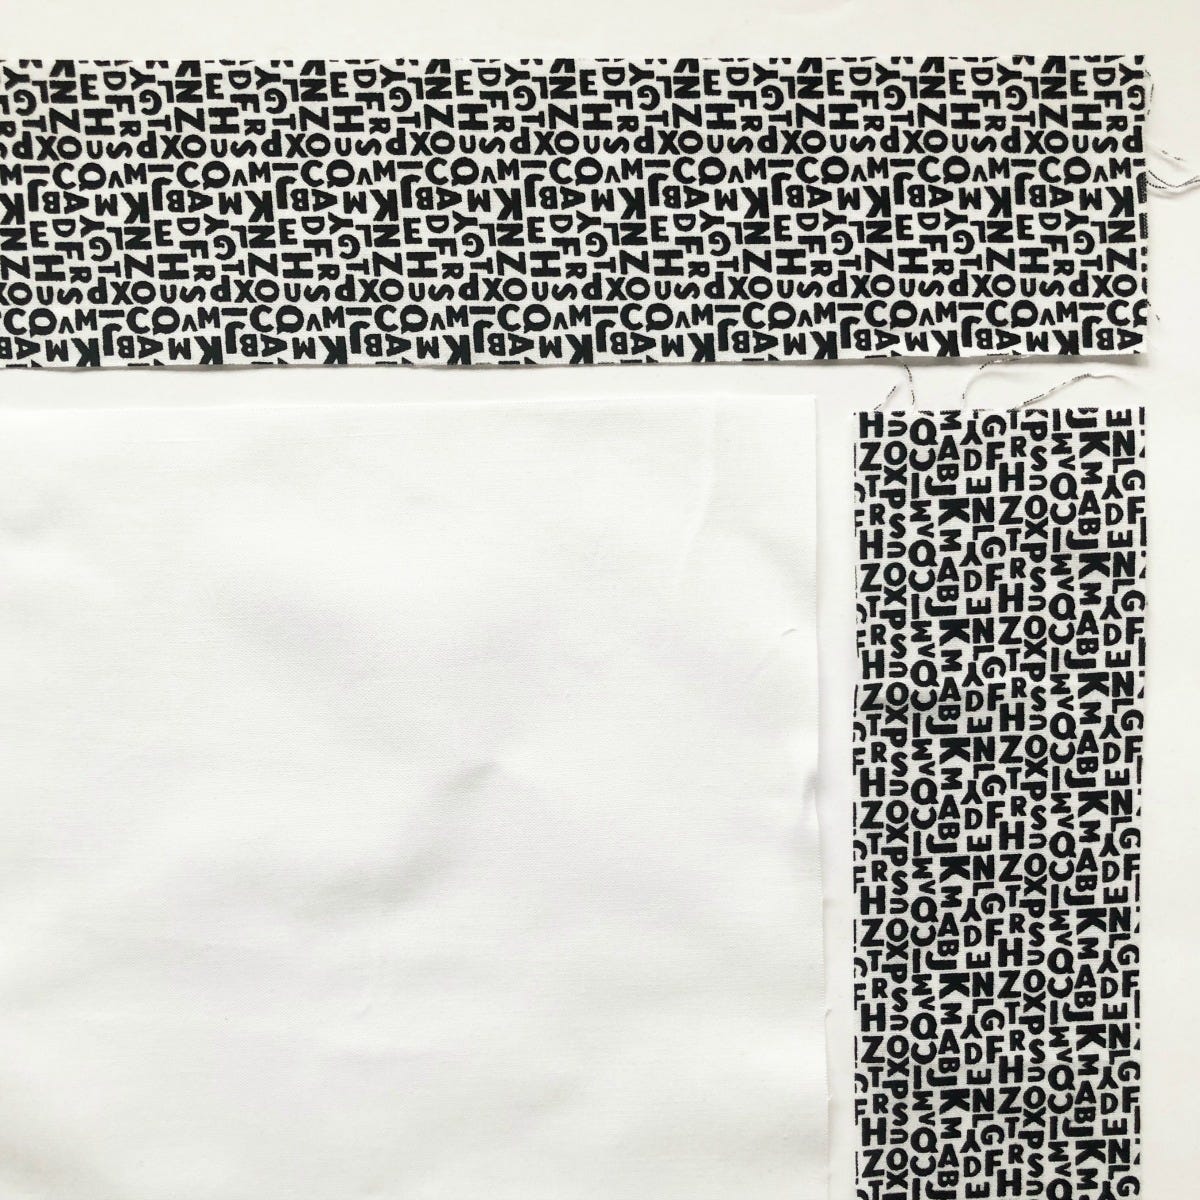
5. Prepare the background. For the pillow front, you will need a 14" x 14" square piece as your main background. If you're using a darker fabric, be mindful of the color change that could happen on your emoji. I chose a lighter fabric so the yellow stayed true to what I wanted the overall look to have. You will need to cut four 2½" x 18" strips from your accent border fabric. If you have the GO! Strip Cutter 2½" (2" Finished) (55017), this is a perfect time to use it for accurate strips.

6. Sew the border strips along two sides, trim away excess fabric and press the seams. Add the top and bottom border, trim away the excess fabric and press seams. Your square should now measure 18" x 18" square.
7. Place your emoji. To help space out the emoji faces, press pillow front in half and then in half the other direction to create a plus crease on the pillow. This will be our placement guide. One emoji per square centering between the creases.

8. Remove the paper backing from the fusible from the back of the emoji circle. Place and iron to set.
9. Once all four emojis have been ironed to the pillow front and it has cooled, iron the wrong side of the pillow front to the fusible side of your 19" x 19" square of fusible fleece. If you're using batting, basting spray is recommended for basting. You can quilt as desired, but I chose to stitch around the border and then follow the crease line that runs beside the emoji faces.

10. Prepare your envelope backing by taking your two 13" x 18" rectangles of fabric to your iron. Fold over one side along the 18" length ½" and press, fold again ½" and press, then sew along that fold to secure. Repeat for the other rectangle, only folding and pressing along one side of each fabric piece.

11. Constructing your pillow. With your pillow front facing up, lay one envelope backing face down with raw edges matching up - fold in the center. Repeat for other side, face down with raw edges matching up other side of pillow. Fold in the middle of the pillow - this will be the opening of the pillow once we have sewn around the perimeter.

12. Pin pieces in place using straight pins or clips. Sew around the perimeter and if your machine has a zig-zag stitch, go around it once more to secure any loose threads on raw edges.

13. Turn right side out, gently poke out corners and press. You now have a cute emoji pillow ready to decorate your room!

There are so many different combinations you can use to create a truly custom piece. I think my son's favorite was the happy face with the eyebrows. I hope you enjoyed this project and am looking forward to seeing all of the creative ways this die will be used.
Did you create your own project using the GO! Emoji Limited Edition die? Share it with us on Facebook, Twitter, YouTube, Pinterest, and Instagram. Don't forget to add #AccuQuilt so we can see!
Want to print or save this tutorial for later? Enter your email below to download and save!


