
 888-258-7913



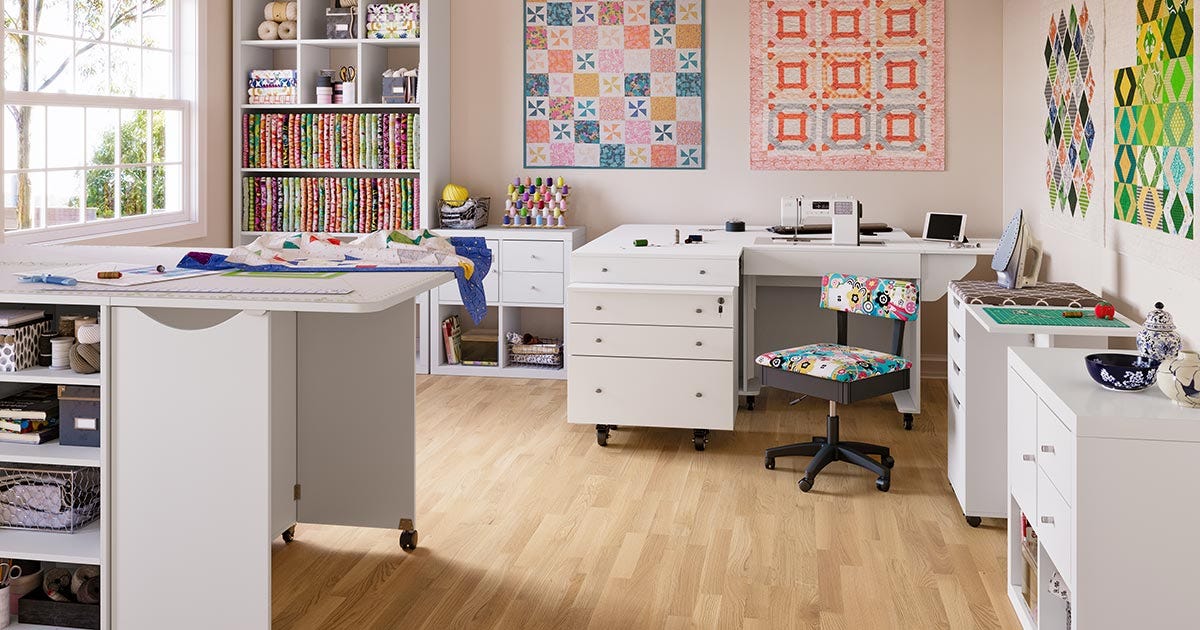
We did it! We survived the holidays and now comes quilting season. January is cold and can be nasty around these parts, so I like to get my sewing studio cleaned up and ready to jump into new projects, or maybe even finish up some UFO’s (UnFinished Objects). Traditionally, many quilters will start a new project on New Year’s Day, but after the whirlwind of finishing up projects for gifts and all that the holidays bring with them, a little clean-up time is well worth it.
Organizing your space now gives you a clean, refreshed area to help set your creativity free. I have found that a cluttered and disorganized space can really put a damper on my desire to sew, so let’s get started.
Step 1: Start with a Clean Slate
Are you a person who will empty a room/space completely when you are ready to give it a good cleaning? Typically, I don’t do this – but I am very impressed by those who do! This lets you really start from “scratch” by only moving back in the things that you want in the space, once it’s thoroughly clean, that is. While everything I’m talking is a form of cleaning, I like to start by literally cleaning the space. That means putting things back where they belong if they already have a designated spot, wiping down all the surfaces and vacuuming the floor. Will you need to do it again? Probably, but basic cleaning is key, even if you don’t empty the entire area!
What if you don’t have a designated space for something? Ah, that’s the key, right? Put those things aside and get them out of the way – out of the room, if possible. We will be getting to that in our next step!
If your sewing space is an entire room where you can shut the door, that’s fantastic, but many of us sew out in the open spaces of our home making it even more important to stay clean and organized.
Step 2: Evaluate the Space
Now that the basic space is clean and the clutter has been removed, it’s time to take a good look at your space and make sure it’s providing you with everything you need. I think it’s easiest to start big by evaluating the large pieces of furniture in your area.
Do you have actual sewing furniture or are you making due with whatever is on hand? Are you sewing in a cabinet with a recessed area for comfortable sewing or are you sewing on your grandmother’s old dining room table? What about your chair? Is it comfortable for sewing or are you using an old chair that makes it uncomfortable to sew for long periods of time?
Do you have furniture to provide added storage such as bookcases and drawer space? How about a cutting surface and don’t forget about an area for pressing! Just because you have been using that table, desk or chair for years doesn’t mean that you are stuck with it for life, so really think about how each piece is either helping or hindering you.

This is also the time to look at how you store smaller things in your space and evaluate those to see if they are really working for you. Don’t forget to think about your fabric collection and how you have it organized. Is it contained or busting out all over? Here’s a list of some of the things you might want a new system for:
- Sewing tools and notions
- Thread
- Patterns
- Pre-cuts
- GO! dies
- GO! cutting mats
- UFO’s
- PIGS (Projects In Grocery Sacks)
- Yardage and Fabric Collection
- Scraps
How do you decide if your current systems are working for you or not? These may be the areas that were the messiest when you started, but they would certainly include any items found in cleaning that did not have a designated “home” to go to – or those items that have outgrown their home.
For me, it helps to make a list of what needs to be changed or contained in a new way. Be brutal! You may have invested in a dozen lovely baskets to hold things on shelves, but do they really work for how you sew? Be sure to include anything that you may want to update or change here – from new storage solutions to new furniture and accessories, just put it all down. This will help ensure that your new solutions will be exactly what you need.
Step 3: Look for Inspiring Solutions
This is the perfect time to pull up that old Pinterest board you started for creating your sewing space and see if there are any ideas that you really love, any styles or looks that really catch your eye. Inspiration can come from anywhere, so keep your eyes open.
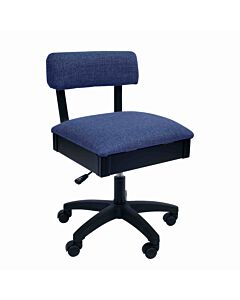
A great place to turn is AccuQuilt.com with Arrow Furniture. If you aren’t comfortable with your current accommodations, you may find just what you need here, starting with a comfortable sewing chair. AccuQuilt’s own Pam Heller recently thought there was something terribly wrong with her health – she was sore and aching through her back, neck and shoulders. Suddenly she realized it started when she moved her sewing to a different area of the house and started sitting in a wooden dining chair to sew instead of her Arrow Hydraulic Sewing Chair!
Do you need to make the most of the space you have available to sew in, like your living or dining room or bedroom? Check out the sewing cabinets that Arrow has to offer. They have expanding cabinets that can give you extra space for sewing, additional storage for your equipment and more. They have solutions in all types and sizes, but something like the Aussie Sewing Cabinet will open up to give you a huge work space (100½” x 45¾”) while keeping the ability to close up and be only 43¾” x 22¼” so you can use it as a buffet or sofa table! It even is available in two different finishes, teak and white, to fit any décor.
If you’ve been prepping your fabric while hunched over a folding table, maybe it’s time to straighten out your back and upgrade to something like the Kookaburra Cutting Table, that folds out to give you a 70” x 40” space for cutting and creating, but folds down to be just 40” x 20”. It even includes drawers for storage! Don’t forget to add in one of their amazingly large cutting mats for the top!
-
 Kookaburra Cutting TableOut of stock
If you have limited space and need your sewing furniture to do double duty, check out the Millie Cutting & Ironing Table. If you, or someone you know are just starting their quilting journey, be sure to check the great value of starting with either the Complete Quilting Starting Pack or Complete Quilting Starter Pack for Beginners so they can have what they need to be successful from the start with a GO! or GO! Me Fabric Cutter!
-
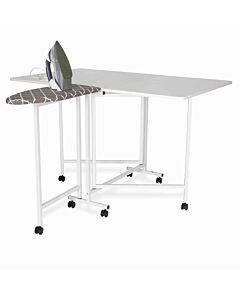 Millie Cutting & Ironing TableSpecial Price $699.99 Regular Price
$899.99You Save $200.00Out of stock
Step 4: Storage is Key
For most of us storage is the next key to helping us have an organized space to create in. Most of us will need both big and small storage solutions – big solutions for storing our GO! dies, fabric and batting, smaller storage solutions for keeping projects all together, scraps and books and even smaller storage solutions for things like thread and sewing supplies, so let’s explore some options!
If you were browsing through the Arrow sewing cabinets, you may have noticed some great drawer units for storage, but you may have missed their wonderful 3-Shelf and 4-Shelf Fabric Display units. These are incredibly useful if you have fabric by the bolt, but they can also provide storage for your GO! dies.
-
 3-Shelf Fabric DisplaySpecial Price $1,599.99 Regular Price
$1,999.99You Save $400.00Out of stock -
 4-Shelf Fabric DisplaySpecial Price $1,699.99 Regular Price
$2,199.99You Save $500.00
GO! dies should always be stored on their end or sides, like books on a shelf, so shelving units work well for keeping your dies organized – but you need to be sure that those are sturdy shelves! Shelving can also help with organizing books and fabric. I have fabric that is around fat quarter size and larger scraps in baskets on my shelves arranged by color, and baskets are great for holding things and helping keep your space tidy.

One of my favorite features of the GO! Qube System is how the dies come in their own storage boxes to keep them neat and organized. GO! Qubes fit beautifully on sturdy shelves. I have mine right there by my cutting station. You can also purchase die storage cases to hold non-Qube dies together.
AccuQuilt also offers two great options for storage racks. The first is perfect for keeping the dies you are currently working with handy and ready to GO!, but it can also work for rulers, books, patterns and more. The Wire Storage Rack that holds 5 GO! Strip Cutters is one of my favorite products! It’s perfect for setting up along the floor or on a counter to hold those long dies upright.
-
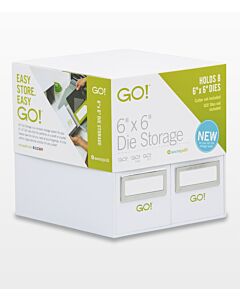 GO! 6" x 6" Die StorageSpecial Price $34.99 Regular Price
$44.99You Save $10.00 -
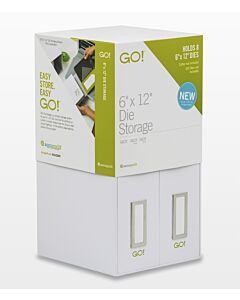 GO! 6" x 12" Die StorageSpecial Price $34.99 Regular Price
$44.99You Save $10.00 -
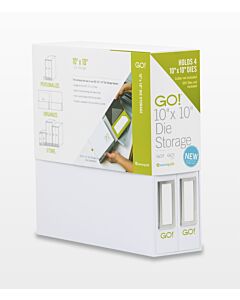 GO! 10" x 10" Die StorageSpecial Price $34.99 Regular Price
$44.99You Save $10.00 -
 Wire Storage Rack - Holds 5 GO! Strip Cutters, GO! Big Dies or Studio G, SG or SLC DiesSpecial Price $69.99 Regular Price
$84.99You Save $15.00 -
 GO! Die Storage RackSpecial Price $39.99 Regular Price
$49.99You Save $10.00
Tip: If you store your 24” long dies on the floor or bottom shelf, it’s helpful to use a marker and write the name of the die on the top edge, so it’s easier to find what you need!
All kinds of baskets and totes can be used for storage. I have big plastic tubs ones for batting pieces, smaller ones for fabric by colors or for projects. A set or two of the GO! Strippy Catch-All Baskets will not only provide storage but add a fun, personal touch to your area.
Some great smaller storage solutions you can make for yourself are bowl cozies made with the GO! Big Bowl Cozy die or the GO! Small Bowl Cozy die. June Tailor Quilt-As-You-Go projects like the Sewing Machine Cover & Caddy kit or the Utility Shopper Totes can also add a little storage with a big dose of color. I love the Project Bags Quilt-As-You-Go Kit with the Zippity-Do-Done™ Zipper for keeping smaller projects all together or to use as I am gathering different fabrics together for a new project. This comes with 2 bags in the kit and they are large enough to hold your pattern or book plus plenty of fat quarters! They also work really well for needlepoint, English Paper Piecing and hand embroidery.
Smaller bag kits such as the Cosmetics Bags Quilt-As-You Go Kit with Zippity-Do-Done Zipper, Crafty Clutch or Grab ‘N Go Tote also with Zippity-Do-Done Zippers are fun to make and perfect for sewing notions – whether you are sewing at home or taking your projects along with you to a retreat, class or friends house.
-
 GO! Strippy Catch-All Basket PatternSpecial Price $0.00 Regular Price
$2.99You Save $2.99 -
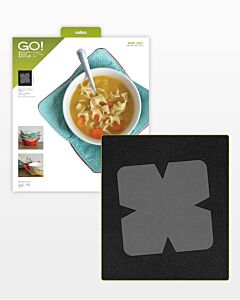 GO! Big Bowl Cozy DieSpecial Price $129.99 Regular Price
$149.99You Save $20.00 -
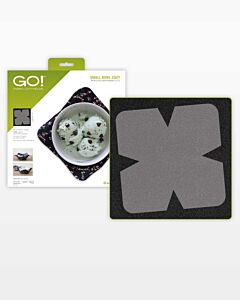 GO! Small Bowl Cozy DieSpecial Price $99.99 Regular Price
$114.99You Save $15.00 -
 Sewing Machine Cover & Caddy Quilt-As-You-Go KitSpecial Price $34.99 Regular Price
$38.99You Save $4.00 -
 Utility Shopper Totes Quilt-As-You-Go Kit (3 Pack)Special Price $37.99 Regular Price
$41.99You Save $4.00 -
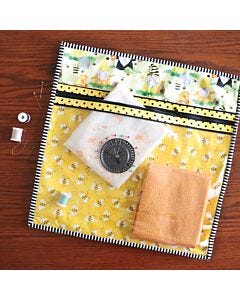 Project Bags Quilt-As-You-Go Kit with Zippity-Do-Done™ Zipper (Set of 2)As low as $29.99 Regular Price $31.99
 -
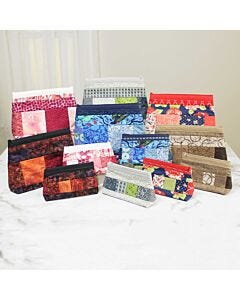 Cosmetics Bags Quilt-As-You-Go Kit with Zippity-Do-Done™ Zipper (Set of 2)As low as $29.99 Regular Price $31.99
 -
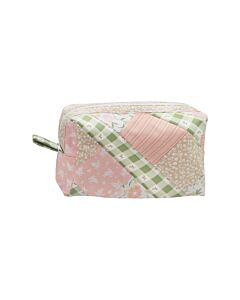 Crafty Clutch Quilt-As-You-Go Kit with Zippity-Do-Done™ Zipper - WhiteSpecial Price $24.99 Regular Price
$26.99You Save $2.00 -
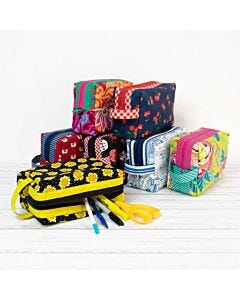 Grab ’N Go Tote with Zippity-Do-Done™ ZipperAs low as $23.99 Regular Price $25.99
If getting all new furniture or storage solutions aren’t an option, try looking around your house for items that might be perfect – plastic shoe boxes, large glass jars, trays and assorted baskets that you already have may be just the thing to help out in your sewing space.
Step 5: Execute the Plan and Final Touches
You’ve cleaned. You’ve organized. You’ve made and planned and it’s time to GO! This is when you will really appreciate the hard work you put in when you first got started on this organizational journey. Bringing everything back into your space in an orderly manner means that you are that much closer to the fun part – getting to sew and create in your clean and tidy space!
With everything back and in order, make sure to add some little touches to make it really feel like your space. This is a great time to hang some mini quilts or wall hangings – or to change out some that are already hung. Maybe a new rug would be fun, a comfy bed for a pet who likes to “help” you sew or maybe a new mug mat. Now is a great time to get crafty and have fun creating a space where you can truly feel comfortable and let your imagination soar.
Is there any better feeling than walking into a clean space and being able to find just what you need? Well, maybe, but “future you” will thank you for jumping in and starting the new year with getting your space ready for the quilty year ahead! Happy New Year, everyone!


