


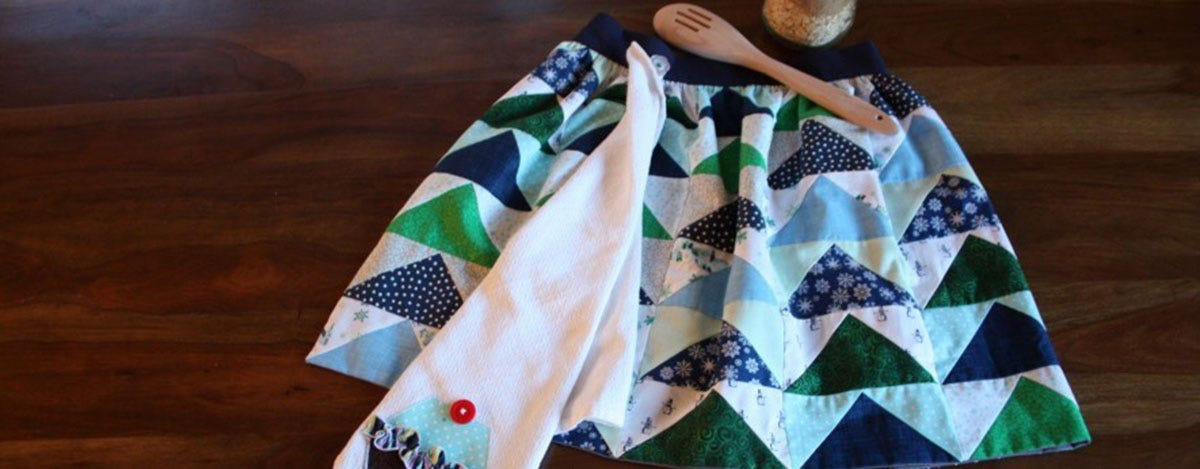
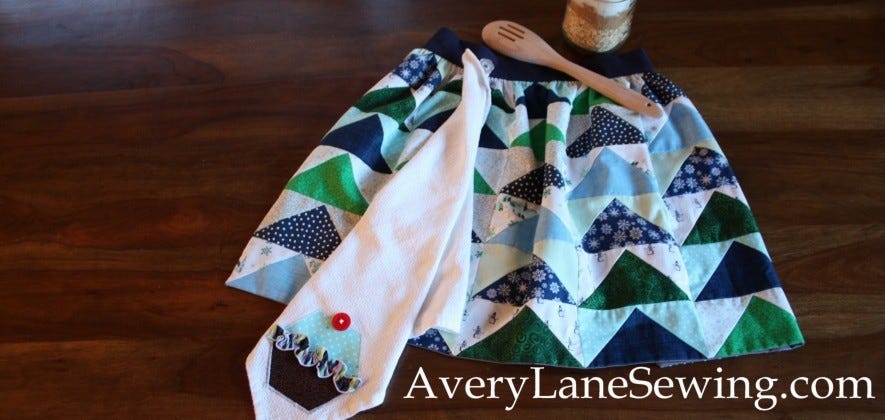
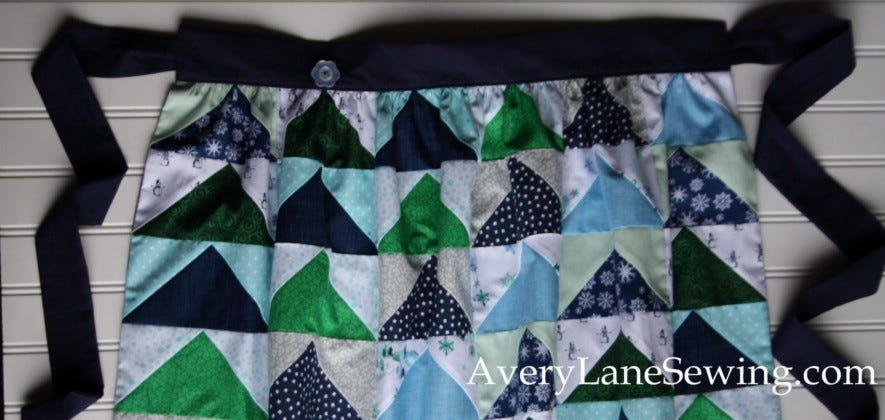
Greetings! Erin Hentzel from Avery Lane Sewing here to share a pretty flying geese apron sewing tutorial for you to make. With the holidays right around the corner, we're all busy in my home making gifts to give to others. I love creating a handmade holiday atmosphere in my home, so I also do a lot of baking with my kids during this time of year. The kids love giving homemade breads and treats to our neighbors. For me, I feel it's nice to have a pretty apron to wear while baking and entertaining friends and family throughout this festive season.
This apron would make a fun gift to give to a new home owner or for the hostess of a holiday dinner or party you plan to attend this season-maybe with a warm loaf of homemade bread. I added this apron to a cookie in a jar baking kit and a hexagon cupcake appliqué dish towel for a nice gift set. The tutorial for the quick (and cute) cupcake appliqué dish towel project is on my blog and can be found by clicking here.
Supplies Needed
AccuQuilt Cutting Die: GO! Flying Geese-3 1/2" x 6 1/2" (3" x 6" Finished) #55456
Flying Geese:
6 fat quarters of light fabrics
6 fat quarters of dark fabrics
Lining: 1/2 yard
Ties and waistband: 3/4 yard of a complimentary solid cotton
1/2 yard fusible interfacing
1 large button
Cutting Instructions
From the dark fabrics cut:
4 1/4" x 7" rectangles or 7" strips
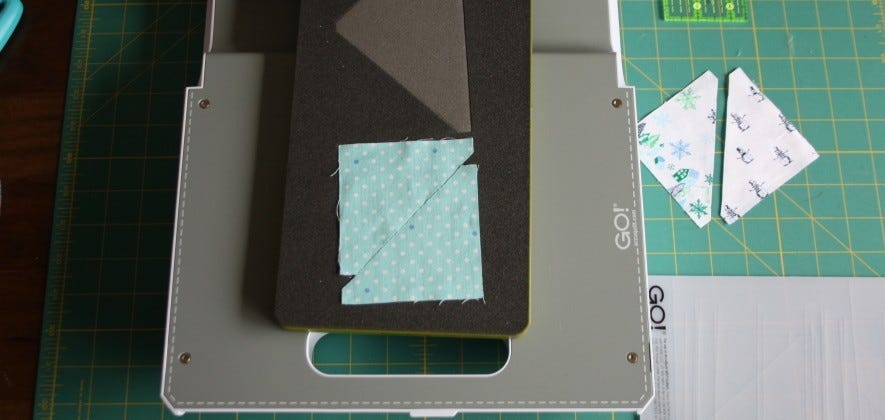
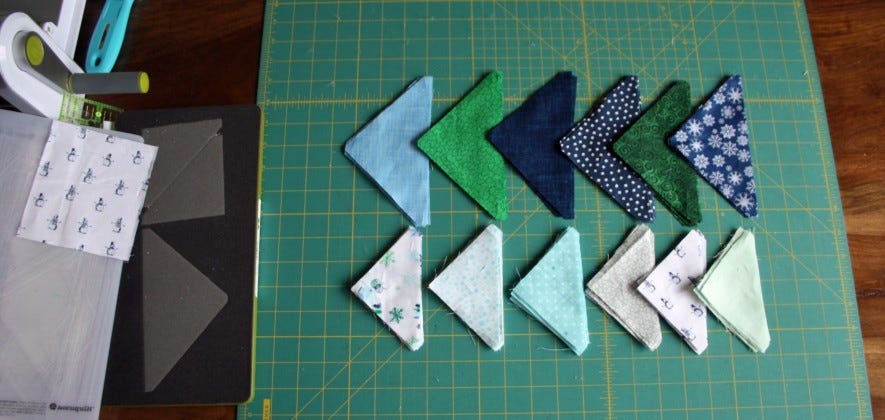
Place the rectangles onto the GO! Flying Geese cutting die and cut out the large triangles. Cut 6 of each fabric.

From the light fabric cut:
4 1/4" x 5" rectangles.
Place the rectangles onto the GO! Flying Geese cutting die and cut out the half square triangles. Cut out 12 half square triangles of each fabric.
From the lining fabric cut:
1 piece 18" long x 36" wide
From the complimentary solid fabric cut:
Waistband piece: 21" x 4 3/4" (1)
Ties: 30" x 4" (2)
From the interfacing cut:
20" x 4" (1)
Sewing Instructions
Make the Flying Geese
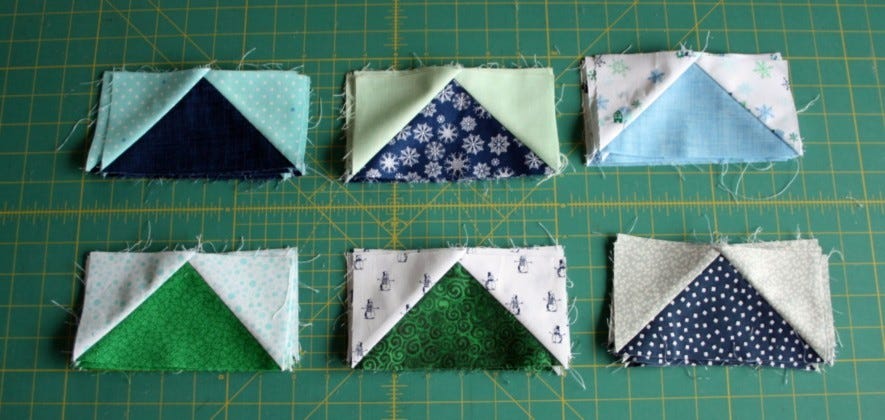
1. Match up a dark fabric with a light fabric for the geese.
2. Sew together a light half square triangle onto a dark large triangle, with right sides together and a 1/4" seam allowance. Make sure to align the top and bottom dog-eared edges together.
3. Repeat step 2 for the other 35 large triangles. Chain stitching makes this go much more quickly.
4. Press the seam allowances to one side.

5. Sew the remaining half square triangles to the other side of the dark triangles, with right sides together and a 1/4" seam allowance.
6. Press the seam allowances to one side.
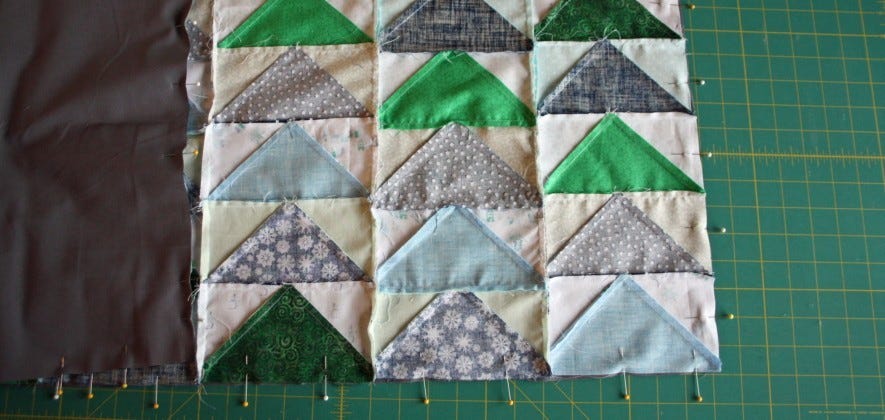
Sew the Flying Geese Together
1. Arrange the flying geese into the pattern and sew them into columns of 6 flying geese each, with right sides together and a 1/4" seam allowance.

2. Press the seam allowances to one side, alternating the direction for each column.
3. Sew the 6 columns together, with right sides together and a 1/4" seam allowance.
4. Press all the seam allowances.
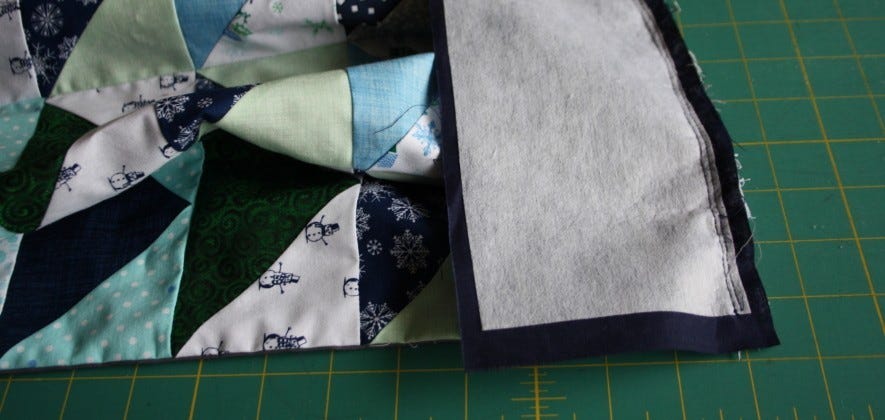
Sew the Lining to the Flying Geese Skirt Piece
1. Pin and sew the lining to the flying geese skirt piece along the bottom and side edges, with right sides together and a 1/4" seam allowance. Make sure to leave the top edge unsewn for turning.
2. Clip the corners and turn the apron right side out. Press well.
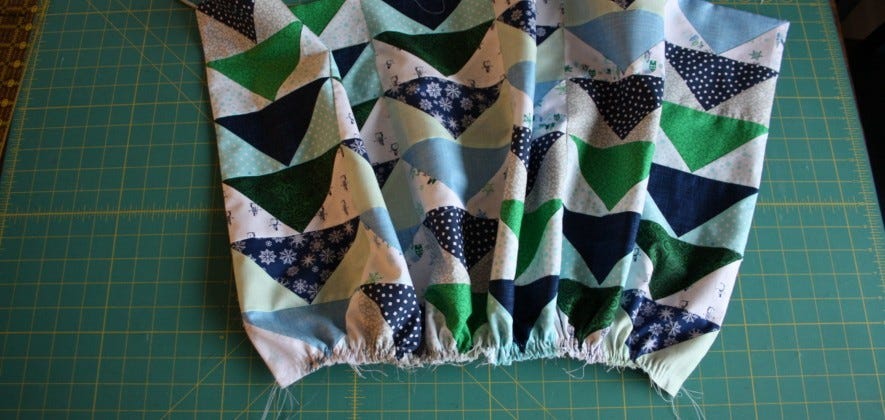
3. Gather the top edge or fold, press, and baste the top edge into pleats. The skirt piece should measure 20" when gathered or pleated.
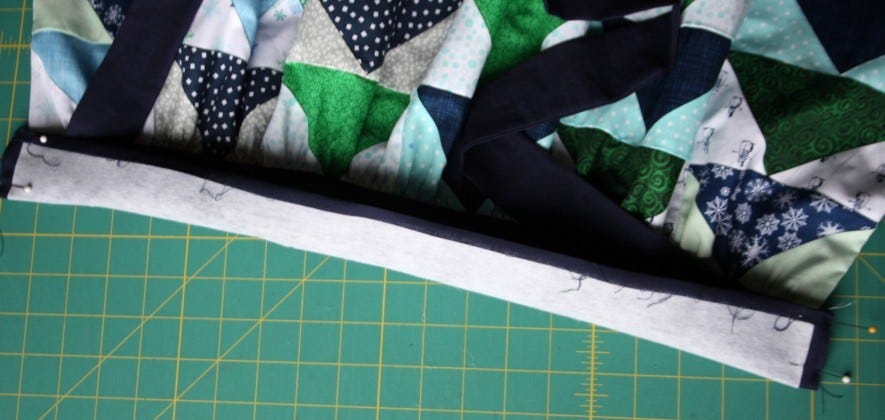
Waistband
1. Fuse the interfacing to the wrong side of the waistband, centering it on the waistband.
2. Pin the waistband to the gathered edge of the apron skirt piece, with right sides together, making sure the waistband extends 1/2" beyond the skirt piece on both sides.
3. Sew together with a 1/2" seam allowance. Sew again 3/8" from the raw edges to reinforce. Remove any gathering stitches that show on the outside.
4. Press the seam allowances toward the waistband.
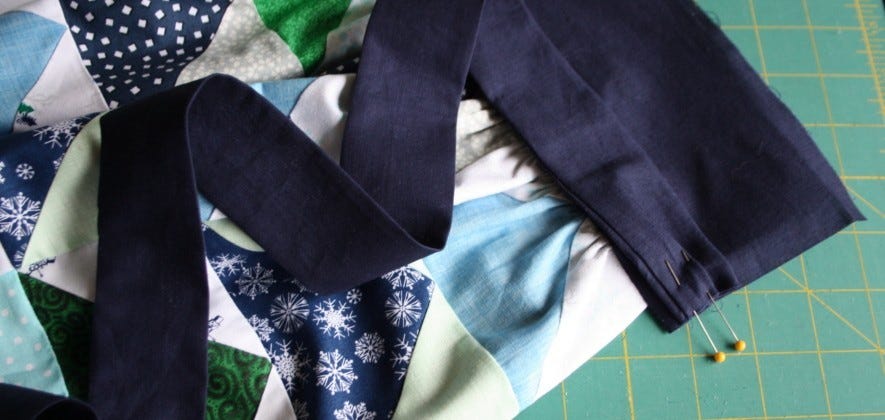
Make the Ties
1. Fold the ties in half lengthwise and cut one end of each tie on a 45̊ angle, making sure the longest edge (the tip) is on the folded edge of the tie.
2. Keeping the ties folded in half lengthwise, sew each tie along its long edge and angled edge, leaving the uncut short edge open for turning.
3. Clip the corners and turn the ties right side out. Press.
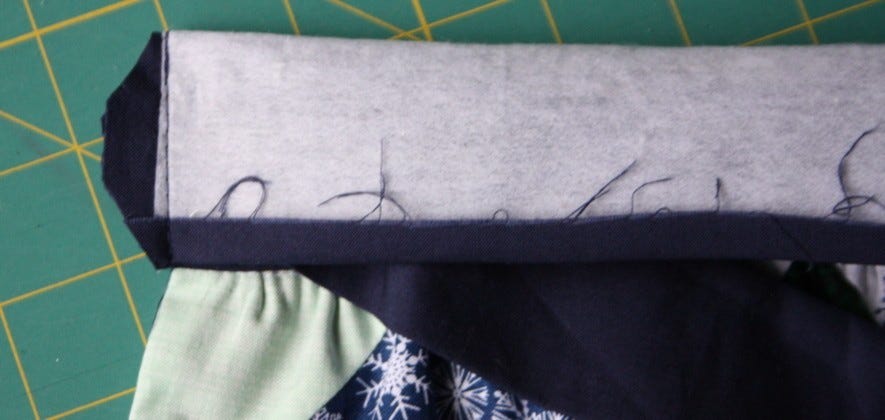
Finishing
1. Fold and press the free raw edge on the top of the waistband toward the wrong side of the fabric 1/4".
2. Make a small pleat in the ties and pin them to the right side of the waistband close to the skirt piece, keeping the raw edge of the ties even with the raw edge of the waistband. Baste the ties in place.
3. Fold the waistband onto itself, with right sides together, and sew the ends of the waistband with a 1/2" seam allowance.
4. Trim the corners and turn the waistband right side out.
5. Press the top edge of the waistband to make a crease.
6. Sew across the lower edge of the waistband to finish it.
7. Sew a large button on the waistband. Be sure to create a shank if you are not using a button that has a built-in shank. If you're not sure how, you can see a tutorial on my blog. This will make placing the loop of a kitchen towel onto the button easier.
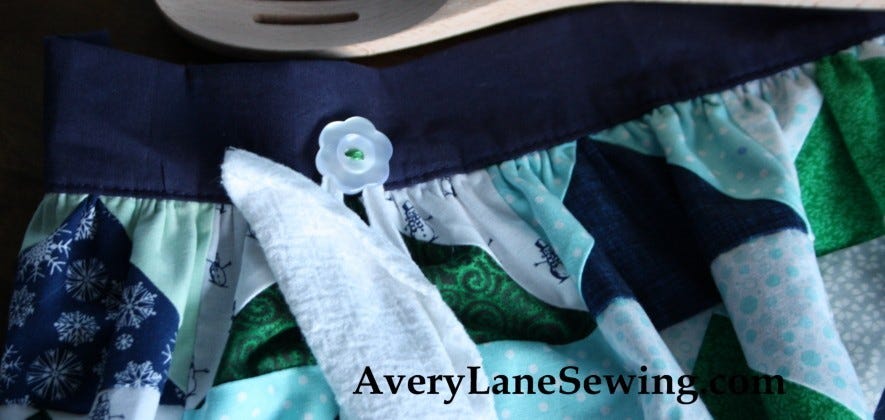
Have a warm holiday season!


