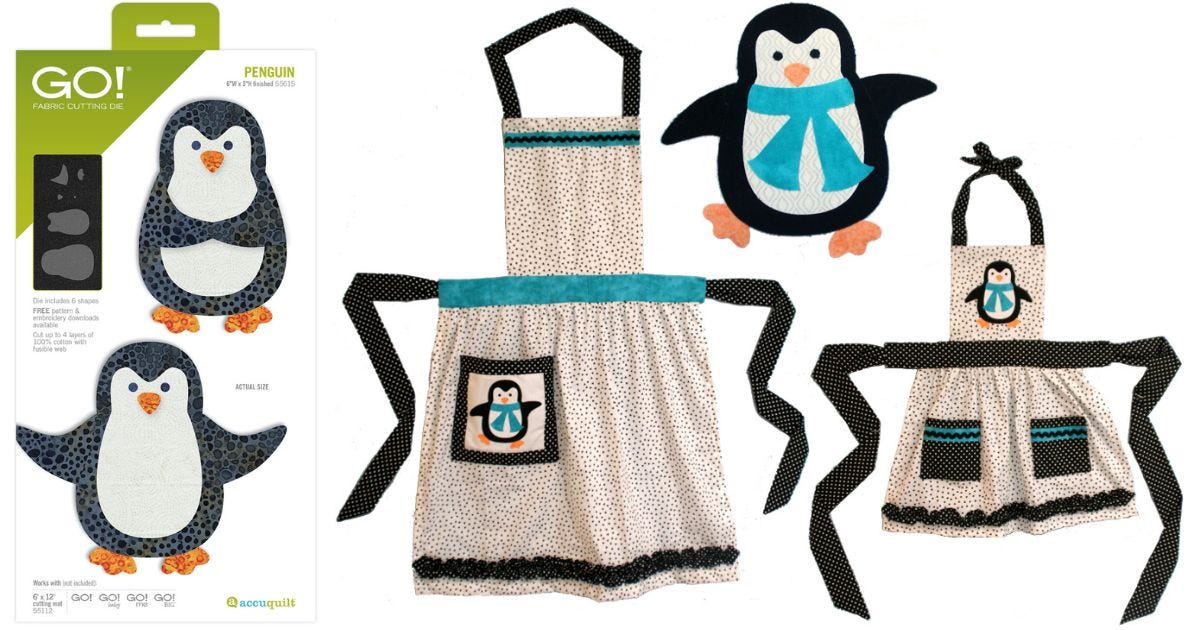
Hello, AccuQuilters! It's Lori from Lori Miller Designs with a great new project using the GO! Penguin Die. Plus, I have an extra surprise for you at the end: my favorite pumpkin muffin recipe! This will let you try out your new aprons right away, which are perfect for family baking during the holiday season.
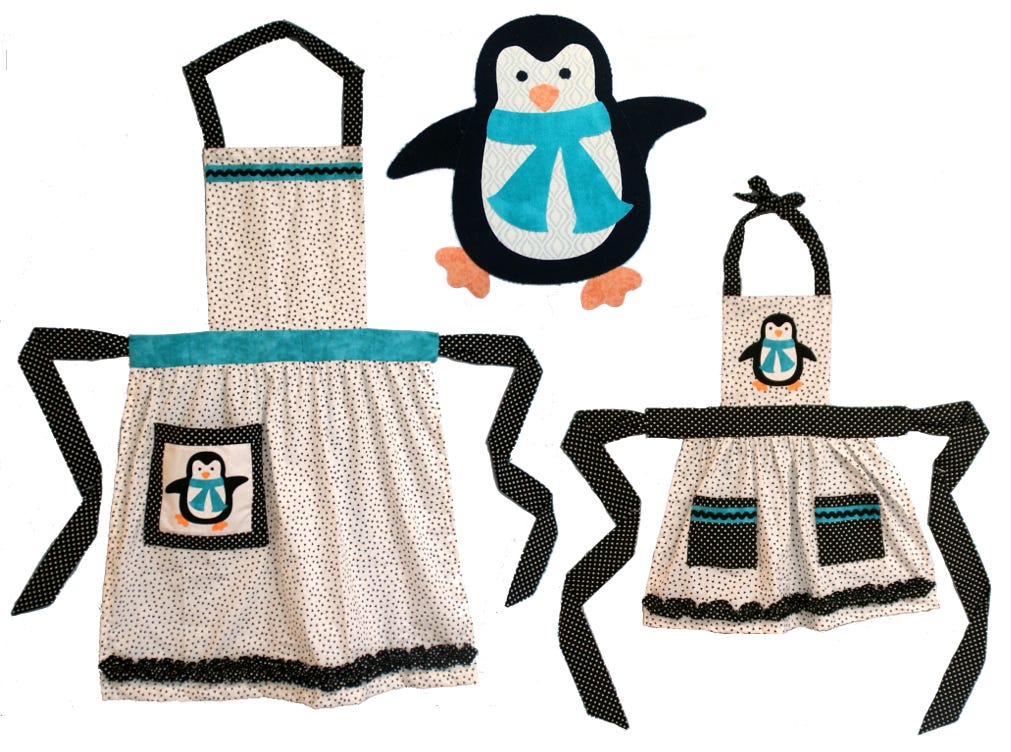
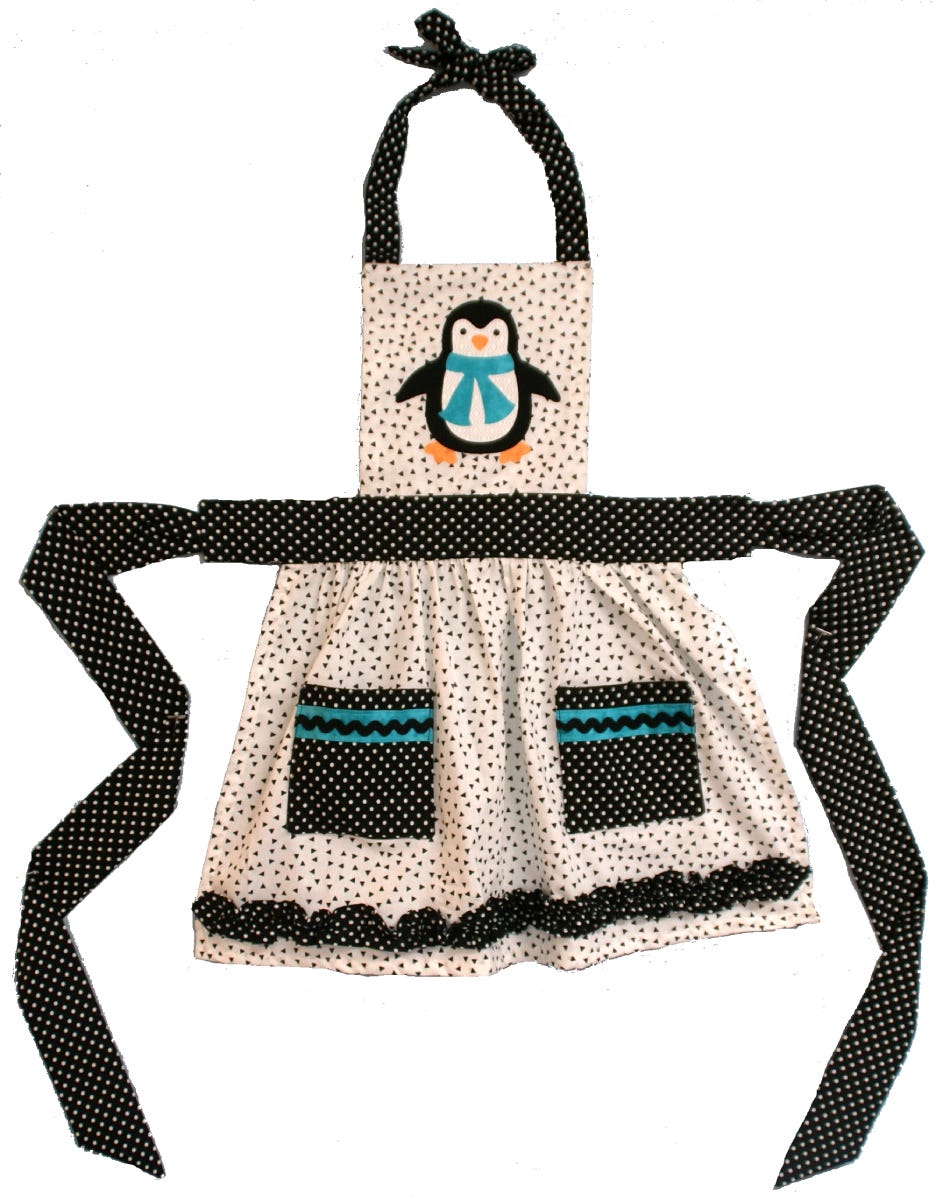
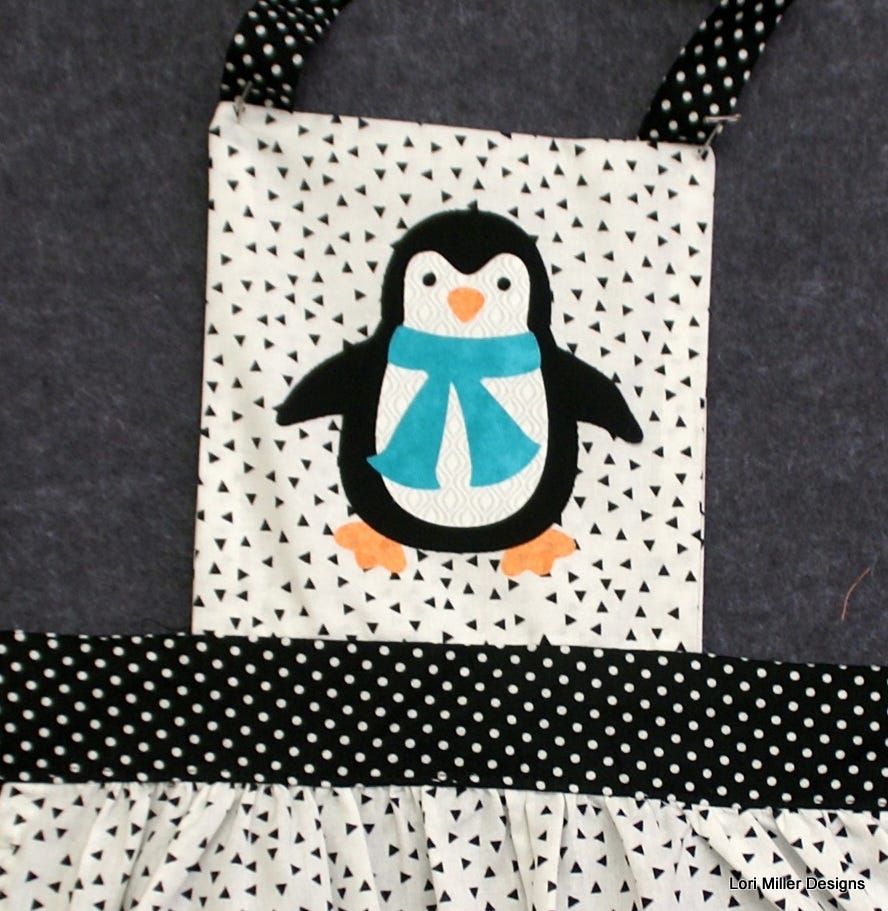
Introducing super cute penguin aprons for adults and (grand)kids! These coordinating aprons with adorable accents will have you ready to bake up all the treats! The large apron should fit most adult sizes. The child apron is sized for approximately sizes 4-7.
Dies Used
- GO! Penguin Die
- GO! Holiday Accessories Die
- GO! Strip Cutter-2 1/2" (2" Finished) 3 Strips Die
- GO! Strip Cutter-3" (2 1/2" Finished) Die
- GO! Strip Cutter-5" (4 1/2" Finished) Die
NOTE: I used the GO! Holiday Accessories Die to cut out the cute little scarf. The little beanie or top hat would be adorable as well. If you have the GO! Cookie Decorations Die, there are fun accessories on there, too. Use your imagination!
Materials Required
|
Fabric |
Child Apron |
Adult Apron |
|
White print |
1/2 yard |
3/4 yards |
|
Black Print |
5/8 yards |
5/8 yards |
|
Aqua Blue Print |
1/8 yard |
1/4 yard |
|
Black Solid |
1/8 yard |
1/8 yard |
|
White Solid |
1/8 yard |
1/8 yard |
|
Orange Print |
5” square |
5” square |
- 1/2 yard of fusible web (I used HeatnBond Lite)
- 1 package of medium black rick rack
- Coordinating thread
PRO TIP: Read through all the directions before cutting and sewing the aprons!
Child Apron Directions
Cutting
1. Using the white print fabric, cut:
- One 14” x Width of Fabric (WOF) strip
- Subcut one 14” x 24” rectangle for the skirt
- Subcut two 8” squares for the apron's bib
2. For the black print fabric, cut:
- Two 5” x WOF strips
- Subcut two 5” x 30” strips for ties
- Four 5” squares for pockets
- One 2 1/2” x WOF strip
- Subcut two 2 1/2” x 14” strips for the waistband
- One 3” x WOF strip
- Subcut two 3“ x 20” strips for the neck ties
- One 2 1/2” x WOF strip for the skirt ruffle
3. For the fusible web, cut enough needed to cut out all six penguin applique shapes and any accessories you want for the penguin. Then, apply the fusible to the fabric for the penguin and its accessories.
4. With the aqua blue print fabric, cut:
- Two 2” x 6” strips for the pocket accents
- One pre-fused 4” square for the penguin's scarf
5. Using the solid black fabric, cut:
- One pre-fused 4 1/2” x 10” piece for the penguin's body, arms, and eyes
6. For the solid white fabric, cut:
- One pre-fused 4 1/2” x 5” piece for the penguin's tummy
7. With the orange print fabric, cut:
- One pre-fused 2” x 5” piece for the penguin's feet and beak
Cutting Tips for Applique Penguin Shapes
1. Press the fusible web to the wrong side of the applique fabrics. Follow the manufacturer's instructions for the fusible web.
2. Cover the shapes of the die.
3. Don’t forget to fold the pieces for the penguin arms so that they will cut as mirror images for a left and a right.
4. The eyes are tiny. I used my little pick to get them out of the die, so cut a couple extra just in case.
5. Cut out the penguin shapes and the coordinating scarves. Set these all aside.
Sew the Apron
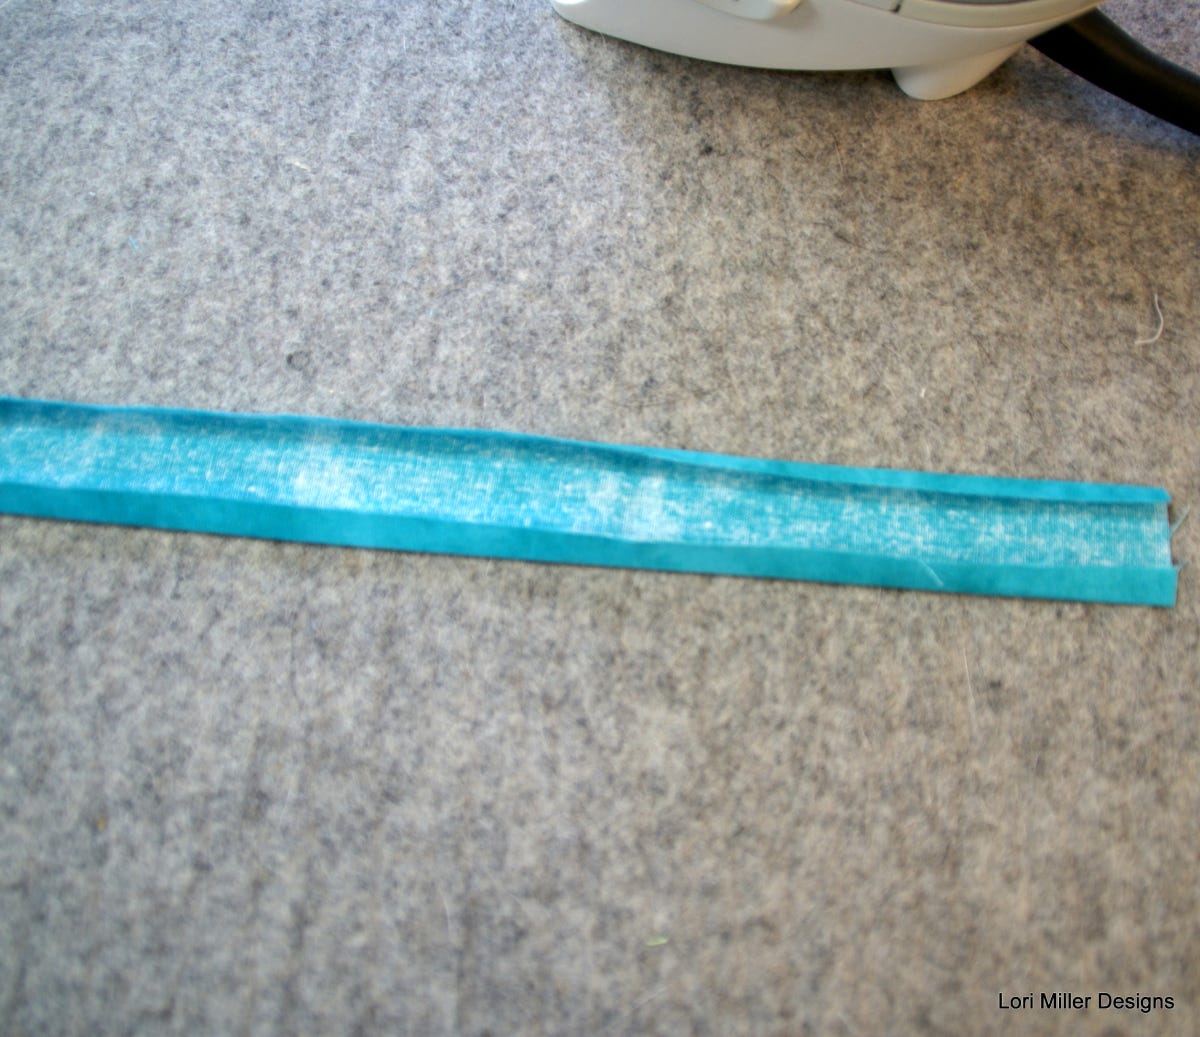
1. To make the pockets, start by adding the accents. Take the 2" x 6” strips of aqua fabric and press under the 1/4“ seam on each long side.
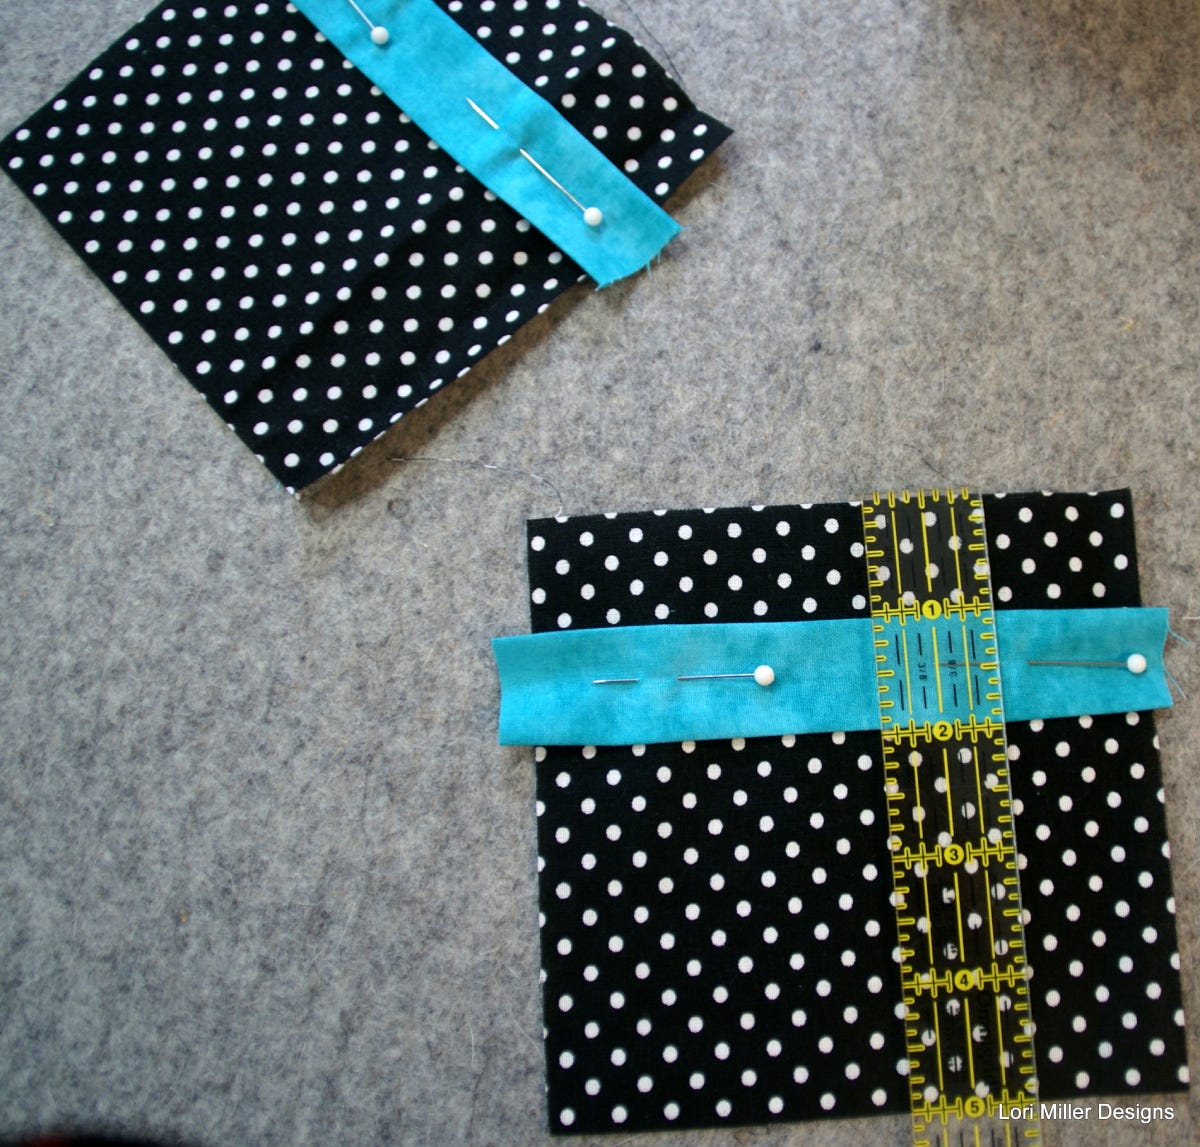
2. Place the aqua accent 1” down from the top raw edge of each pocket and pin in place.
3. Top stitch the aqua accent strip onto the pocket.
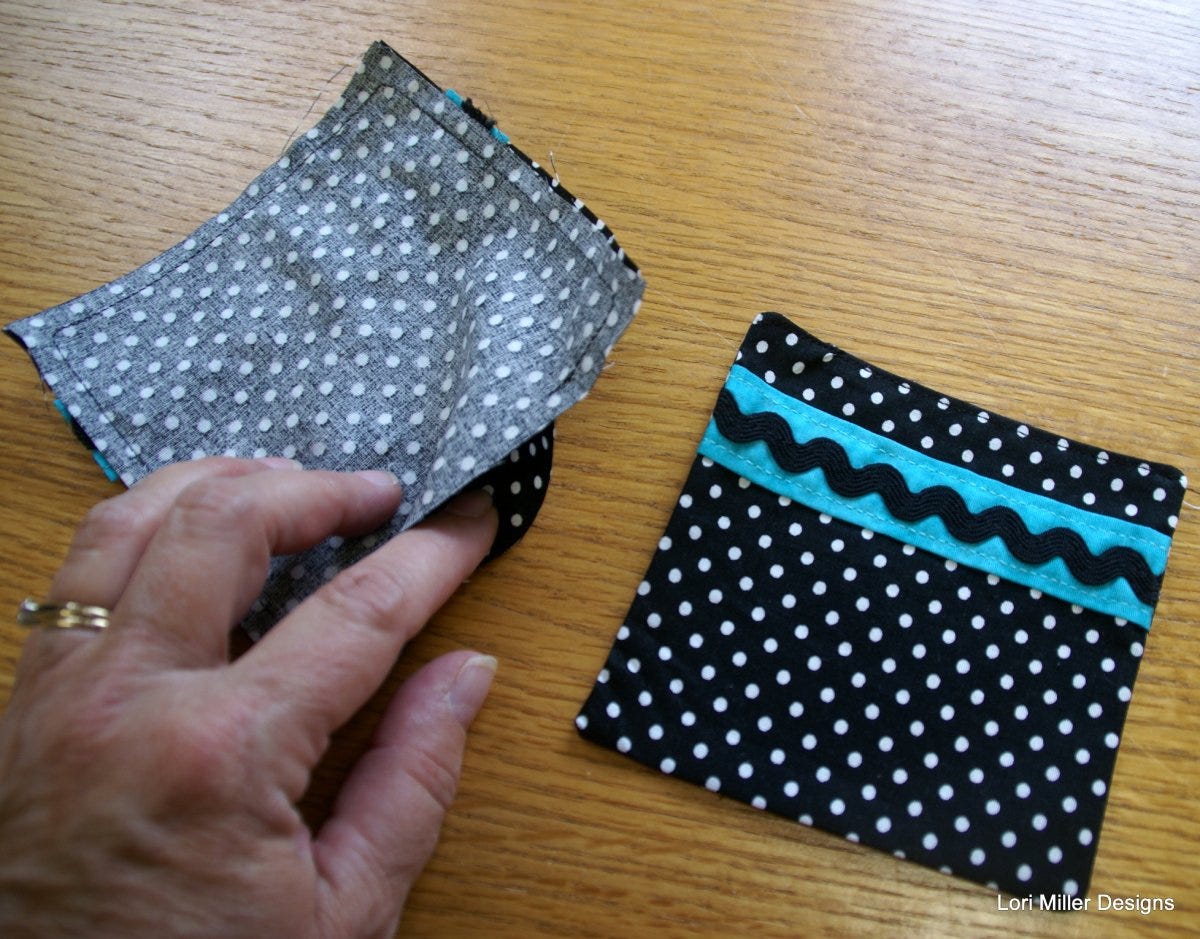
4. Take two 6 1/2” pieces of back rickrack and stitch down the center of the aqua accent strips.
5. Place the back of the pockets over the top with right sides together and stitch around the pocket with a 1/4” seam, leaving a hole at the bottom for turning.
6. Trim the pocket corners and turn the pockets right side out. Press them and set aside.
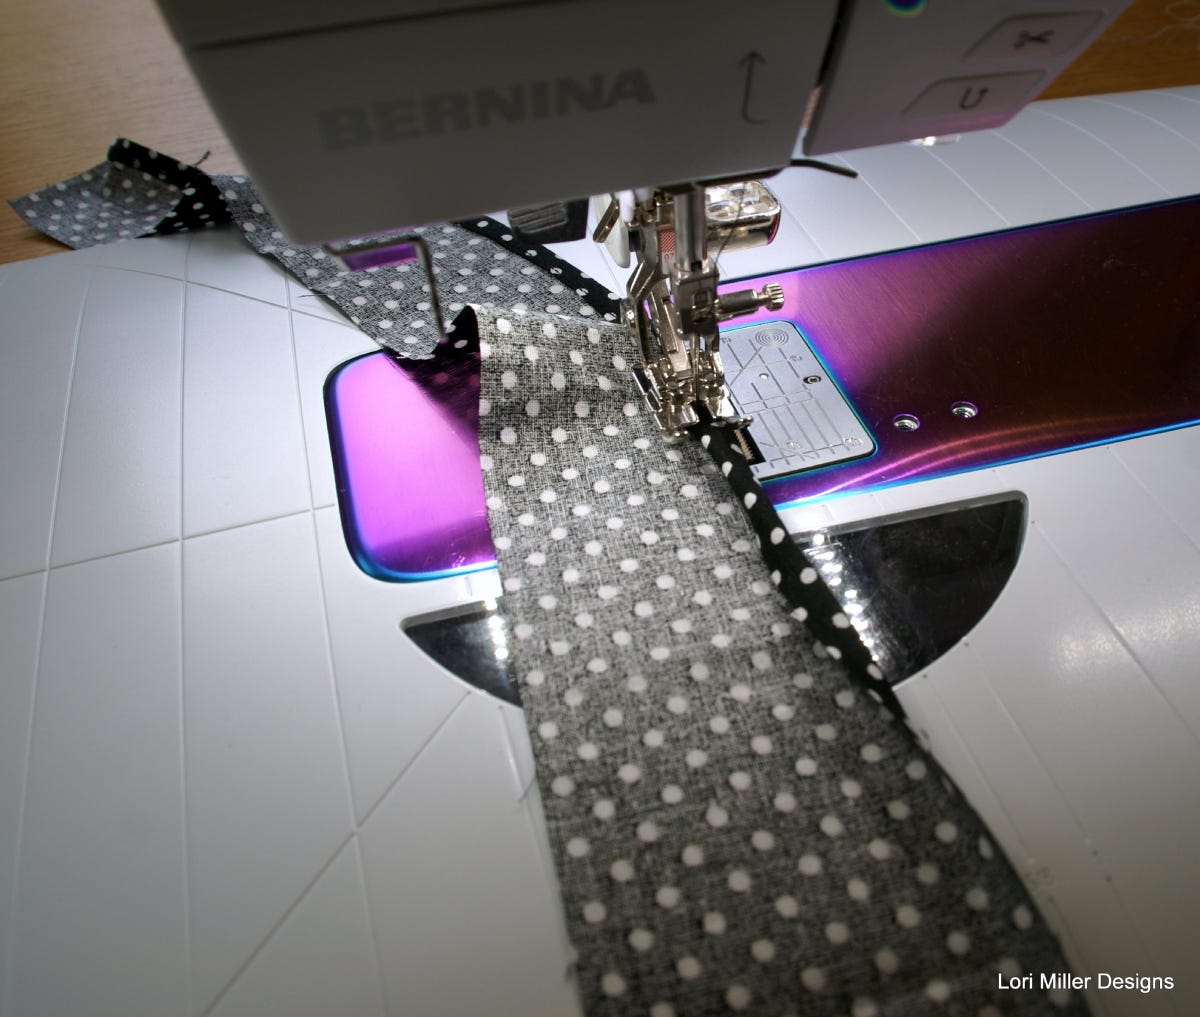
7. Take the apron skirt and finish the sides with a 1/4” double folded hem.
8. Hem the bottom of the skirt with a 1/2” double folded hem.
9. Make the ruffle by taking the 2 1/2” black polka dot strip and finishing the long edges with a small 1/4" hem.
10. Fold the ruffle in half and sew a 45 degree angle on each end.
11. Using a basting stitch and leaving about a 6” tail on both ends, sew two rows of basting stitches about 1/8” apart down the center of the ruffle.
PRO TIP: DO NOT backstitch or lock your stitch. Tie the threads from the basting all together at one end. Slowly pull the two bobbin threads from the other end and gently begin to gather the ruffle. Go slowly so that you don’t break your threads. When the length is approximately 23”, knot the threads so that the ruffles won’t pull out.
12. Arrange the pockets 3” away from the side of the skirt and 4” up from the bottom. Pin them in place before sewing around the pocket, leaving the top open.
13. Lay the ruffle on the skirt about 1” from the bottom of the skirt and pin in place.

14. Stitch right down the center of the ruffle to attach it to the skirt. You can remove the basting stitches when you finish.
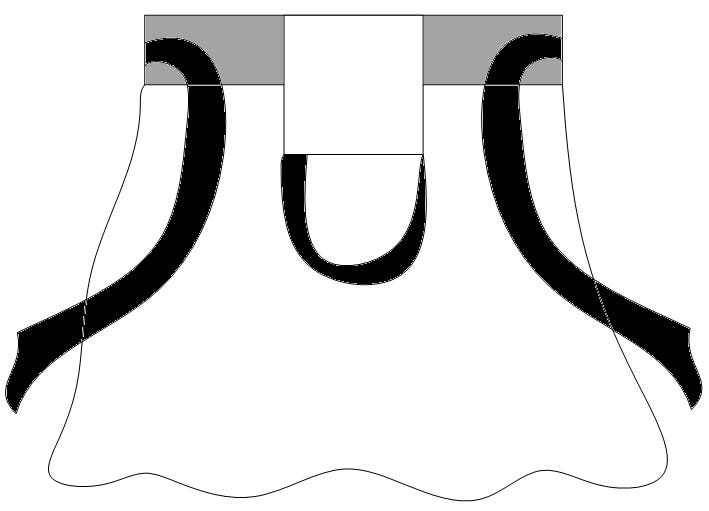
15. Take the 3” x 20” strips for the neck ties and fold them in half, right sides together.
16. Leaving one end open, sew the sides of the ties and stitch a 45 degree angle to form a point at the other end.
17. Pull the ties right side out and press them.
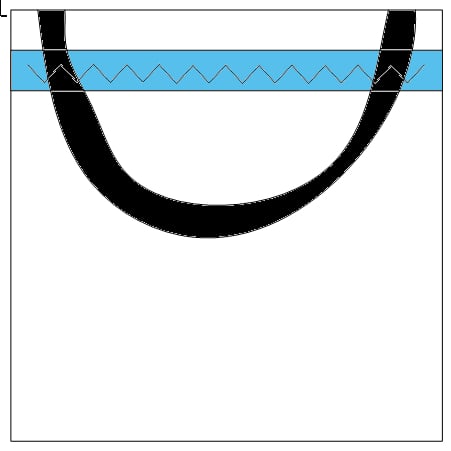
18. Pin the neck ties to the top of the 8” bib square, leaving a 1/2” seam allowance on each side and place the other 8” bib square over the top, right sides together.
19. Sew the sides and top of the bib with a 1/2” seam allowance, leaving the bottom open.
20. Turn the bib right side out and press it.
21. Gather the top of the apron skirt, and, using a basting stitch and leaving about a 6” tail on both ends, sew a row of basting stitches about 1/4” down from the top of the skirt.
22. Sew another row of basting 3/8” down from the top of the skirt.
PRO TIP REMINDER: DO NOT backstitch or lock your stitch. Tie the threads from the basting all together at one end. Slowly pull the two bobbin threads from the other end and gently begin to gather the ruffle. Go slowly so that you don’t break your threads. When the length is approximately 13”, knot the threads so that the ruffles won’t pull out.
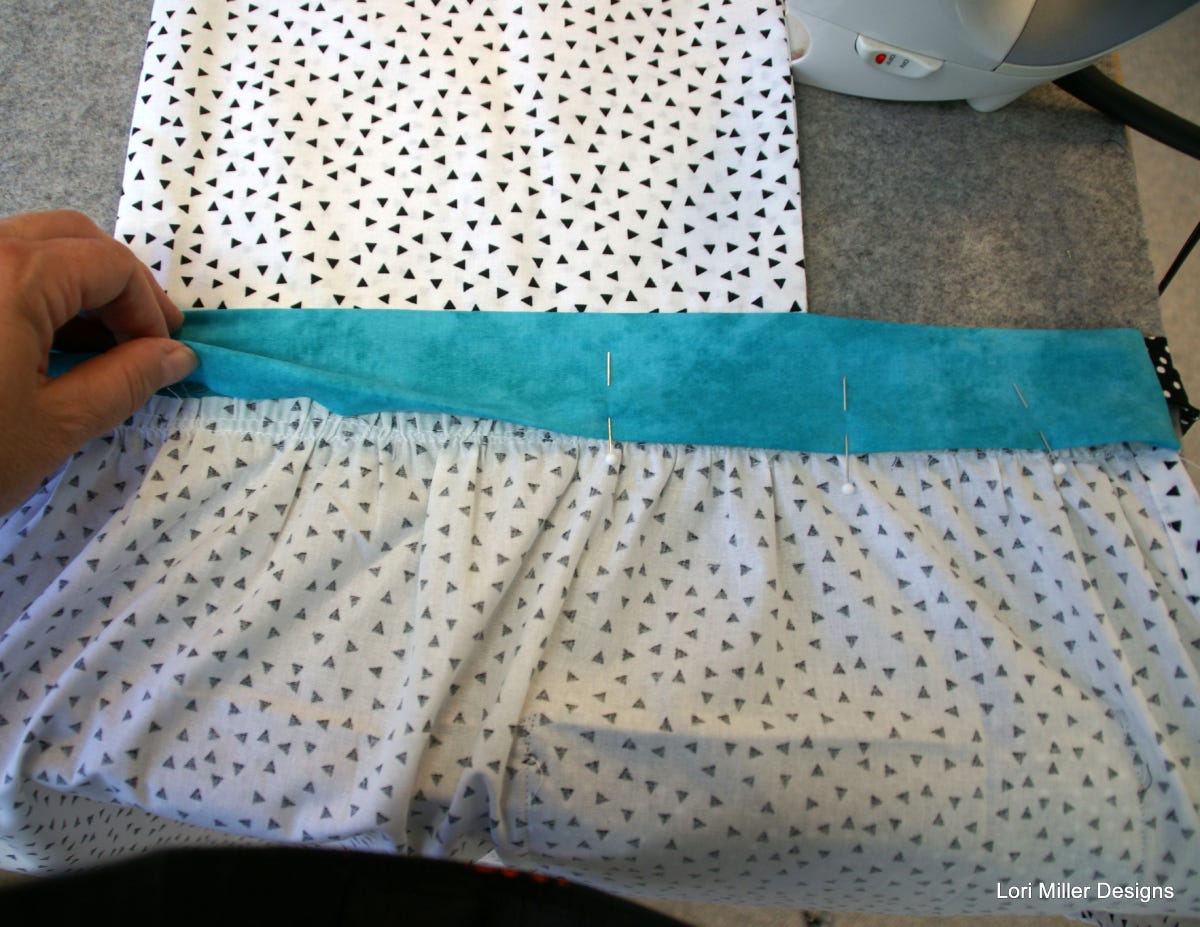
23. With the right sides together, sew one waistband strip onto the skirt, gathering in the ruffles as you go, leaving 1/2” seam allowance on each side, and pressing the seam towards the waistband.
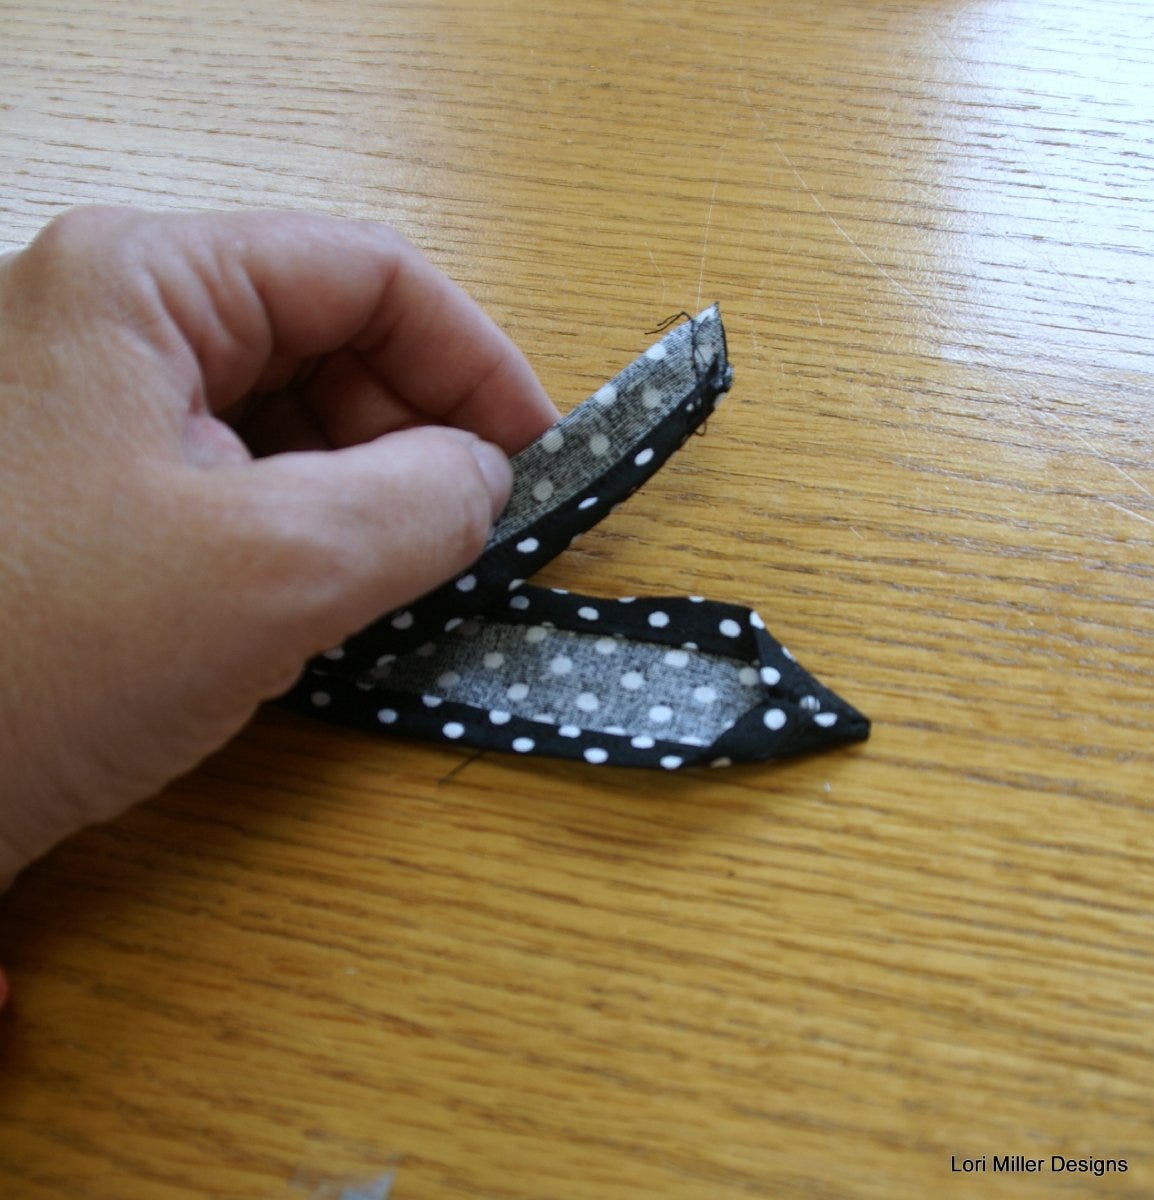
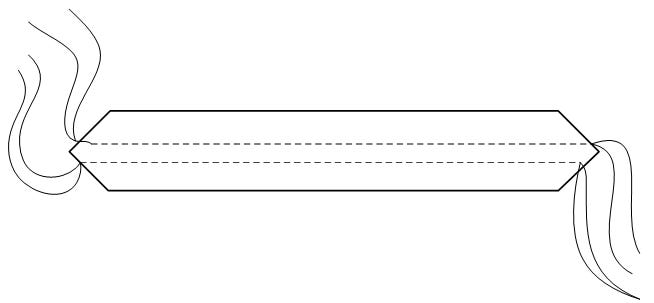
24. Take the 5” x 30” strips for the ties and fold the in half, right sides together.
25. Leaving one end open, sew the side and stitch a 45 degree angle to form a point at the other end.
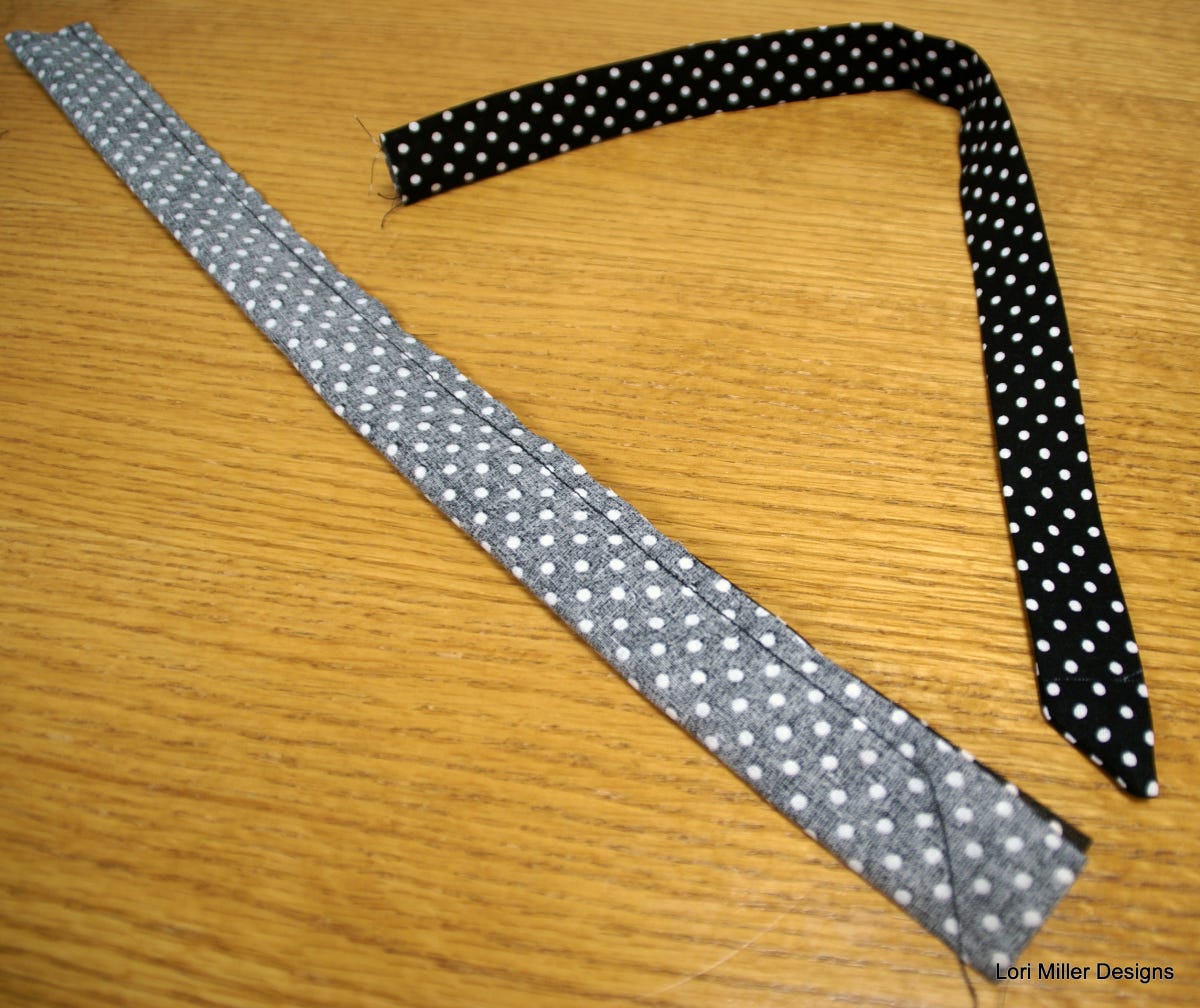
26. Pull the ties right side out and press.
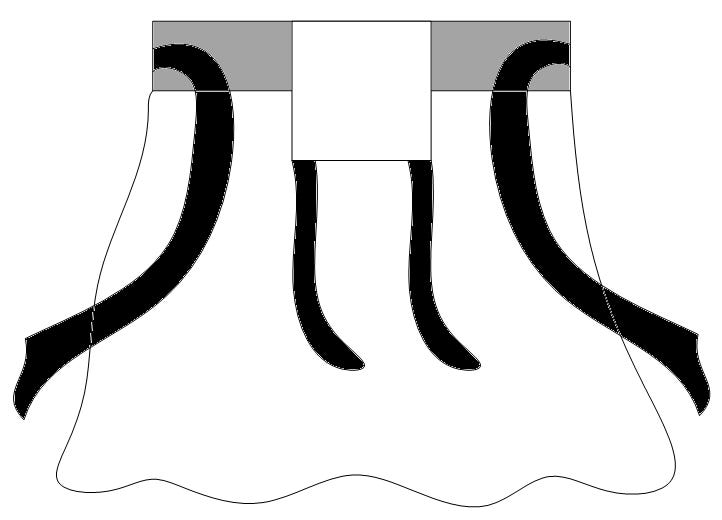
27. Slightly pleat the ends of the ties and carefully pin to the ends of the waistband.
28. Center and pin the bib, front side facing down, aligning the raw edges with the top of the waistband.
29. Place the other waistband strip, right sides together, over the first waistband strip before sewing the sides and top with 1/2” seam allowance, careful not to catch the ties.
30. Turn the waistband right side out, tuck in the seam allowance, press, and whip stitch the opening closed.
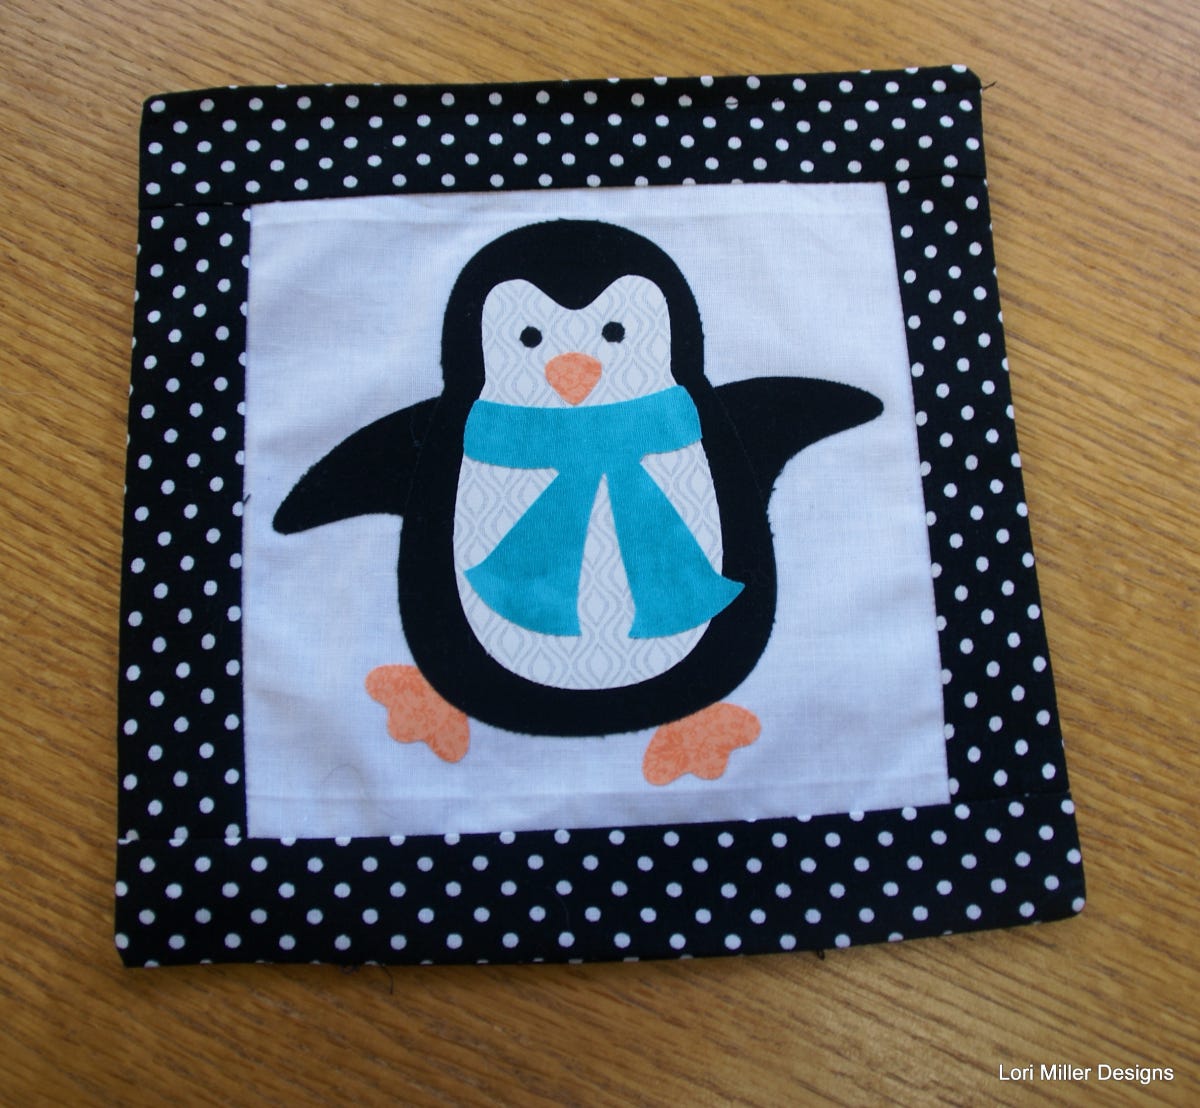
31. Arrange the penguin shapes and add the applique to the bib.
32. Finish the edges of the applique with your favorite method.
Adult Apron Directions
Cutting
1. Using the white print fabric, cut:
- One 24” x WOF strip
- Subcut:
- One 24” x 28” rectangle for the skirt
- Two 11” x 12” rectangles for the apron bib
- One 6 1/2” square for the pocket
- Subcut:
2. With the black print fabric, cut:
- Two 5” x WOF strips
- Subcut two 5” x 30" strips for the ties
- Four 5” squares for the pocket
- One 3” x 25” strip for the neck strap
- One 9” square for the pocket
- Two 2” x 6 1/2” strips for the pocket's sides
- One 2” x 9” strip for the pocket's bottom
- One 2 1/2” x 9” strip for the top of the pocket
- One 3” x 60” strip for the skirt ruffle (you will need to piece this)
3. Just like with the child apron, for the fusible web, cut enough needed to cut out all six penguin applique shapes and any accessories you want for the penguin. Then, apply the fusible to the fabric for the penguin and its accessories.
4. For the aqua blue print fabric, cut:
- Two 3” x 20” strips for the waistband
- One 2” x 11” strip for the bib accent
- One pre-fused 4” square for the penguin's scarf
5. With the solid black fabric, cut:
- One pre-fused 4 1/2” x 10” piece for the penguin's body, arms, and eyes
6. Using the solid white fabric, cut:
- One pre-fused 4 1/2” x 5” piece for the penguin's tummy
7. For the orange print fabric, cut:
- One pre-fused 2” x 5” piece for the penguin's feet and beak
Sew the Apron
1. To make the pocket, sew the 2" x 6 1/2” black print strips to the sides of the 6 1/2” square white print.
2. Sew the 2” x 9” black print strip to the bottom of the pocket and sew the 2 1/2” x 9” black print strip to the top of the pocket.
3. Place the 9” black print square over the pieced pocket with right sides together and stitch with a 1/4" seam all around the pocket, leaving an opening on the bottom for turning.
4. Trim the pocket's corners, turn the pocket right side out, and press it.
5. Arrange the penguin shapes and add the applique to the pocket.
6. Finish the edges of the applique with your favorite method.
7. Piece together the ruffle strip to measure 3’ x 60”.
8. Using a basting stitch and leaving about a 6” tail on both ends, sew two rows of basting stitches about 1/8” apart down the center of the ruffle.
PRO TIP REMINDER: DO NOT backstitch or lock your stitch. Tie the threads from the basting all together at one end. Slowly pull the two bobbin threads from the other end and gently begin to gather the ruffle. Go slowly so that you don’t break your threads. When the length is approximately 28”, knot the threads so that the ruffles won’t pull out.
9. Take the apron skirt and finish the sides with a 1/4” double folded hem.
10. Hem the bottom of the skirt with a 1/2” double folded hem.
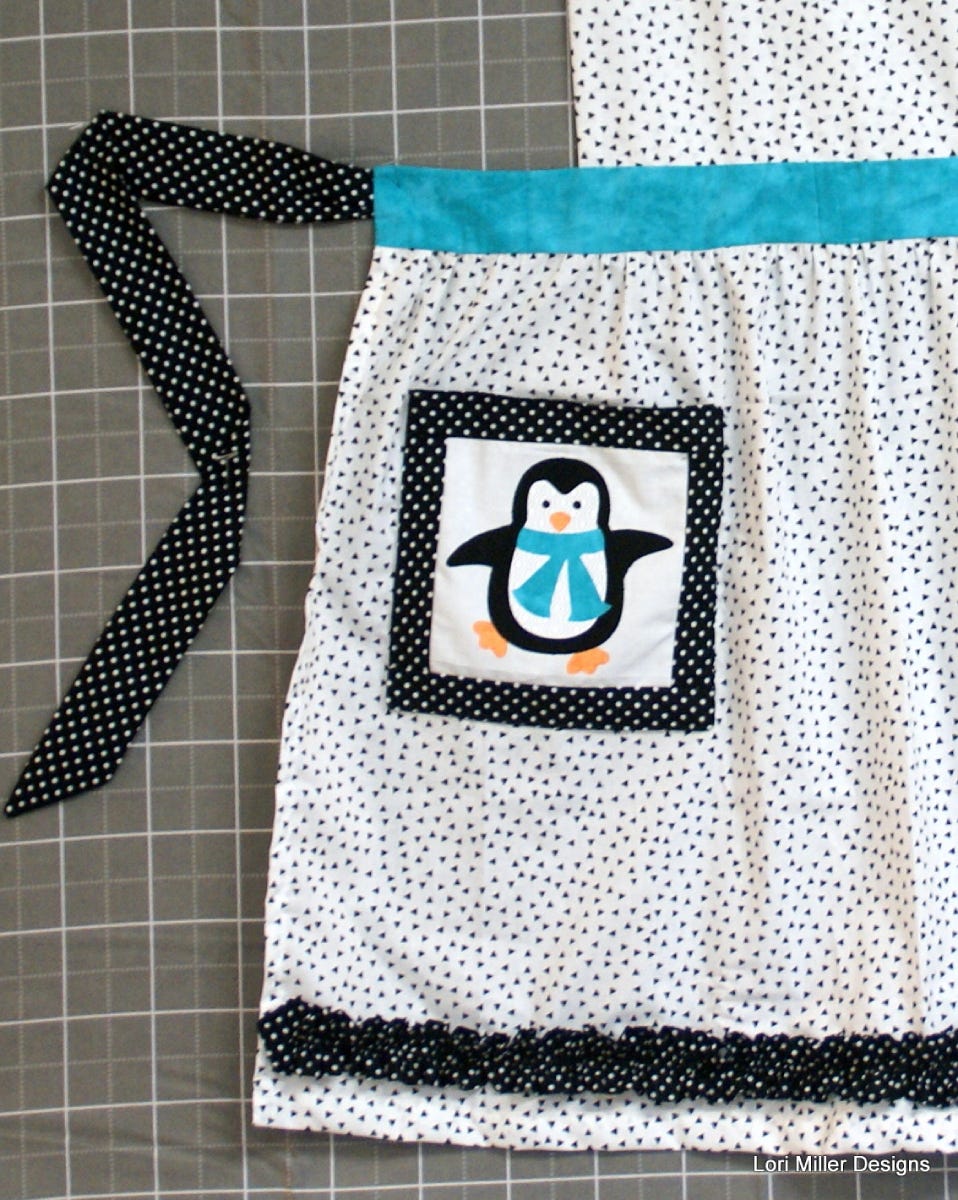
11. Arrange the pocket 3” away from the left side of the skirt and 10” up from the bottom, pin in place, and sew around the pocket, leaving the top open.
12. Lay the ruffle on the skirt about 1” from the bottom of the skirt and pin in place.
13. Stitch right down the center of the ruffle to attach it to the skirt. You can remove the basting stitches when you finish.
14. Take the 3” x 25” strip for the neck strap and fold it in half with right sides together.
15. Stitch down the side of the neck strap with the 1/4" seam, leaving the ends open, turn it right side out, and press it.
16. To make the bib, start by adding the accents, so take the 2’ x 11” strip of aqua fabric and press under 1/4“ on each long side.
17. Place the aqua accent strip 1 1/2” down from the top raw edge of the bib, pin it in place, and top stitch onto the pocket.
18. Take an 11” piece of back rickrack and stitch down the center of the aqua accent strip.
19. Pin the neck strap to the top of the bib, 1/2” in from each side. Make sure the strap is out of the way to sew.
20. Place the back of the bib over the front, right sides together and sew around the sides and the top, leaving the bottom open.
21. Turn the bib right side out and press it.
22. Gather the top of the apron skirt, and, using a basting stitch and leaving about a 6” tail on both ends, sew a row of basting stitches about 1/4” down from the top of the skirt.
23. Sew another row of basting 3/8” down from the top of the skirt.
PRO TIP REMINDER: DO NOT backstitch or lock your stitch. Tie the threads from the basting all together at one end. Slowly pull the two bobbin threads from the other end and gently begin to gather the ruffle. Go slowly so that you don’t break your threads. When the length is approximately 19”, knot the threads so that the ruffles won’t pull out.
24. With right sides together, sew one waistband strip onto the top of the skirt, adjusting the ruffles as you go and pressing the seam towards the waistband.
25. Take the 5” x 30” strips for the ties and fold them in half, right sides together.
26. Leaving one end open, sew the side and stitch a 45 degree angle to form a point at the other end.
27. Pull the ties right side out and press.
28. Slightly pleat the ends of the ties and carefully pin to the ends of the waistband, leaving 1/2” at the top for the seam allowance.
29. Center and pin the bib, front side facing down, aligning the raw edges with the top of the waistband.
30. Place the other waistband strip, right sides together, over the first waistband strip and sew the sides and top with 1/2” seam allowance.
31. Turn the bib right side out, tuck in the seam allowance, press it, and whip stitch the opening closed.
Congratulations, you are finished with both aprons now!
If you make your own version of these aprons, please share the photo on social media using the hashtag #AccuQuiltBuilt and don't forget to tag @lorimillerdesigns and @AccuQuilt, so we can see your fun creation! We would love to see what you create!
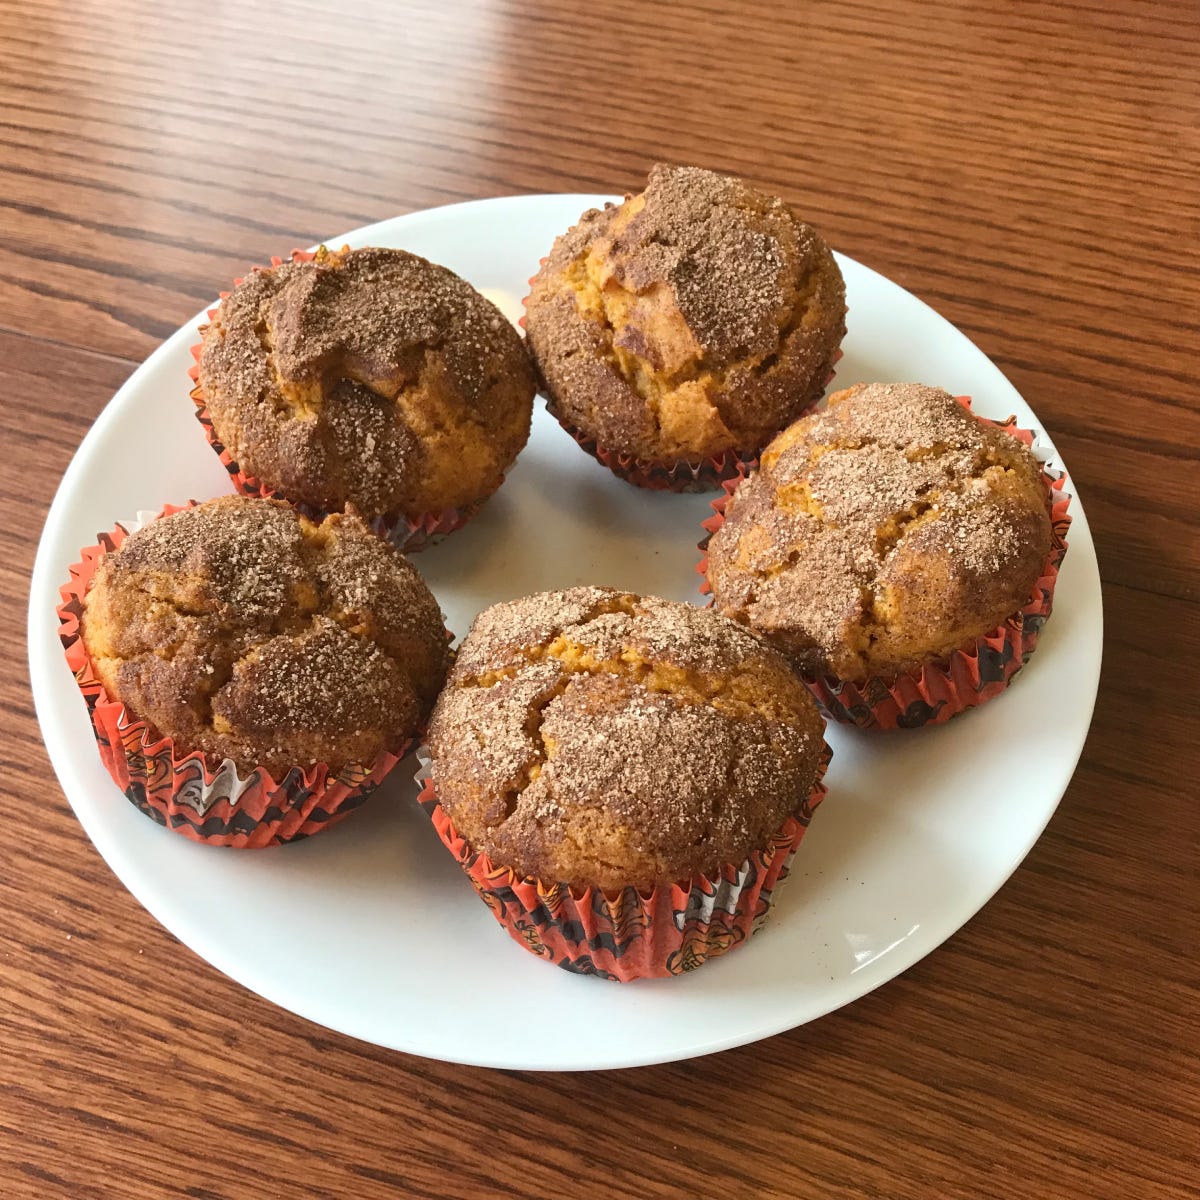
BONUS: Pumpkin Crunch Muffins Recipe
Now that you have your matching penguin aprons to keep your clothes clean, try baking my delicious pumpkin crunch muffins! This recipe makes 12 delicious muffins that you can have your little one help you with!
Ingredients
- 1 1/2 cups of all purpose flour
- 1 teaspoon of baking powder
- 1 cup of pumpkin
- 1/3 cup of vegetable oil
- 2 large eggs
- 1 teaspoon of pumpkin pie spice
- 1 1/4 cups PLUS 1 tablespoon of sugar
- 1/2 teaspoon of baking soda
- 1/2 teaspoon of salt
- 1 teaspoon of cinnamon
Instructions
1. Place the oven rack in the middle position and preheat the oven to 350 degrees.
2. Put liners in each of the muffin tin's cups.
3. Whisk together the flour and baking powder in a small bowl.
4. In a large bowl, whisk together the pumpkin, oil, eggs, pumpkin pie spice, 1 1/4 cups of sugar, baking soda, and salt until smooth. Then, whisk in the flour mixture until everything is just combined.
5. Stir together the cinnamon and remaining tablespoon of sugar in a separate small bowl.
6. Divide the batter among the muffin cups so that they are each about 3/4 full. Then, sprinkle the tops with the cinnamon sugar mixture.
7. Bake about 25 to 30 minutes until the muffins are puffed and golden brown and a wooden toothpick inserted into the center of the muffin comes out clean.
8. Cool in the pan on a rack for five minutes. Then, transfer the muffins from the pan to the rack and cool to room temperature.