


-1.jpg)
Hello AccuQuilters! It's Lori from Lori Miller Designs and I am bringing you the perfect tutorial project to organize your sewing room.
This cute GO! Project Zip Bag is stylish and practical. The vinyl window lets you see your pattern and fabrics so you know what is in there at a quick glance. The zipper closure keeps everything neat and together. Finally, the little handle means it is ready to grab and go, whether you are taking it to a sewing retreat or just heading to the sewing machine.
Create Your Own GO! Project Zip Bag
This project bag uses the 2 1/2'’ square, GO! 8 1/2” square, 1 1/2” strip, 2 1/2” strip, and the cute applique shapes from the GO! Pincushion die.

As an EQ8 superfan, I had to design the bag using Electric Quilt Design Software first. Here is my original design.
Finished Size: 12 1/2'' X 12 1/2”

Dies Used
- GO! Square 8 1/2” (8” Finished) (55058)
- GO! Square 2 1/2" (2" Finished) (55059)
- GO! Pincushion Die (55209)
- GO! Strip Cutter 1 1/2" (1" Finished) 5 Strips Die (55024)
- GO Strip Cutter 2 1/2” (2” Finished) 3 strips die (55017)
Materials Needed
- Main Fabric– 1/2 yd
- Assorted scraps – 1/8 yd
- Binding 1/4 yd
- Firm Batting (Like Pellon Flexfoam or Soft and Stable by Annies) 14” x 14” square
- Vinyl, 12 gauge, 1/4 yd
- Nylon Webbing, 1” x 16” for handle
- 14” Zipper
- 12” Square of Fusible webbing (Like Heat and Bond Lite)
- Clover Wonder Clips
- Optional: Teflon presser foot, zipper foot
- Water-soluble fabric marker
Cutting
From fabric
- Cut 2 squares 14” x 14” for back and lining
- Cut 1 piece - 2" x WOF
- Subcut 3 – 1 1/2 “ x 12 1/2” strips
- Cut 1 piece - 3" X WOF
- Subcut 2 – 2 1/2” x 8 1/2” strips
- Subcut 1 – 2 1/2” x 12 1/2’' strip
From Assorted Scraps
- Cut 14 – 2 1/2” assorted squares

From Vinyl
- Cut one 8 1/2" square (YES! You can cut vinyl with your GO! Cutter)
Binding Fabric
- Cut one strip - 6 ” x WOF
- Subcut 2 strips for binding
Sewing
Prep the Applique

- Press the fusible webbing to the wrong side of the fabric scraps.

- Cut the applique shapes using the sewing machine and thread shapes from the Pincushion die. Note: the sewing machine is directional. Set aside.
Assemble the front

- Arrange the pieces around the vinyl 8 1/2” square.
- Start by piecing the 2 1/2” squares on the sides of the vinyl. Sew together 4 squares for each side. Press seams to one side.

- With right sides together and the vinyl sandwiched in between, use the clips to match up the pieced squares, vinyl, and the 2 1/2” x 8 1/2” lining piece. Sew together.
- Finger press away from the vinyl. Match up the outside raw edges and baste them together 1/8” from the edge. Then go back and topstitch the seam next to the vinyl. I used a Teflon presser foot so it would glide better over the vinyl.
- Sew the other side.

- Piece together the six 2 1/2” squares for the bottom. Press seams to one side.
- With right sides together and the vinyl sandwiched in between, use the clips to match up the pieced squares, vinyl, and the 2 1/2” x 12 1/2” lining piece. Sew together.
- Finger press away from the vinyl. Match up the outside raw edges and baste them together 1/8” from the edge. Then go back and topstitch the seam next to the vinyl.
- For the top of the vinyl, with right sides together and the vinyl sandwiched in between, use the clips to match up the 1 1/2” x 12 1/2” strip, vinyl, and the 1 1/2” x 12 1/2” lining piece. Sew together.
- Finger press away from the vinyl. Match up the outside raw edges and baste them together 1/8” from the edge. Then go back and topstitch the seam next to the vinyl.
Add the zipper

- Place the zipper face down with the opening to the left over the top of the vinyl unit. Use a zipper foot and stitch on the zipper with a 1/4“ seam or close to the teeth.
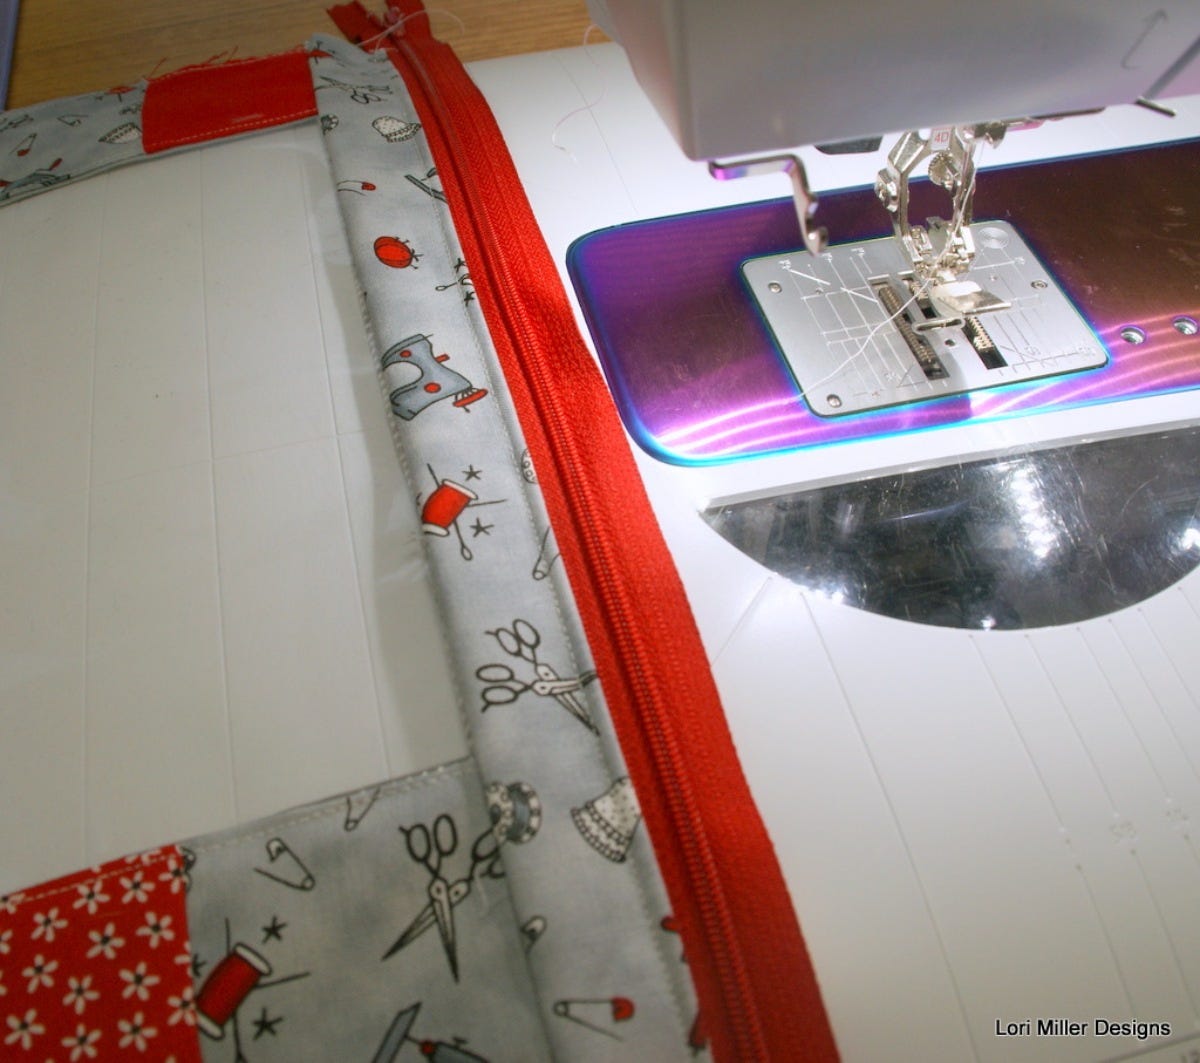
- Press the seam away from the zipper and topstitch close to the seam on the top of the fabric.
- Matching and aligning the fabric, place the zipper edge over the remaining 1 1/2” x 12 1/2” strip. Stitch on the other side of the zipper with 1/4“ seam. Press the seam away from the zipper and topstitch close to the seam on the top of the fabric.
Prepare the Back

- Make a quilt sandwich with the backing face down, the Flex foam, and then the lining face up. Pin together. Quilt as desired with a larger motif.
- Use the vinyl unit as a guide, trim, and square up the back to match in size.
- On the back side at the top, Measure from the center out 2” and down 1 3/4” and mark with a water-soluble fabric marker. Measure and mark both directions from the center.

- Fold one end of the handle webbing under 1“ and pin with the bottom and edge on the marking. Fold the other end of the handle webbing and pin it to the other side.

- Stitch the handle unit on. I used a square with an X over each end. Pin the handle down away from the seam.
- Place the quilted unit down with the lining face up and then place the vinyl unit over the top.

- Arrange the applique shapes on the lining underneath so they will show through the vinyl window. Set vinyl unit aside. Remove the paper backing and press the shapes onto the lining of the back.
- Place the Vinyl unit back on top of the Back unit aligning edges and pin in place. Make sure the zipper tab is open a little so you can keep it inside your stitching. I used a long and narrow zig-zag stitch and sewed the two pieces together.

- Bind the quilt using the 2 1/2" strips to finish.
The vinyl window lets you see your pattern or fabric to find your project at a glance.

I have a wire wall where I can hang all of my projects so they are ready to sew when I am.
Let AcccuQuilt Help With Your Project Organization
I love discovering what different projects I can make with dies I already have on hand. What other projects have you made to help you organize your sewing room?
I would love to see your version of the GO! Project Zip Bag. Please share and tag AccuQuilt and Lori Miller Designs on Facebook OR @AccuQuilt and @lorimillerdesigns


