

Hi everyone, it's Bea again from beaquilter.com.
I'm here to show you this cute and quick Valentine's pillow. Surprisingly, when I first started creating this pattern, I didn't know this would become a pillow, but I'm so happy I went this direction. The entire project only took me a few hours to finish. :)
What You Need
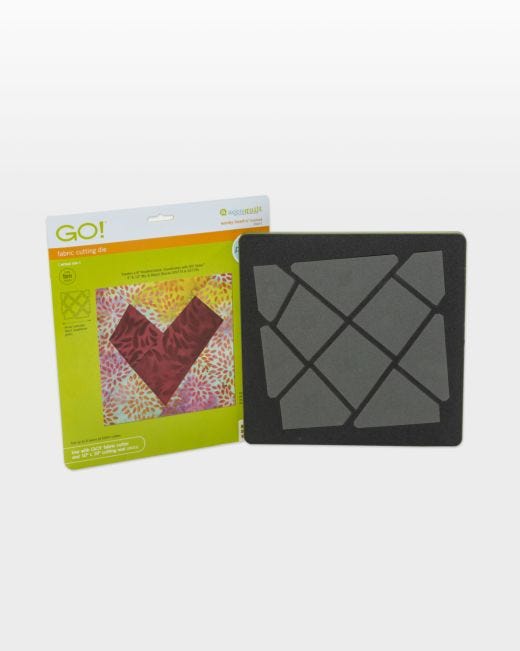
For this pillow, I used two red fat quarters, two black on white fat quarters (plus another white fat quarter for the back of the pillow), the GO! Wonky Heart die, the GO! Qube Mix & Match 6" Block and a 14" pillow shape.


First, I started with the heart blocks. I cut 10" squares out of the four fat quarters to make the pieces needed for the Wonky Heart block.
I only wanted to make two blocks with hearts, so I laid out the red for the heart as well as the black on white fabrics around the red heart pieces.

Remember, you do not have to cover the entire die board. In the case that you only need heart shapes in a particular color or fabric and do not need an accompanying background, you could line up that fabric with the inside, lighter grey shapes that create the heart. That will save some fabric and ensure you have all the pieces you need for the project.
Notice that I swapped the background's fabric at a diagonal line. (Just wait and see what I did with the leftover pieces.)
Next, I started sewing the blocks together according to the 9-step process shown in the Wonky Heart die insert.


You COULD also swap out the bottom right triangles so the block has a stripe in the background (after all steps up to 7 have been completed). It would look like this:

For this project, I stuck with my original plan of only swapping one triangle out (step 9).

Here are the two completed blocks:

With leftover scraps from the fat quarters, I cut out four of the quarter-square triangles (shape number 4 in the GO! Qube Mix & Match Block) from each of the four fabrics and two of the square - 3½" (shape number 1 in the GO! Qube Mix & Match Block) from the two black on white fabrics.

I sewed together matching sets of the quarter-square triangles block sections so that one red fabric is opposite one black on white fabric.

And then combined those triangles into four quarter-square triangles (two of each print set) like these:

Then I sewed the 3½" squares together with the quarter-square triangles and made two 6½" blocks. I laid out the blocks with the heart blocks like this:

Here are the blocks sewn together:

Next, I cut out 1½" strips of one of the red fabric's leftover scraps using the 1½" GO! Strip Cutter die.

These strips would be used to create a border around the blocks.

It was at this point I decided to make it a pillow instead of a small quilt, as I found a 14" pillow shape. ;) Of course, you could still quilt this if you would like.
For the back of the pillow, I used the extra white fat quarter to cut two 14½" x 9½" (or 9") rectangles. Honestly, the height doesn't matter too much, but you want to leave at least a ½" for folding over the edge and then another few inches to be used for overlap. For my pillow, I calculated that half of the pillow height is 7" and with a 2" overlap plus the ½", I would need a total of 9½".
I folded over the 14½" edge about ¼", then ironed and folded again. I ironed again, once on each piece of fabric, then top stitched this down.

Constructing the Pillow
The construction of the pillow is up to you. I chose to make this a zipperless envelope pillow cover so I could remove the pillow when Valentine's Day was over. However, you could place a zipper on the envelope fold, place a zipper on an edge or to stitch all the way around after stuffing. The instructions below are for the envelope style without a zipper.
Place the pillow top right side UP and both of the white backing pieces on top with right side DOWN. Pin around the perimeter. I start at the top and work my way down the sides to avoid losing alignment.

Make sure the two white fabric pieces overlap so that the pillow insert is completely covered by the pillow case. You can see the overlap below.

Once you have all four sides lined up and pinned, sew all the way around. If you aren't doing an envelope style pillow, here is where you will take your own approach to construction. Hint: If you are stitching the pillow up completely, read on!
Now, for those leftover pieces! While I was making this pillow, I also sewed together the remaining two heart blocks to create a smaller stitched pillow.

For the smaller pillow, I laid the two right sides together and sewed around those. When creating a pillow that is completely stitched together, you will need to leave an opening big enough for you to place your hand through. This will be used to turn the pillow right side out and place the pillow stuffing.
For both pillows, be sure to trim the corners around the outside of the stitching. It will help create that square pillow shape.

I turned the pillows inside out, making sure to push those corners out. With the big, envelope style pillow, I easily inserted a pillow. With the smaller, stitched pillow, I used fiber fill to give it fluff, then whip stitched the opening closed.
Here are the finished products:

And here are their backs:

Have fun with the GO! Wonky Heart die and happy Valentine's Day! Remember, the day before Valentine's is Galentine's, a perfect time to celebrate your gal pals! :)
Want a few more Valentine's Day or Wonky Heart project ideas? Check these out:
To be the first to know about tutorials like these, be sure to subscribe to the AccuQuilt email list!
Want to print or save this tutorial for later? Fill out the form below to download and save!


