
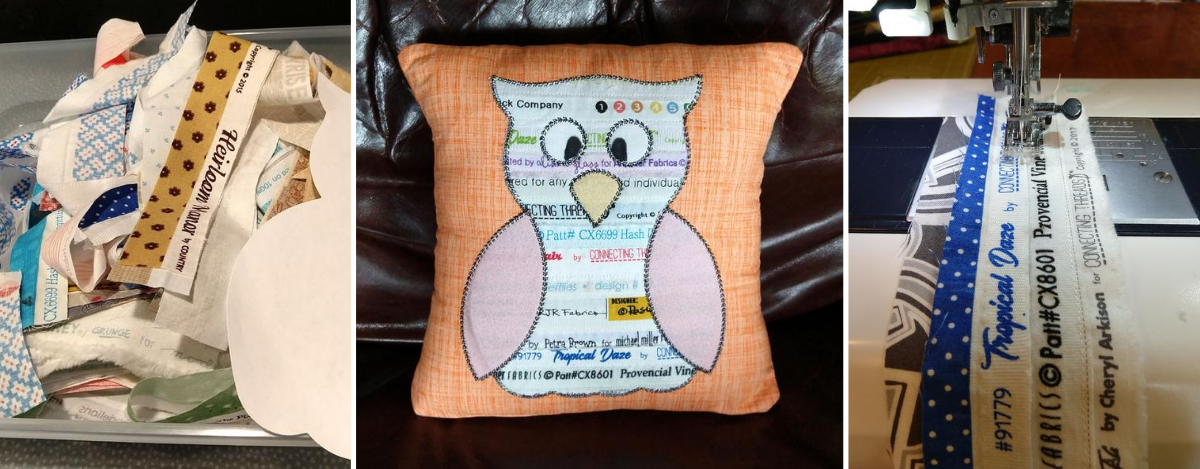
Hi, it's Bea from Beaquilter.com again and I'm here to show you how to make this cute Studio machine embroidered selvage owl pillow! The AccuQuilt team has been releasing more and more free embroidery files for Studio dies and when they said this adorable owl was available, I knew I had to have it. The Studio Owl die (50423) is a great stash buster, especially when you use this technique. No piece of the fabric goes to waste!
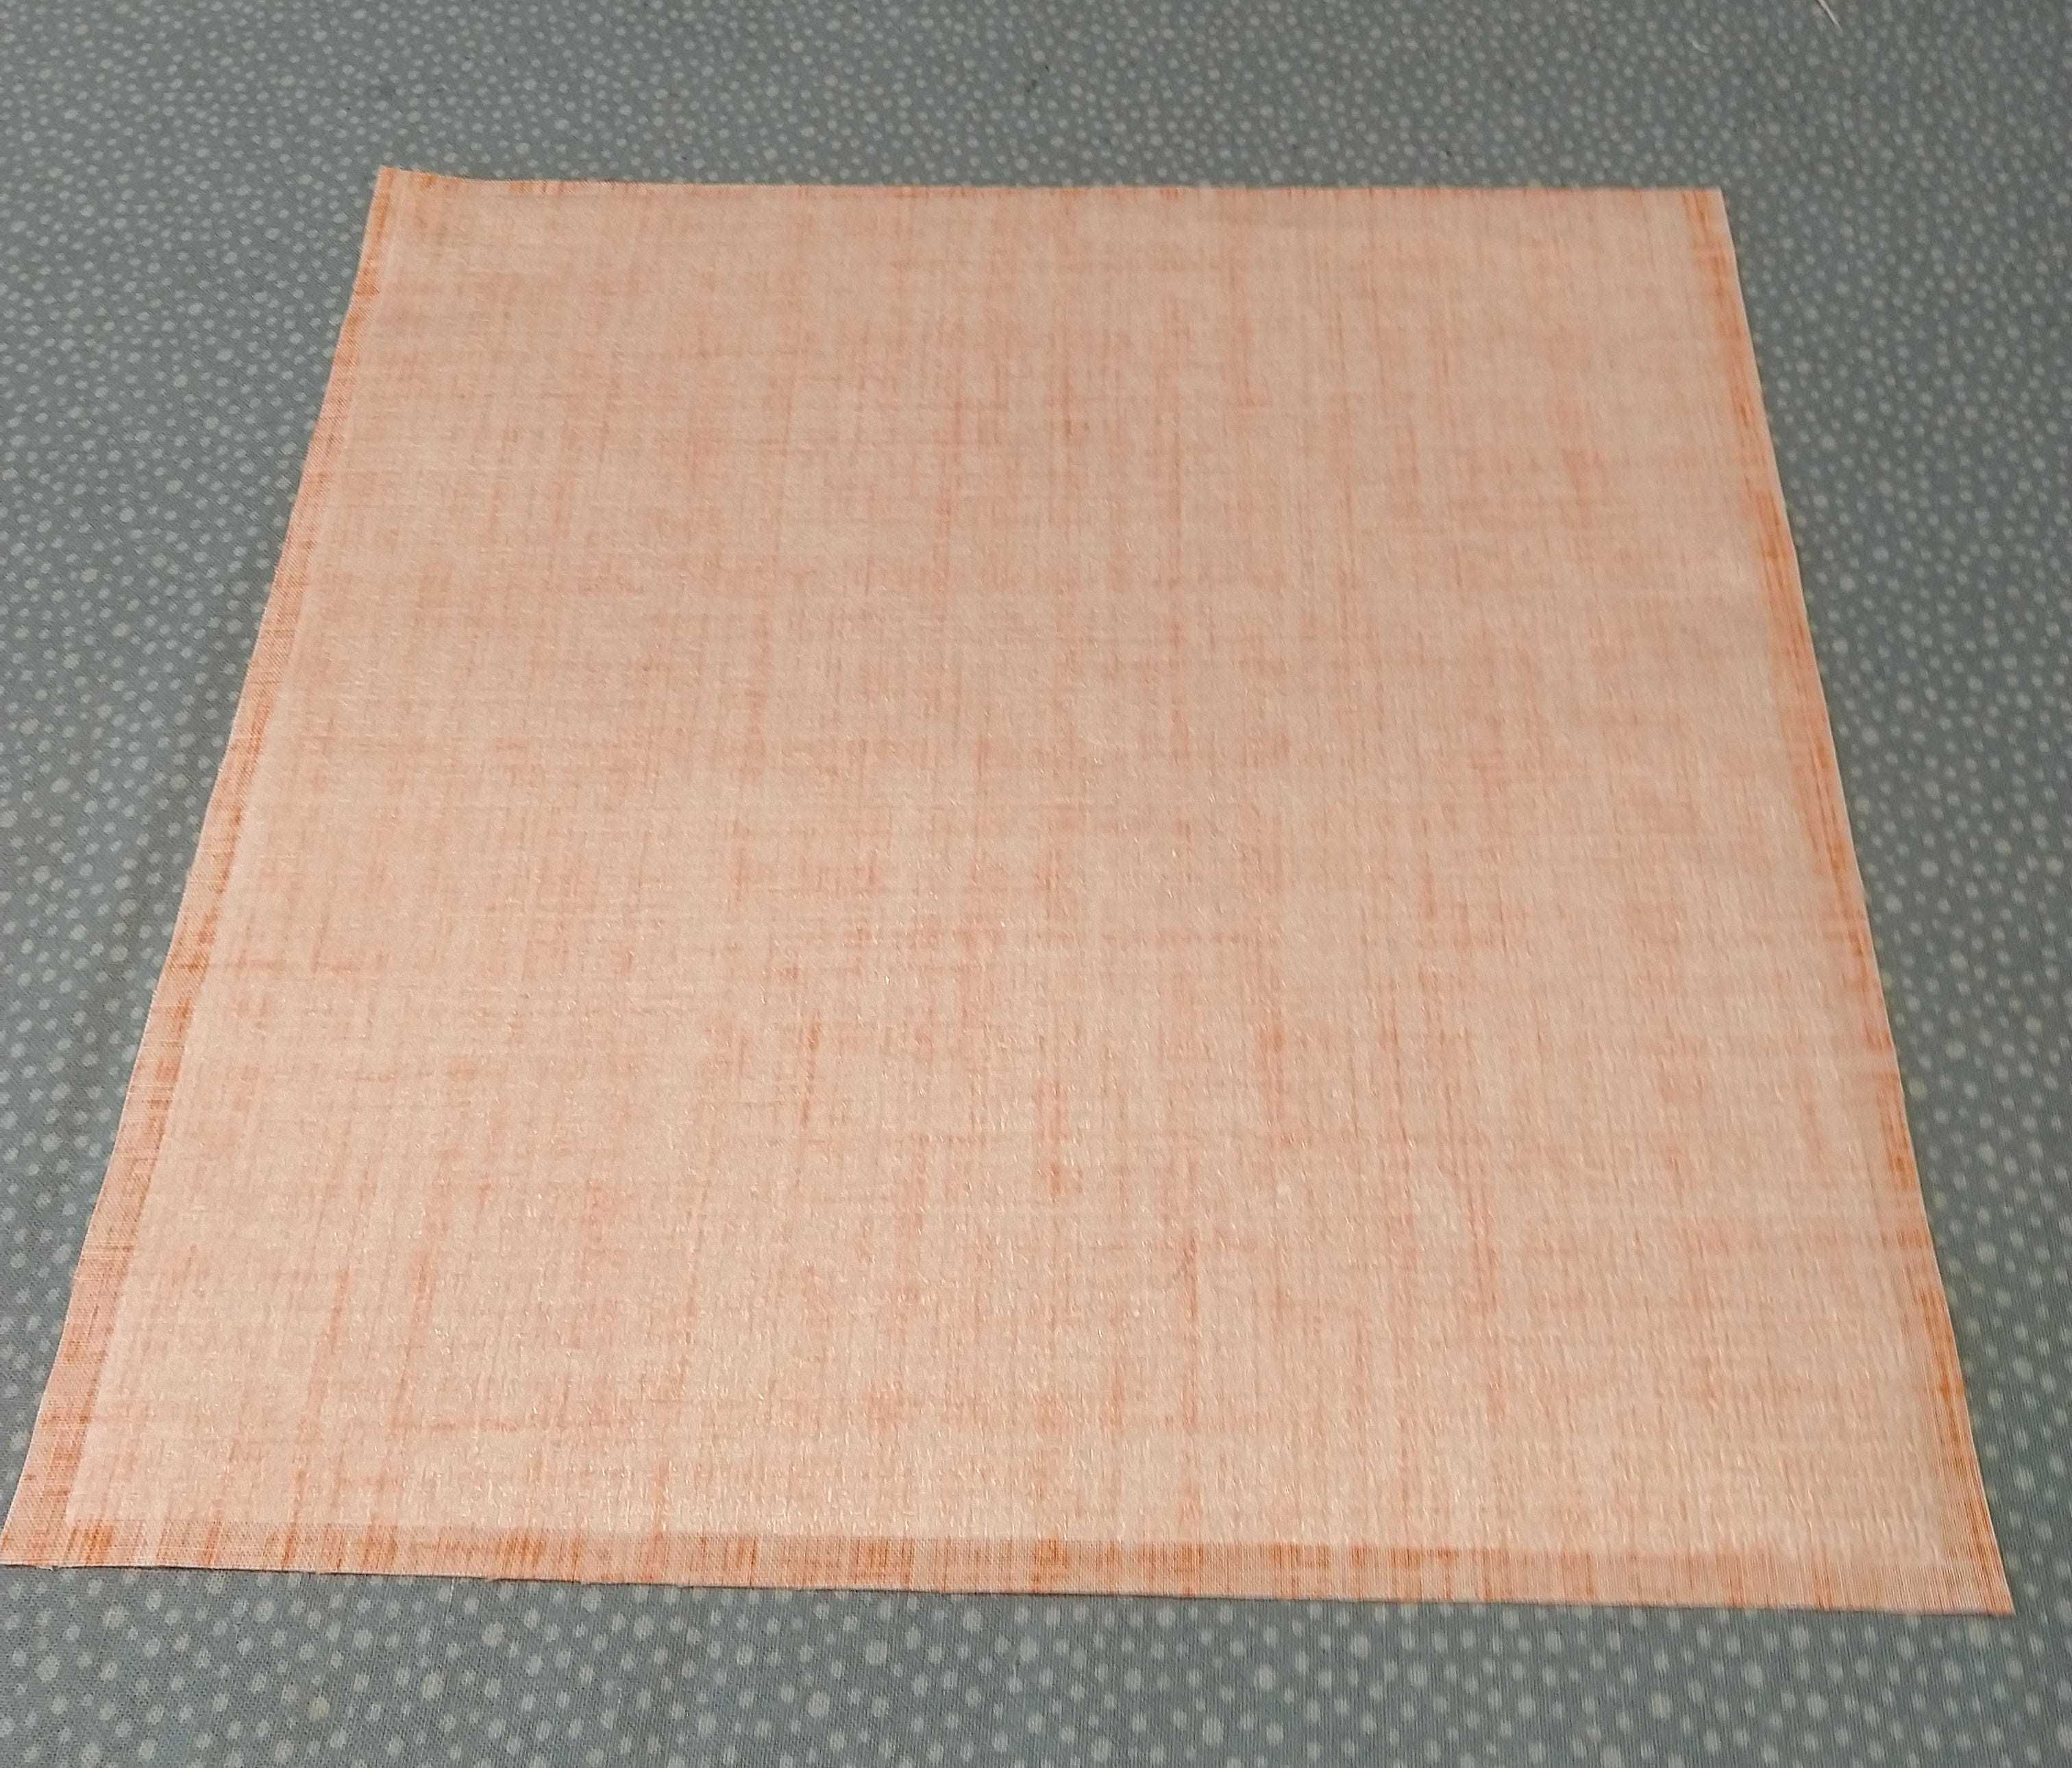
First, download the Studio Owl die's free machine embroidery file. I used 10½" x WOF of orange and scraps for the owl wings, eyes and beak PLUS a bunch of selvages from fabrics I had saved.
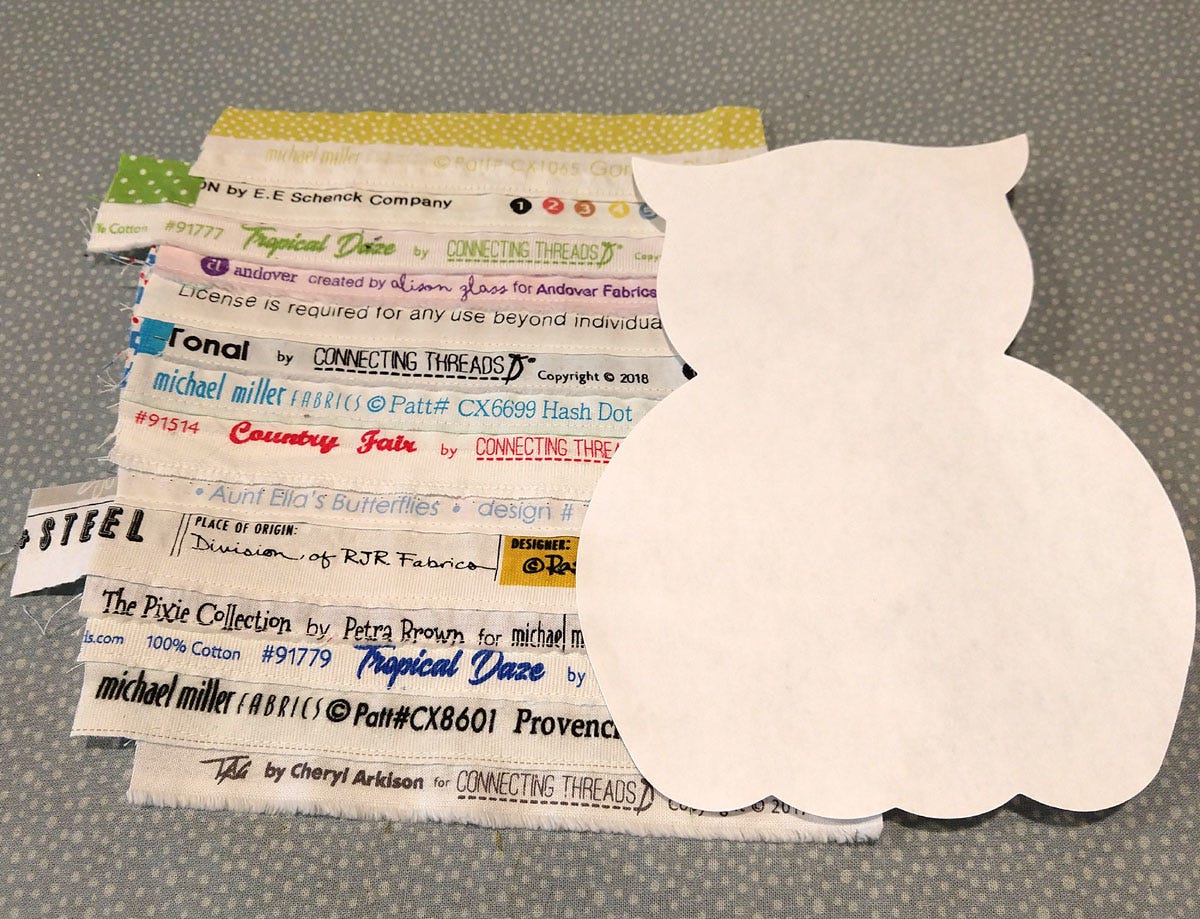
I first cut out an owl with the die in paper then got out my box of selvages. Remember, the AccuQuilt cutter will be fine if you cut paper once in awhile.
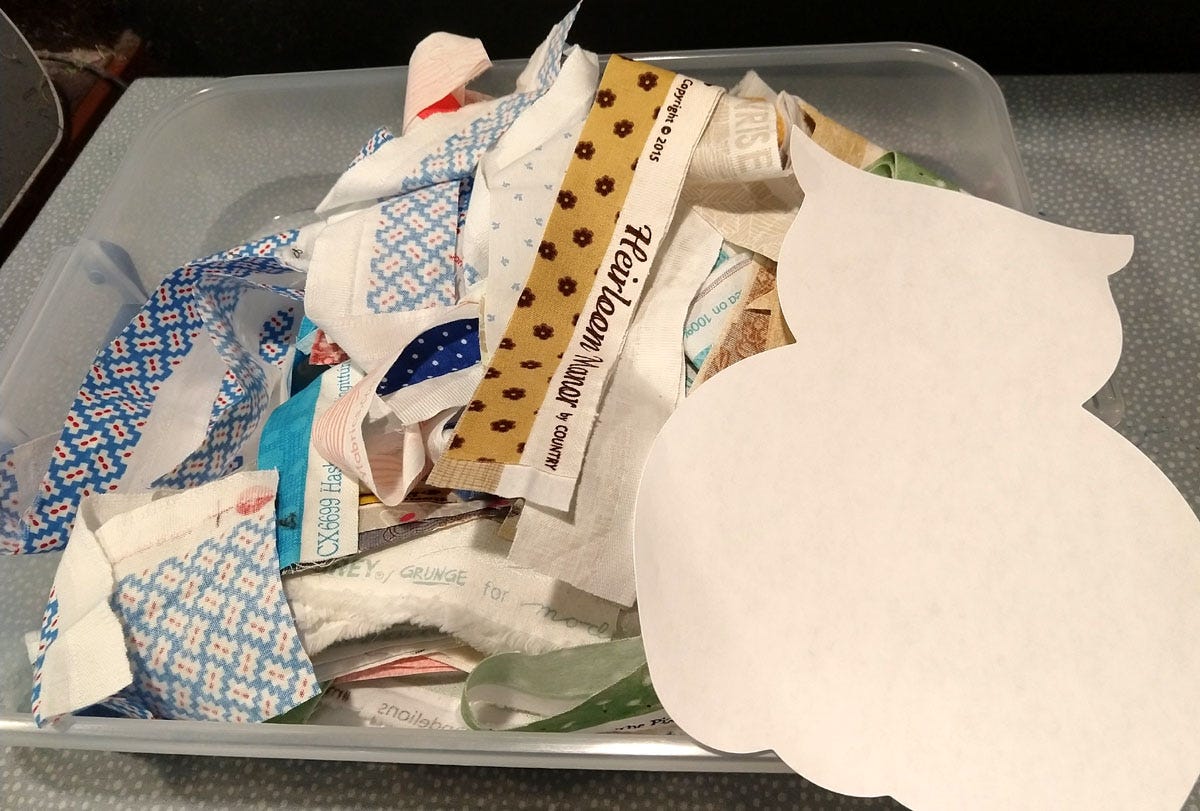
I sorted the selvages to have them face the same way and made sure there were enough to cover the owl shape.
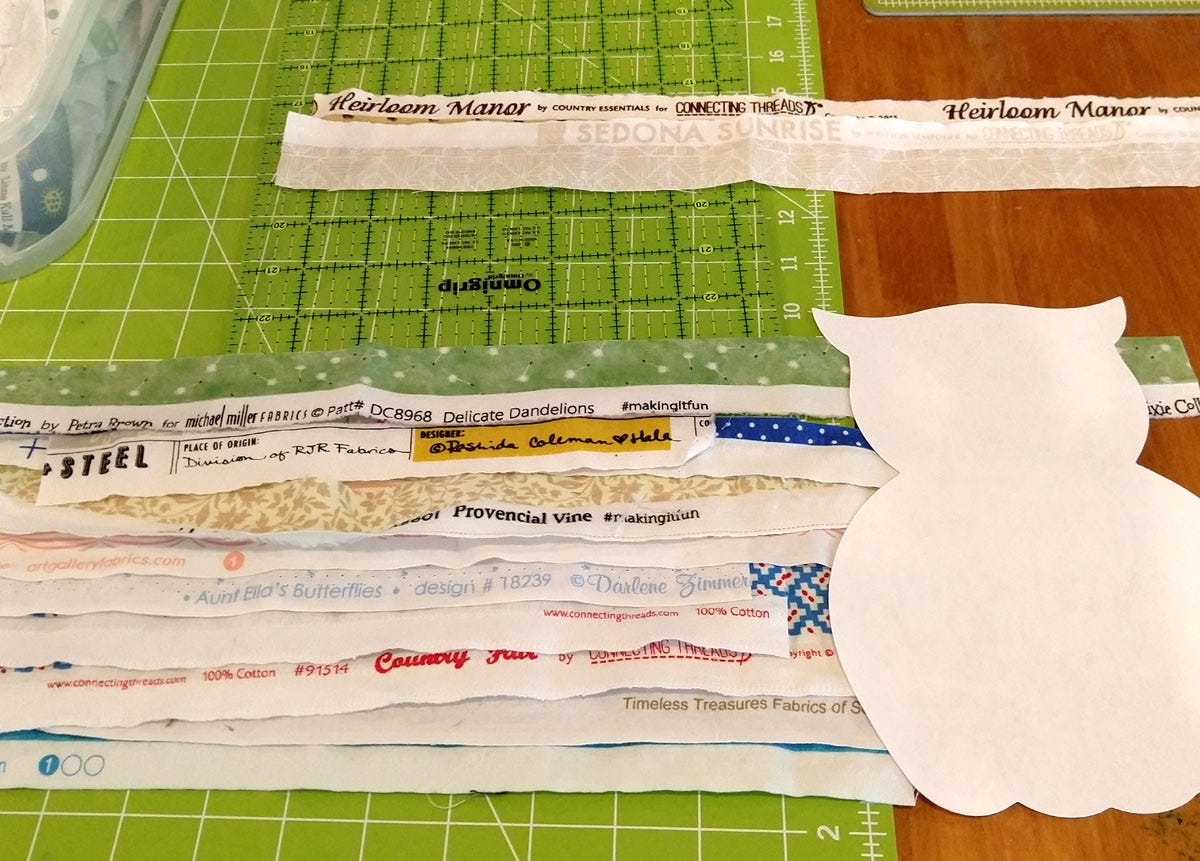
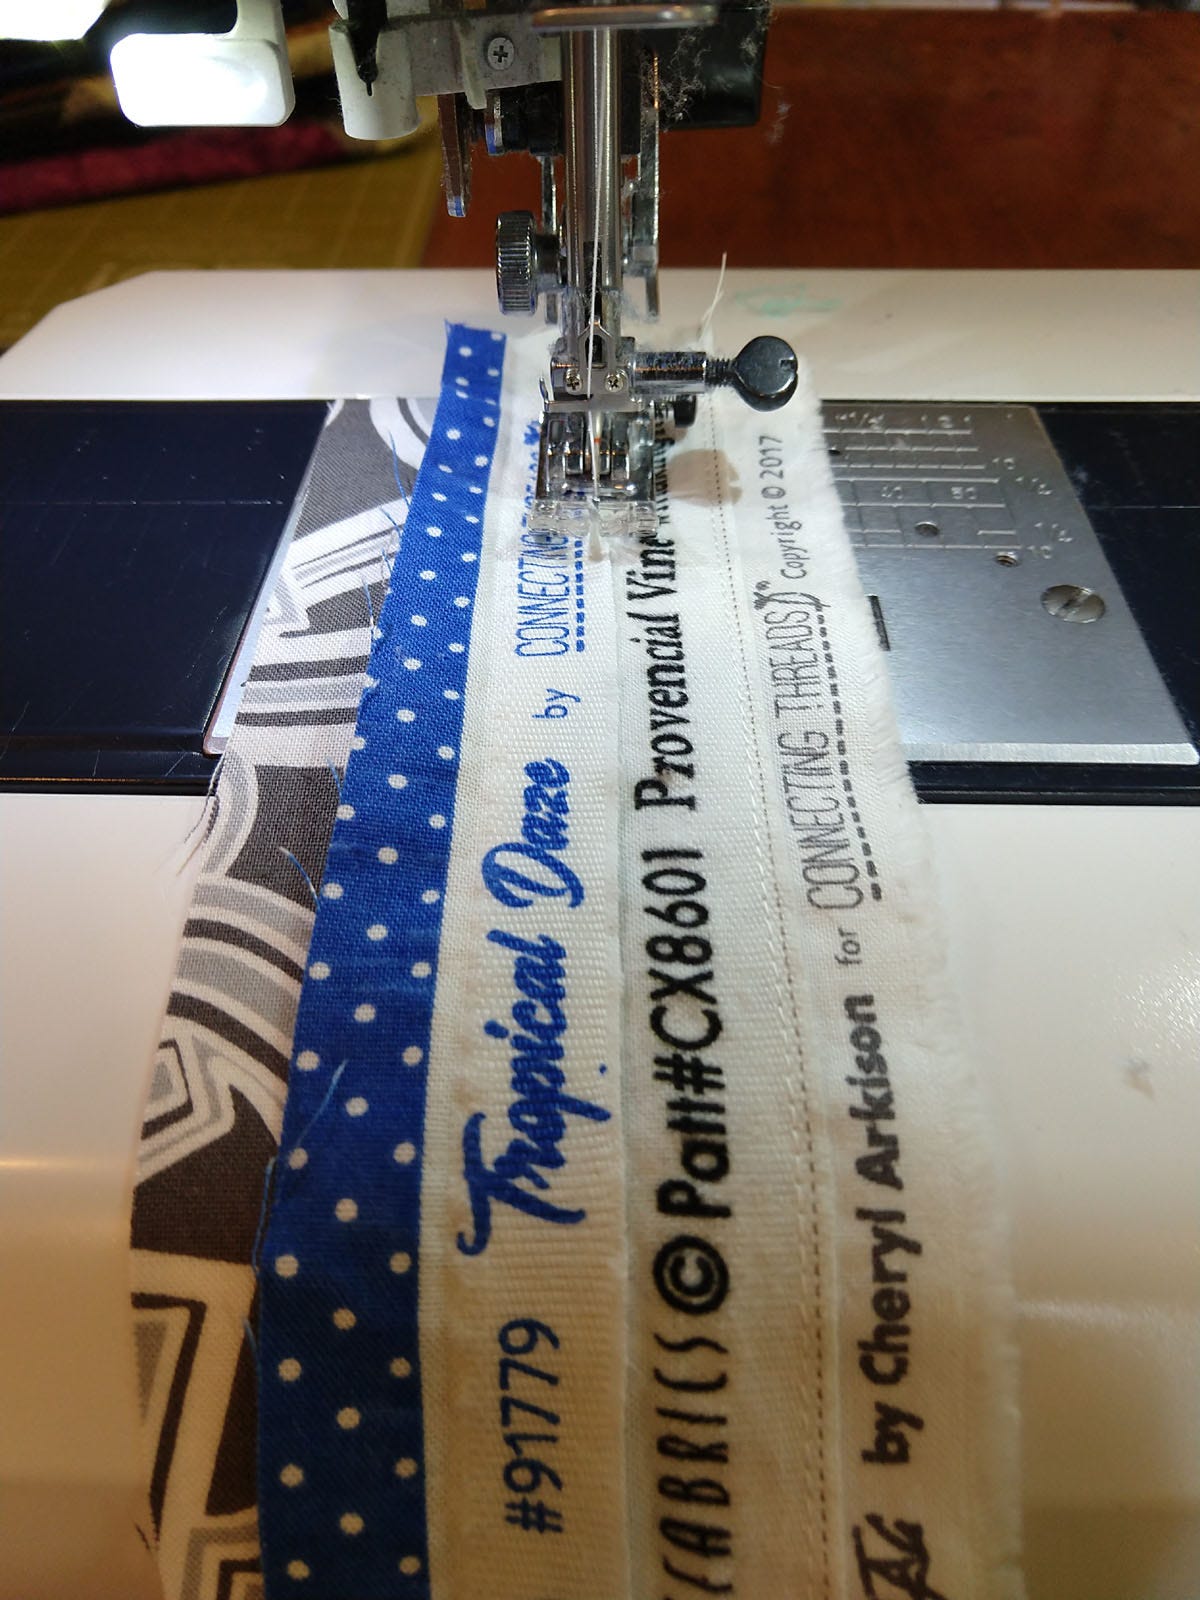
I laid selvages on top of each other and right on the edge, I top stitched it down making sure it doesn't show the fabric underneath, just the text. I also made sure the text didn't overlap.
Once it was large enough to cover the entire owl, I got my fusible.
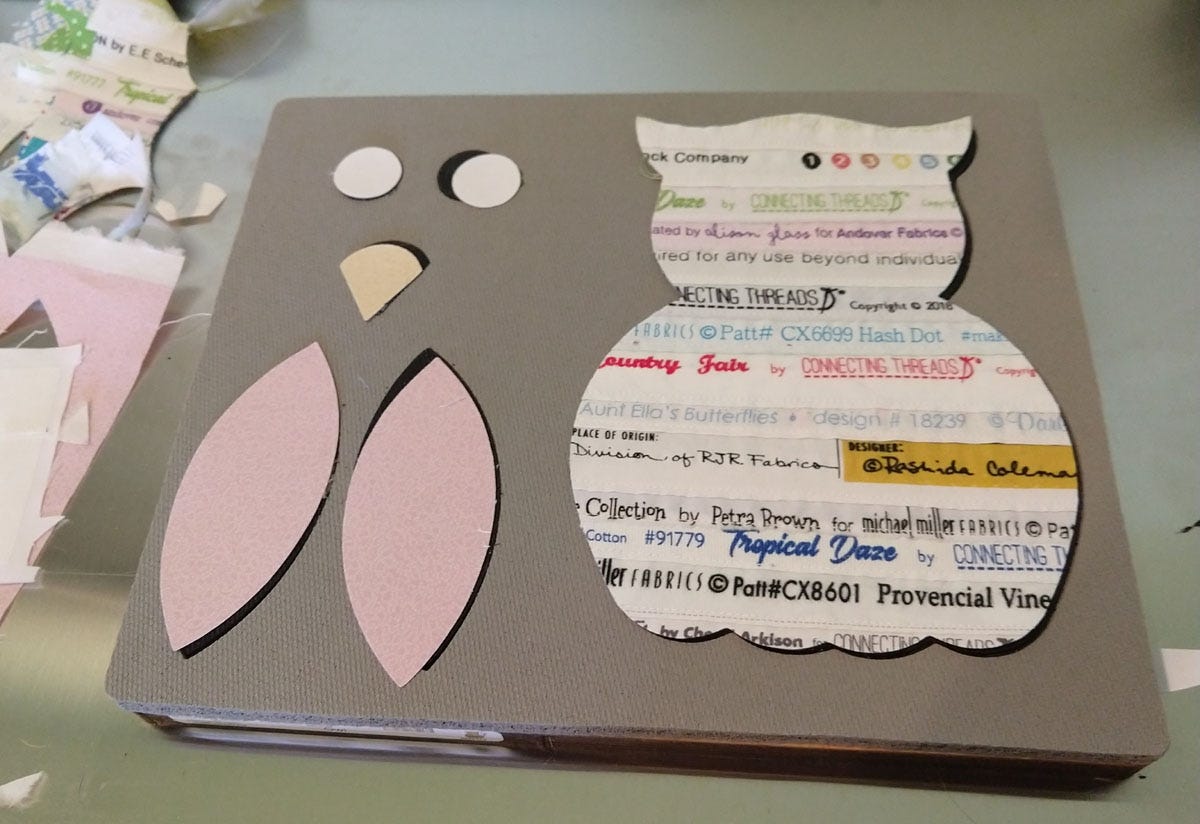
I cut pieces of Steam-A-Seam2 large enough to cover the shapes of the die so I could fuse it to the back of the selvage "fabric" and the other fabric pieces I would use for accenting my owl.
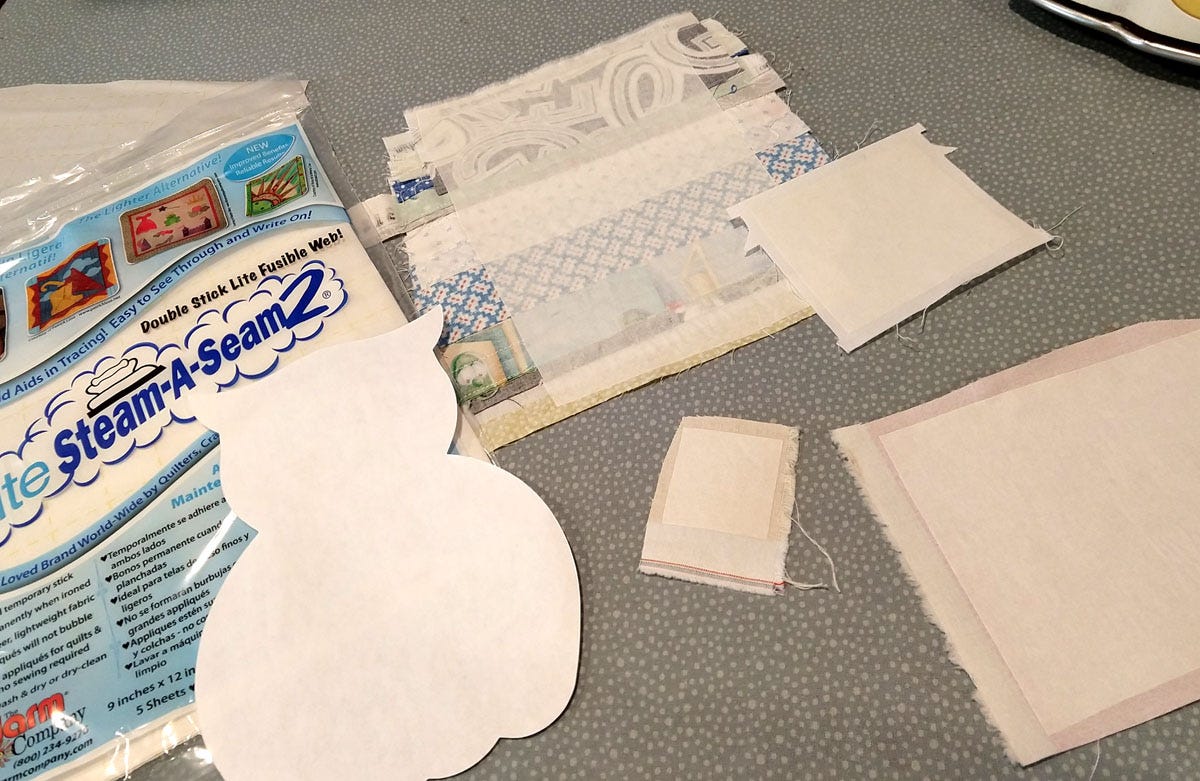
I was able to cut all the shapes in one pass!
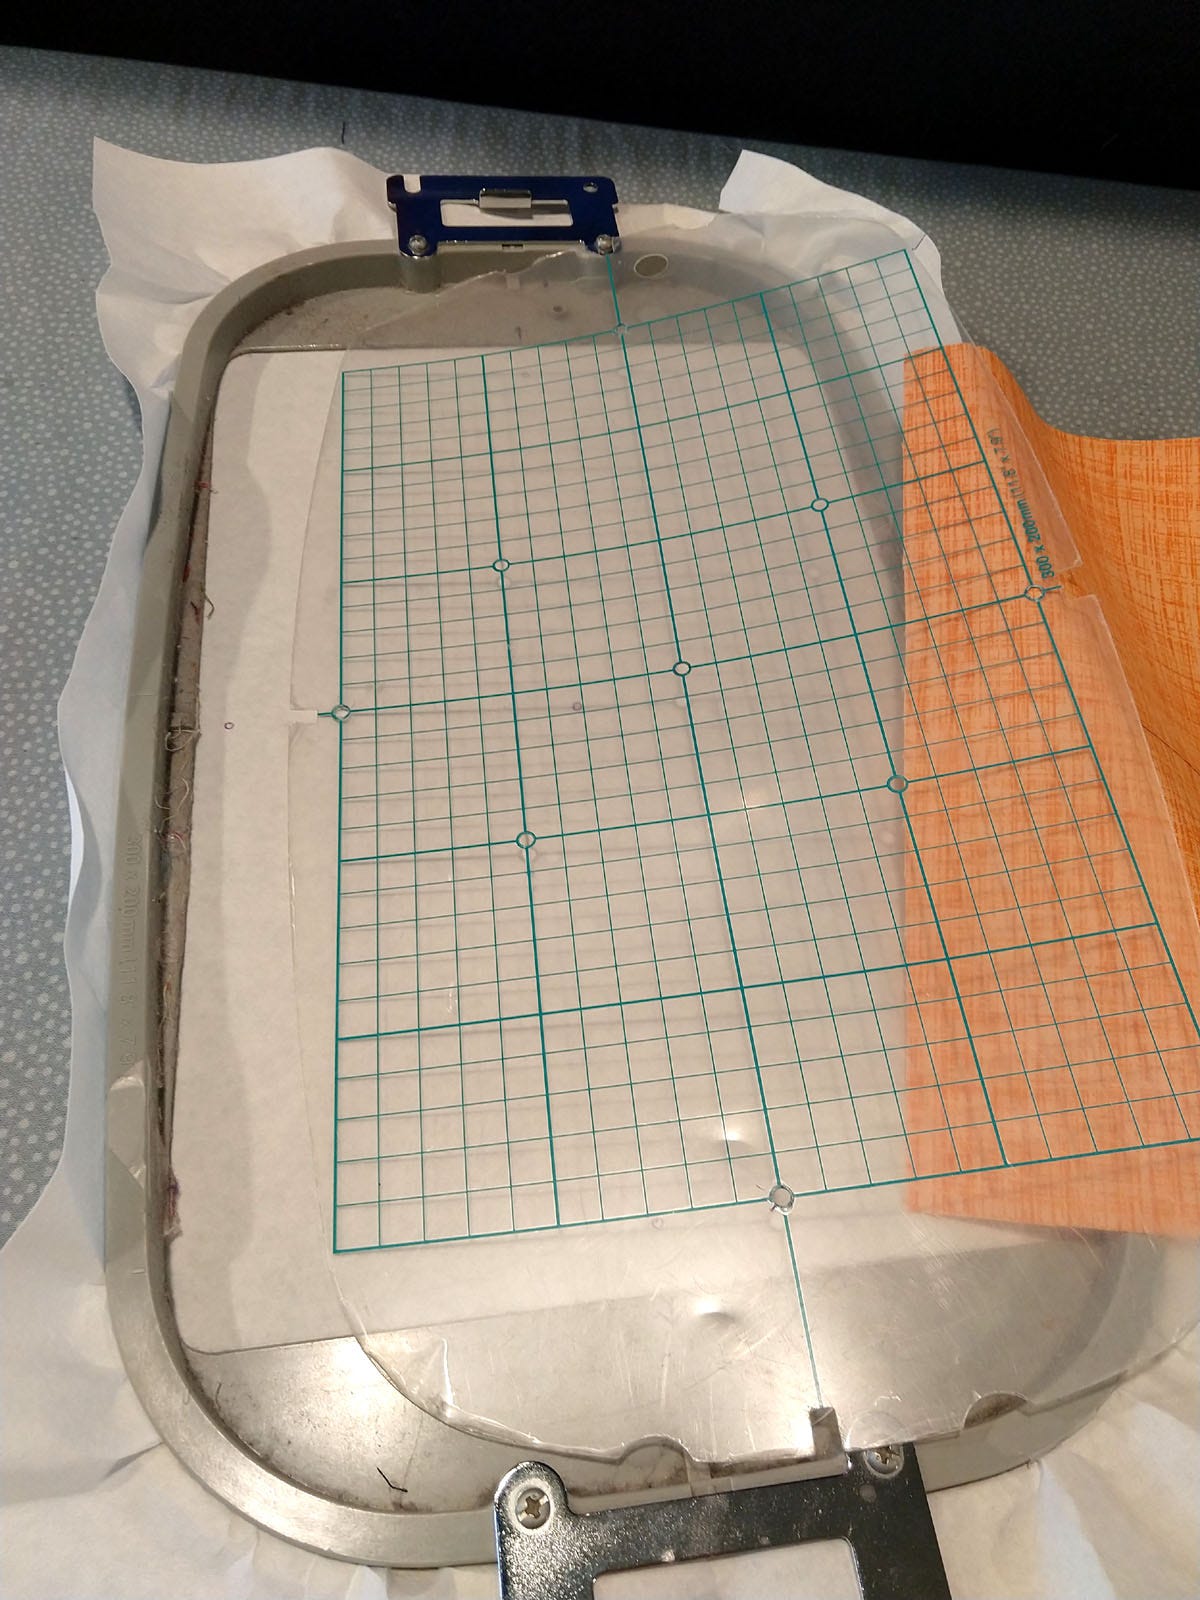
For machine embroidery, you also have to prep the background fabric and add some stabilizer onto the back. Here I cut out a 10½" square and added stabilizer.
I got the file onto my embroidery machine and used the 8-inch x 12-inch hoop.

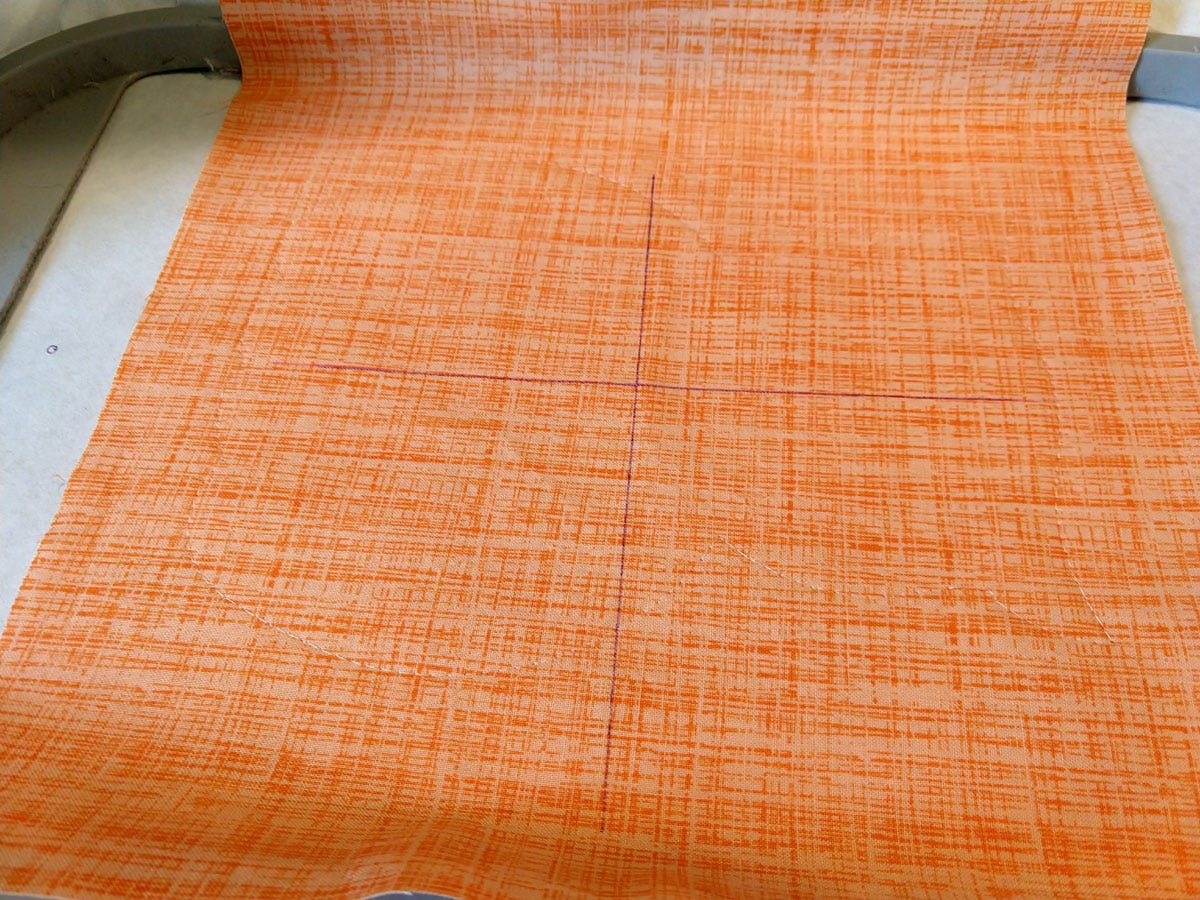
I added stabilizer in the hoop and marked the center and also the center of the fabric.
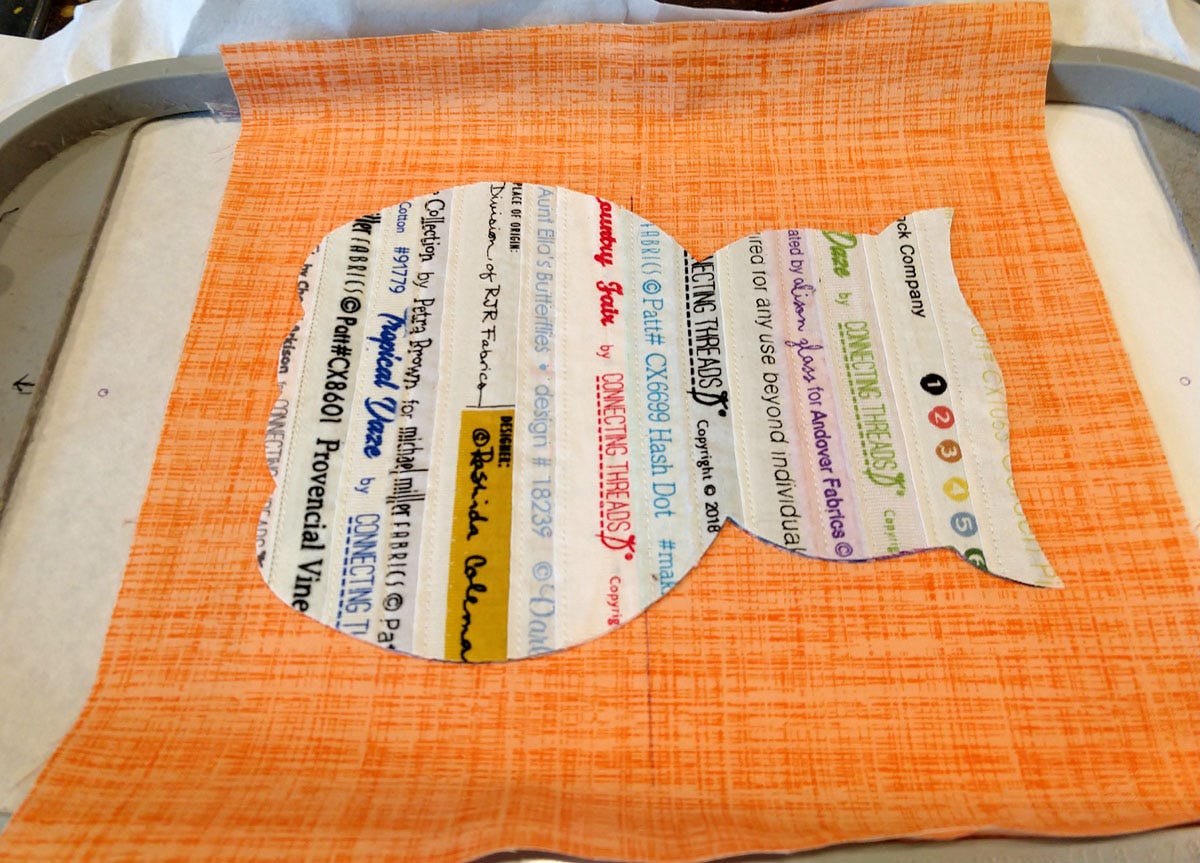
Then I embroidered the outline of the owl as step 1 of the embroidery file.
I peeled back the fusible on the back of the owl and pressed it on the background fabric with a hot small craft iron within the stitch lines.
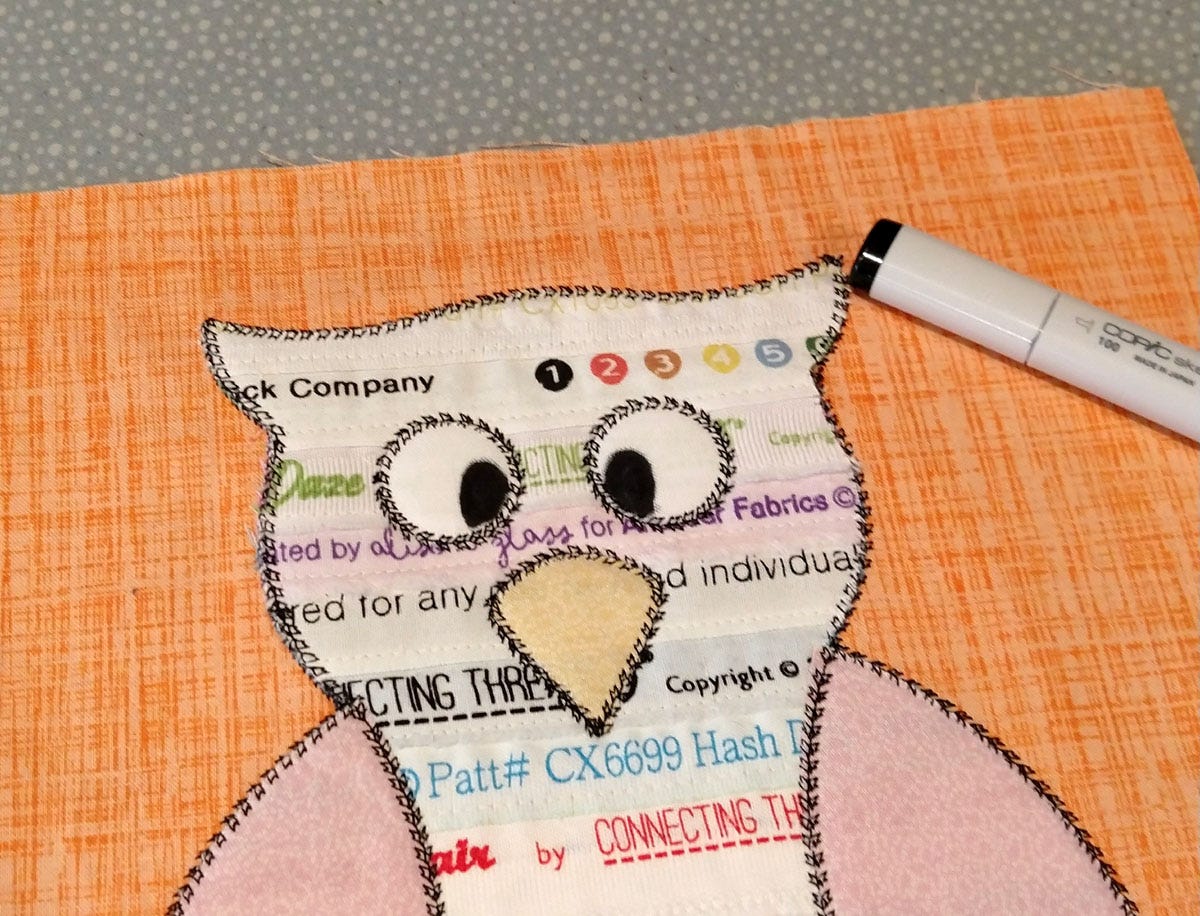
I put it back in the machine and stitched out the next two steps, one is the black stitching (the free files actually include 3 different stitch options, I chose the motif stitch). Next was an outline stitch for the eyes, beak and wings.
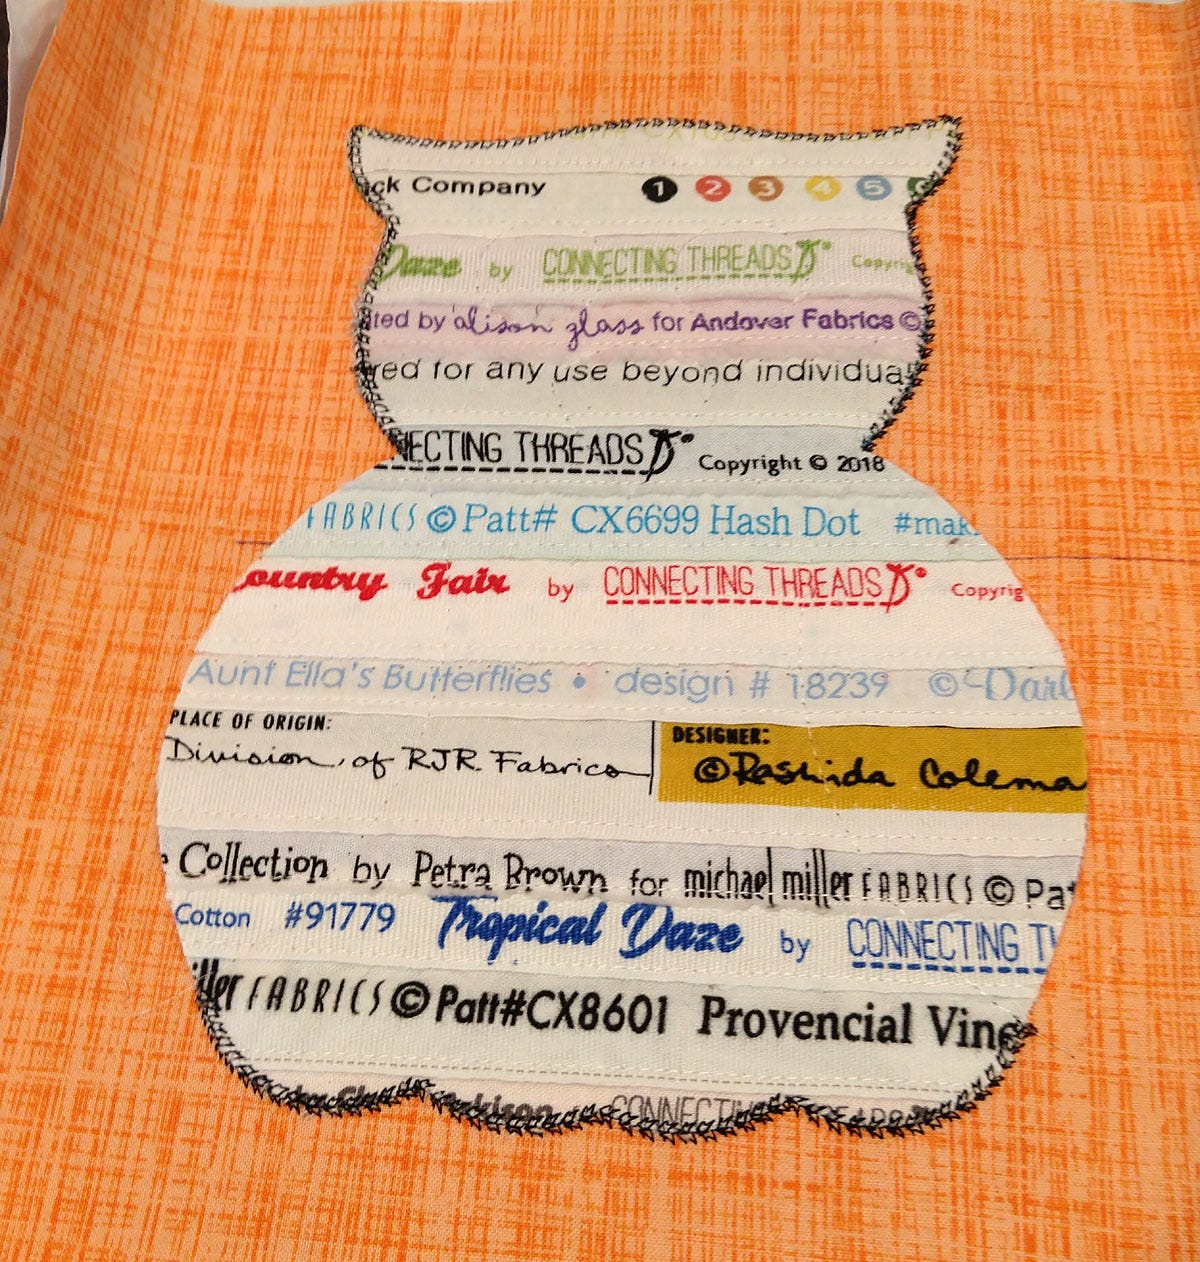
Here are the owl pieces all stitched down.

I used a Copic marker to add the irises in the eyes.
I ended up turning this into a pillow as I had a 10-inch pillow shape. The back is made with two folded fabrics overlapping so there's an opening near the middle where I could stuff the pillow in.
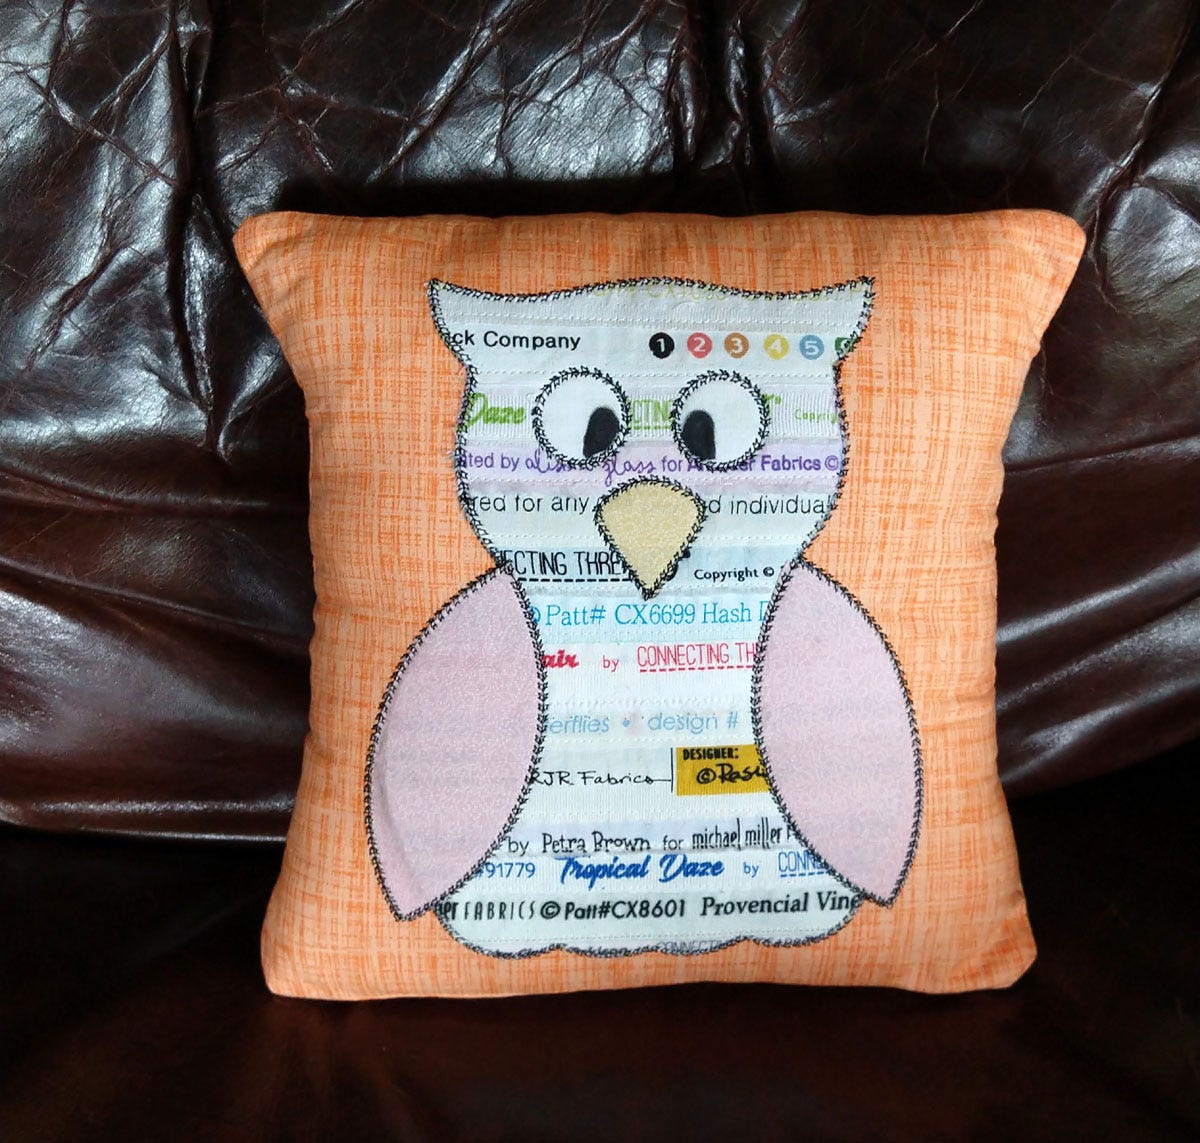
I think the owl turned out great! Of course this selvage method can be used with any appliqué shapes and matching embroidery files.
How would you use this technique?


