Welcome AccuQuilt enthusiasts, quilters, and sewists...it's me - Belinda from the Samplings from a Blue Ribbon Girl blog - I'm back again today with a guest blog post to share details about my new patterns for the GO! Owl cutting die.
I recently designed four (yes, four) patterns for AccuQuilt that focus on the GO! Owl die...and in this post, you will see just how versatile the GO! Owl really can be! First, I tell you all about these new patterns, then I will give you a few tips for working with the appliqué shapes.
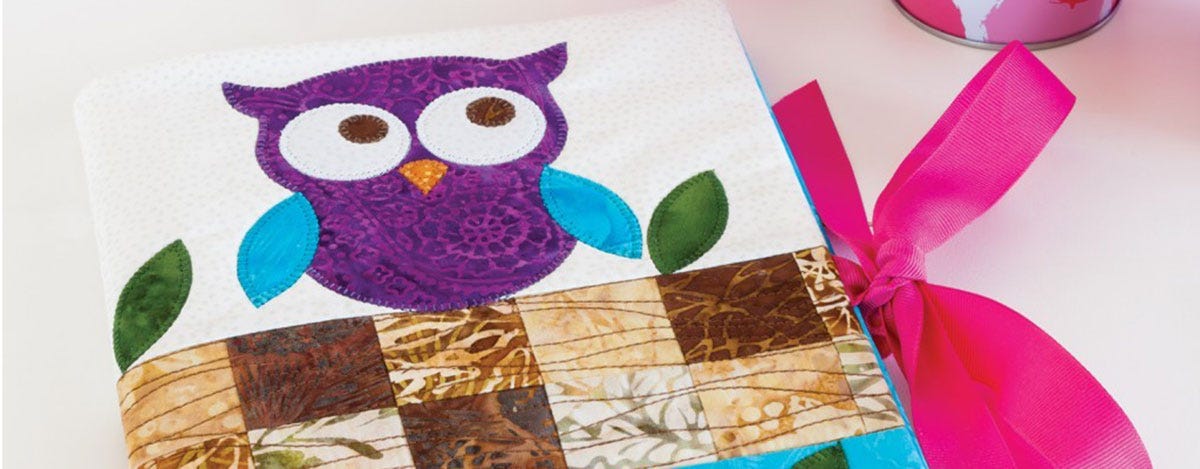
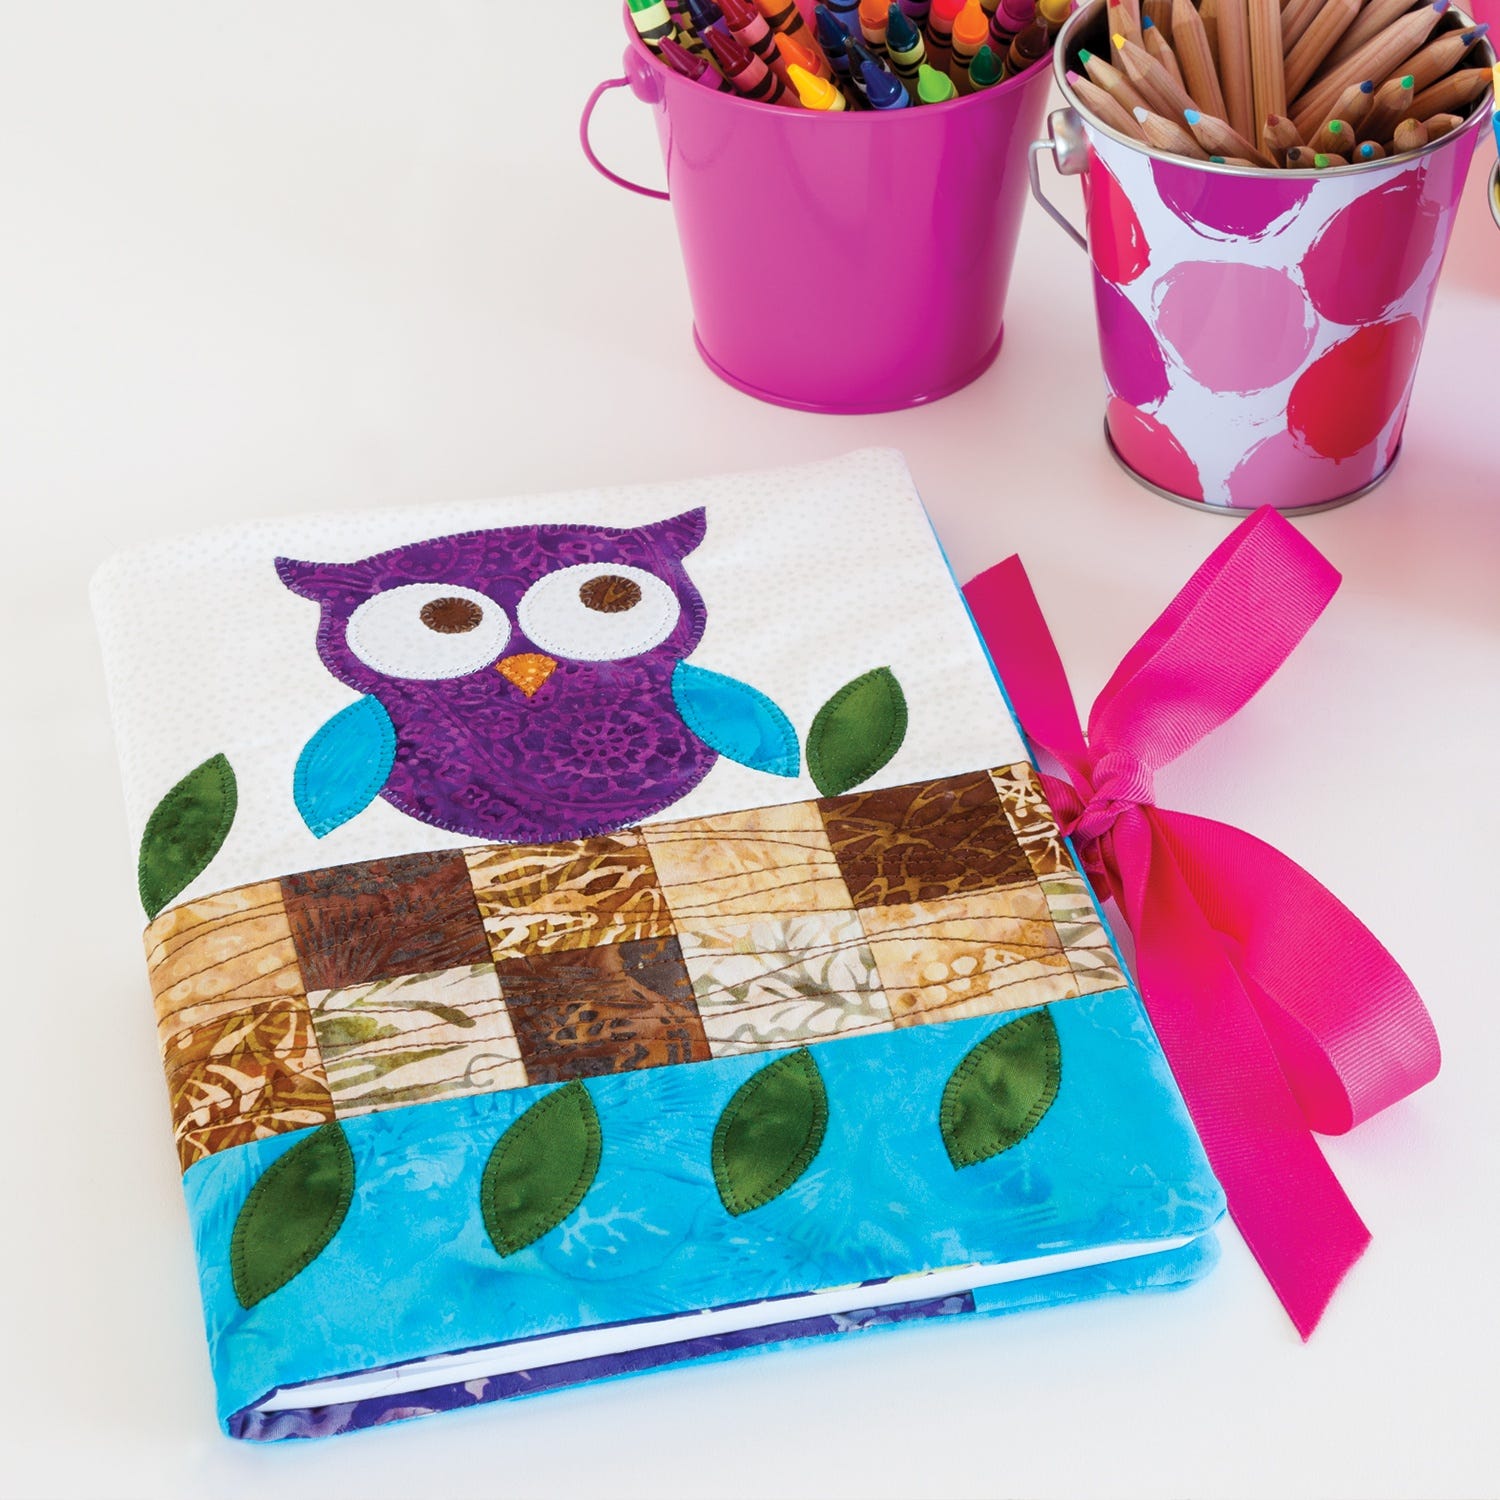
Let's start with the GO! Out On a Limb Notebook Cover. This is the perfect small project for those just starting out with the GO! Owl die...or for those who want to brush up their machine appliqué skills before starting a larger project. You can create your own notebook cover in an afternoon and it is a great scrap project. Simple four-patch blocks make up the "branch" for the perched owls...and the owl wing shape is used for the "leafs". Two inside pocket flaps hold a standard 7½" x 9¾" composition notebook/journal (easily found where office supplies are sold) and the cover is tied shut with coordinating grosgrain ribbon. The model used some gorgeous Island Batik fabrics, but this notebook cover would look great in an assortment of prints and colors...and would make a great gift for a special occasion.
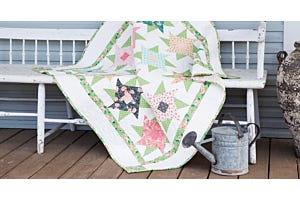
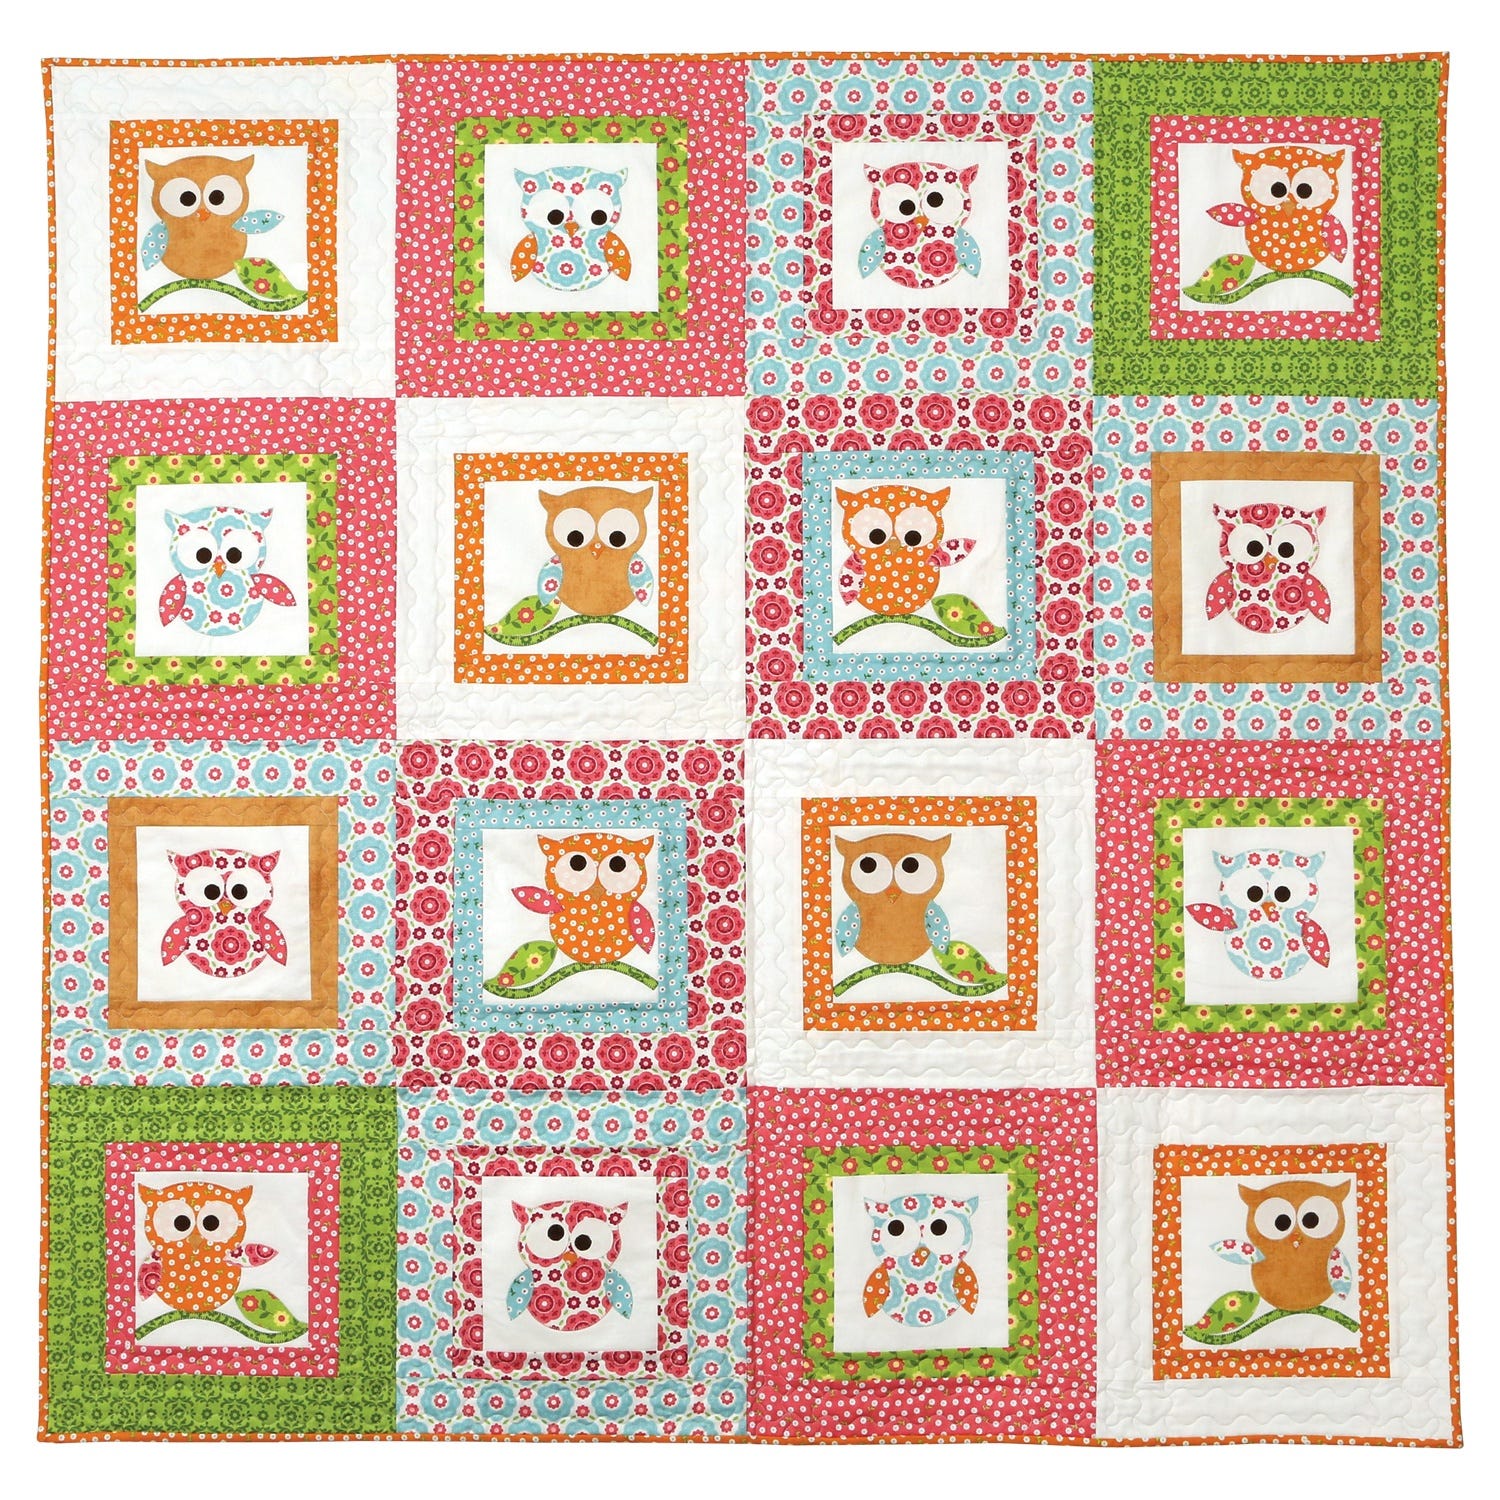
For a larger project, why not try the GO! Owl-rageous Wall Hanging?! This sixteen block quilt gives you a chance to play with the owl eyes and wings, giving each owl its own unique look. The GO! Round Flower die is used to add branches and leafs to several blocks...and each appliqué block is framed with simple strips. This wall hanging used some fabulous Riley Blake Designs fabrics, but you could easily play with prints and colors to come up with a striking new look (batiks would be beautiful!)...and be sure to play with the owl expressions, wings, and stances (maybe add more branches and leafs) to make it your own.
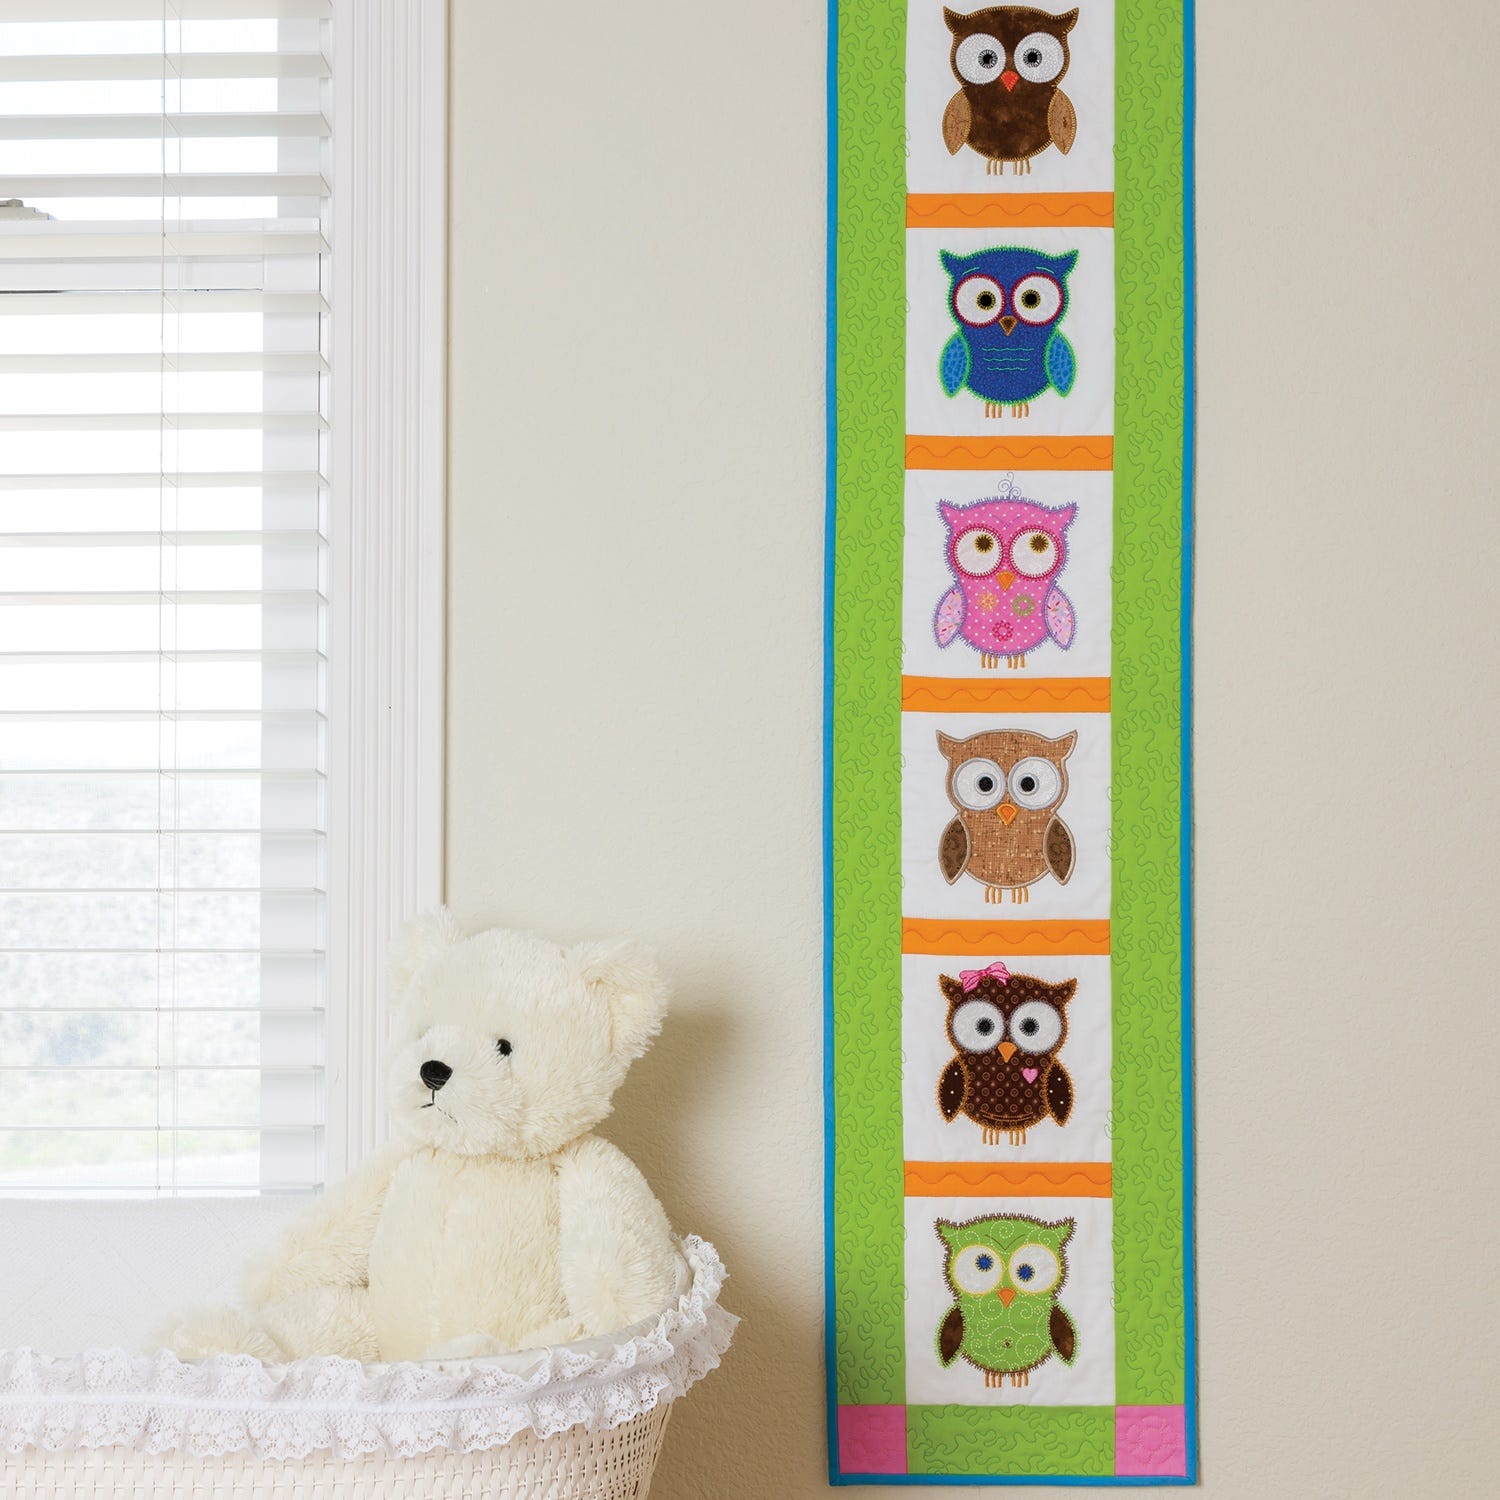
If you like to experiment with machine embroidery, then the GO! Hoot Hoot Hooray! Wall Hanging is for you. This pattern uses digitized embroidery designs by V-Stitch to stitch down and embellish the GO! Owl appliqué shapes....yep, the embroidery machine does all the hard work for you. In this pattern, the machine embroidered owls take center stage and simple sashing and a cornerstone border are used to frame in the blocks. GO! Owl Embroidery by V-Stitch Designs will come with complete instructions and the digitized files for creating the appliqué blocks and my pattern will provide direction on how to put the wall hanging together. The machine embroidery appliqué makes this a whimsical and fun project, adding lots of details and embellishment to the owls for a fresh, new look.
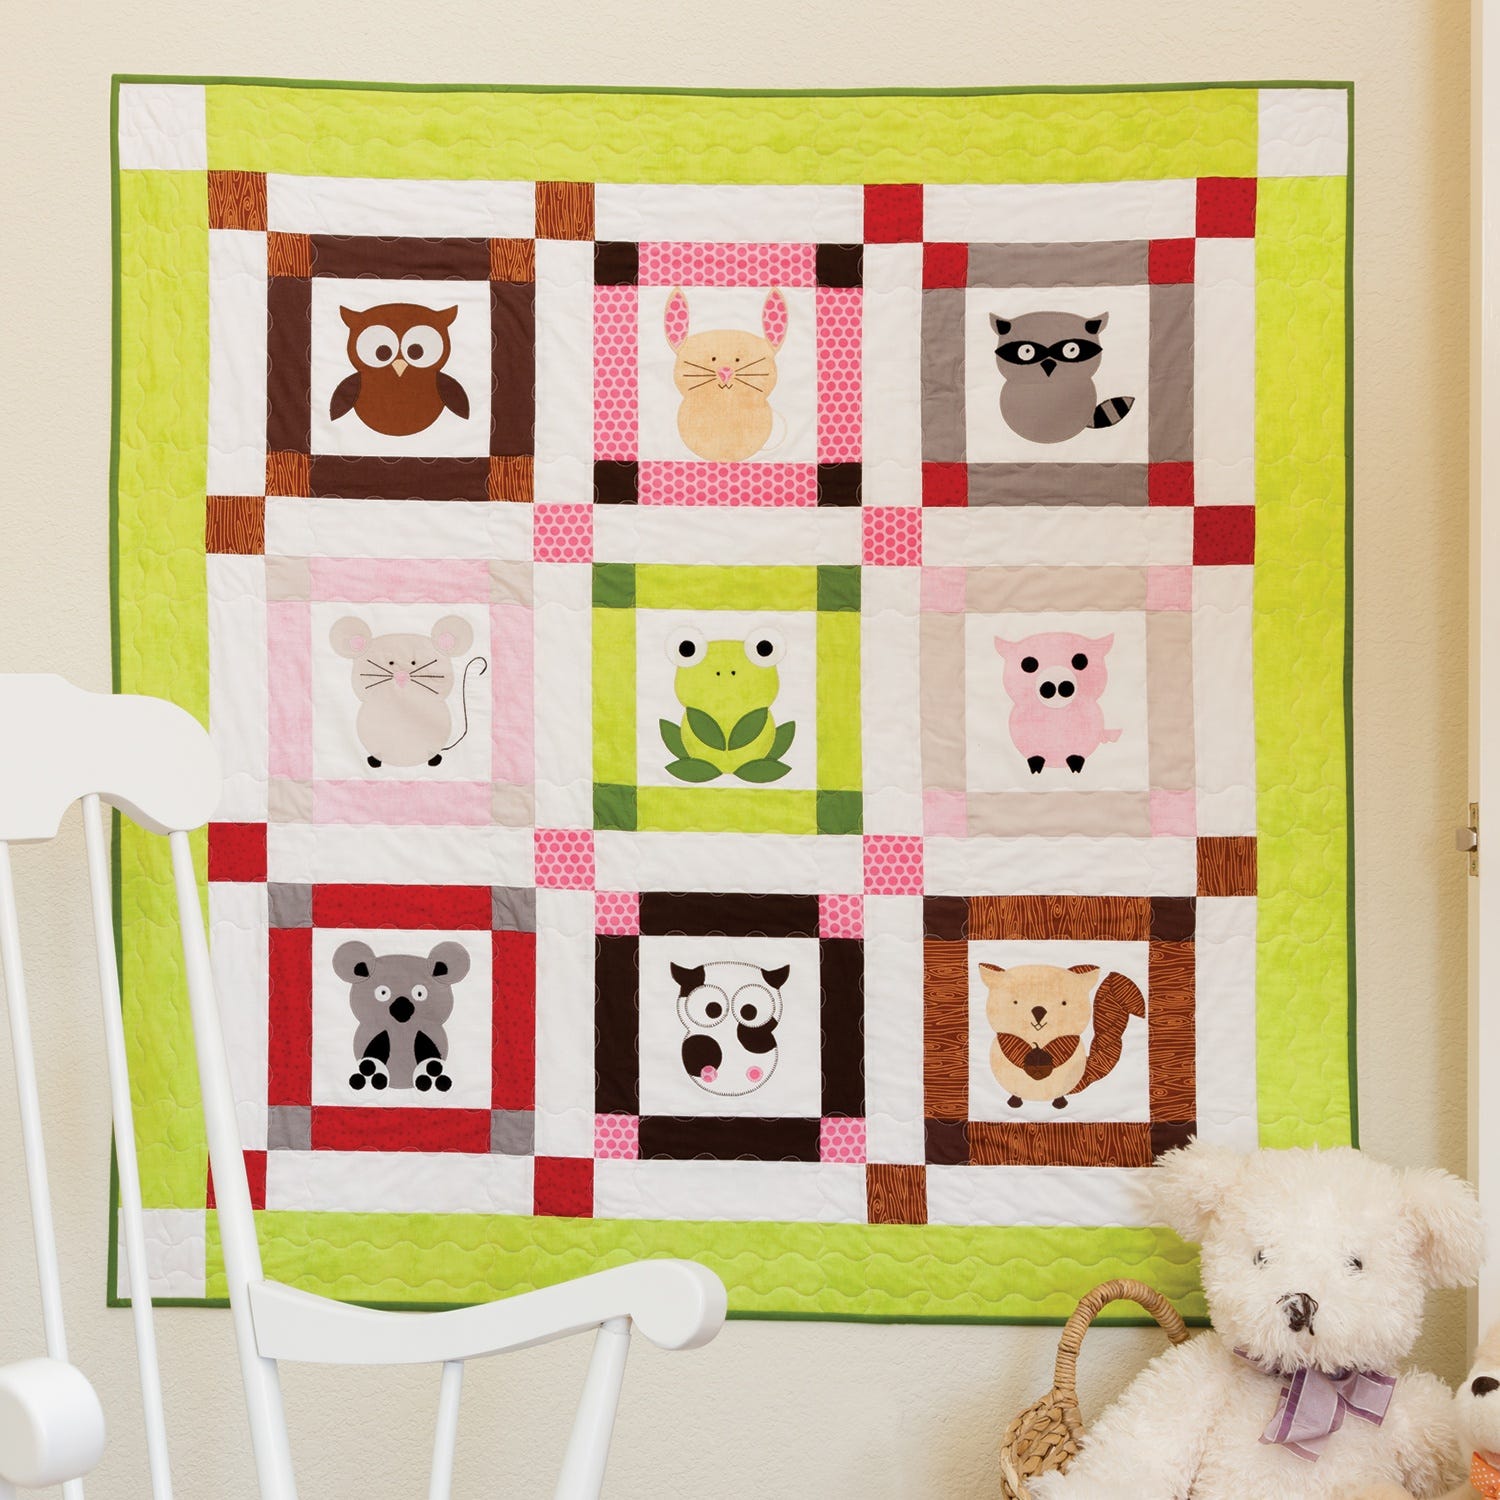
Finally, I know you all want to hear about the GO! Talk To The Animals Baby Quilt...and as a side note, although this project is titled a "baby quilt" - to me, it is far from it - to me, this pattern knows no age (but then again, I am a kid at heart!). If you like to think outside the box, then this quilt should be right up your alley...this project truly shows you how versatile one single cutting die can be! I used only the GO! Owl die to create seven additional animal variations...of course you have the owl in this quilt...and I can't take credit for the cow, as it is on the die packaging...but the other seven are my creations. Yep, I used the owl die to make a rabbit, raccoon, mouse, frog, pig, koala, and squirrel just by rearranging the shapes and adding some additional stitches. The pattern will give you detailed instructions and images for each block to help you create your own zoo. Additional details (whiskers, mouths, noses, eyes) can be machine stitched, hand-stitched, or even cut from scraps and fused/appliquéd. This quilt shows off all the animal variations, but you could easily adapt it to use only your favorite(s)....or try using some of these owl variations in the other three projects I shared today (a notebook cover featuring the frog would be adorable!)...there are many possibilities to explore - be creative!
...and last, but not least...a few tips for working with the GO! Owl die shapes. I get a lot of questions about stabilizing and shape placement when working with fusible appliqué, so I thought I would give you a couple insights:
1. When working on a machine appliqué project, it is a good idea to stabilize your block before stitching down each of the shapes - this will allow your stitches to lay nice and flat and stop your fabric from "bunching" or puckering - a stabilizer basically provides stability to the base block in the stitching area. A tear-away stabilizer (such as Pellon 806 Stitch-N-Tear) is always a good option - you place a piece/sheet of it under your block before doing the appliqué, then tear away the excess (to reduce bulk) after the design is all stitched down (this technique is often used in machine embroidery). However, when working on detailed appliqué shapes, tearing away the tiny bits of stabilizer can be frustrating and time consuming...in those cases, I like to use a lightweight fusible stabilizer/interfacing. My personal favorite is Pellon SF101 (Shape-Flex) - it is soft and smooth, it is 100% cotton, it adds just enough stabilization to the base block for clean appliqué, and (best of all) it is not bulky...and since it is fusible, it does not have to be torn away.
2. To center your shapes before fusing in place, try using a pressing board with blocking and square-up lines - often times, these portable pressing boards are used for heirloom sewing. If you are not familiar with this type of pressing board, it is a portable size padded board for pressing/ironing with measurement/grid markings - I know both June Tailor and Martha Pullen have several on the market (they can be found at your favorite crafting/quilting stores). Since the base block for the appliqué in these owl projects is white fabric, it is easy to see the gridded lines through the fabric - you can use the gridlines to line up the block and center pieces without difficulty.
Please stop by my blog, website, or social media pages for a visit - you can see my current AccuQuilt projects and works in progress...and I am happy to answer any questions regarding these GO! Owl projects...plus, I always enjoy meeting fellow quilters and sewists!