

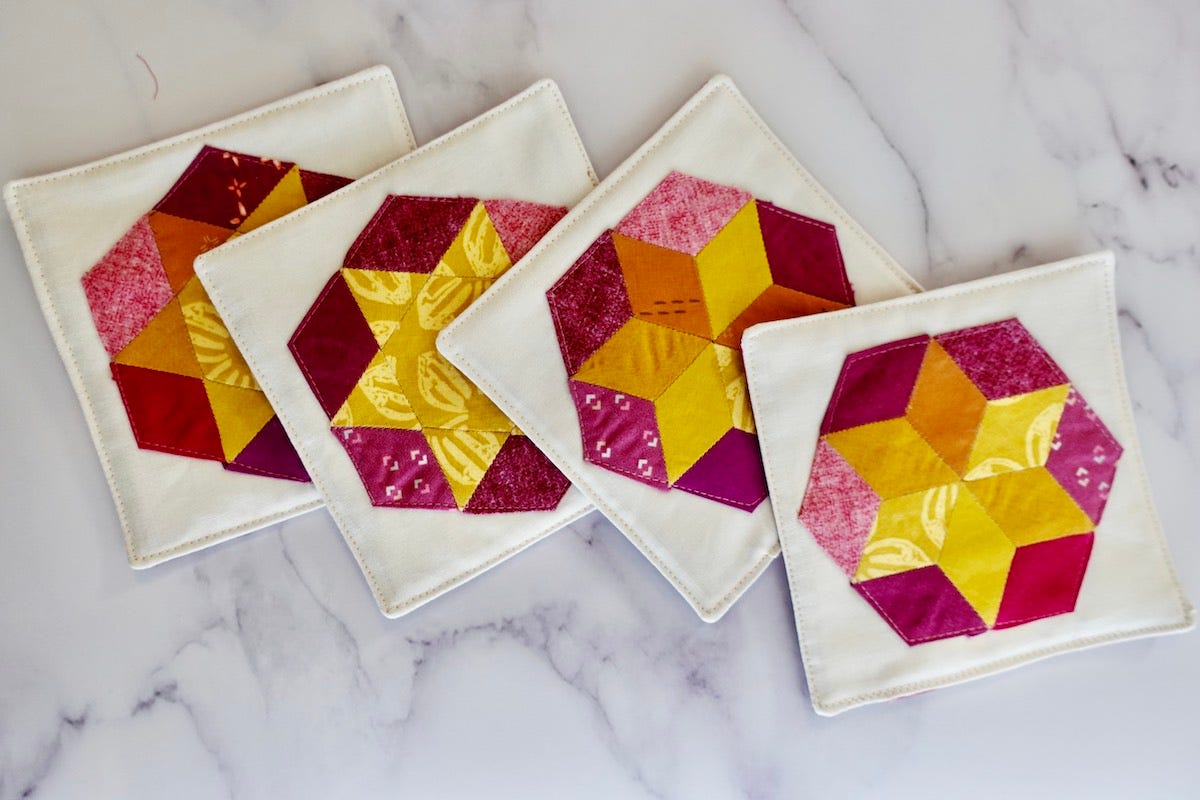
If you love small, scrap-friendly sewing projects, this English Paper Piecing coasters tutorial is just for you! It's a great weekend project that can be easily personalized to your home decor or the season.
Hi, I’m Emily - the quilter and quilt pattern designer behind Homemade Emily Jane and I love hand sewing and especially love English Paper Piecing, so of course when I found out AccuQuilt was making it easier, I had to dive right in! I chose to make a small project, which is great if you’re new to EPP or just want a quick finish!

Before I show you the step-by-step tutorial for making EPP coasters, here are the basic supplies you will need:
GO!® Products Used:
- GO!, GO! Me, or GO! Big Fabric Cutter
- GO! Qube® English Paper Piecing-1" Finished Sides

Materials Needed:
- Cardstock
- Fabric Scraps for EPP Shapes
- 4 - 5” squares of fabric for top of coasters
- 4 - 5” squares of fabric for bottom of coasters
- 4 - 5” squares of quilt batting
You’ll also need basic sewing supplies like scissors, needles, thread, an iron, etc.


Make Your EPP Block
The first step in making some awesome fun coasters like mine is to sew together your EPP block!
The AccuQuilt Qube features shapes with 1” sides, with tons of different ways to arrange the shapes to make blocks. For these coasters, I arranged them into hexagon-shaped blocks with 2” sides.

If you want to learn more about English Paper Piecing, including two different types of stitches to use, watch this quick video:

Turn Your Block into a Coaster
To turn your EPP quilt block into a coaster, begin by centering each pieced unit onto a 5” square of fabric for the top of each coaster. Pin in place.
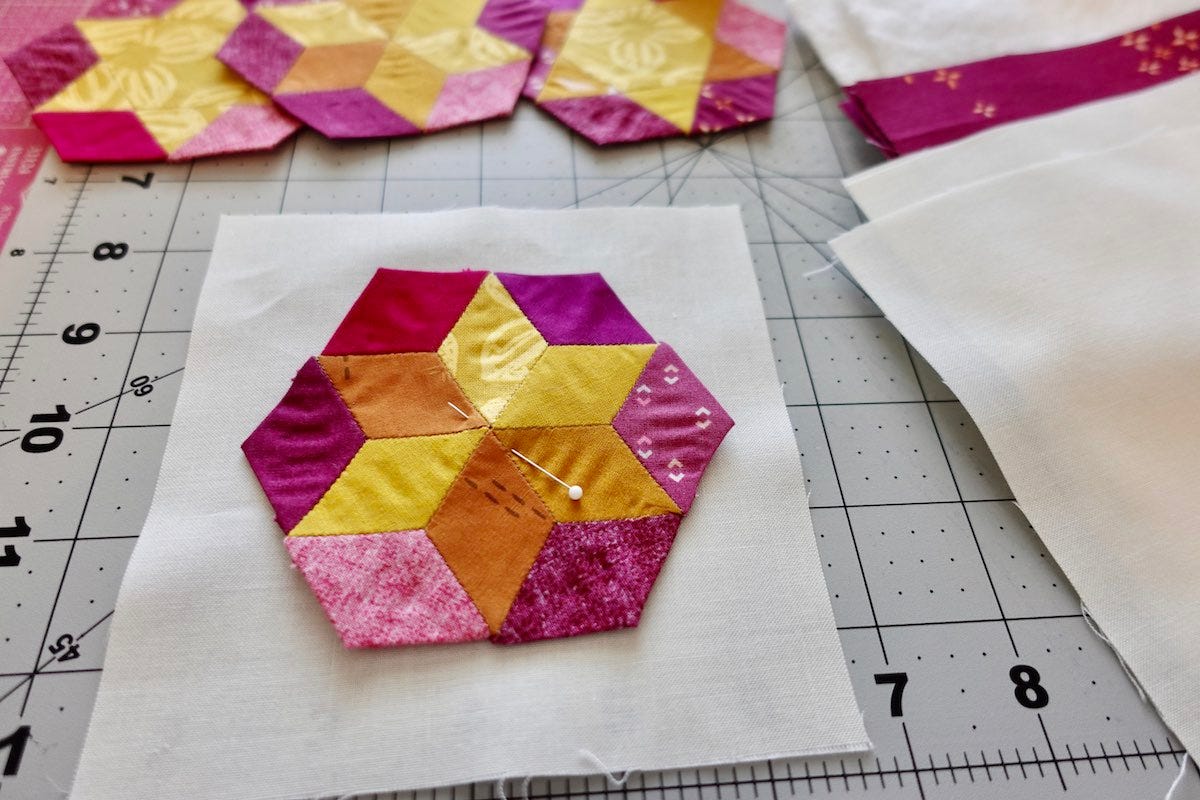
Next, stitch around the EPP shape very closely to the edges. You can chose to do this step by hand or with your sewing machine. I did a simple straight stitch with my sewing machine, but it would also be fun to use a zigzag stitch, a blanket stitch, or another fun decorative stitch too!

Layer your batting, back of coaster (right side up), and front of coaster (wrong side up) like shown. Pin together at all 4 corners.

Using a ¼” seam allowance, sew around the edges of your coaster layers, leaving a 2” opening on one side. Be sure to secure your stitches in place so they don’t come undone at the beginning and end.

Carefully trim off the corners to reduce bulk. Be sure not to snip through your stitches while you are trimming!

Then flip your coaster right sides out through the 2" opening. It is helpful to use a turning tool here, or a pointy object to get crisp corners. (don’t use something sharp though, as it can puncture the fabric)
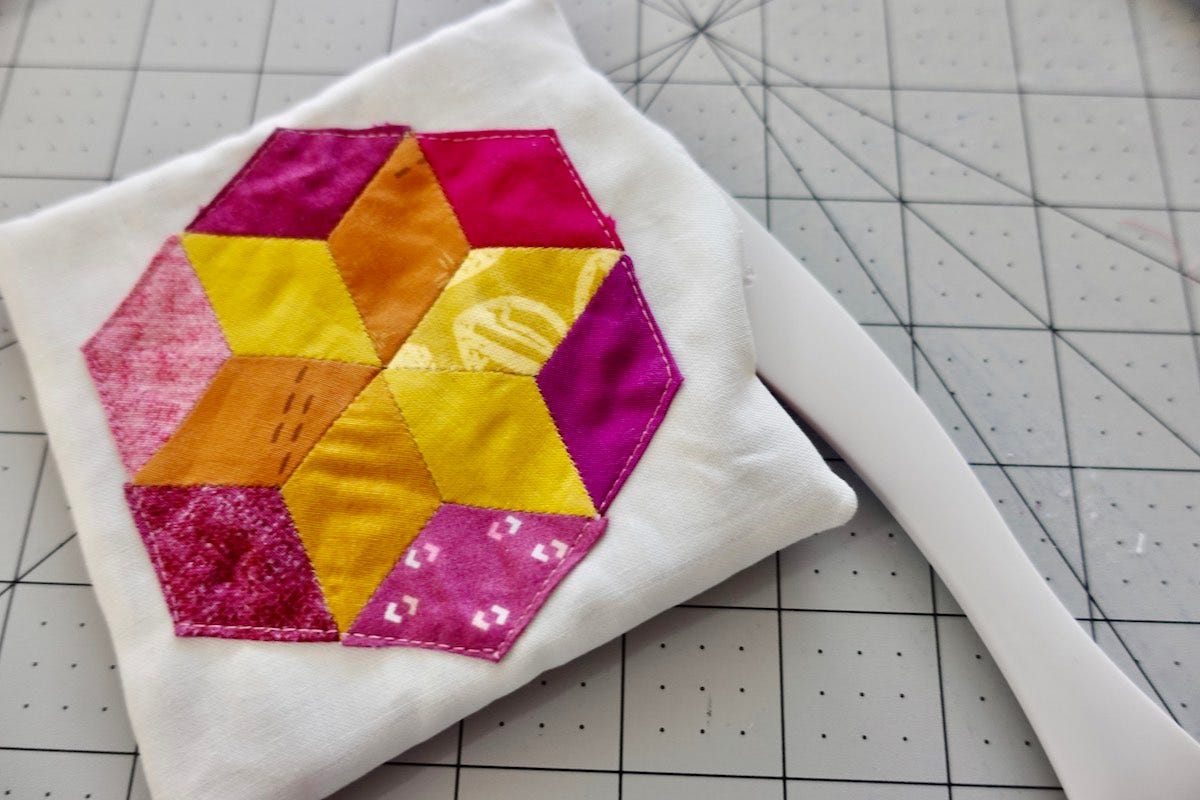
Using a hot iron, press the opening under ¼” and press the entire unit flat.

To finish the coasters, topstitch around all 4 sides about ⅛” away from the edge.

Enjoy your super cute & functional coasters! If you want to make them water-resistant, you might consider putting some OdiCoat or other water-resistant product over the top of them.
If you enjoyed this AccuQuilt tutorial, you might enjoy these other posts from Homemade Emily Jane:
- String Quilt Block Tutorial
- How to make Perfect HSTs using AccuQuilt
- Everything You Need to Know About AccuQuilt


