
Hi, quilters! Katy here from KatyQuilts! Spring makes me think of fresh air, sunshine and new beginnings, so spring is my favorite season! Let’s celebrate by making a mini quilt to grace your wall or table to bring a little spring to your house.
Dies Needed
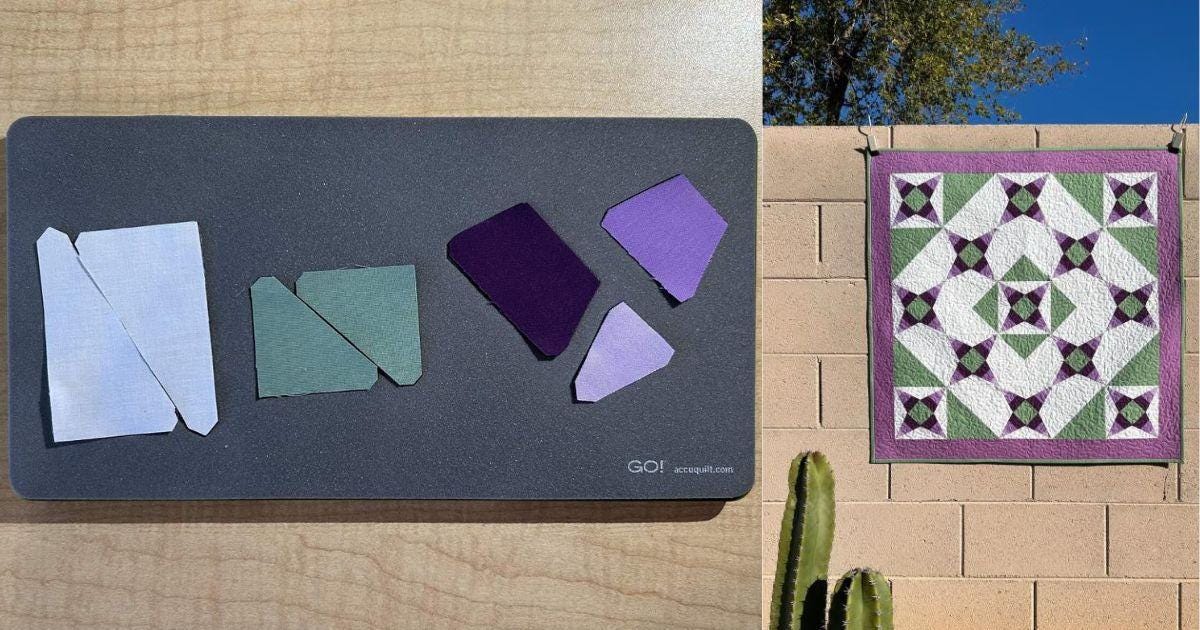
- GO! Priscilla Stripe-6" Finished Die
- GO! Strip Cutter-2 1/2” (2" Finished) 3 Strips Die
- GO! Qube Mix & Match 12" Block
- Shapes 3 and 4
Fabric Needed
- 1/4 yard of solid light purple
- 1/2 yard of solid medium purple
- 1/3 yard of solid dark purple
- 3/4 yards of solid sage green
- 1 yard of solid white background
Cutting Instructions
1. With the solid light purple fabric, cut:
- Three Width of Fabric (WOF) strips at 2 1/4" wide
- 52 of Shape E from the GO! Priscilla Stripe-6" Finished Die
2. Using the solid medium purple fabric, cut:
- Three WOF strips at 2" wide
- 52 of Shape D from the GO! Priscilla Stripe-6" Finished Die
- Four WOF strips using the GO! Strip Cutter-2 1/2” (2" Finished) 3 Strips Die for borders
- Subcut two of these strips to 30 1/2”
- Subcut the other two strips to 34 1/2”
3. With the solid dark purple fabric, cut:
- Four WOF strips at 2" wide
- 52 of Shape C from the GO! Priscilla Stripe-6" Finished Die
4. For the solid sage green fabric, you will need to cut:
- Two WOF strips at 3 1/4" wide
- 52 of Shape B from the GO! Priscilla Stripe-6" Finished Die
- Four WOF strips using the GO! Strip Cutter-2 1/2" (2" Finished) 3 Strips Die for binding
- One 7 3/4” WOF strip
- Subcut four of Shape 4 from the GO! Qube Mix & Match 12" Block
- Subcut eight of Shape 3 from the GO! Qube Mix & Match 12" Block
5. With the white background fabric, cut:
- Six WOF strips at 3 1/4" wide
- 104 of Shape A from the GO! Priscilla Stripe-6" Finished Die
- Two 7 3/4” WOF strips
- Subcut four of Shape 4 from the GO! Qube Mix & Match 12" Block
- Subcut 12 of Shape 3 from the GO! Qube Mix & Match 12" Block
PRO TIP: If you are using prints instead of solids, make sure you fan fold your pieces for Shape A in the GO! Priscilla Stripe-6" Finished Die.
Putting It All Together
1. Piece 13 Priscilla Stripe blocks. If you need help with this, you can refer to the Block Assembly Instructions.
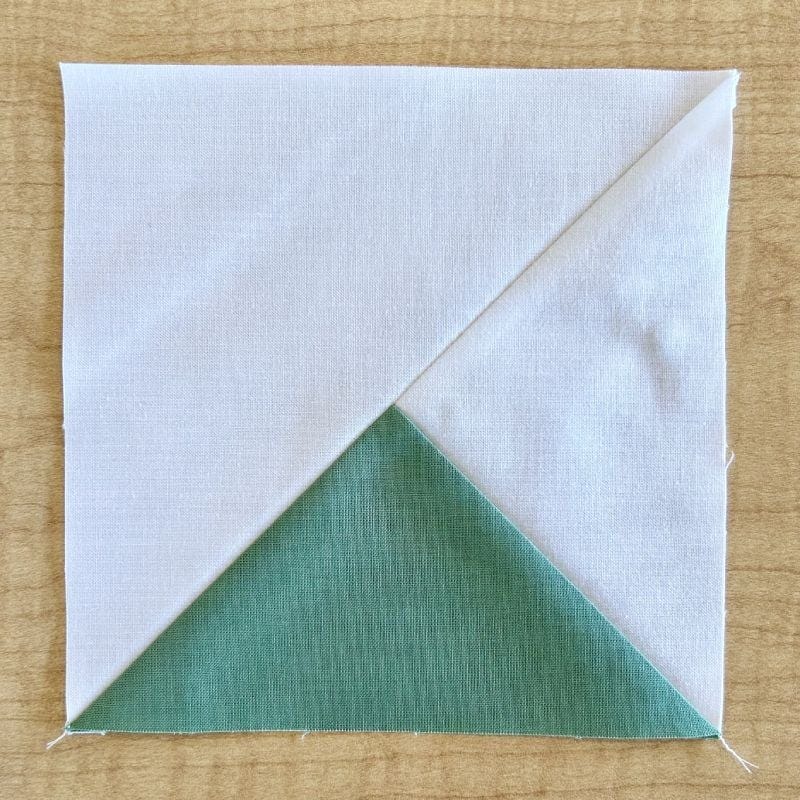
2. Piece eight half square triangle blocks using one white background triangle and one sage green triangle for each.

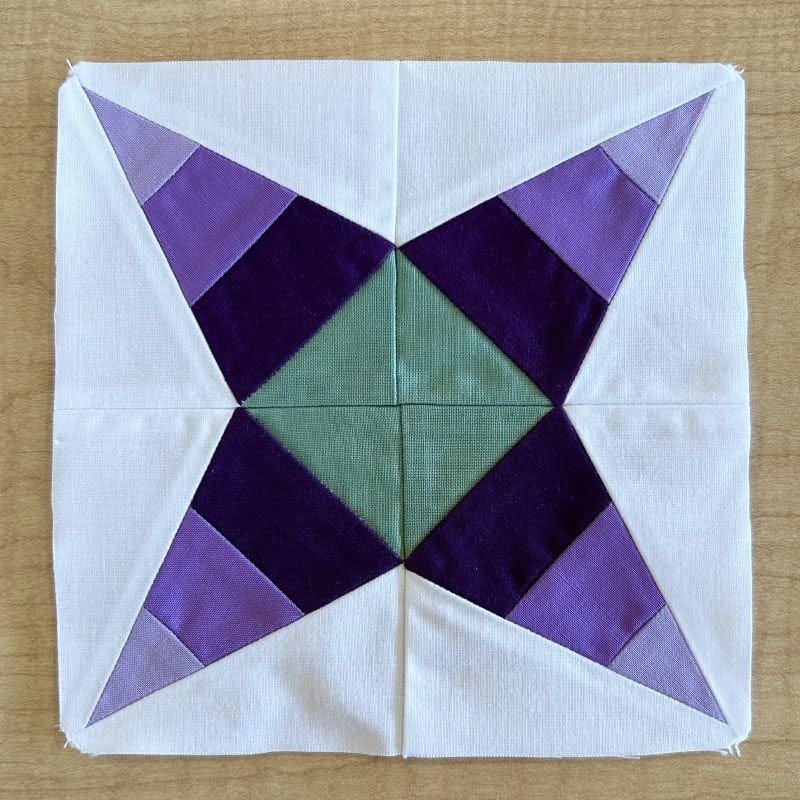
3. Piece four blocks using one white background quarter square triangle, one green quarter square triangle and one white background half square triangle. They should look like this:
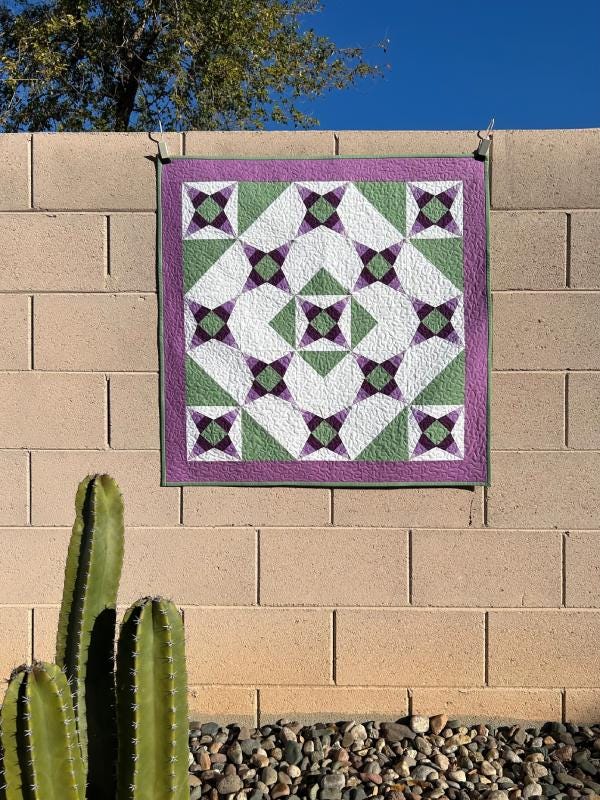
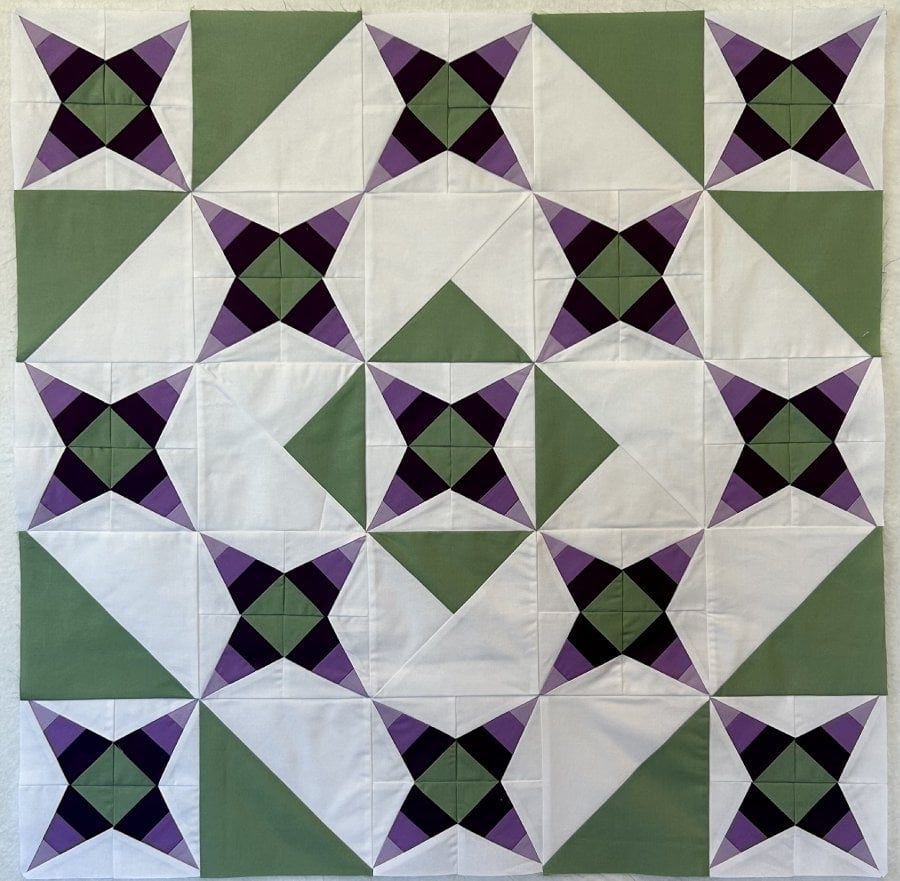
4. Lay out the blocks as shown below. Piece the blocks into rows and then, sew the rows together.
5. Add one 30 1/2” strip to each side.
6. Add the 34 1/2” strips to the top and bottom.
7. Quilt as desired, bind and enjoy!
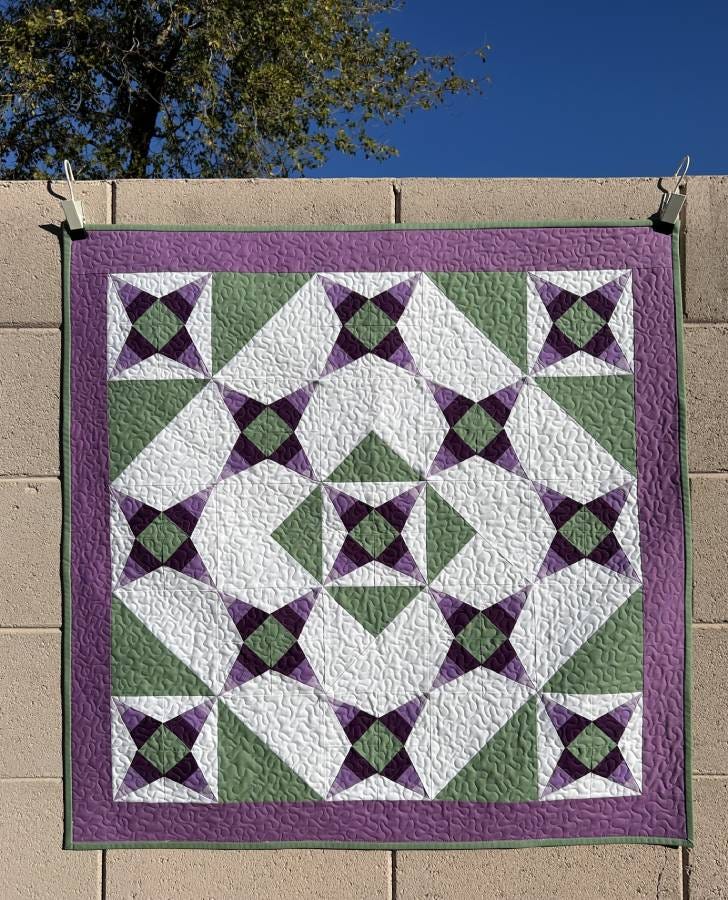
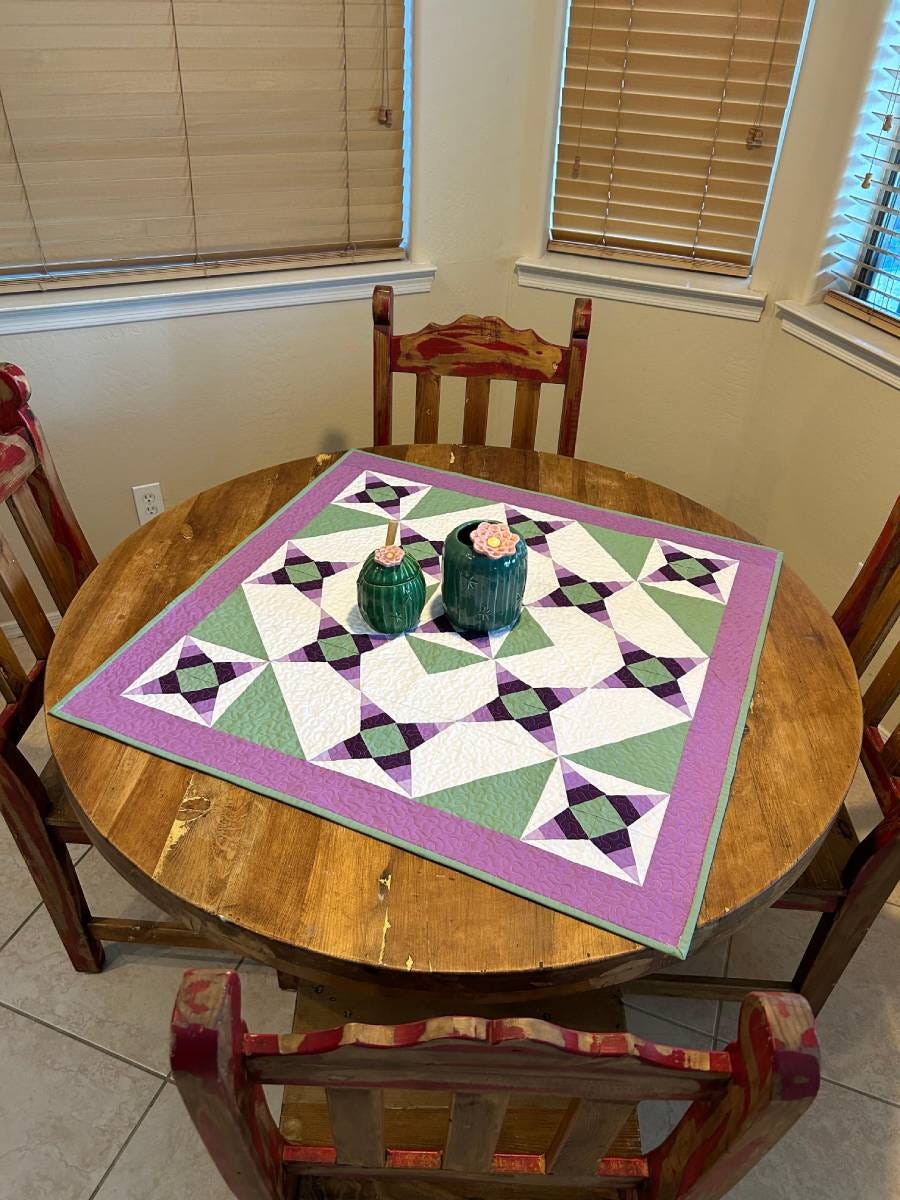
This mini quilt finishes at 34" square, making it a great size for a spring table topper.
If you make your own version of this tutorial, please share the photo on social media using the hashtag #AccuQuiltBuilt and don't forget to tag @katyquilts and @AccuQuilt so that we can see your spring creation!


