Several years ago, I designed a quilt that used the Crossroads quilt block. I loved the look of the block. I paired it up with an Ohio Star block - a favorite of mine. Decided I would add sashing and cornerstones. This quilt was going to be BIG! King size as a matter of fact.
Attempting the Cross Roads Quilt Block
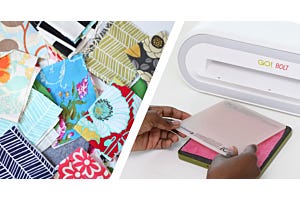
I was using my AccuQuilt 6” Qube for the Ohio Star blocks. Man do they go together so perfectly.
I had completed lots of them. The Ohio Star block was 9 ½” x 9 ½”.
After making a bunch of them, I don’t recall how many I had made. I just knew I had lots more to go, I decided to work on the Crossroads block. Oh my! Block it was!
What do I mean? I could not get my diagonal seams to match up and I hated the way my blocks looked. So, guess what happened to that project? It was packed away…
AccuQuilt saved the day!! Or should I say saved the project!
The Crossroad blocks go together so well and so easily!
Introducing the GO! Crossroads BOB (Block on Board) Die #55533.
Making the Block
The Crossroads block is so versatile, and you can use single designs from the die for cornerstone blocks.
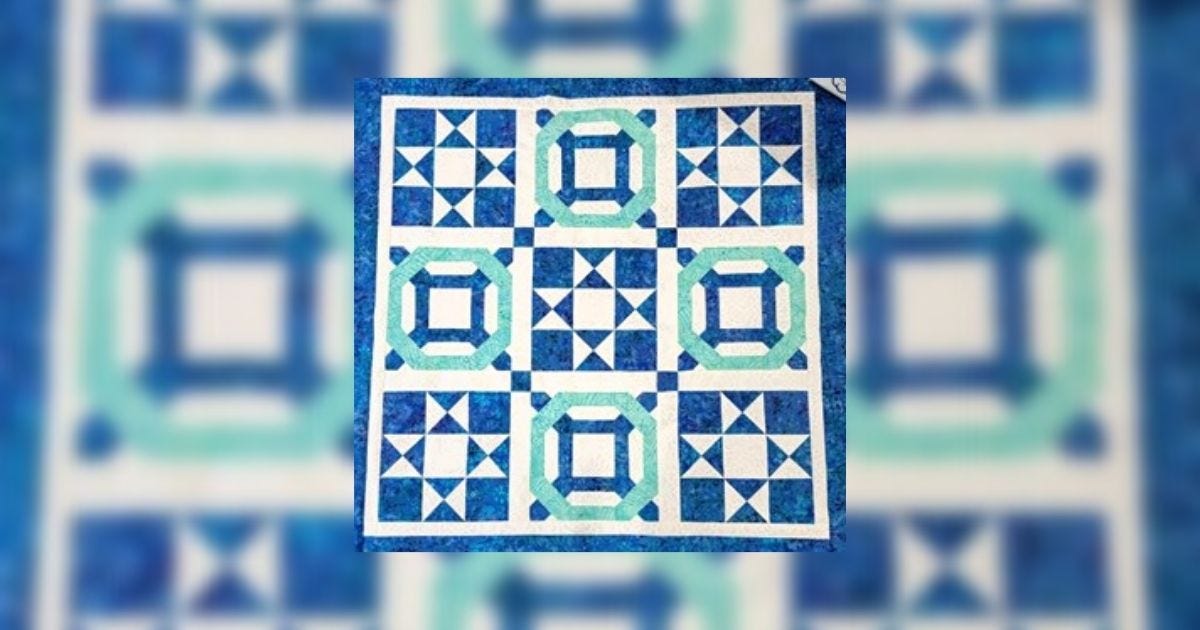
Here is how I finished my quilt. I had to make it smaller so I can have a wall hanging to match the bed quilt. After you choose your fabrics, prepare them for the Crossroads Die. You can cut the shapes for one block at a time. This helps to keep everything organized. The die is prelabeled! Can ya’ stand it?! I love that feature.
For my quilt I chose (2) colors: medium blue and light aqua. My background fabric is a bright white.
Medium Blue 1 yard (includes border)
Light Aqua ¼ yard
Bright White (tonal) 1 yard

For the Crossroads block, I prepared my fabric for the die as shown in the picture.
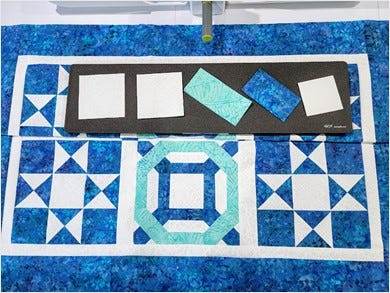
Here a picture showing the labels on the Crossroads die. Look how easy AccuQuilt has made it for you.
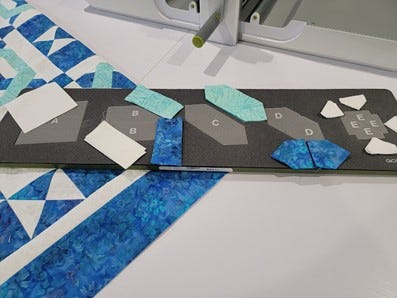
I cut enough for four blocks.
- A light fabric center square, you need four 3 ½” x 3 ½”.
- B need four of each color, two squares of each color, placed them on top of each other.
- C need four of the light aqua 2 ½” x 5 ½”.
- D need four 3 ½” squares.
- E need four squares (2 ½”).
After cutting all of my shapes, I followed the instructions on how to piece the Crossroads block on the cardboard packaging. It was incredibly easy and so accurate. I can’t thank Accuquilt enough for this Block On Board!!
I made four Crossroads blocks.
Next, I grabbed my Ohio Star blocks that I had made a while back. Gave them a good pressing.
I used the 3” finished square die from my 6” Qube, and the 3” finished Quarter Square Triangle die to make the five Ohio Star blocks.
The sashing strips and cornerstones, I used my 2” finished strip die. After the strips were cut, I cut them to 9 ½” in length of the bright white tonal fabric.
The cornerstones, I also used the same 2” strip die using the medium blue fabric. You only need 4 of the 2” medium blue squares.
Cut my borders using strip dies for 1 ½” strips and 3 ½” strips.
Join the blocks into rows of three:
- Row 1 & 3: Ohio Star/sashing/Crossroads/Sashing/Ohio Star
- Row 2: Crossroads/sashing/Ohio Star/sashing/Crossroads
- Between rows are sashing and cornerstones. Make 2.
- Sashing/cornerstone/sashing/cornerstone/sashing
- Lay out the quilt as shown.

For the inner and outer borders, measure your quilt and trim border strips to size.
Once the quilt top is complete, it is time to make your quilt sandwich and quilt. Time for me to get mine quilted.
You can visit my website: nancymcnallyquilts.com for blog posts and shopping.
Thank you AccuQuilt for a great die that saved my UFO!!
Happy Quilting,
Nancy McNally