


The Double Wedding Ring Quilt - Cut in No Time
The Double Wedding Ring is a classic quilt block and probably the quilt block that brings the most thoughts of love and romance. The interlocking circles of the Double Wedding Ring quilt have been found on pottery as far back as the ancient Roman Empire. The first published Double Wedding Ring quilt pattern was published in the 1920's.
For years grandmothers, mothers, and friends have made Double Wedding Ring quilts for wedding presents. Of course this beautiful block is not only for weddings. It makes a beautiful quilt for a multitude of uses.
You can cut this quilt block with ease with the GO! Double Wedding Ring die. Keep reading to learn how to cut and sew this fun block.
The GO! Double Wedding Ring is a two die set. Start by labeling your shapes like we did below.
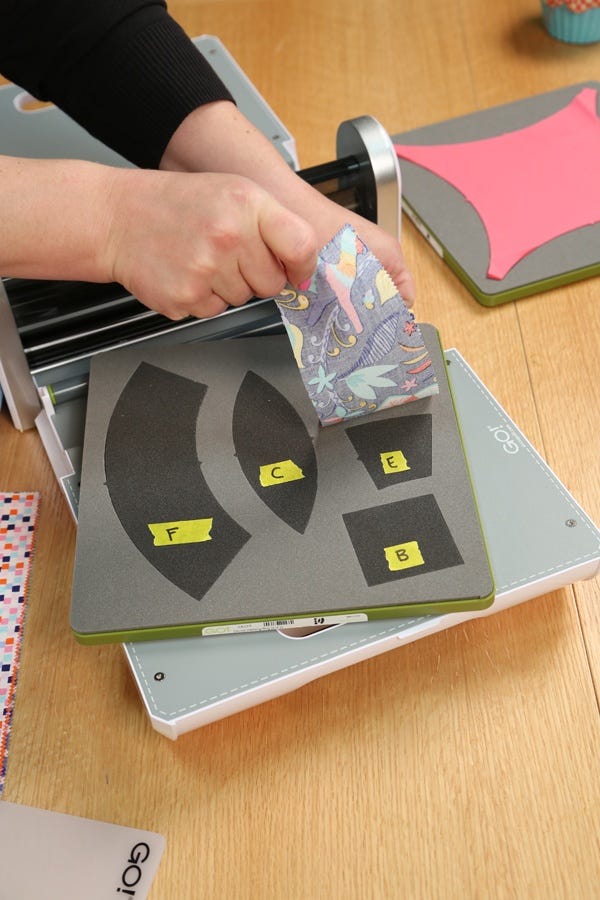
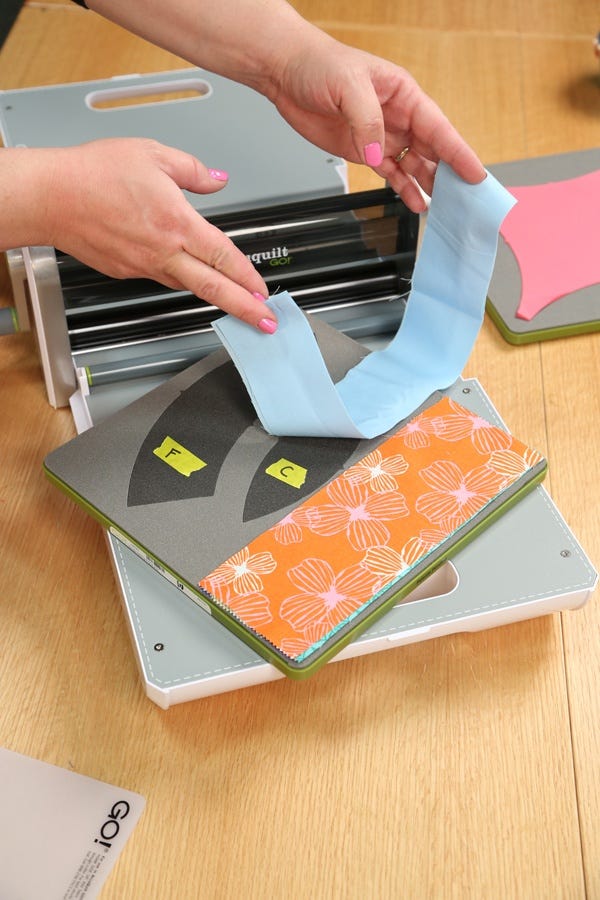
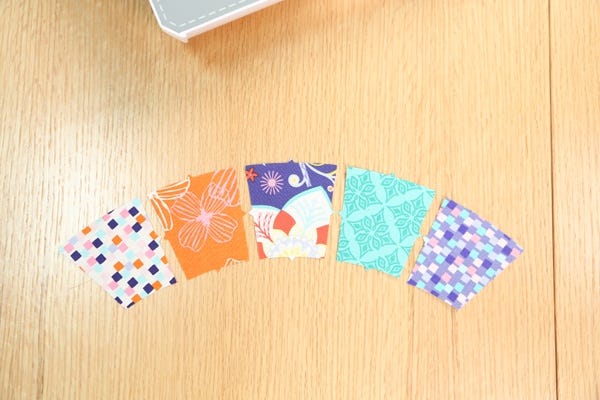
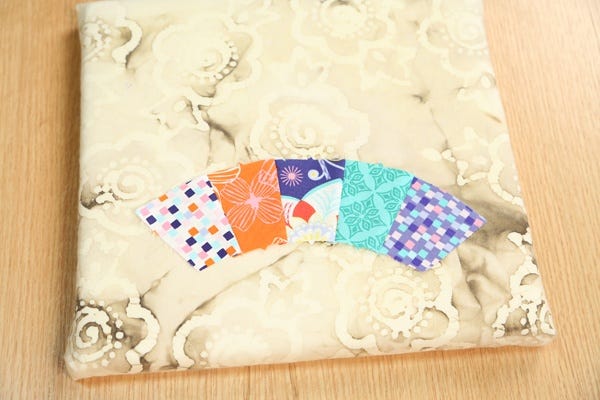
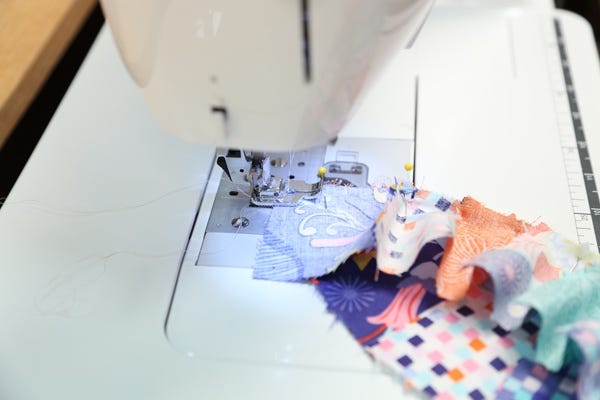
Pick a variety of fabrics to cover the small pieces and the C shape. Since we are piecing the arcs, we won't need the F shape, however cut one to use for a tip later on... Place the mat over the die and roll through the cutter.
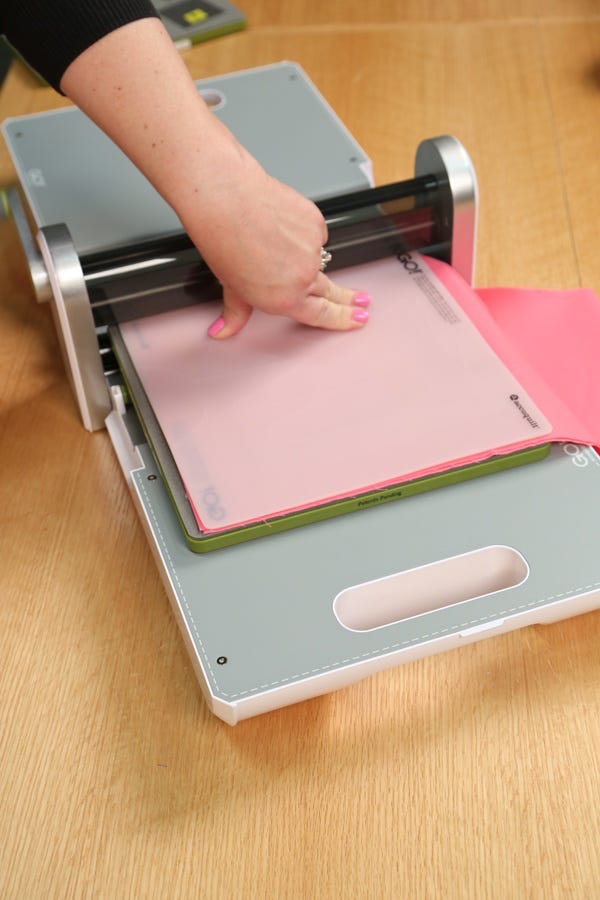
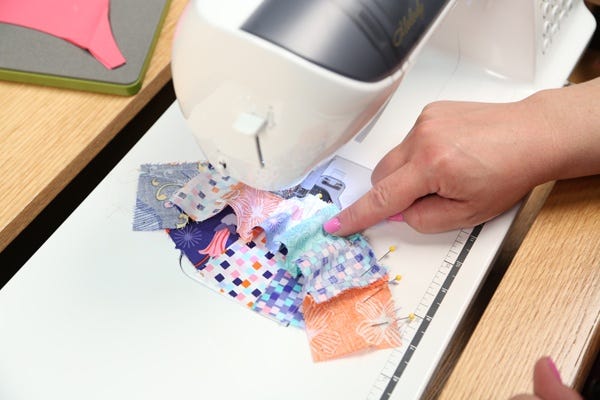
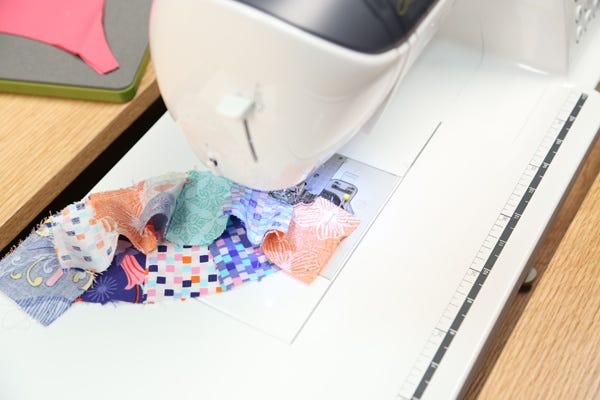
Place fabric over the A shape.
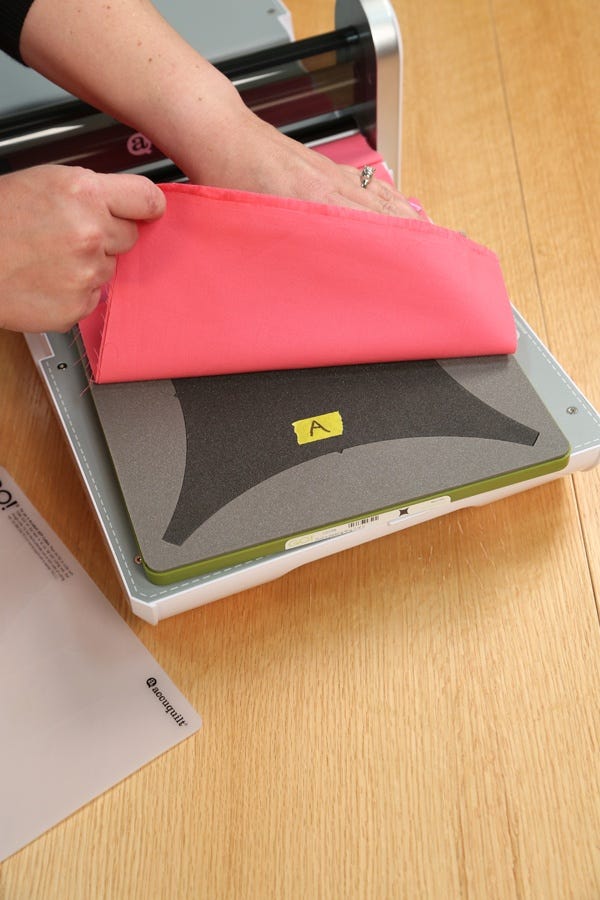
Place the mat on top of the die and roll through the cutter.
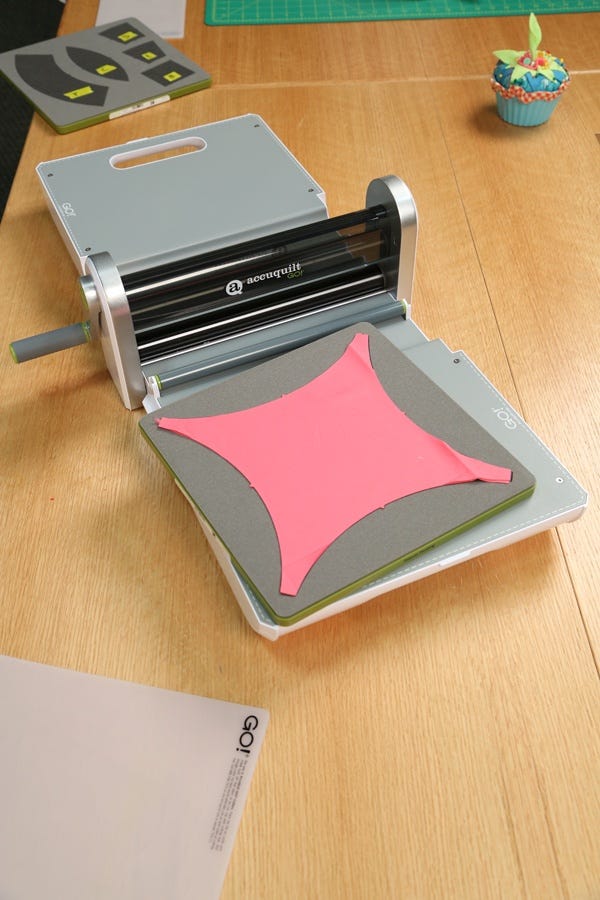
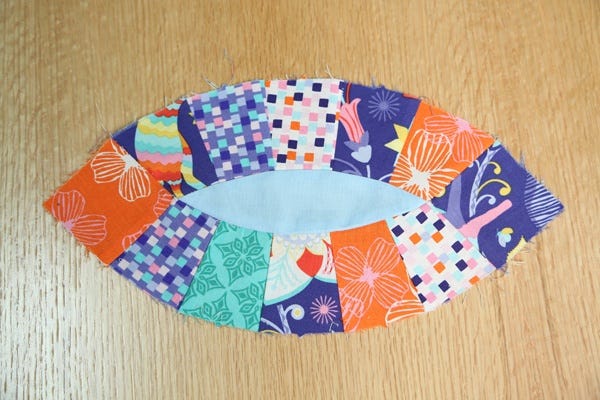
Slide the mat off the die to reveal your GO! Double Wedding Ring center!
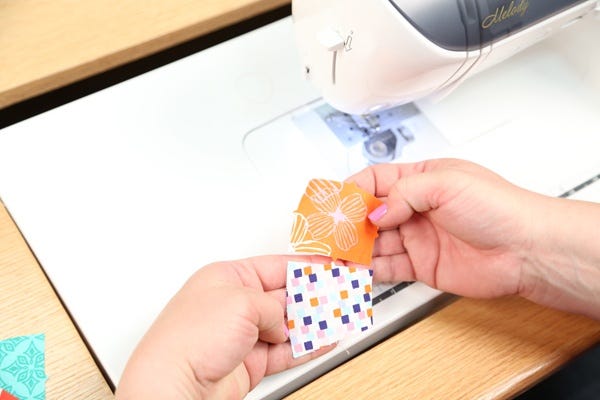
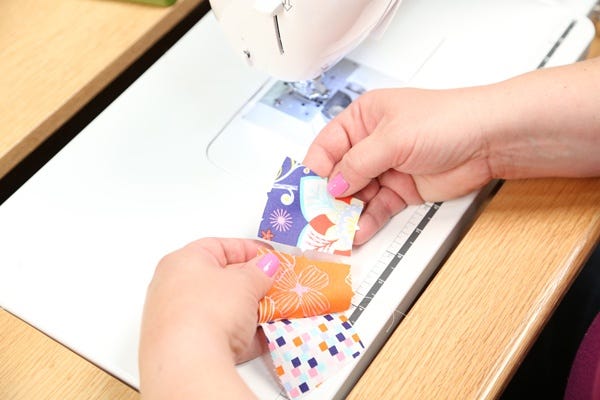
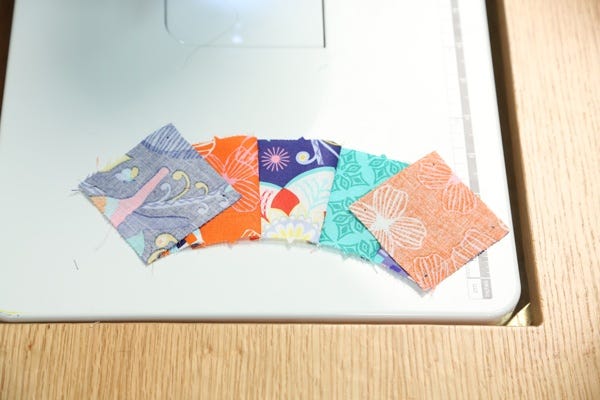
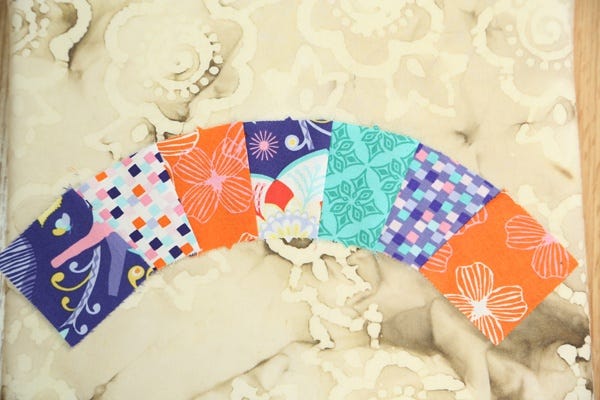
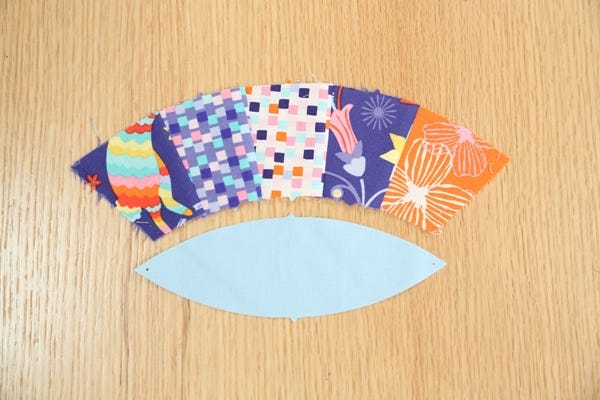
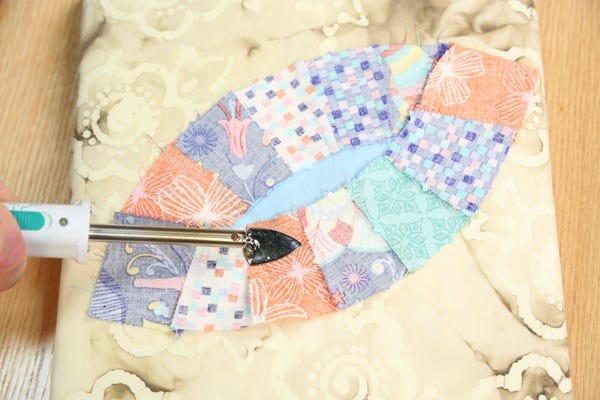
Now for the piecing! Lay out your pieces for the first arc. Use D shapes for the three middle pieces and E shapes for each of the end pieces.
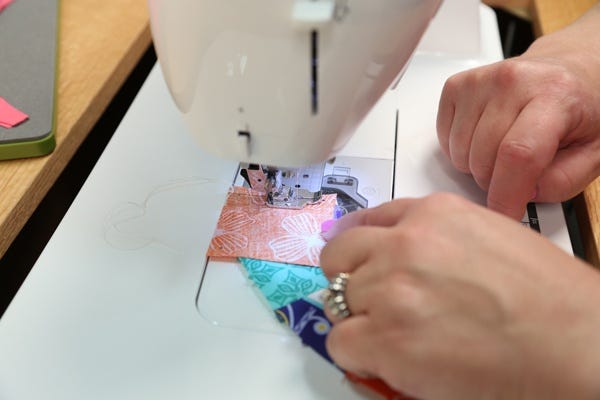
Using an accurate 1/4" seam, sew each of the pieces together as shown below.
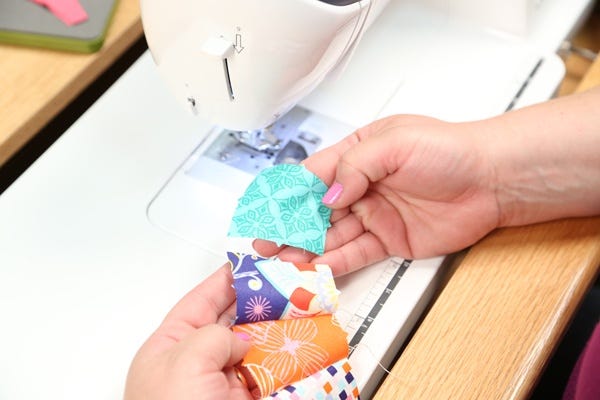
Press all seams in one direction. It does not matter which direction, but be consistent! Sew two units like this.
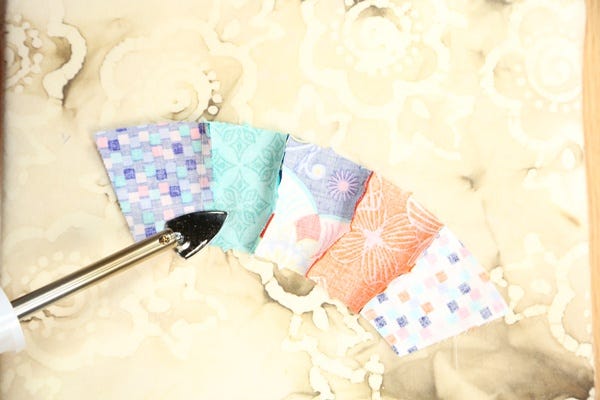
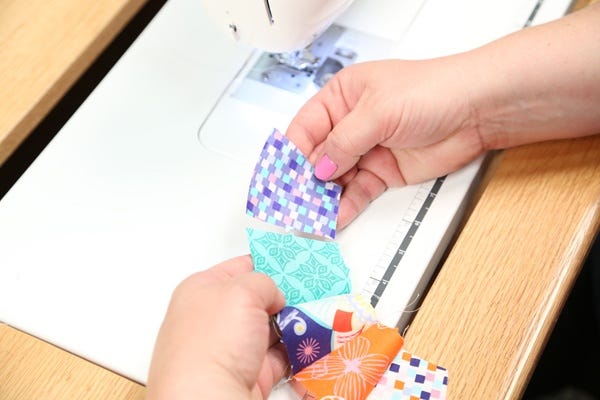
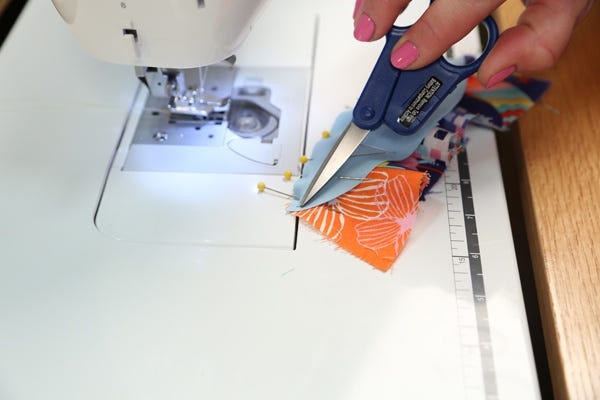
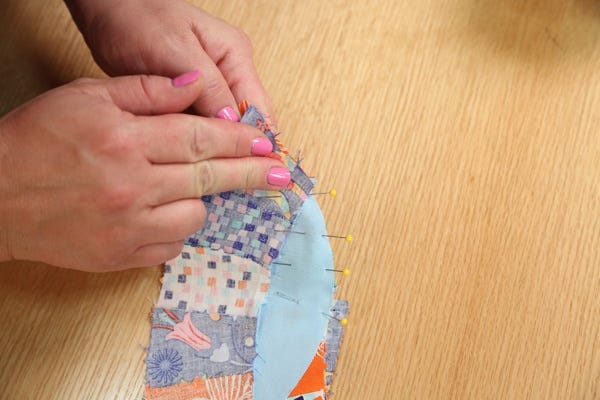
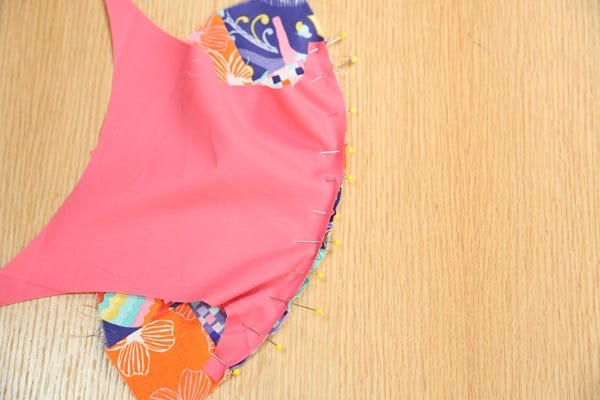
TIP: While we aren't using the F shape from the die board because we are piecing the arcs, you can use it to make sure your seam allowance is correct. Lay your pieced arc over the F shape to make sure they are the same size. If not, adjust your seam allowance. Next, grab two B shapes. Mark 1/4" points at each corner of the B shape. Pin the B Shapes to each side of one of the arcs you just pieced.
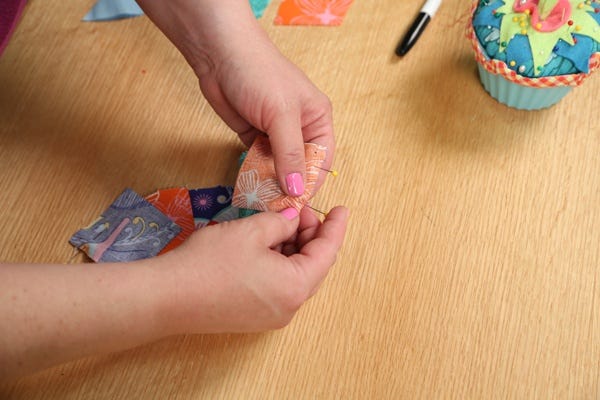
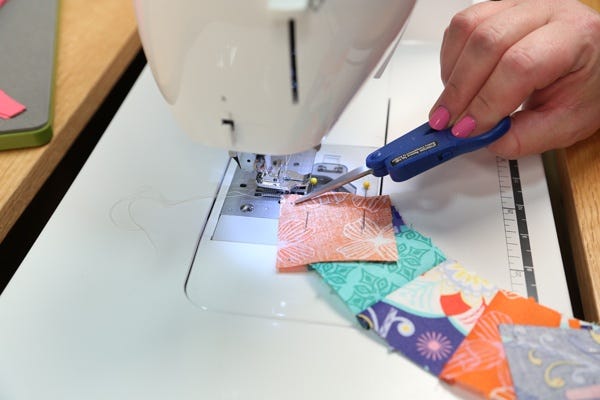
Start and stop stitching at the 1/4" markings.
Press the seams toward the squares.
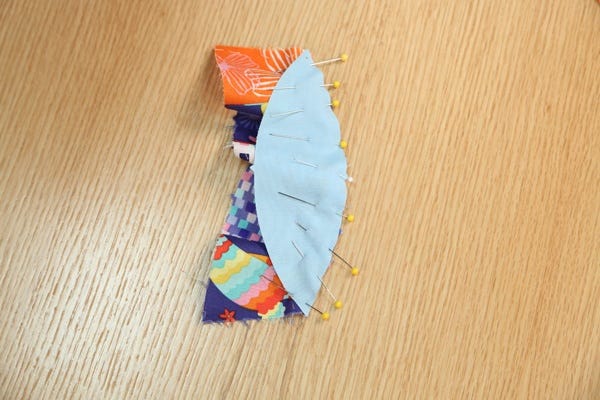
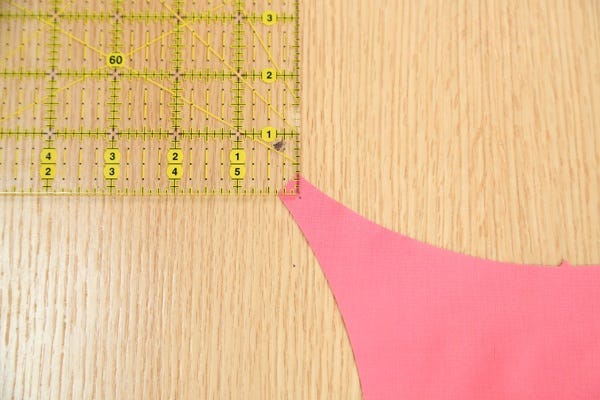
Mark 1/4" points on the C shape.
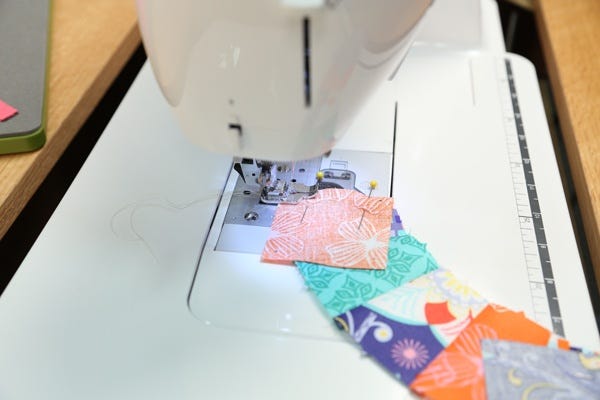
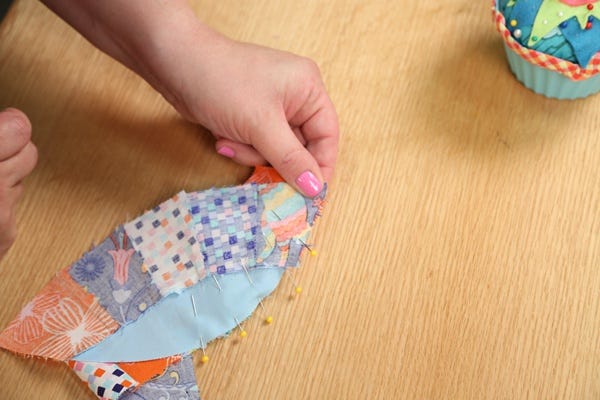
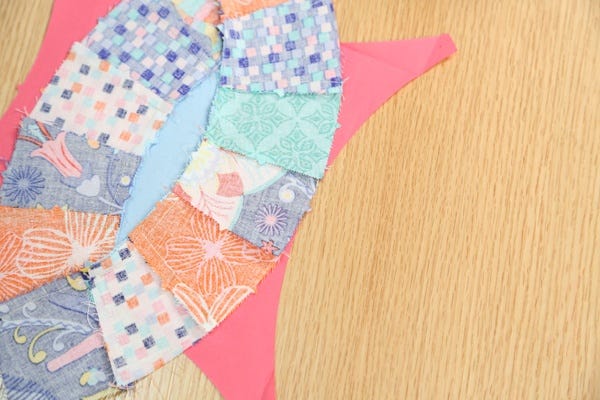
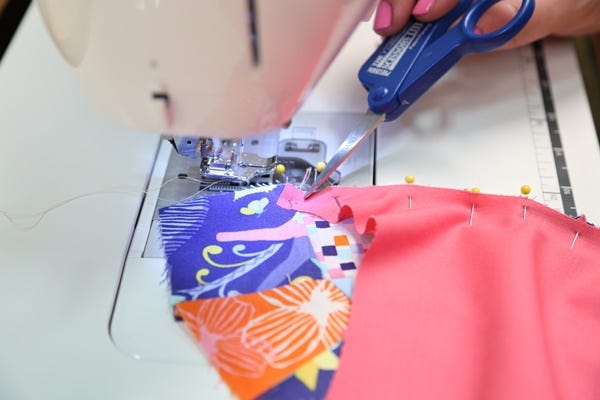
Pin the C shape to the pieced arc without the B squares attached. Match the 1/4" points and notches. Be sure to stop and start sewing at the 1/4" points.
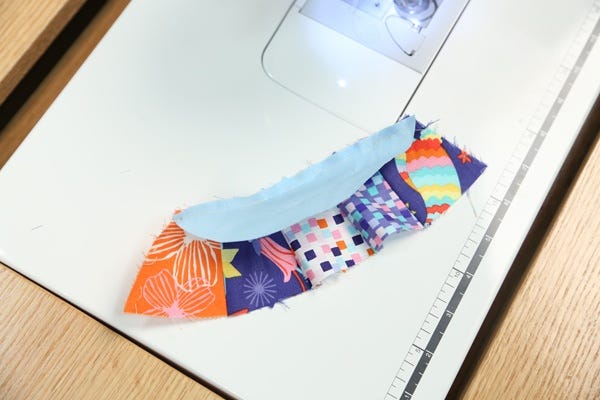
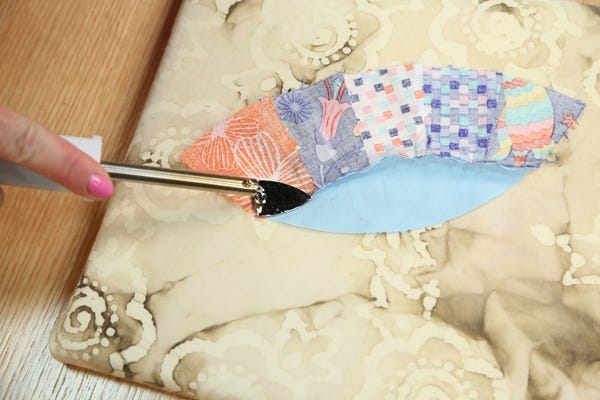
Press seam towards the C shape.
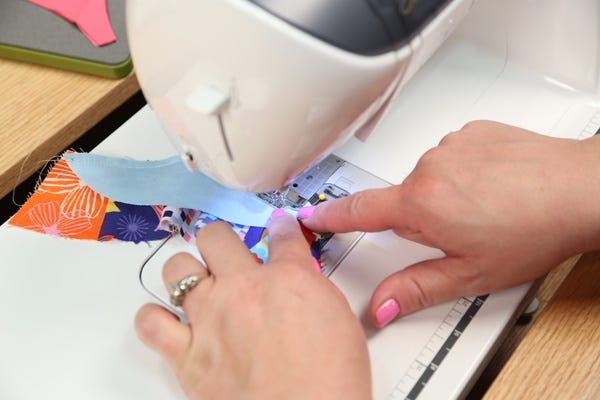
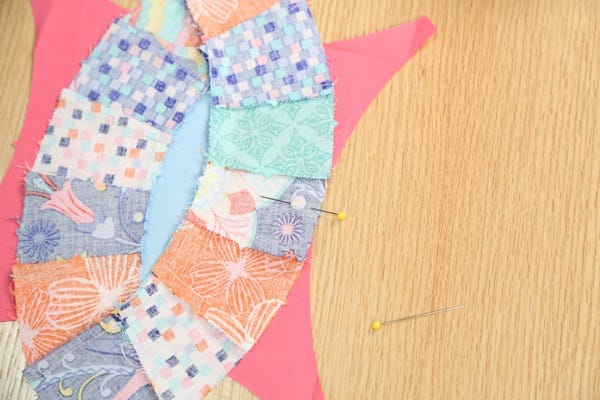
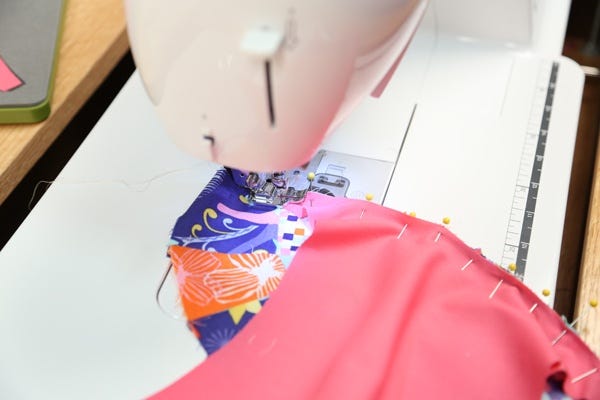
Pin and sew one combined arc with corner squares to combined arc with shape C.
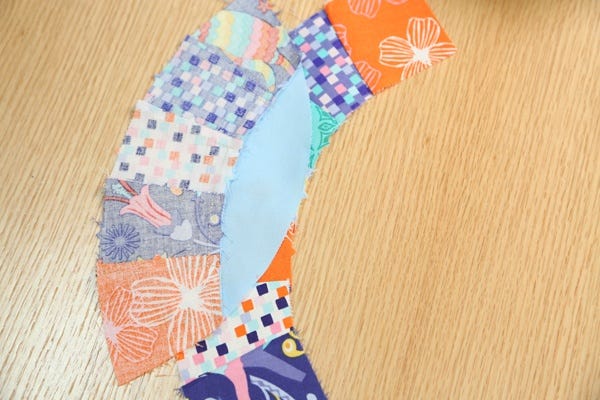
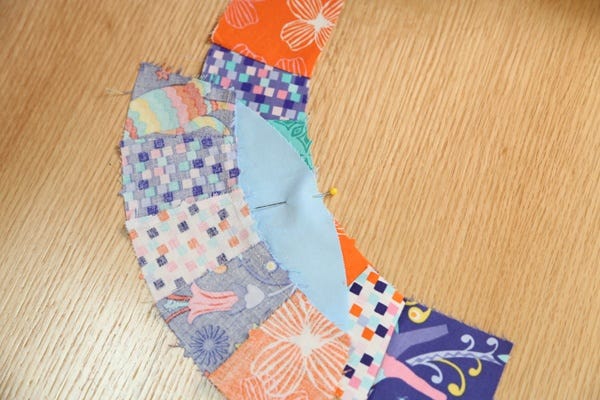
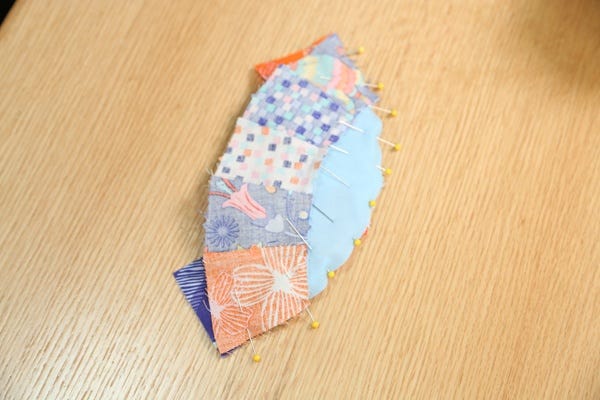
Start and stop stitching at 1/4" points of square B.
Press seams towards shape C.
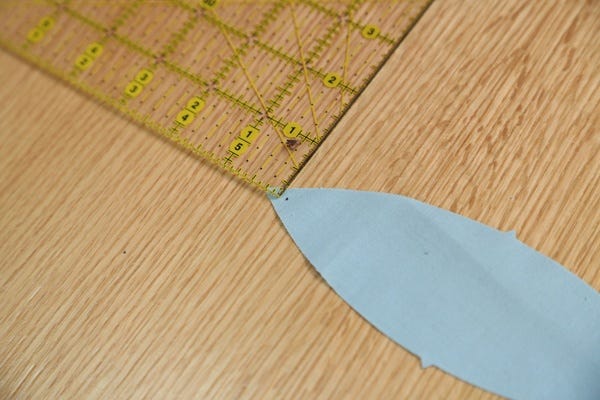
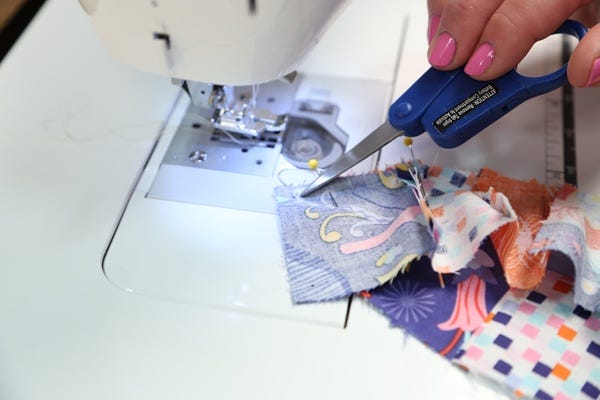
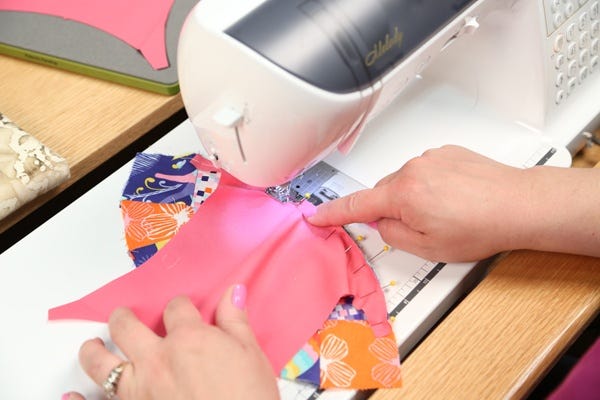
Mark 1/4" points on the tips of shape A.
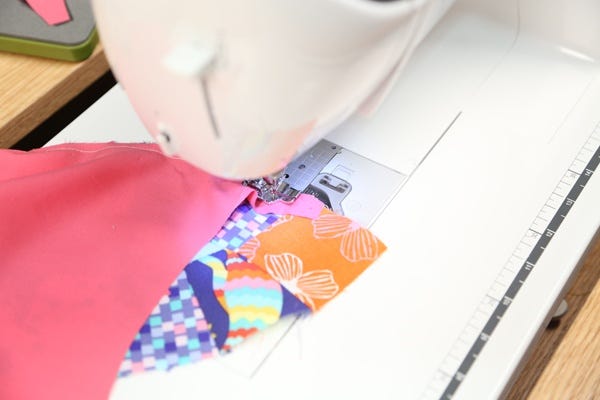
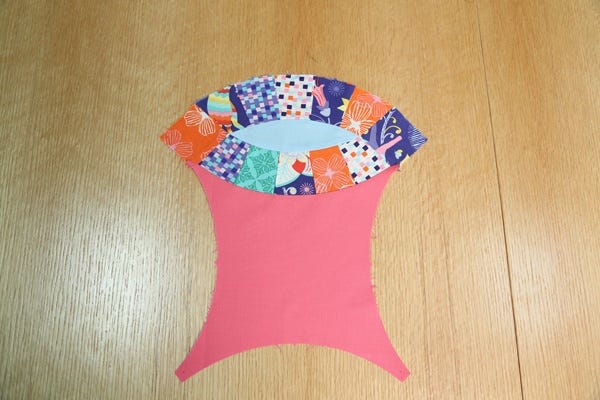
Pin and sew one combined arc unit to one shape A matching notches and 1/4" points.
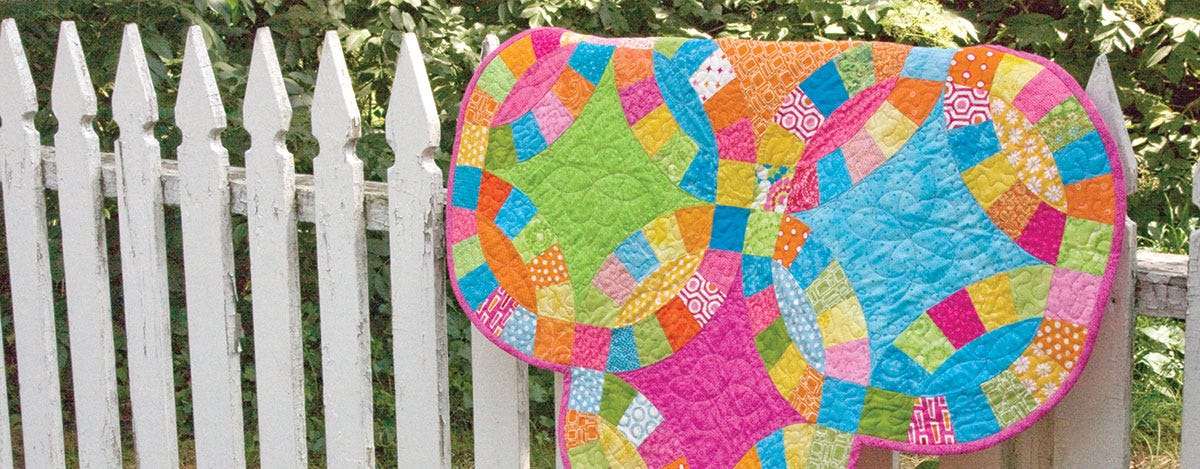
Get a Free Double Wedding Ring Wallhanging Pattern
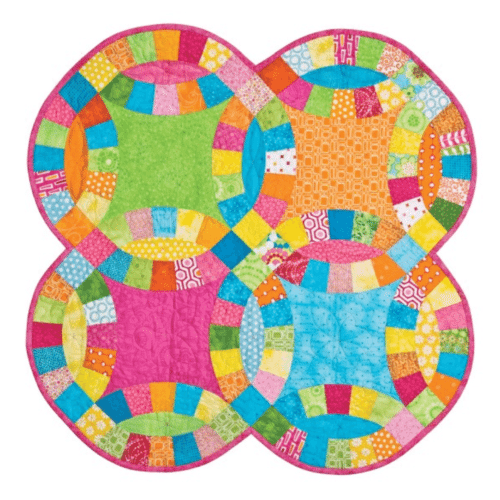
This pretty wallhanging is so easy to cut and make using the GO! Double Wedding Ring Dies. Make it in your favorite fabric and colors for a quick gift. It would make a pretty table topper to.
Dies used to complete this quilt pattern:
- GO! Strip Cutter-2 1/2" (55017 or 55014)
- GO! Double Wedding Ring (55078)


