


Set an Elegant Table with Bea's French Braid Table Runner
Hi it's Bea again from beaquilter.
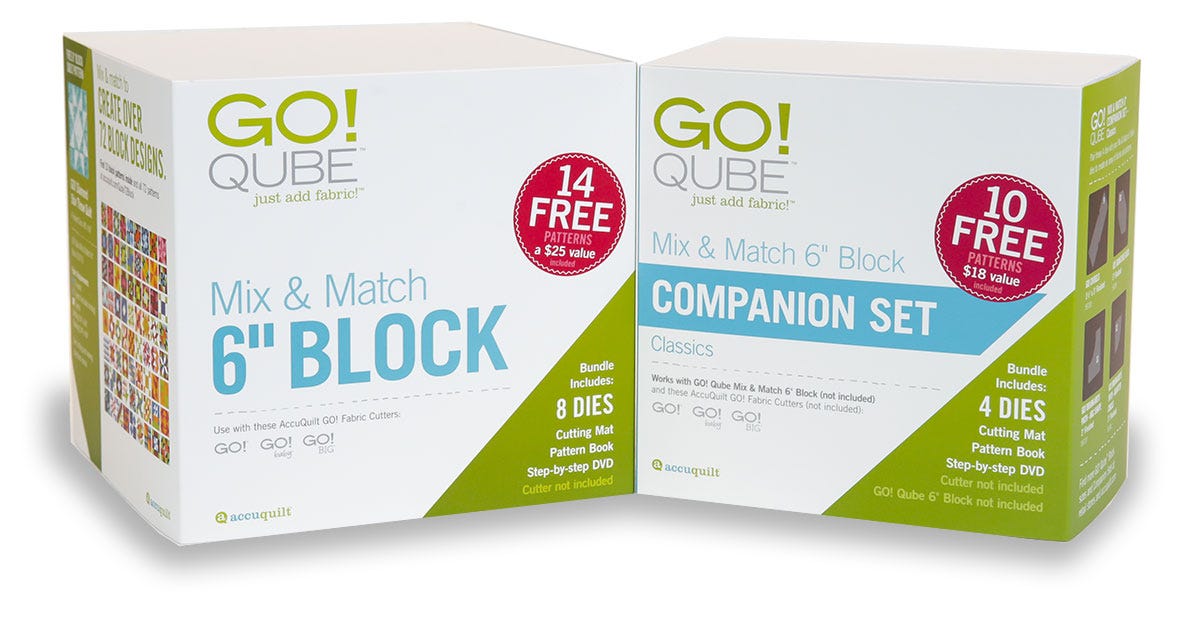
I'm here to show you how to make a french braid quilt with the AccuQuilt GO! QUBE sets.
One small table topper using jelly roll strips and the 6" QUBE and companion sets and ideas for a bigger french braid quilt at the end using the 8" QUBE companion sets.
For this first mini table topper you'll need 3 leftover strips of a jelly roll and scraps of matching fabric for the center squares.
Also scrap batting and a piece for the backing
The finished size is 4" x 26"
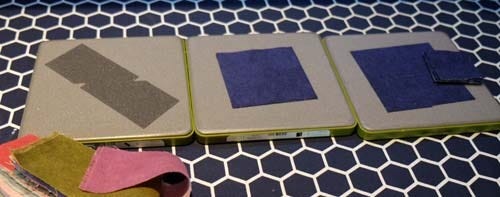
For this braid runner, you'll need dies #1, #2 and #9
Cut out one of the large #1 squares for the center square and 10 of the small squares #2 for the middle squares from the same fabric
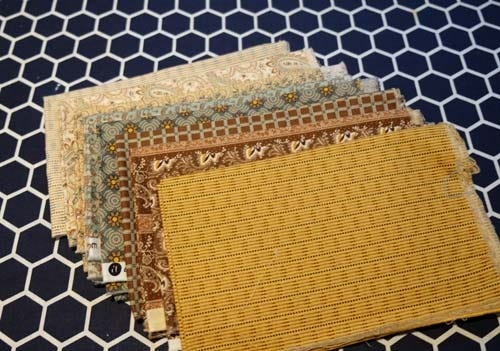
I chose these 3 jelly roll strips

and cut out 4 of each (2 in reverse) so double folded once over the die.
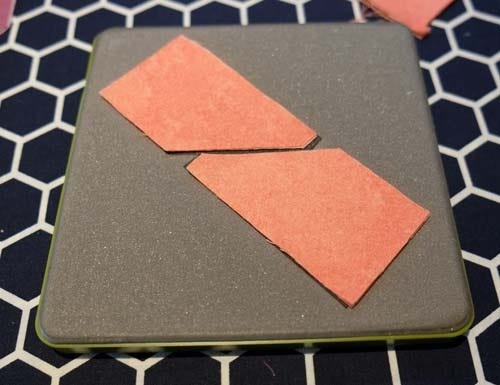
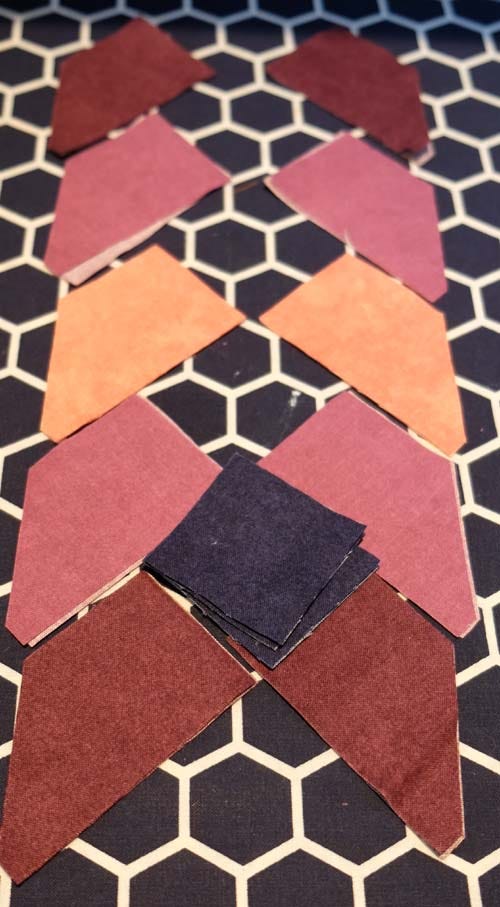
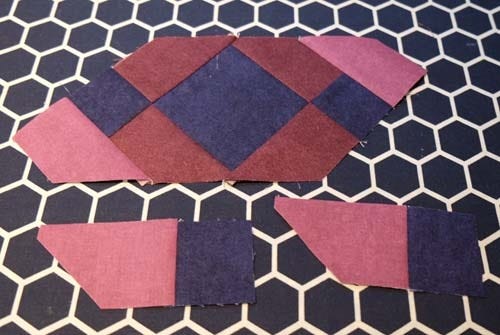
I then decided the color placement and left out two of the lightest pinks.
It's good to lay out the fabrics and see how they will "flow" together :)
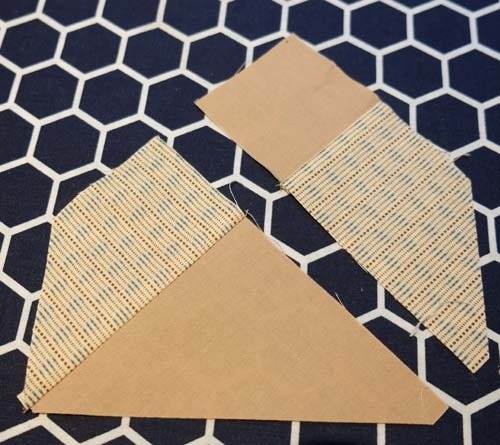
Now sew two of the "left" braid pieces to opposite sides of the large square, and sew two small squares to ends of the remaining two "right" braid pieces
Iron toward braid fabrics.
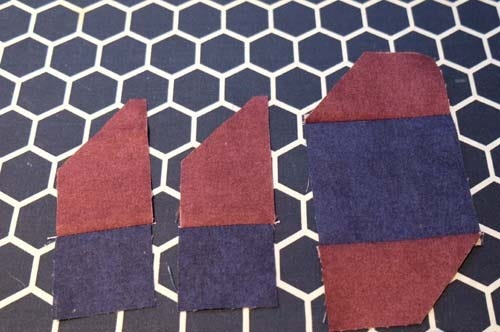
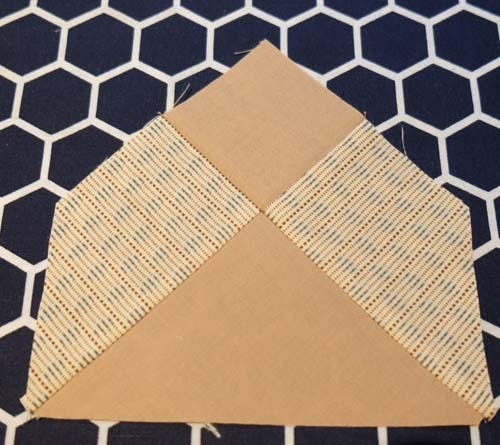
sew these to ends of braid, matching up the seams, iron toward braid pieces again.
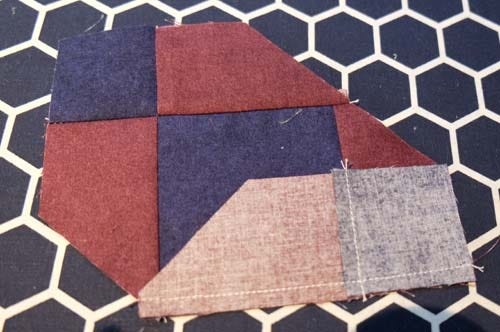
Continue in this way with the next braid color
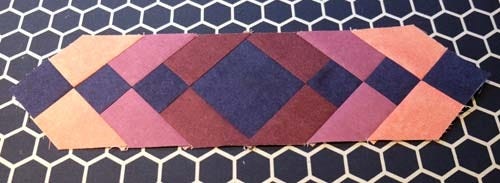
here's the first 3 braids sewn on, it's looking good!
(I like to sew these as leaders and enders in between other projects)
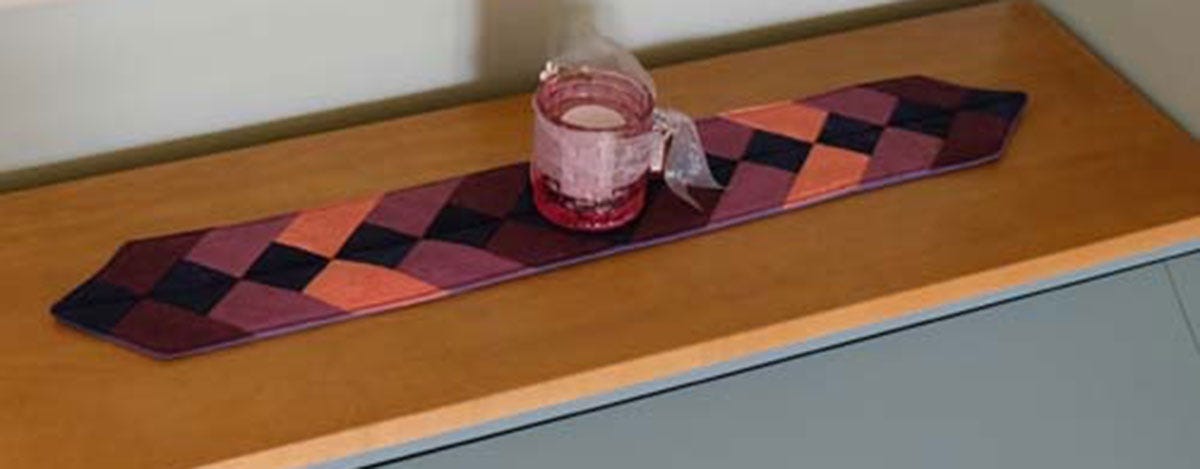
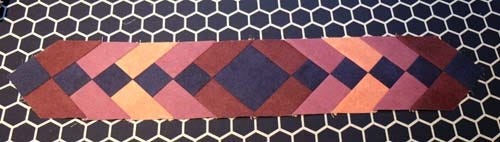
Now the whole braid is done!
Because this braid table topper is so small I decided to sew the batting and backing to it right sides together and turn inside out and top stitch closed
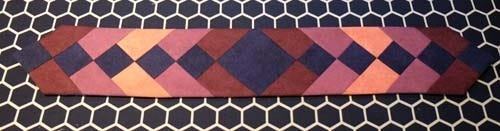
I also sewed a line down the middle.
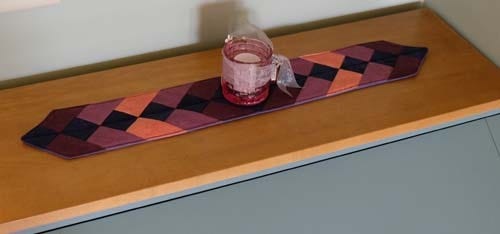
Then placed it on a desk we have and it looks cute with a little votive holder on top :)

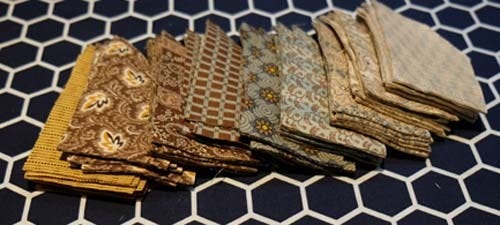
Now I couldn't stop there! I found this FQ bundle I had on the shelf, totally not my colors, but I think I won the bundle at some point, so I thought it was about time to use it and play with it and try another french braid using the 8" QUBE set and companion set. I laid them out in the order I wanted to work in and instead of having a braid going from the center and out, this one starts at the bottom and top and goes toward the middle.
I was able to double fold each FQ and cut out 12 SETS of 2 chisels from each of the 9 FQs

here they are in the same order
Since I had 12 sets x 9, I needed 108 small squares (shape #2) and working from top and bottom and toward the middle I also needed 12 triangles #3 plus another 12 of #3 triangles (24 total)
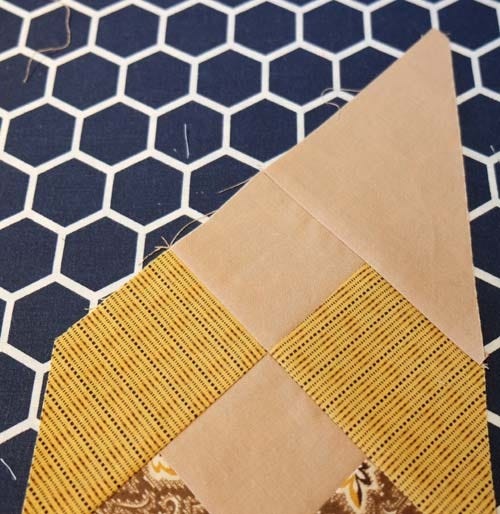
I sewed the braid together the same way as above but started with a large triangle instead.
Here's 6 of the braids done (there's 12 total)
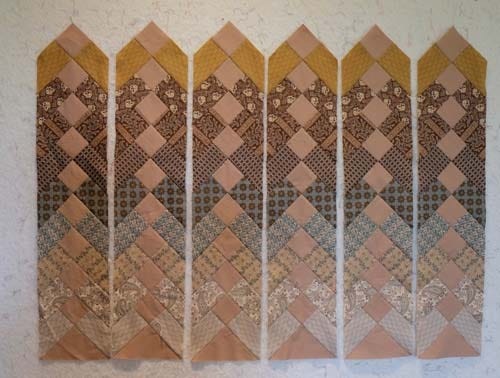
now with remaining large triangles, I sewed one to the RIGHT side of the braid top on each one
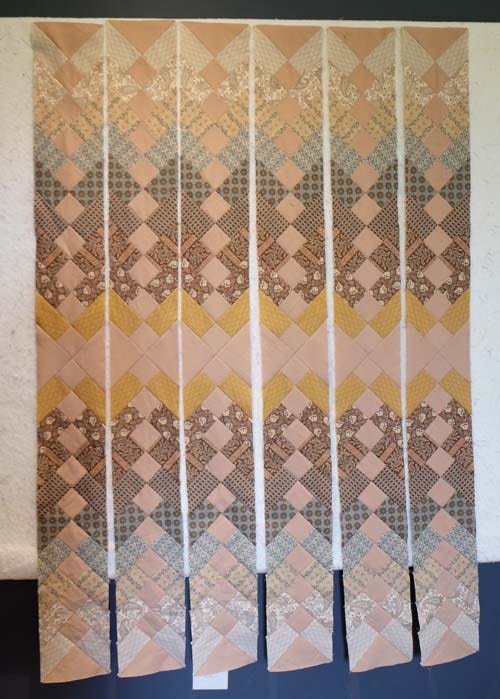
Then flipped half of them and sewed two together (6 times) into 6 long braids.
Each braid is 6" x 58" so sewn together they'd be 5 1/2" wide, so I think at least a 2" - 2 1/2" sashing strip between each braid would look good and then a matching inner border and an outer border.
I'm still planning on what to do with it, and since these are not my popular colors I don't have much brown in my stash, so I guess it's time to buy more! ;)
I'm guessing 2 yds or so it good for the sashing and inner border and maybe the same for an outer border.
Even though this one is not finished, I hope it gives you ideas to try a french braid quilt!
(I've done one before years ago and didn't like it one bit and said I'd never make another one, but then got the idea with the chisel die and because the cutting is SEW easy and I worked on it between projects, it really went together very fast!)
Hope you try it.
Have fun


