


Hello! My name is Sherri McConnell and I'm happy to be sharing my first project tutorial here today on the AccuQuilt blog. I've been writing about my sewing and quilting journey on my blog, A Quilting Life, for over seven years, and it's been exciting to be able to share my passion for creating on a regular basis.
I've been using the AccuQuilt GO! Fabric Cutter for several years now, and it's definitely one of my go-to tools for saving time with projects. I'm happy to be able to share my ideas here on a regular basis, and today I'm happy to share some fast fun fall placemats which are easily embellished using AccuQuilt GO! die cut outs! I had a lot of fun using the festive fall designs found on the GO! Fall Medley die (55041) and the GO! Rustling Leaves die (55390) to embellish these super quick placemats.
So let's get started!
Gather Supplies

First, for the placemat centers you'll need an assortment of fabric scraps measuring at least 2½" x 10". I was able to use left over Layer Cake squares from a previous project to cut my strips. Cut six strips 2½" x 10" for each placemat you want to make.
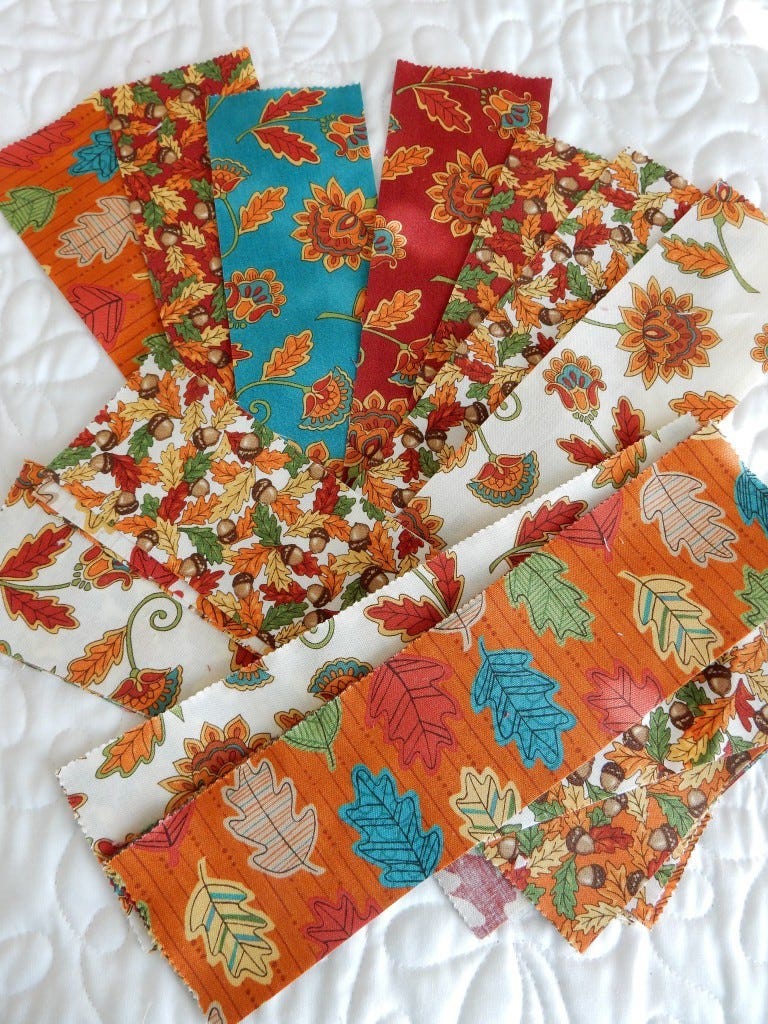
You'll also want to gather some other scraps to use for your appliqué shapes as well as gather additional fabrics for the border, binding and backing (for every 2 placemats you'll use: ¼ yard of border fabric, ¼ yard of binding fabric, ½ yard of backing fabric, and a batting scrap 15" x 18" for each placemat).

I like to use solids and fabrics that read like solids for my appliqué shapes. They tend to stand out better especially when using a scrappy mix of fabrics.
These burgundy, brown, teal and orange fabrics were perfect for the leaves, pumpkins, and acorns I used for my project.
Sewing and Assembly

Start out by sewing the 2½" x 10" fabric strips into groups of six strips. Press the seams open or to one side. This patchwork piece will make up the placemat center. It should measure 12½" wide by 10" tall. You'll want to have your placemat centers finished before adding the appliqué shapes.

Next, you'll want to cut out the fabric shapes using your AccuQuilt GO! cutter. You may want to fuse a lightweight fusible product to your fabric before cutting so your shapes are ready to be fused to the background. Using a lightweight fusible will help your projects from becoming too stiff. Follow the package directions for fusing to your fabric and for fusing your shapes to the background.

Next, fuse your chosen shapes to your patchwork piece. You can have fun with the placement of the shapes--use one shape per placemat, or use a few! If desired, machine appliqué the cut-out to the background using a buttonhole stitch around the die cut shapes. This will add stability to your project. I like to buttonhole appliqué shapes when I know the item will get a lot of use as these placemats will.

Next add the borders to the placemat center. Add a strip 2" x 10" to the left and right sides of the placemat center. Press out toward the border fabric. Then add 2" x 15½" strips to the top and bottom of the placemat. Again press out toward the border fabric. At this time you can layer a 15" x 18" backing fabric wrong side up, a 15" x 18" batting scrap, and your placemat. Quilt as desired. I used a walking foot to keep the fabrics from shifting and sewed with a wavy line stitch vertically spaced about ½" apart. I didn't quilt over my appliqué shapes.
Embellished Fall Placemat
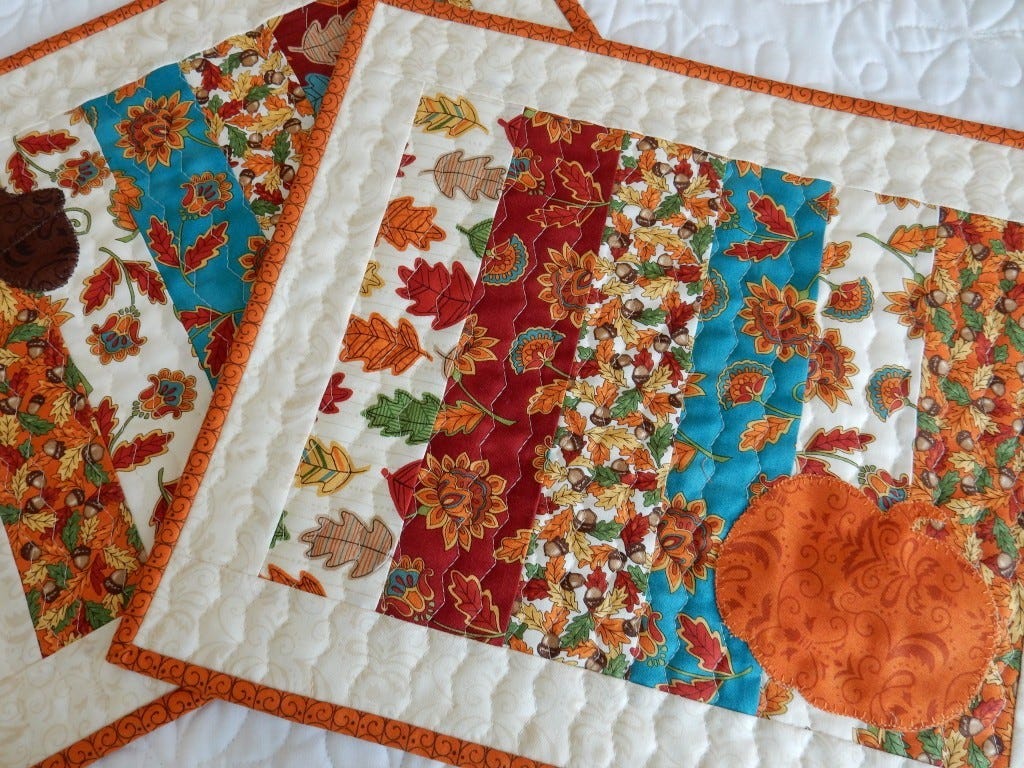
Bind the placemats using your binding fabric...then have fun setting a festive fall table with these fast and fun fall placemats. I hope you'll enjoy making these simple placemats. Have fun embellishing them with your favorite fall shapes from AccuQuilt!


