

Welcome back for more Tuesday GO! Tips from Eleanor Burns.
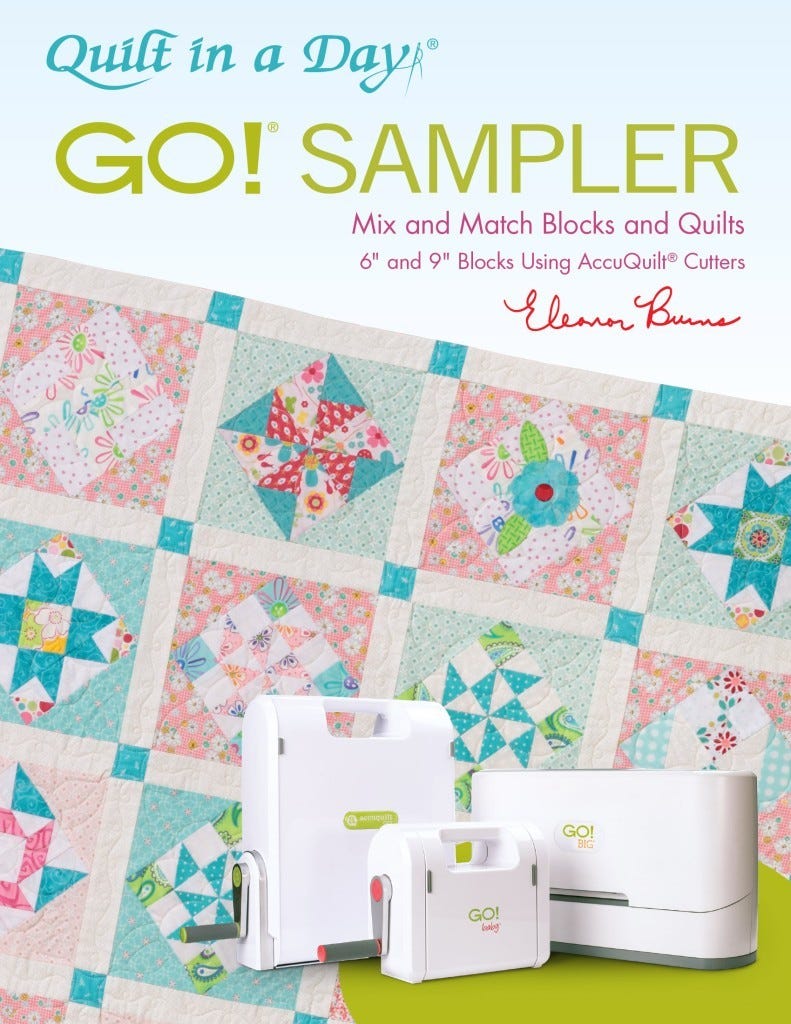
The tips below from Eleanor's GO! Sampler book include setting up your sewing machine, using jumper squares, pressing your pieces, and understanding block instructions.
With Eleanor's help, your journey with the AccuQuilt Fabric Cutting System will go even more smoothly. Eleanor offers you many simple things to do to help you sew your pieces faster and much more efficiently. Additionally, if you've every had any trouble with the dog-eared corners getting caught in the throat plate on your sewing machine, then Eleanor has just the tip for you.
Setting Up Your Sewing Machine
1. Place a straight stitch single hole throat plate on your machine.
Dog-eared corners on AccuQuilt patches tend to get caught in a wide hole throat plate. When using the straight stitch needle plate, all straight stitches are in center needle position. You can’t change the needle position when using the straight stitch needle plate sensor, so you can’t accidently break your needle.


2. If you don’t have a guide on your 1/4" foot, place a guide such as Ideal Seam Guide™ on your throat plate cover, 1/4" from needle.
3. Equip your machine with a 1/4" foot for accurate piecing.


4. The best 1/4" foot is one that has a connected guide, lining up with 1/4" mark on throat place cover. The needle lines up with the center line.

Using Jumper Squares
To avoid dog eared corners on triangles getting caught in throat plate, start off your piecing with a pair of squares. These bonus patches can be used as a Two-Patch Border, or in blocks as Jewel Box, Four-Patch Star, Frayed Four-Patch or Road to Oklahoma.
1. Place two squares in front of needle.

2. Flip two squares right sides together, and sew with 1/4" seam.
When all assembly-line piecing is complete, clip Two-Patch and set aside.

3. Pick up pieces with stiletto. Butt Smart Stacked© triangle pieces cut for block immediately after squares.

4. Stitches must begin exactly at point.


5. If necessary, gently pull pieces from back of presser foot.

6. Sew with a perfect 1/4" seam from end to end. Follow center line on throat plate.

Helpful hint: Place a Sew Straight on sewing machine. Keep dog eared corner on center line as you sew. Use a stiletto to guide pieces.

If your sewing is not perfect, pieces look like this.

Pick out threads that are stuck between the foam and metal with a stiletto, pick or tweezers. A stiletto with a curve on the end is a perfect tool.

Pressing Pieces
Use a pressing mat with a muslin covered, cushioned surface so seams sink into mat when pressed. Using a steam iron is personal preference.
1. Assembly-line sew all pieces. Do not clip apart until after pressing.
2. Set seams.

3. Open top piece. Press seam toward dark.

4. Clip apart.
5. Check from back side.


Understanding Block Instructions
Size of Blocks
The measurements 6" and 9" refer to finished sizes of blocks after they are sewn into a quilt. Unfinished sizes are 6 1/2" square and 9 1/2" square, including 1/4" seam allowances on four sides. Blocks may vary in sizes up to 1/2". However, uneven or under sized blocks can fit together in a Sampler Quilt with a little stretching or “fudging” as long as they are all similar in size.
(Yardage and Cutting Pages Beginning on page 22 in the GO! Sampler book.)
To get started, decide which fabrics to use, and pencil your colors in on the graphic. The numbers on the graphic match the die numbers on the far left column. These numbers are inside squares, triangles, rectangles, or parallelograms, indicating the shape of the patch. Pair the right die with the right fabric.
The second column of numbers tell how many shapes you need and the AccuQuilt die # for either a 6" block or 9" block. These die numbers match the shape numbers in the left column.
Rough cut all pieces in your size. Follow each die for fabric and cutting instructions.


Smart Stacking©
In the block instructions, this is how Smart Stacking© chart appears.

The chart is always two colors grouped together. Rough cut the two colors of fabric indicated and place them right sides together. Layer cut with indicated die.
In this case, use Die #4 for either 6" or 9" block. Don’t open the pairs. They are ready for sewing.
Swirling
“Swirling” is a technique designed to take bulk out of seams so they lay flat. It’s also easier to machine quilt through seams that have been “swirled”.
Reference this generic section for an explanation on “swirling”.
1. Assembly-line sew a pair of squares for Four-Patch.
2. Open and turn. Flip right sides together.
3. Push seam on top up, and underneath seam down. Assembly-line sew.
4. Clip loop.
5. Remove stitches in seam allowance.
6. Place wrong side up. “Swirl” seams clockwise around center.
7. Press from right side.

If you haven't already, get your copy of the GO! Sampler book today!


