
AccuQuilt recently introduced three new accessories to help make applique and machine embroidery projects easier than ever! Partner these up with your GO! Dies and GO! Fabric Cutter to make projects faster than ever, with picture perfect results, making this a great time to take a deeper look at how to make applique projects!
Types of Applique
There are two basic styles of applique – needle turn or hand applique and fusible. Needle turn applique is the practice of taking a shape of fabric and carefully turning the raw edge under while hand stitching it to the background. These shapes are often simpler shapes like circles, leaves, and basic flowers, although these can be quite ornate depending on the skill of the quilter!
Fusible applique means ironing a double-sided fusible product onto the wrong side of your fabric. One side will normally have a shine to it, while the other side has a paper backing. The first step would be to take your fusible (paper side up), place it on top of the pattern for the shape that you are cutting, and trace the shape onto the paper side. The next step involves ironing the shiny side of the fusible to the wrong side of your fabric, then, using your tracing as a guide for hand cutting your shapes before peeling off the paper backing and ironing the shape into place on your project.
PRO TIP: If you are not using an applique pressing sheet, cut your fabric large enough to allow you to cut the fusible slightly smaller than your fabric, while still being large enough to cover the entire shape on the die. Either method keeps you from getting fusible ironed onto your ironing board.
Fusible Applique with AccuQuilt
The AccuQuilt system makes applique easier than ever – no tracing or tedious hand cutting, just a pass through your GO! Fabric Cutter! Since AccuQuilt offers over 124 applique dies, you’re sure to find shapes you love. These dies are all designed for use with the fusible applique method, although there are shapes that will work well for needle turn, like the wide range of GO! Circle Dies!
When using GO! dies, you will start by ironing your fusible onto the wrong side of your fabric before you cut the shapes on the die. Since the fusible will count as 1/2 a layer of fabric, you can cut up to four layers of fused fabric at once – what a time-saver!
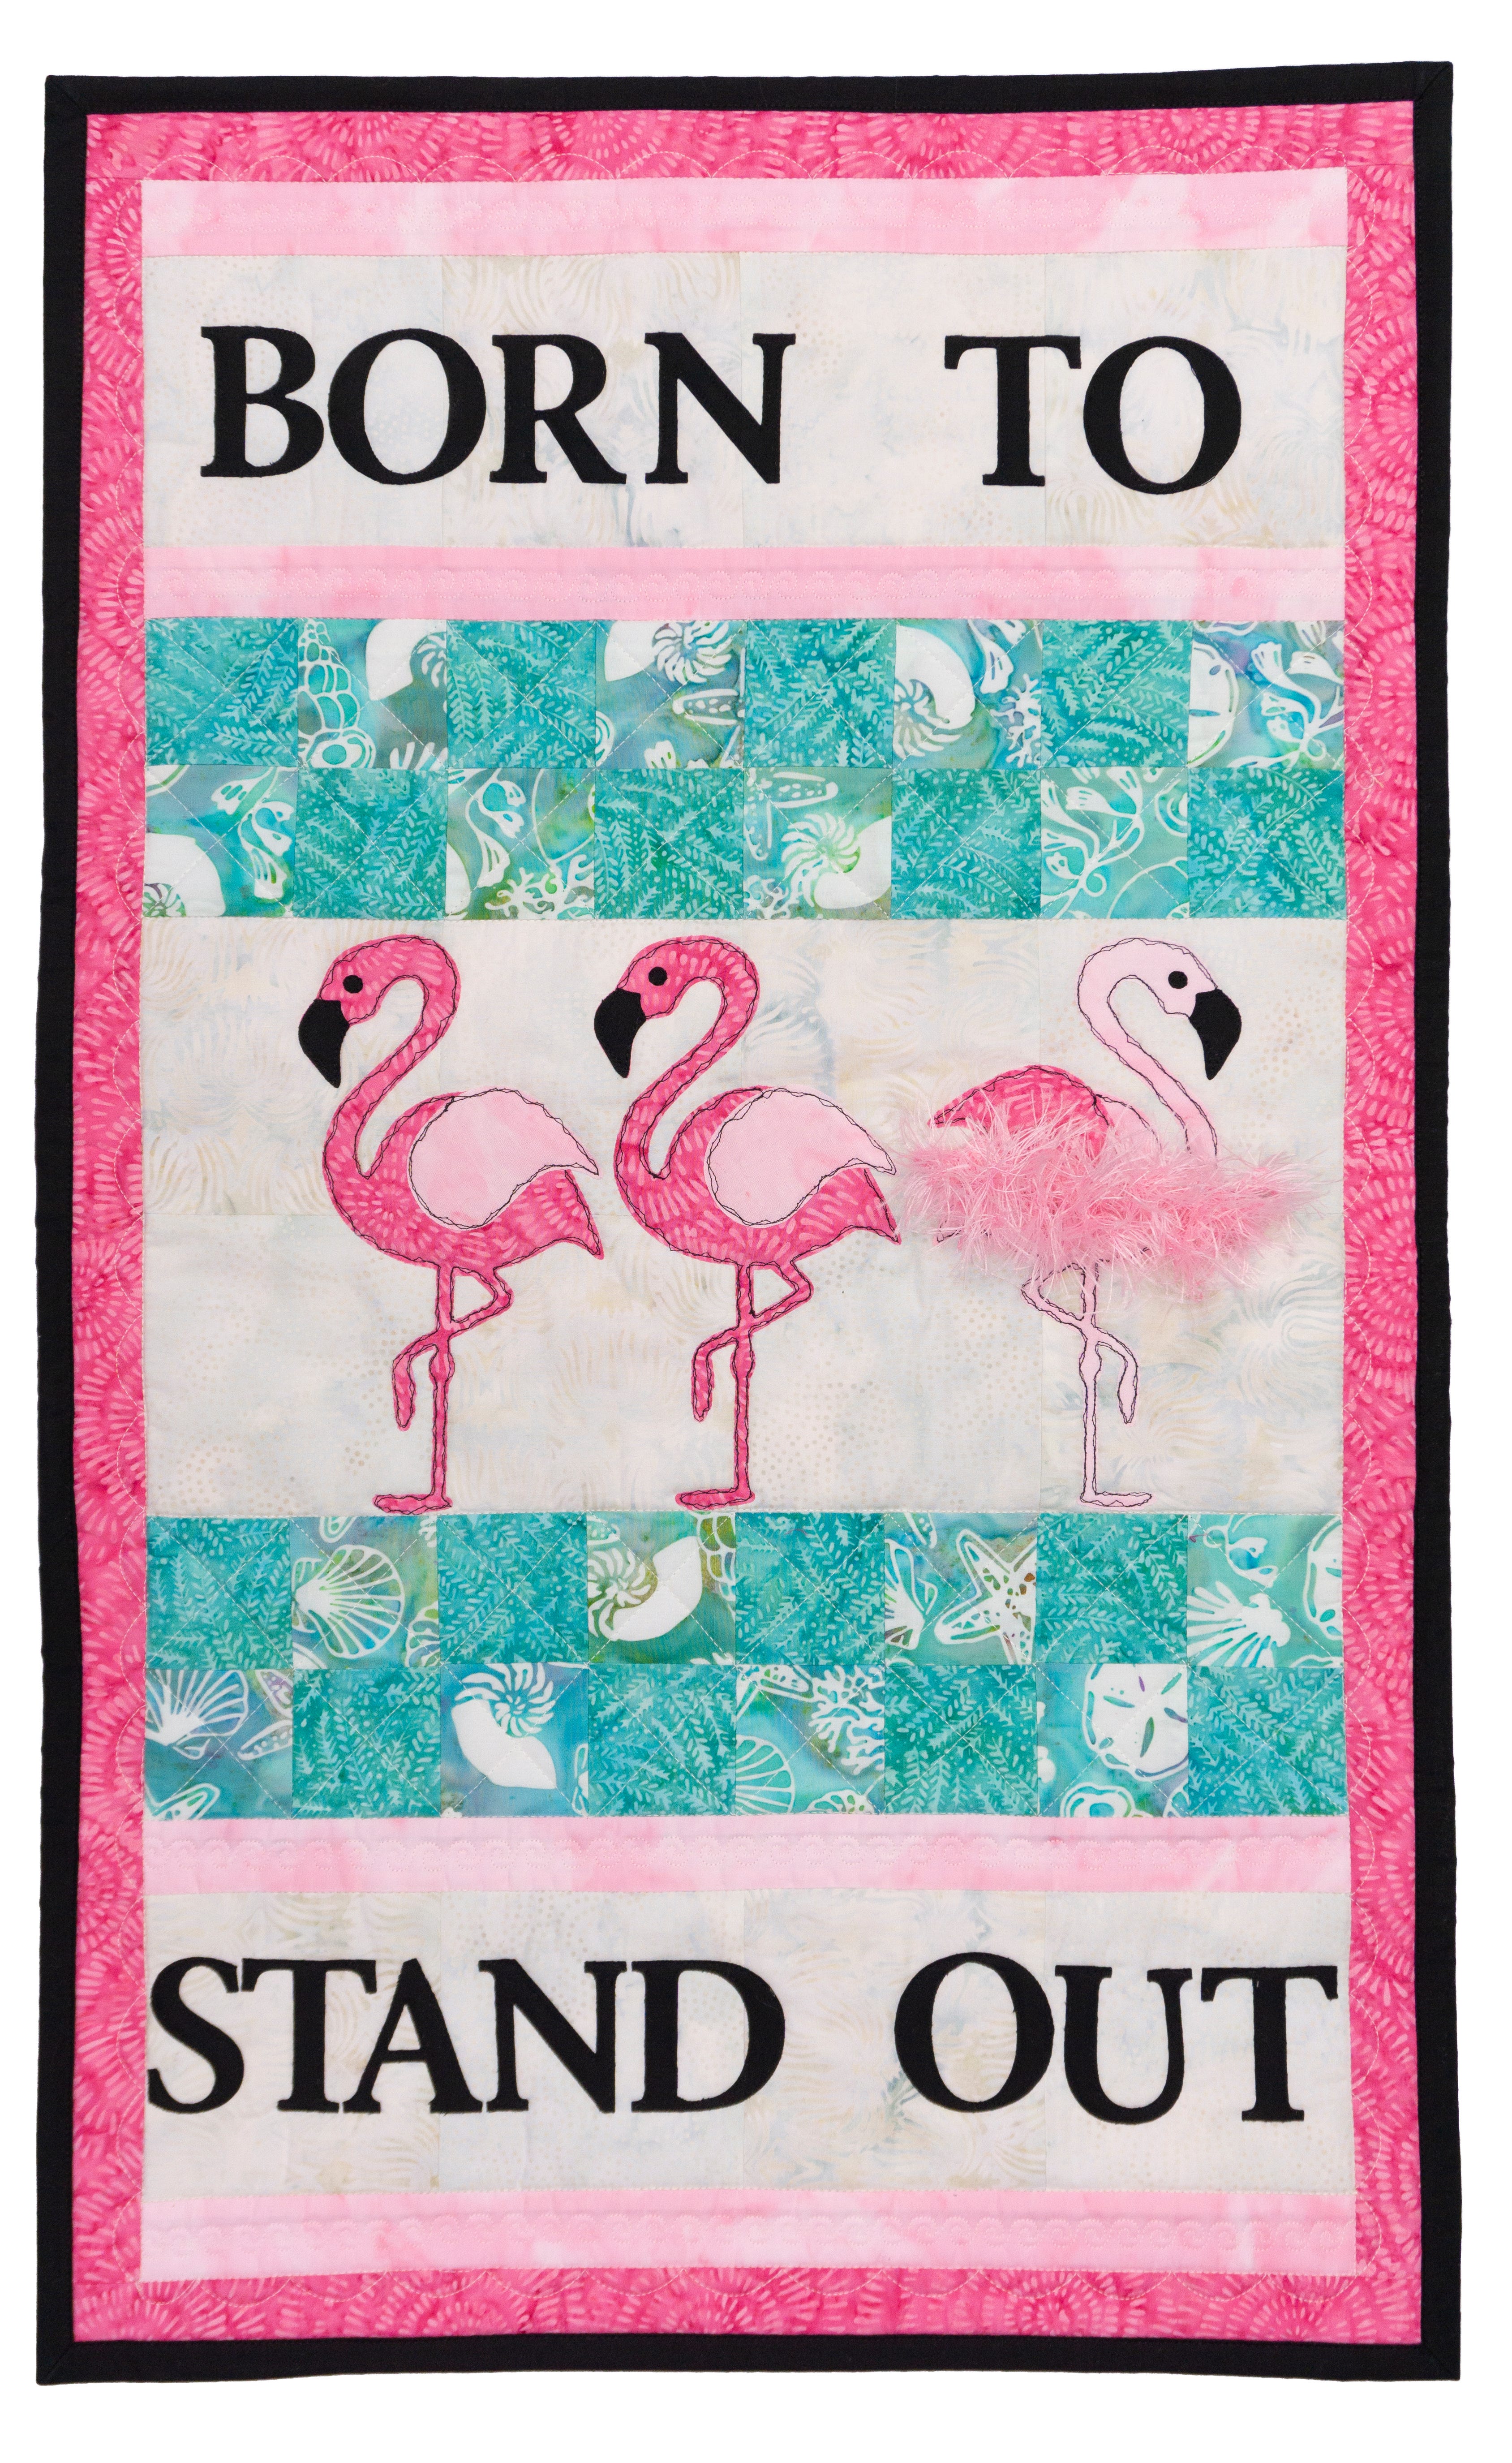
The GO! Born to Stand Out Wall Hanging by Terri Vanden Bosch of Lizard Creek Quilting uses raw edge applique with the GO! Flamingo Die.

The next step depends on how you plan to finish your shapes. Here are some popular options:
- Raw Edge Applique
- Quilting
- Decorative Stitch
- Machine Embroidery
- Hand Embroidery
With all these methods, you will want to peel the paper backing off the back your shapes. The next step for all the techniques above except machine embroidery is to fuse your shape(s) onto your project or background, and then, stitch down as you wish!
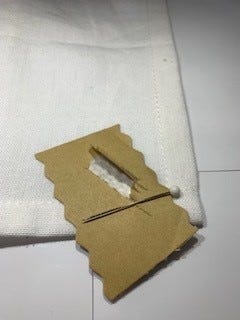
PRO TIP: If you have trouble peeling the paper off the back of your shape, try scratching the paper with a pin to make it easier to get a grip on it without fraying the edges of your fabric.
Since GO! Dies cut your shapes so quickly and easily, you can really turn your imagination loose and create some amazing projects in no time at all.
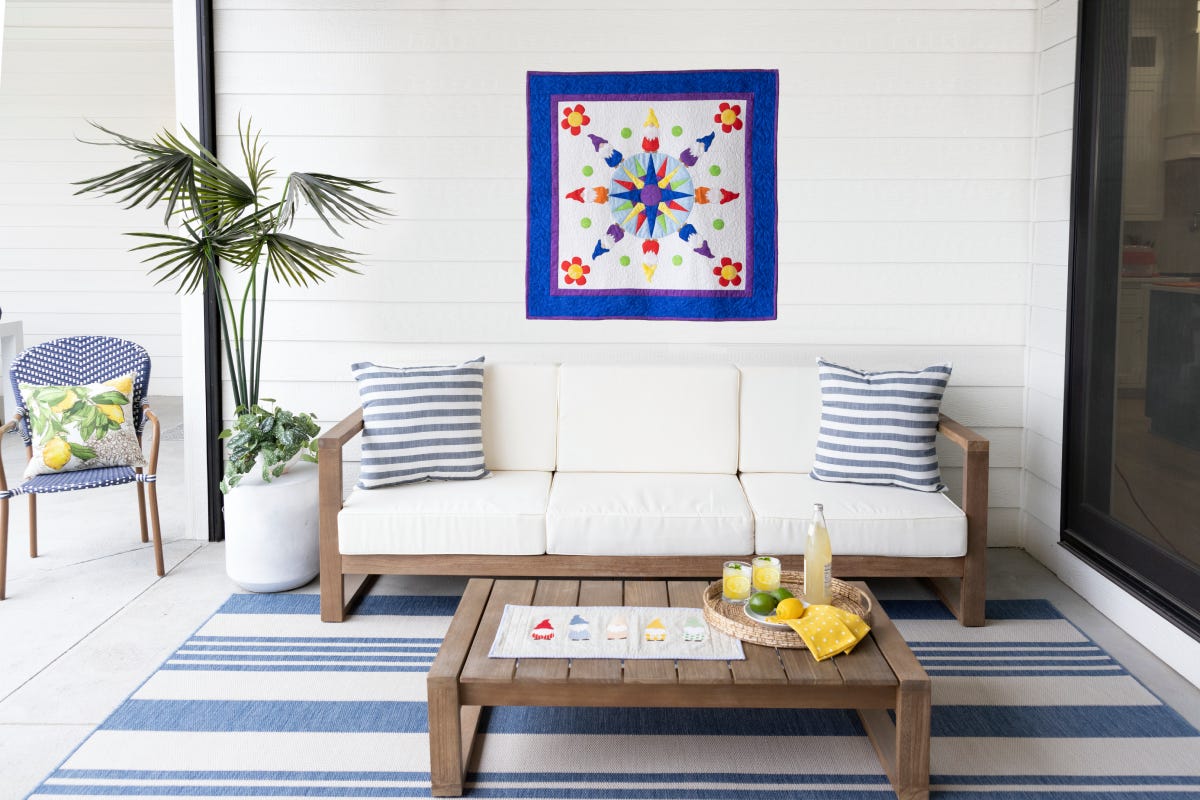
The GO! Colorful World Wall Hanging uses the GO! Gnome and GO! Funky Flowers applique dies to accent the GO! Mariner's Compass-12" Finished Die.
![]()
Machine Embroidery Made Easy with AccuQuilt
When it comes to machine embroidery – prepare to be amazed! Here are the basic steps:
- Log into your account at AccuQuilt.com.
- Find the embroidery you want (probably the hardest step of all - there are so many to choose from!).
- Download the design (if it's free) or purchase the design then download it (if it's a paid one).
- Save the format your embroidery machine uses to your flash drive.
- Take your flash drive to your machine and get ready to make some magic happen!
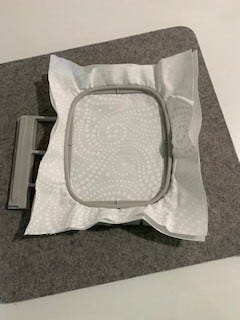
- Hoop your background with an appropriate stabilizer.
- Put your hoop on the machine and GO! The program will stitch a placement stitch for your first shape, always building from the bottom up.
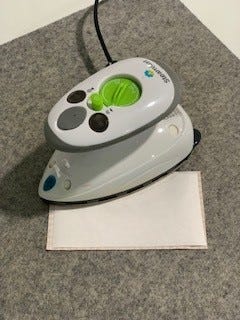
- Peel the paper backing from your shape and place on the placement lines. Press lightly if not using a “sticky” fusible. A Clover Mini Iron with a Wool Pressing Mat-13 1/2" x 13 1/2" is perfect for this step.
- I like to remove my hoop from the machine for pressing so that I don’t run the risk of damaging my machine.
- Continue with the embroidery. The program will apply the decorative stitch on top before moving to the next shape.
Watch this tutorial using the GO! Gnome Die to see the embroidery in action!
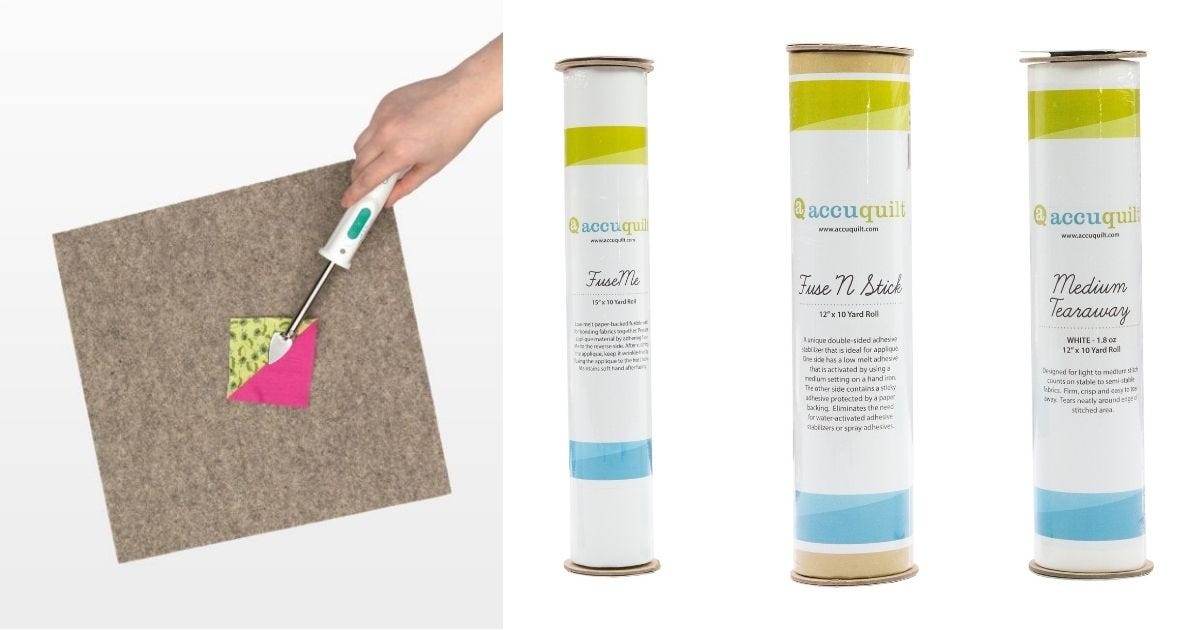
New Products To Make Applique A Breeze
AccuQuilt’s new fusible and stabilizer products are designed to make applique with the GO! Dies even quicker and easier for you!
FuseMe - 15" x 10 yd Roll-Shrink Wrapped

Here’s a great, basic fusible that you’ll want to keep on hand! No matter your method, a good lightweight product is your best bet, and this one is just right. Having this 10 yard roll on hand means you can always be ready to create your next project!
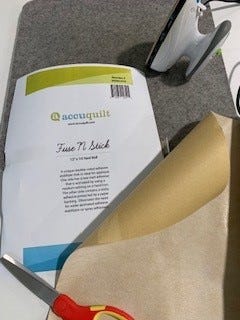
AccuQuilt Fuse 'N Stick-12" x 10 yd Roll

Can you same “game changer”? Press this product onto the wrong side of your fabric and cut your shapes. When the time comes to place your shapes, just peel the paper backing and stick – no ironing needed. This is perfect for all your machine embroidery projects, so be sure to keep a roll on hand!
AccuQuilt Medium Firm Tearaway - White - 1.8 oz - 12” x 10 yd Roll

You can’t do better than this product for a general stabilizer for working with quilting cotton. Be sure to check with your machine dealer for specialized products for working with different fabrics.
GO! Get Started On A New Applique Project!
Just like any other technique, you’ll want to practice a little, and don’t forget about making test blocks! Now, all that’s left is to sit back, relax, and create. We hope you’ll share your projects on social media with the hashtag #AccuQuiltBuilt and tag us @AccuQuilt so that we can all be inspired by your creations!


