


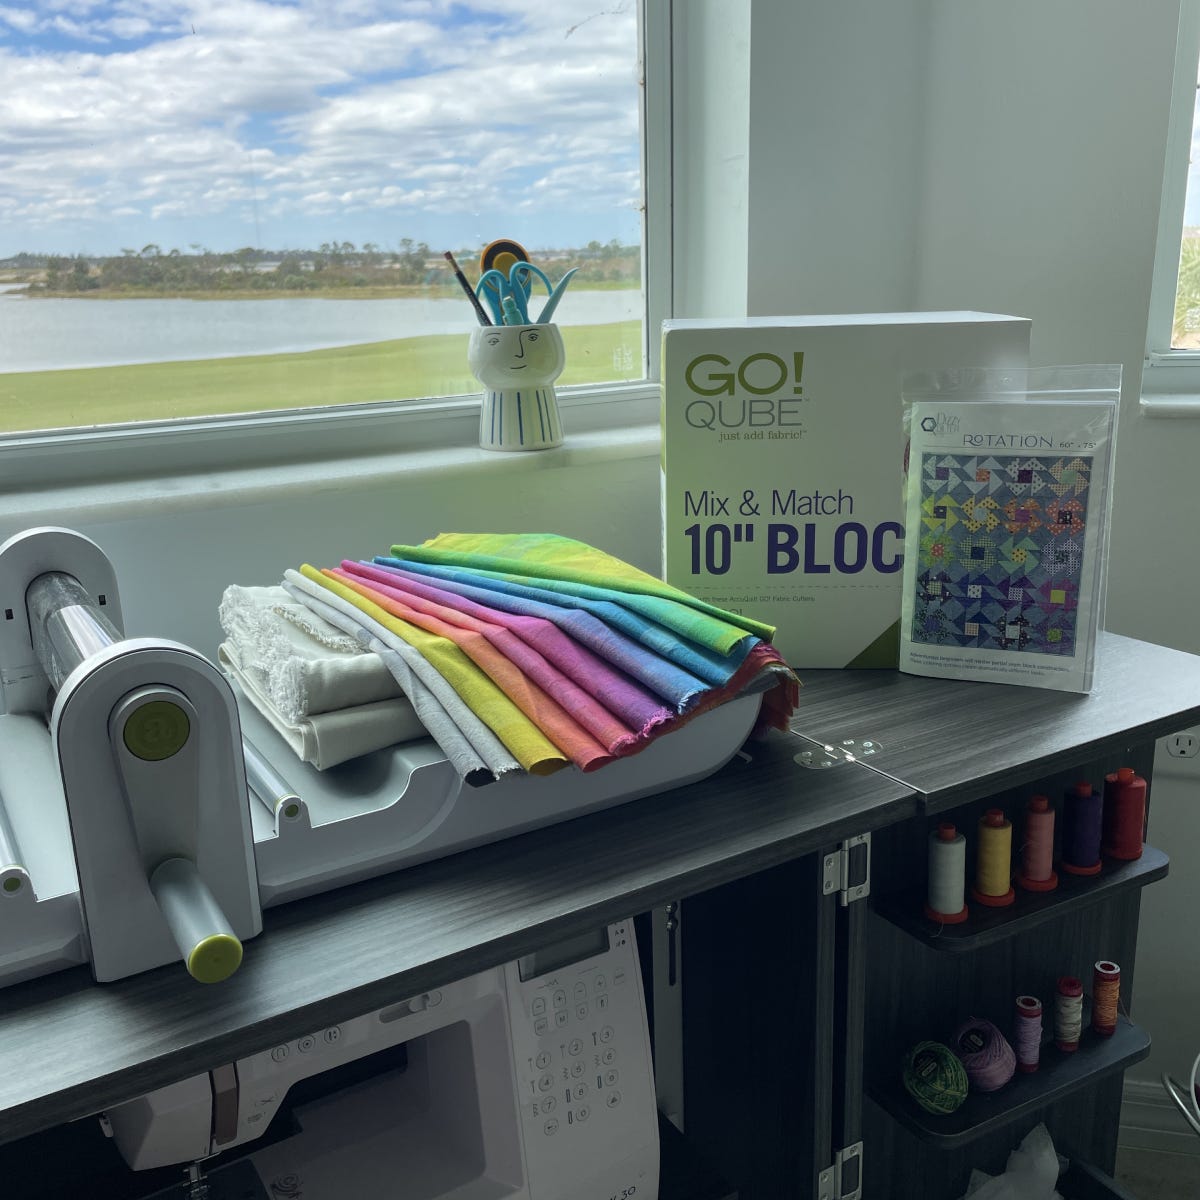
Hi! It’s Jen from the Dizzy Quilter. I’m here today to share how I altered my Rotation pattern to be used with the AccuQuilt system, so you can make an adorable baby quilt. You can use the techniques I’ll be showing you to change almost any block-based quilt pattern in your collection. As long as you understand the block units, all you need to do is put your pieces together.
What Is a Rotation Quilt?
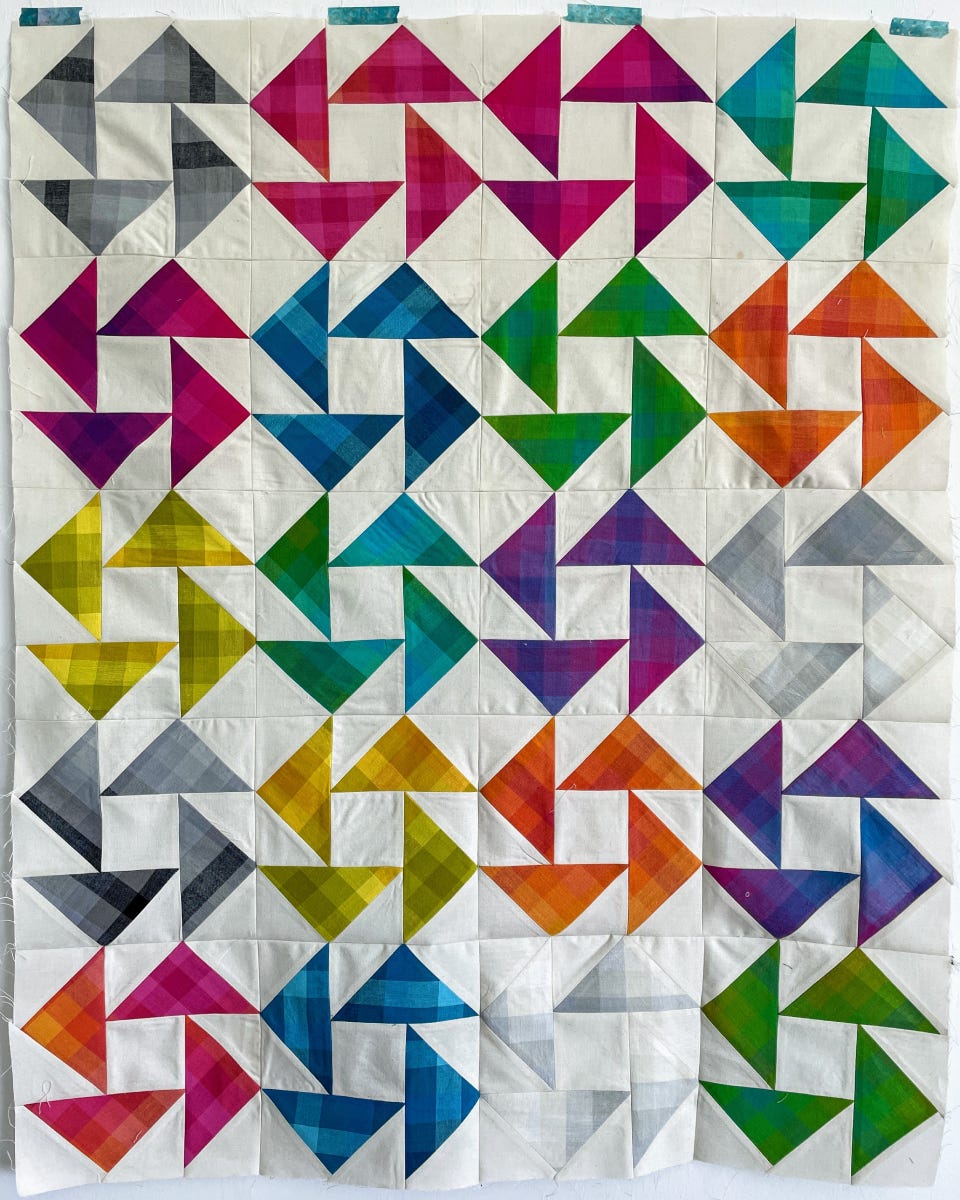
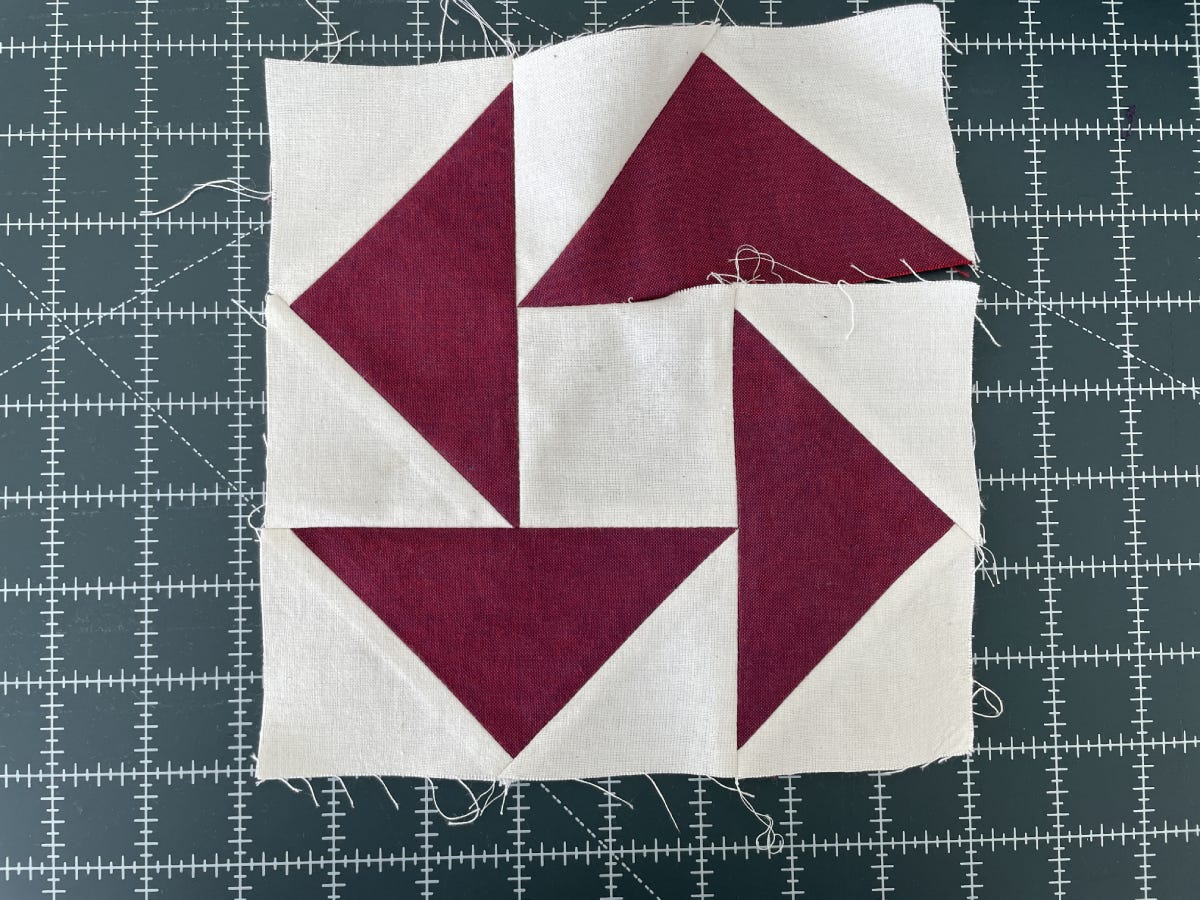
A rotation block uses flying geese units assembled with a square in the middle. To get the spinning movement, we use partial seam construction, which sounds harder than it is. This is another tool to add to your quilter’s toolbox that will impress your friends (until they learn how easy it is, too!).
The finished blocks in my original quilt are 15” squares. Since I am using the GO! Qube Mix & Match 10” Block here, the quilt will finish much smaller. The original uses flying geese that finish at 5” x 10”. The flying geese with this Qube finish at 2 1/2” x 5”, with a finished block size of 7 1/2”. Rather than using the Fat Quarter bundle called for in the original pattern, I am using scraps that measure at least 7” x 14”.
For this version, the only part of the pattern I am using is the layout and construction guidelines. I’ll be making the “minimalist” version and combining it with the 10” Qube and will look similar to the GO! Flying Rainbow Geese Quilt Pattern as well as the GO! Dutchman's Puzzle Block Pattern by Eleanor Burns when finished.
I chose to stick with the original layout, making 20 blocks, so the finished top measures 30” x 37”.
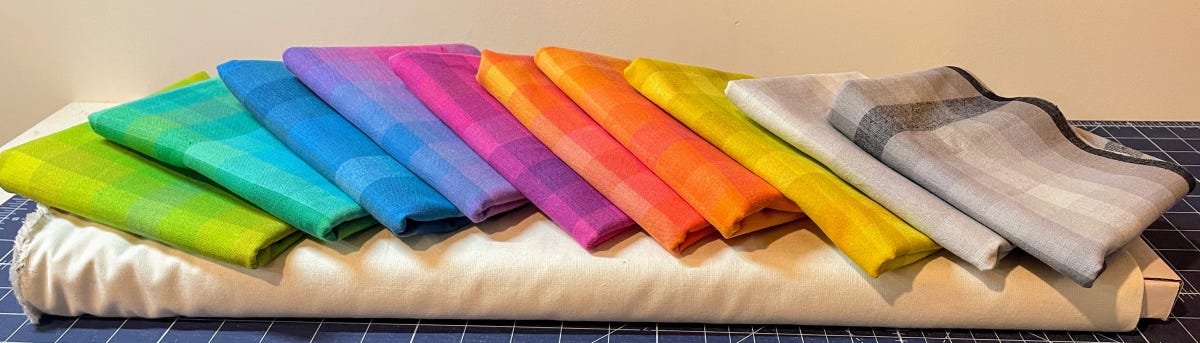
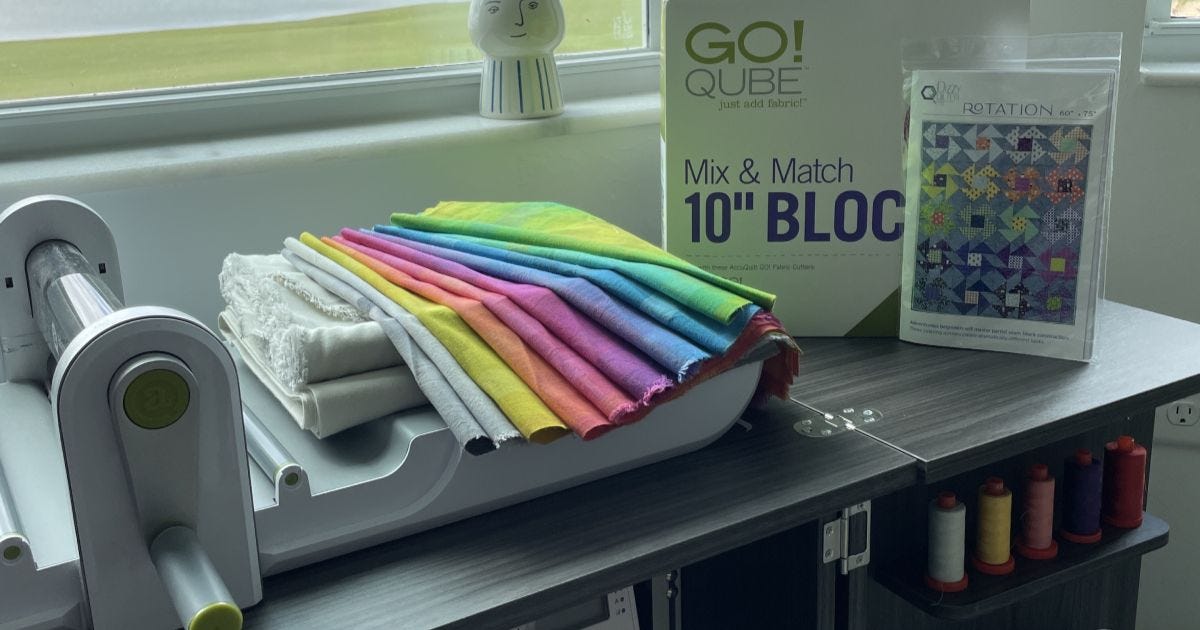
My focus fabric is the Kaleidoscope Plaid collection from Alison Glass fabrics. The background is Peppered Cotton in Oyster.
How To Make a Rotation Quilt the AccuQuilt Way
Materials Needed
- GO! Qube Mix & Match 10" Block
- GO! Strip Cutter-2 1/2" (2" Finished) Die
- Rotary cutting supplies (for preparing strips for die cutting)
- Iron
- Spray starch (optional)
- Ten pieces at 7” x 14” of the focus fabric
- 1 1/4 yards of background fabric
Cutting
PRO TIP: For best results, press your fabric before starting.
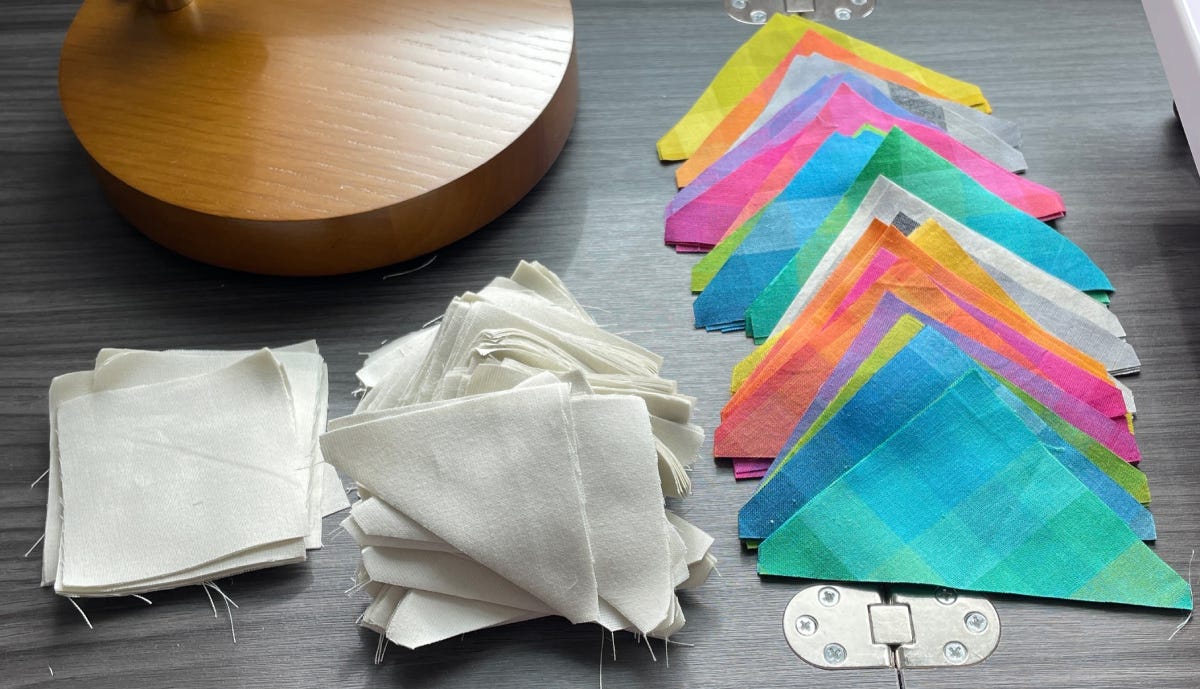
1. To cut the focus fabric, fold each 7" x 14" piece in half. Place this piece on Shape 4 from the 10" Qube to cut eight quarter square triangle units. You will need 80 total quarter square triangle units.
2. With the background fabric, cut:
- Two 3 1/2” x Width of Fabric (WOF) strips. Fanfold and place on Shape 2 to cut 20 squares.
- Eight 4” x WOF strips. Fanfold and place on Shape 5 to cut 160 half square triangle units.
- Four 2 1/2” x WOF strips for binding
Piecing
PRO TIP: Make one sample block from scraps before you begin chain-piecing the entire top. This will allow you to work through any challenges with less pressure.
You will need to assemble 80 flying geese units. Each unit will require one Shape 4 piece and two Shape 5 pieces.
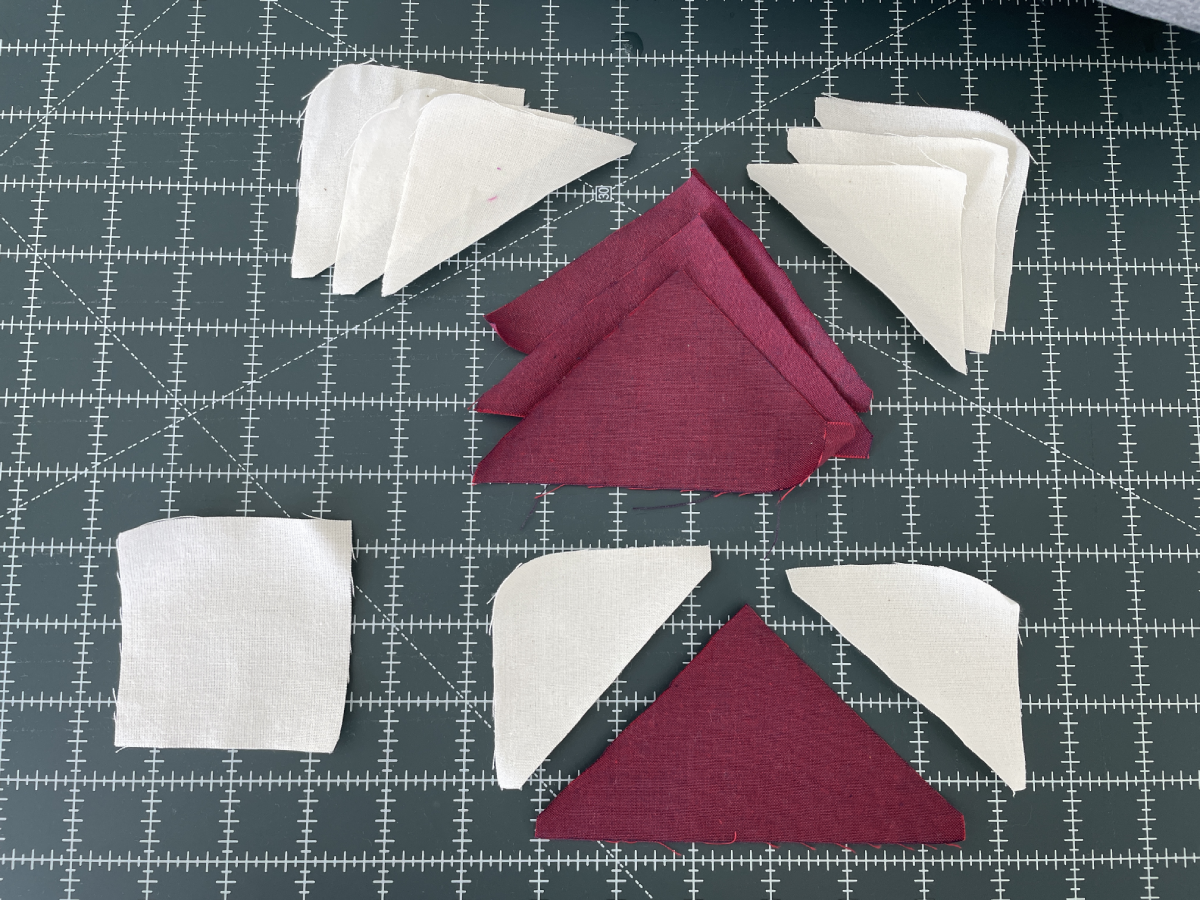
1. With the right sides together, sew one Shape 5 triangle to one Shape 4 triangle, bias edges together. Press the seam open. I like to use a little bit of spray starch to encourage the seam to stay open.
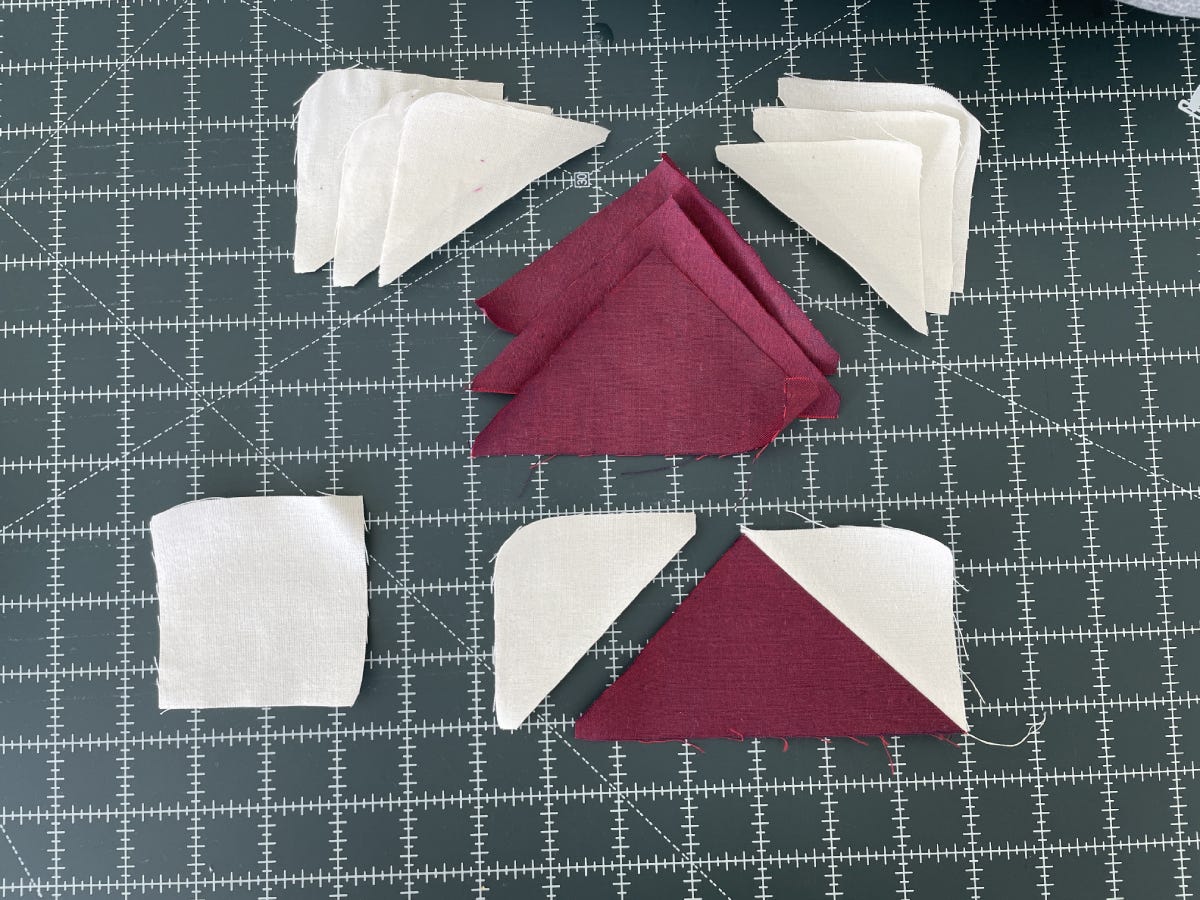
2. With the right sides together, sew a second Shape 5 triangle to your 4/5 unit along the bias edges. Press seam the open. Starch again.

3. Repeat the first two steps for the remaining 79 sets.
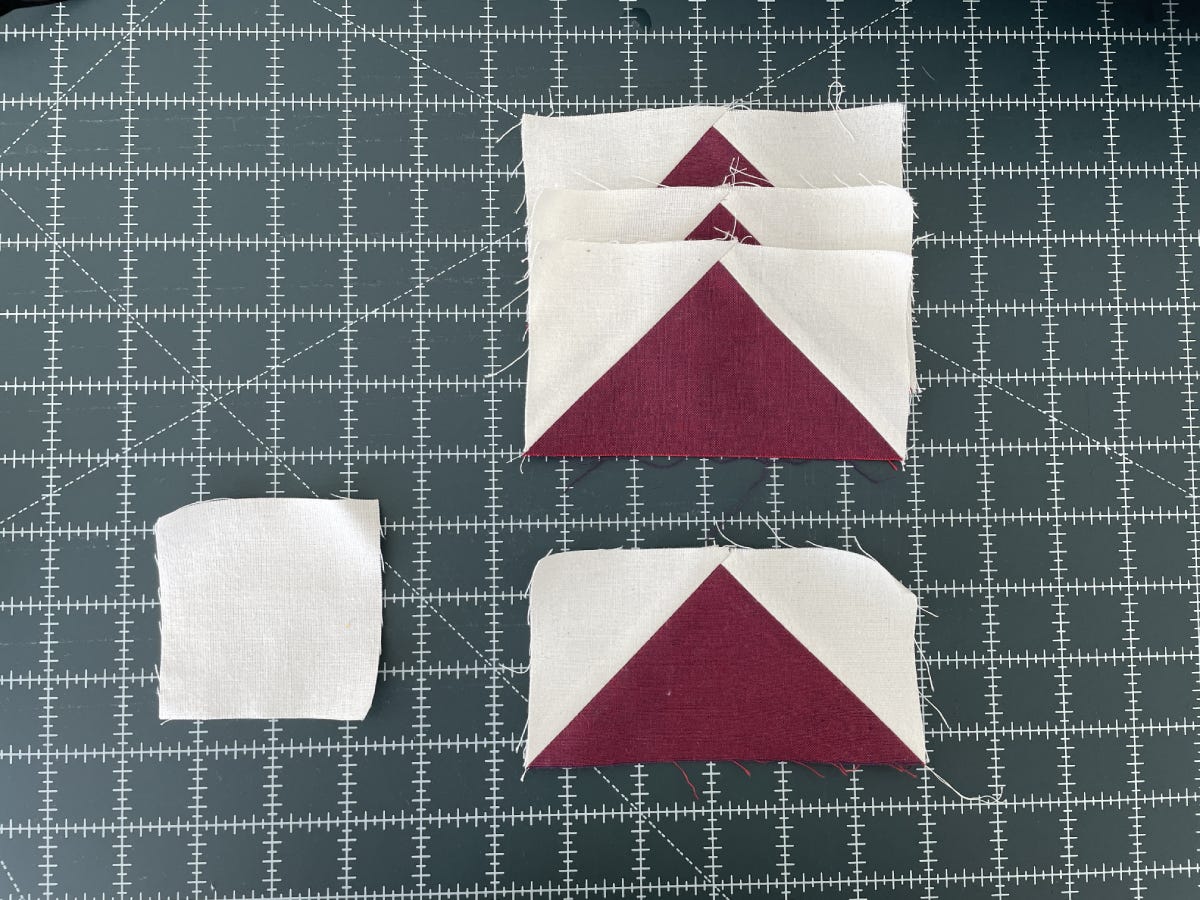
PRO TIP: Keep each set of four matching Flying Geese units together through the entire process to avoid sorting later.
Block Assembly
You will need 20 blocks for the rotation quilt.
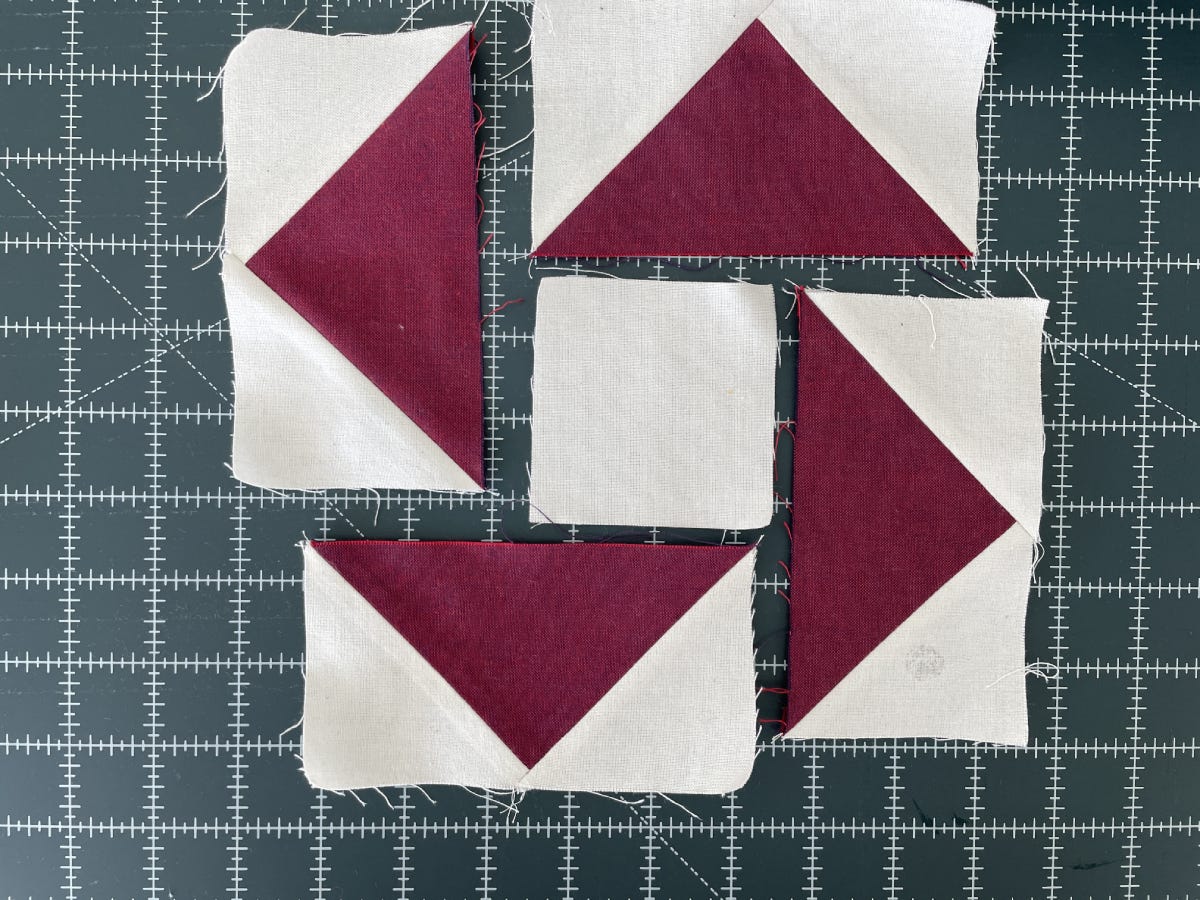
1. Lay out your set of four Flying Geese units around a square (Shape 2).
2. With one Flying Geese unit right side up, line up the square to one edge. Stitch from the corner of the square about halfway along the seam line. You will be leaving a flap of fabric unstitched.
3. Finger press the seam open.
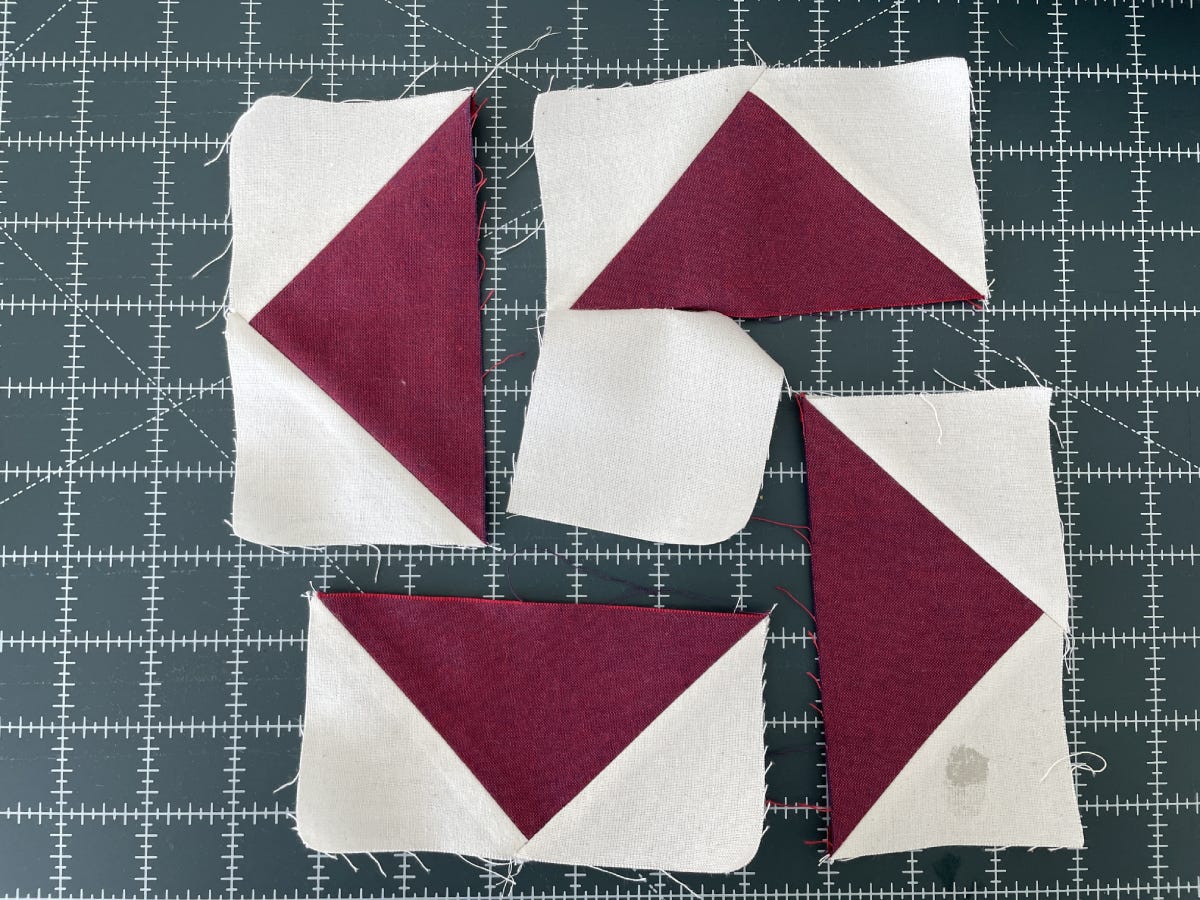
4. Attach your second Flying Geese unit, stitching the entire seam allowance.
5. Press the seam allowance open.
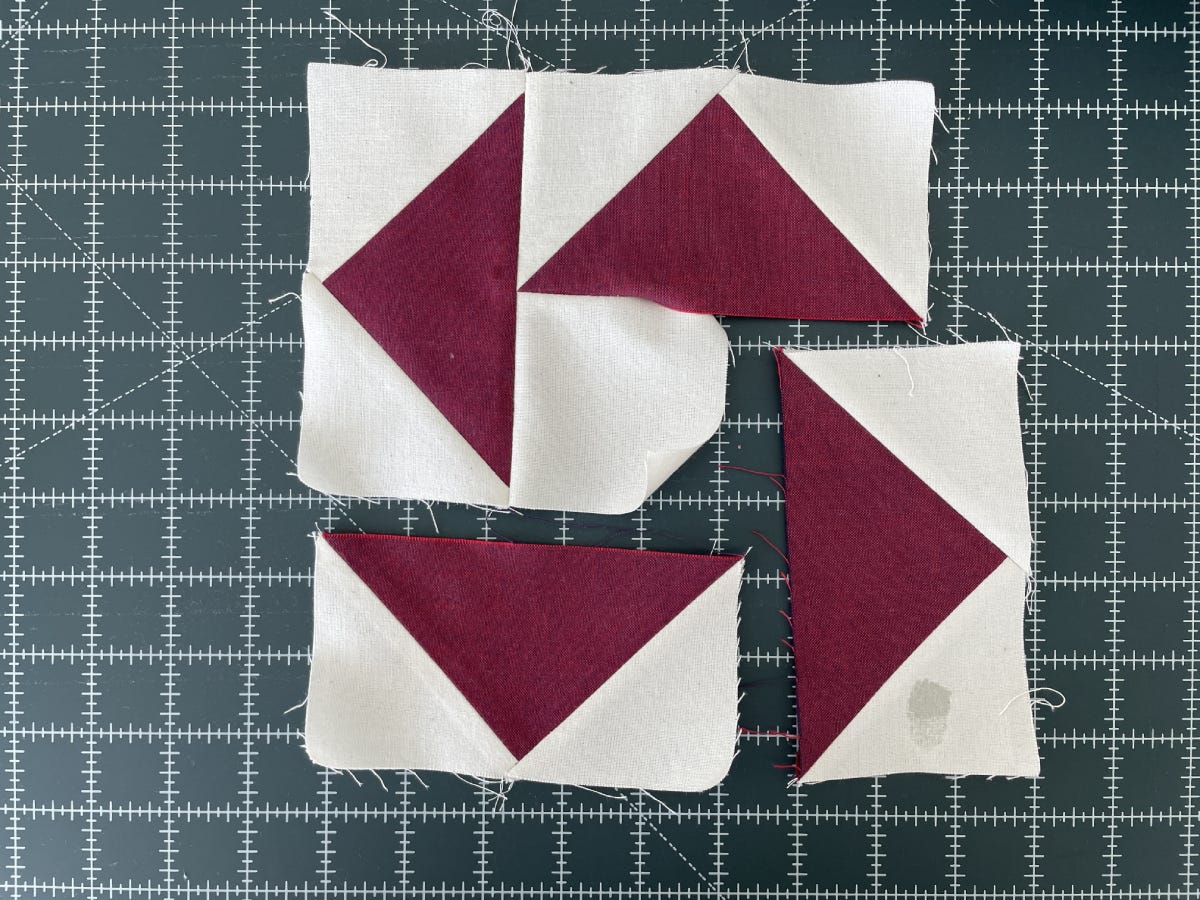
6. Stitch your third Flying Geese unit to the main unit, pressing the seam allowance open.
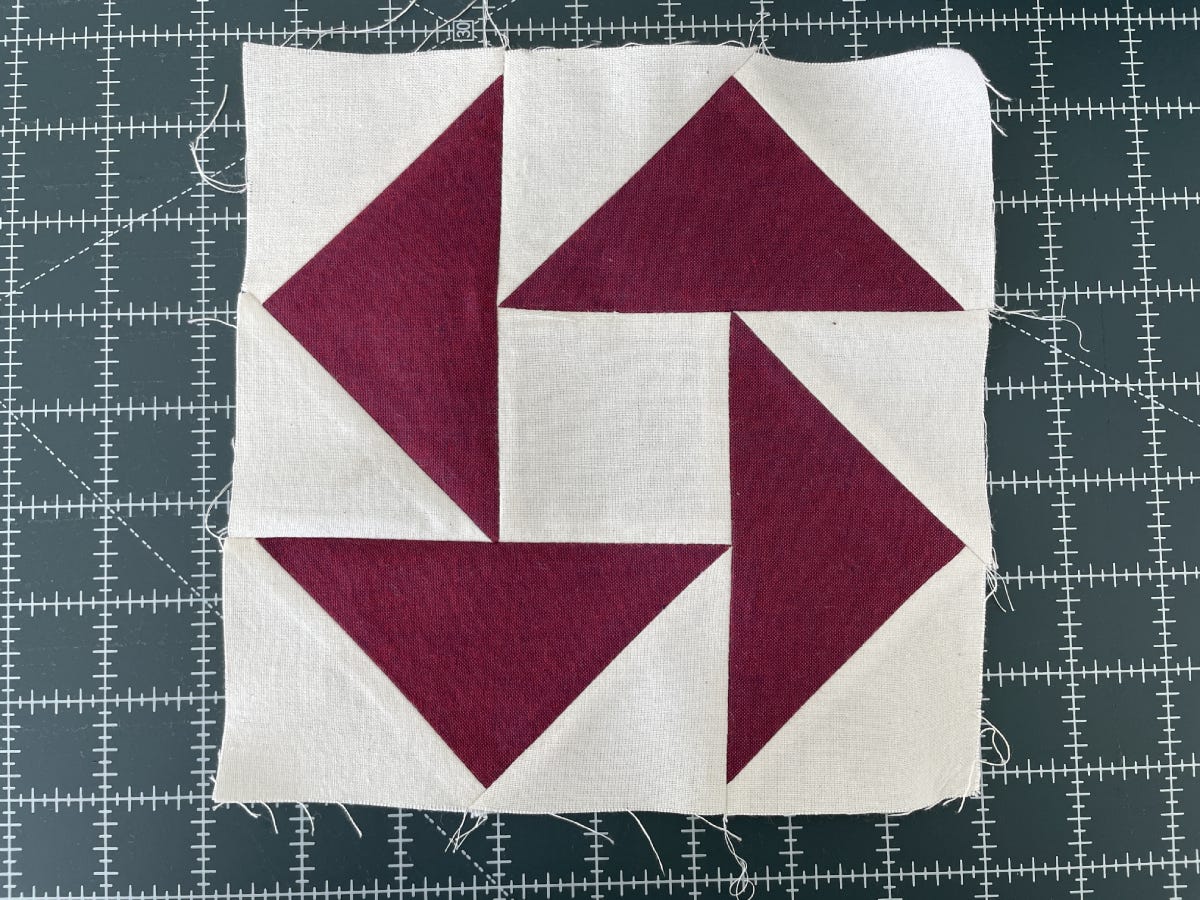
7. Stitch your fourth Flying Geese unit to the main unit, pressing the seam allowance open.
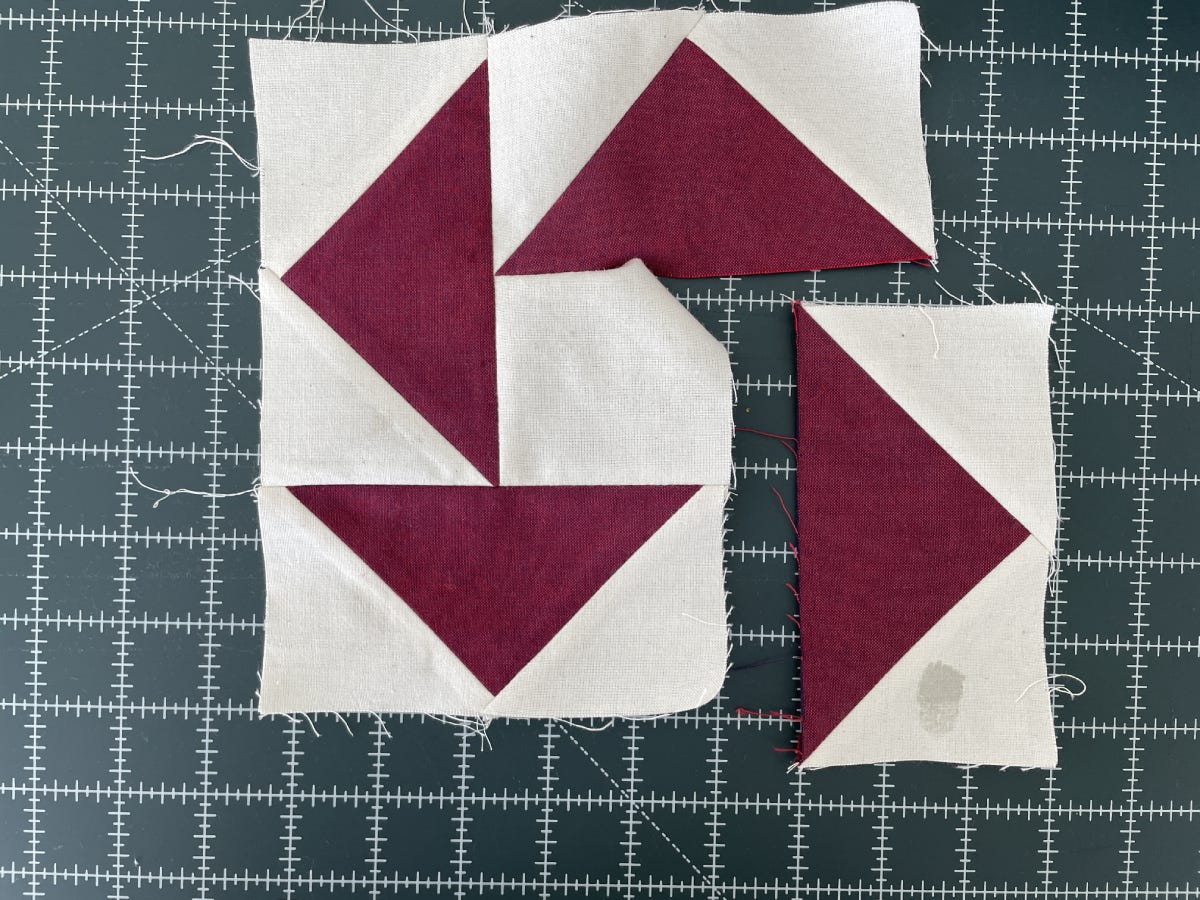
8. Return to your first seam and finish sewing it.
9. Press the seam allowance open.
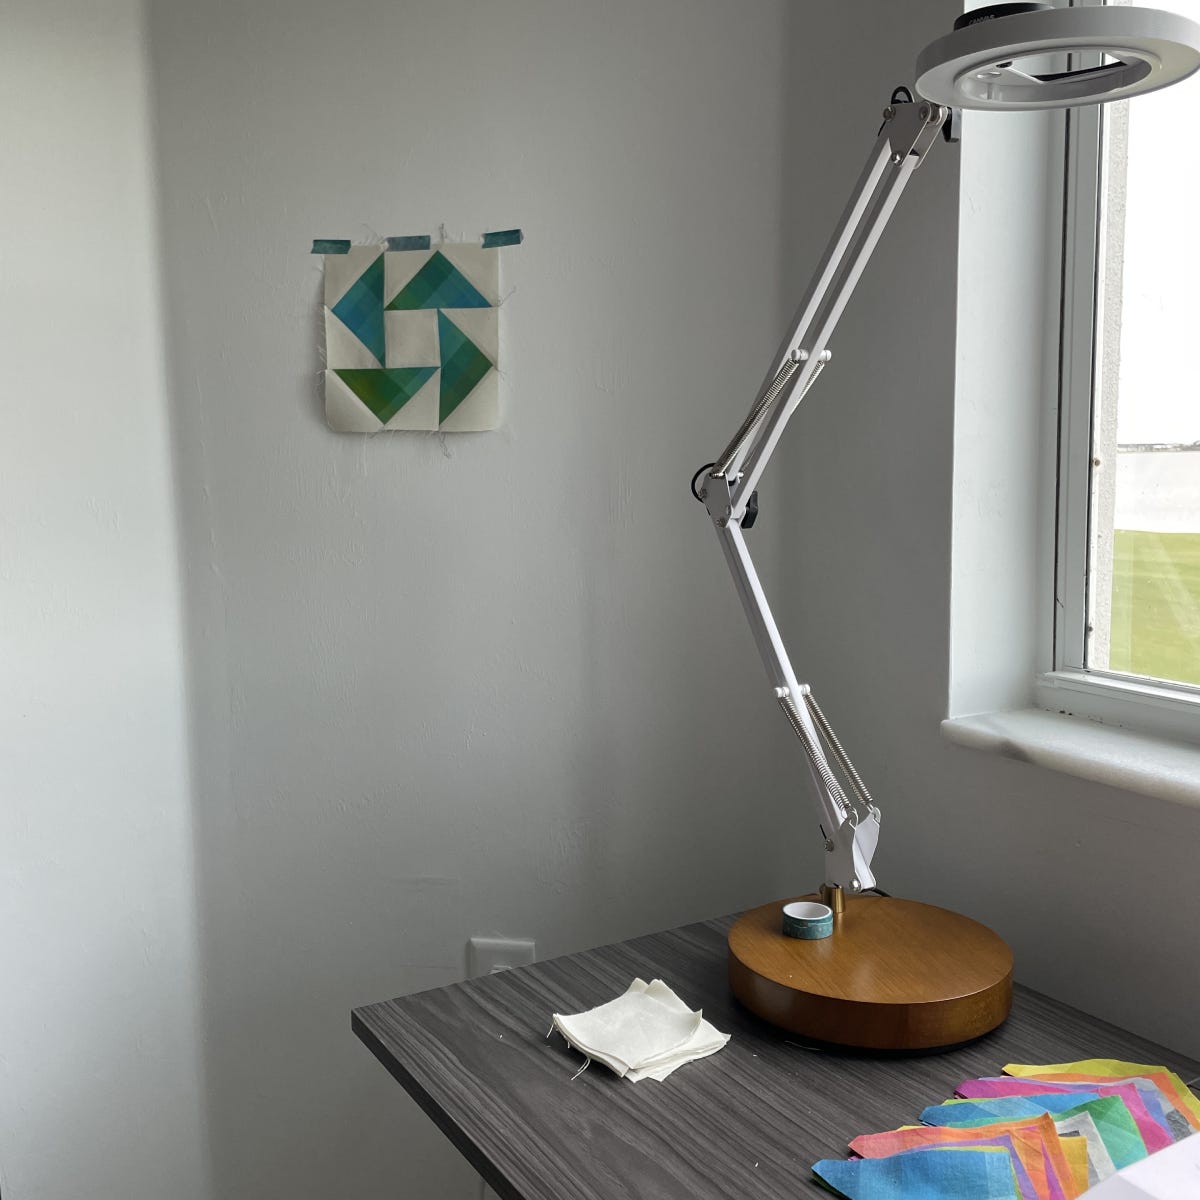
At this point, I put my first block up on the wall near my sewing machine. This helps me remember which direction the Flying Geese point in as I assemble the remaining blocks.
10. Repeat the above block assembly steps with your remaining block sets.
Rotation Quilt Assembly Instructions
1. Lay out the blocks, making sure the arrangement pleases you. Don’t allow yourself to spend too long making sure everything is laid out “just so.” You have other quilts to make!
2. Stitch your rows of four blocks together and press the seams open.
3. Stitch the five rows of blocks together and press the seams open.
4. Layer and quilt as desired.
5. Add the binding. I love to make a scrappy binding in an attempt to use up all of the fabric. This quilt looks great either way - scrappy or solid. Make the quilt that makes you happy!
Let's See Your Rotation Quilt!
Need extra tips and tricks for this project? I have a series of quick videos of block construction on my Instagram!


