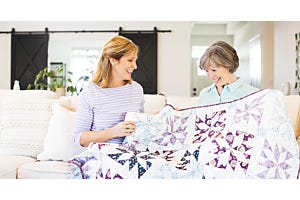
It’s time!
Time to start working on the GO! Sparkle & Shine Throw Quilt AccuQuilt-Along by cutting and organizing all our pieces. If you missed my first blog post on this project, it was on April 16, and it was also introduced on our show launching the GO! Qube Mix & Match 16” Finished Block and Companion Sets Corners & Angles.
The first thing that you’ll want to do, if you haven’t already is to download the free pattern from AccuQuilt.com for the GO! Sparkle & Shine Throw Quilt. This will have all the basic information that you will need about the quilt, including finished size and fabric requirements. AccuQuilt Cutting Expert Pam Heller and I will be leading our quilt-along and using the GO! Qube and Companions in the new 16” size. However, the beauty of the GO! Qube system lays in the fact that all the shapes are the same in the different size Qubes, they are just different sizes, meaning you are free to use any size GO! Qube and Companions that you would like. Keep in mind that your GO! Qube Mix & Match and Companion Sets must all be the same size as each other to work together correctly.
-
 GO! Sparkle and Shine Throw Quilt PatternSpecial Price $0.00 Regular Price
$4.99You Save $4.99 -
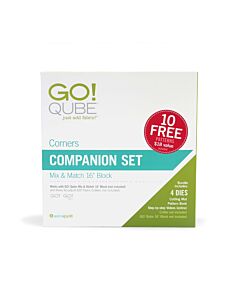 GO! Qube 16" Companion Set-CornersSpecial Price $249.99 Regular Price
$375.94You Save $125.95 -
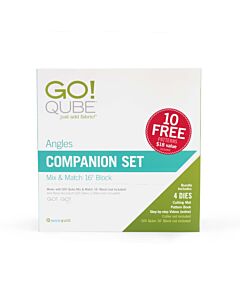 GO! Qube 16" Companion Set-AnglesSpecial Price $249.99 Regular Price
$375.94You Save $125.95 -
 GO! Qube Mix & Match 16" BlockSpecial Price $349.99 Regular Price
$607.89You Save $257.90 -
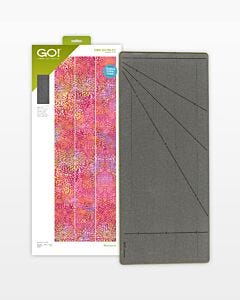 GO! Strip Cutter 2 1/2" (2" Finished) 3 Strips DieSpecial Price $119.99 Regular Price
$139.99You Save $20.00

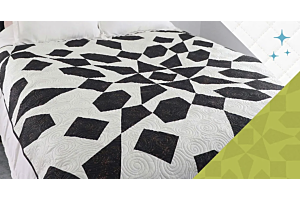
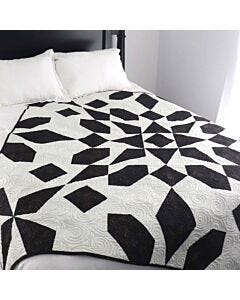
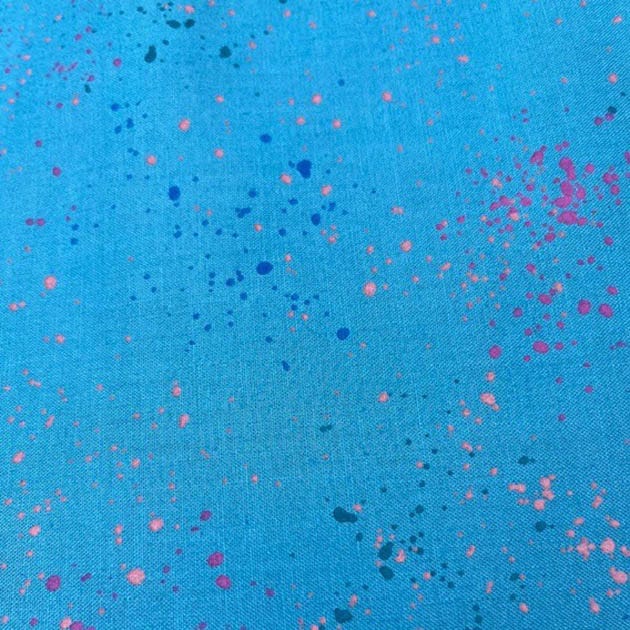
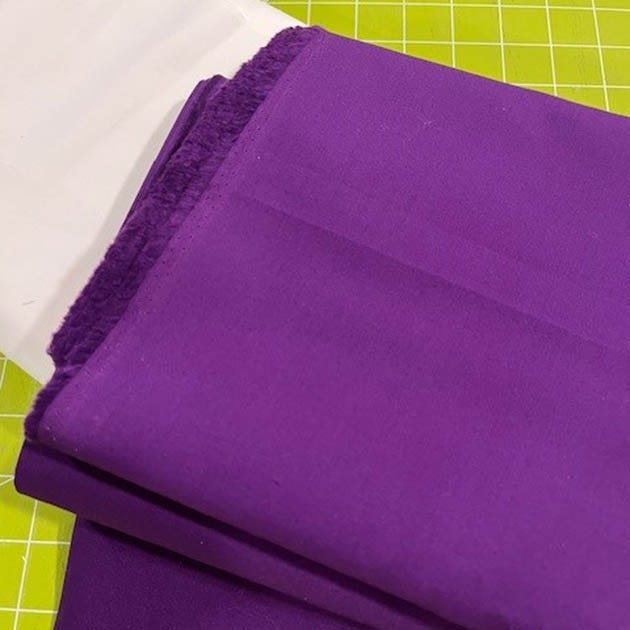
Next up, you will need to select your fabric. In my April 16 blog, I talked about selecting your fabric. The original project and pattern by Melissa Corry of Happy Quilting used two blenders, a speckled black and a speckled white. Here are our fabric choices:
If you are using the GO! Qube 16” size, it would be a great time to use a big, bold print for one of your fabrics with a solid or blender for the over. With the large sized pieces, this is the perfect time to pull a large print that would not show well in small pieces. It would be fun to make for a holiday or to commemorate a special event and use some fun novelty prints. I would love to see someone make a scrappy version – maybe all pink scraps with a solid white?
Let’s Get Started
The pattern for the GO! Sparkle & Shine Throw Quilt includes directions for how to cut your fabric to prepare it to cut on the dies from the GO! Qube Mix & Match 16” Finished Block and Companion sets. If you are using a smaller size of the GO! Qube and Companion sets, you will need to re-calculate how you prepare your fabric.
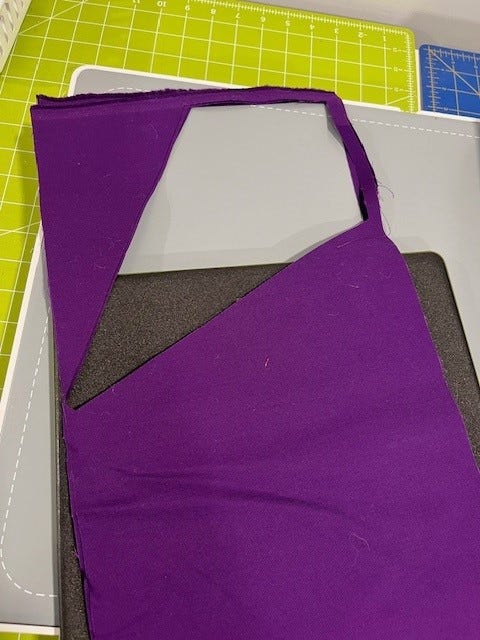
Place your die on a flat surface and lay a clear ruler on top. You will want to cut your fabric strips ¼” larger than the blades on either side, for a total of ½” larger than the shape on the die.
Before you make your first cut, let’s talk about a couple of cutting tricks called 'Cut and Flip' and 'Cut and Shift.' Using these methods, when they work with the shape you are cutting, will save you a significant amount of fabric! We’ll be using Cut and Flip with the GO! Triangle in a Square Center (Shape 13) and Cut and Shift with the GO! Kite Center (Shape 15).
With both methods, or really whenever you are cutting shapes for width of fabric (WOF) strips, you want to start cutting at the open or selvedge end of your strip. This will maximize your usable fabric area by leaving the folded end for last, since opening up that fold may allow you to cut an extra shape!
For Cut and Flip, you can still cut up to 6 layers of fabric, but instead of fan folding your strips across the die when you cut the GO! Triangle in a Square, you will stack them up, place them over the shape and make your first cut. Remove the shapes and flip over your stack of strips. Now, you can nest your strip onto the die, just covering the shape with your fabric by a ¼” and you can cut again. This is the perfect method for cutting equilateral and isosceles triangles. I was able to cut 7 GO! Triangle in a Square Centers per strip of fabric using this method, vs. only cutting 4 if you were to fan fold your fabric.

For Cut and Shift, you will start the same way, cutting up to 6 layers by stacking your fabric strips rather than fan folding and starting at the open/selvedge end. This method is going to work with the GO! Kite Center. Lay your fabric over the shape and make your first cut. Carefully pull the cut shapes off the die board and shift your strips across the die, positioning the open kite shape nested up against the shape on the die. You should be able to cut 6 GO! Kite Centers from each strip using this method versus only cutting 4 if you fan fold your fabric.
Directional Pieces
If you are using solid fabrics, you will not need to worry about the GO! Triangle in a Square/Kite Sides being directional. But if you are using a print of any kind, you need to be aware that these pieces are directional! That means that you must fanfold your fabric over the shapes on the die when you cut, but be sure to cut half of your pieces right side facing up and half with the right side facing down to have both left and right sides for the GO! Triangle in a Square and GO! Kite Center. This is the only directional shape used in this project!
Organizing Your Pieces
I knew that the plastic tote I often use for organizing my pieces would not be big enough for these shapes, and I noticed right away that the small plastic sandwich and snack size bags I often use for organizing my pieces were not large enough for most of my pieces either. Because I wanted to be able to store my pieces flat so they would not wrinkle, I upsized to gallon-size storage bags to separate my pieces. As for holding and carrying my pieces to and from our Dream Studio for shows, I decided against a basket or a tray and went with a large, flat tote often used for scrap booking. I’m looking forward to hearing what methods you all are using for your larger size pieces!

What’s Next?
Continue cutting and organizing your pieces, and that is it for your first week! Next Wednesday we will start sewing our units together, so here’s a list of things I like to have handy when I sew:
- Sewing machine with bobbin wound and some neutral thread.
- Small scissors
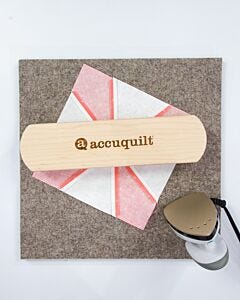
- Pressing mat and small iron
- Seam ripper
- Wooden clapper

When you are all done and organized, give yourself a pat on the back and maybe a piece of chocolate or two for a job well done.
If you haven’t joined our new Facebook group yet, be sure to join us on Under the Needle with Pam & Erica so you can share pictures of your fabric, progress and sewing. Next week, we will all ready to work on our Kite and Triangle in a Square units!