
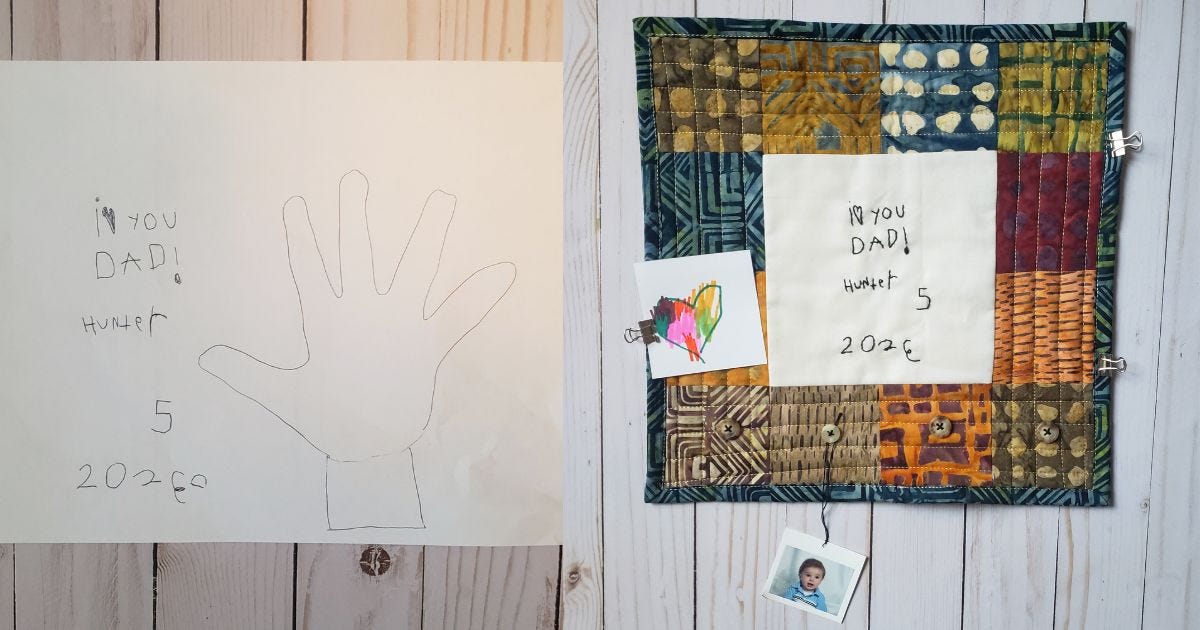
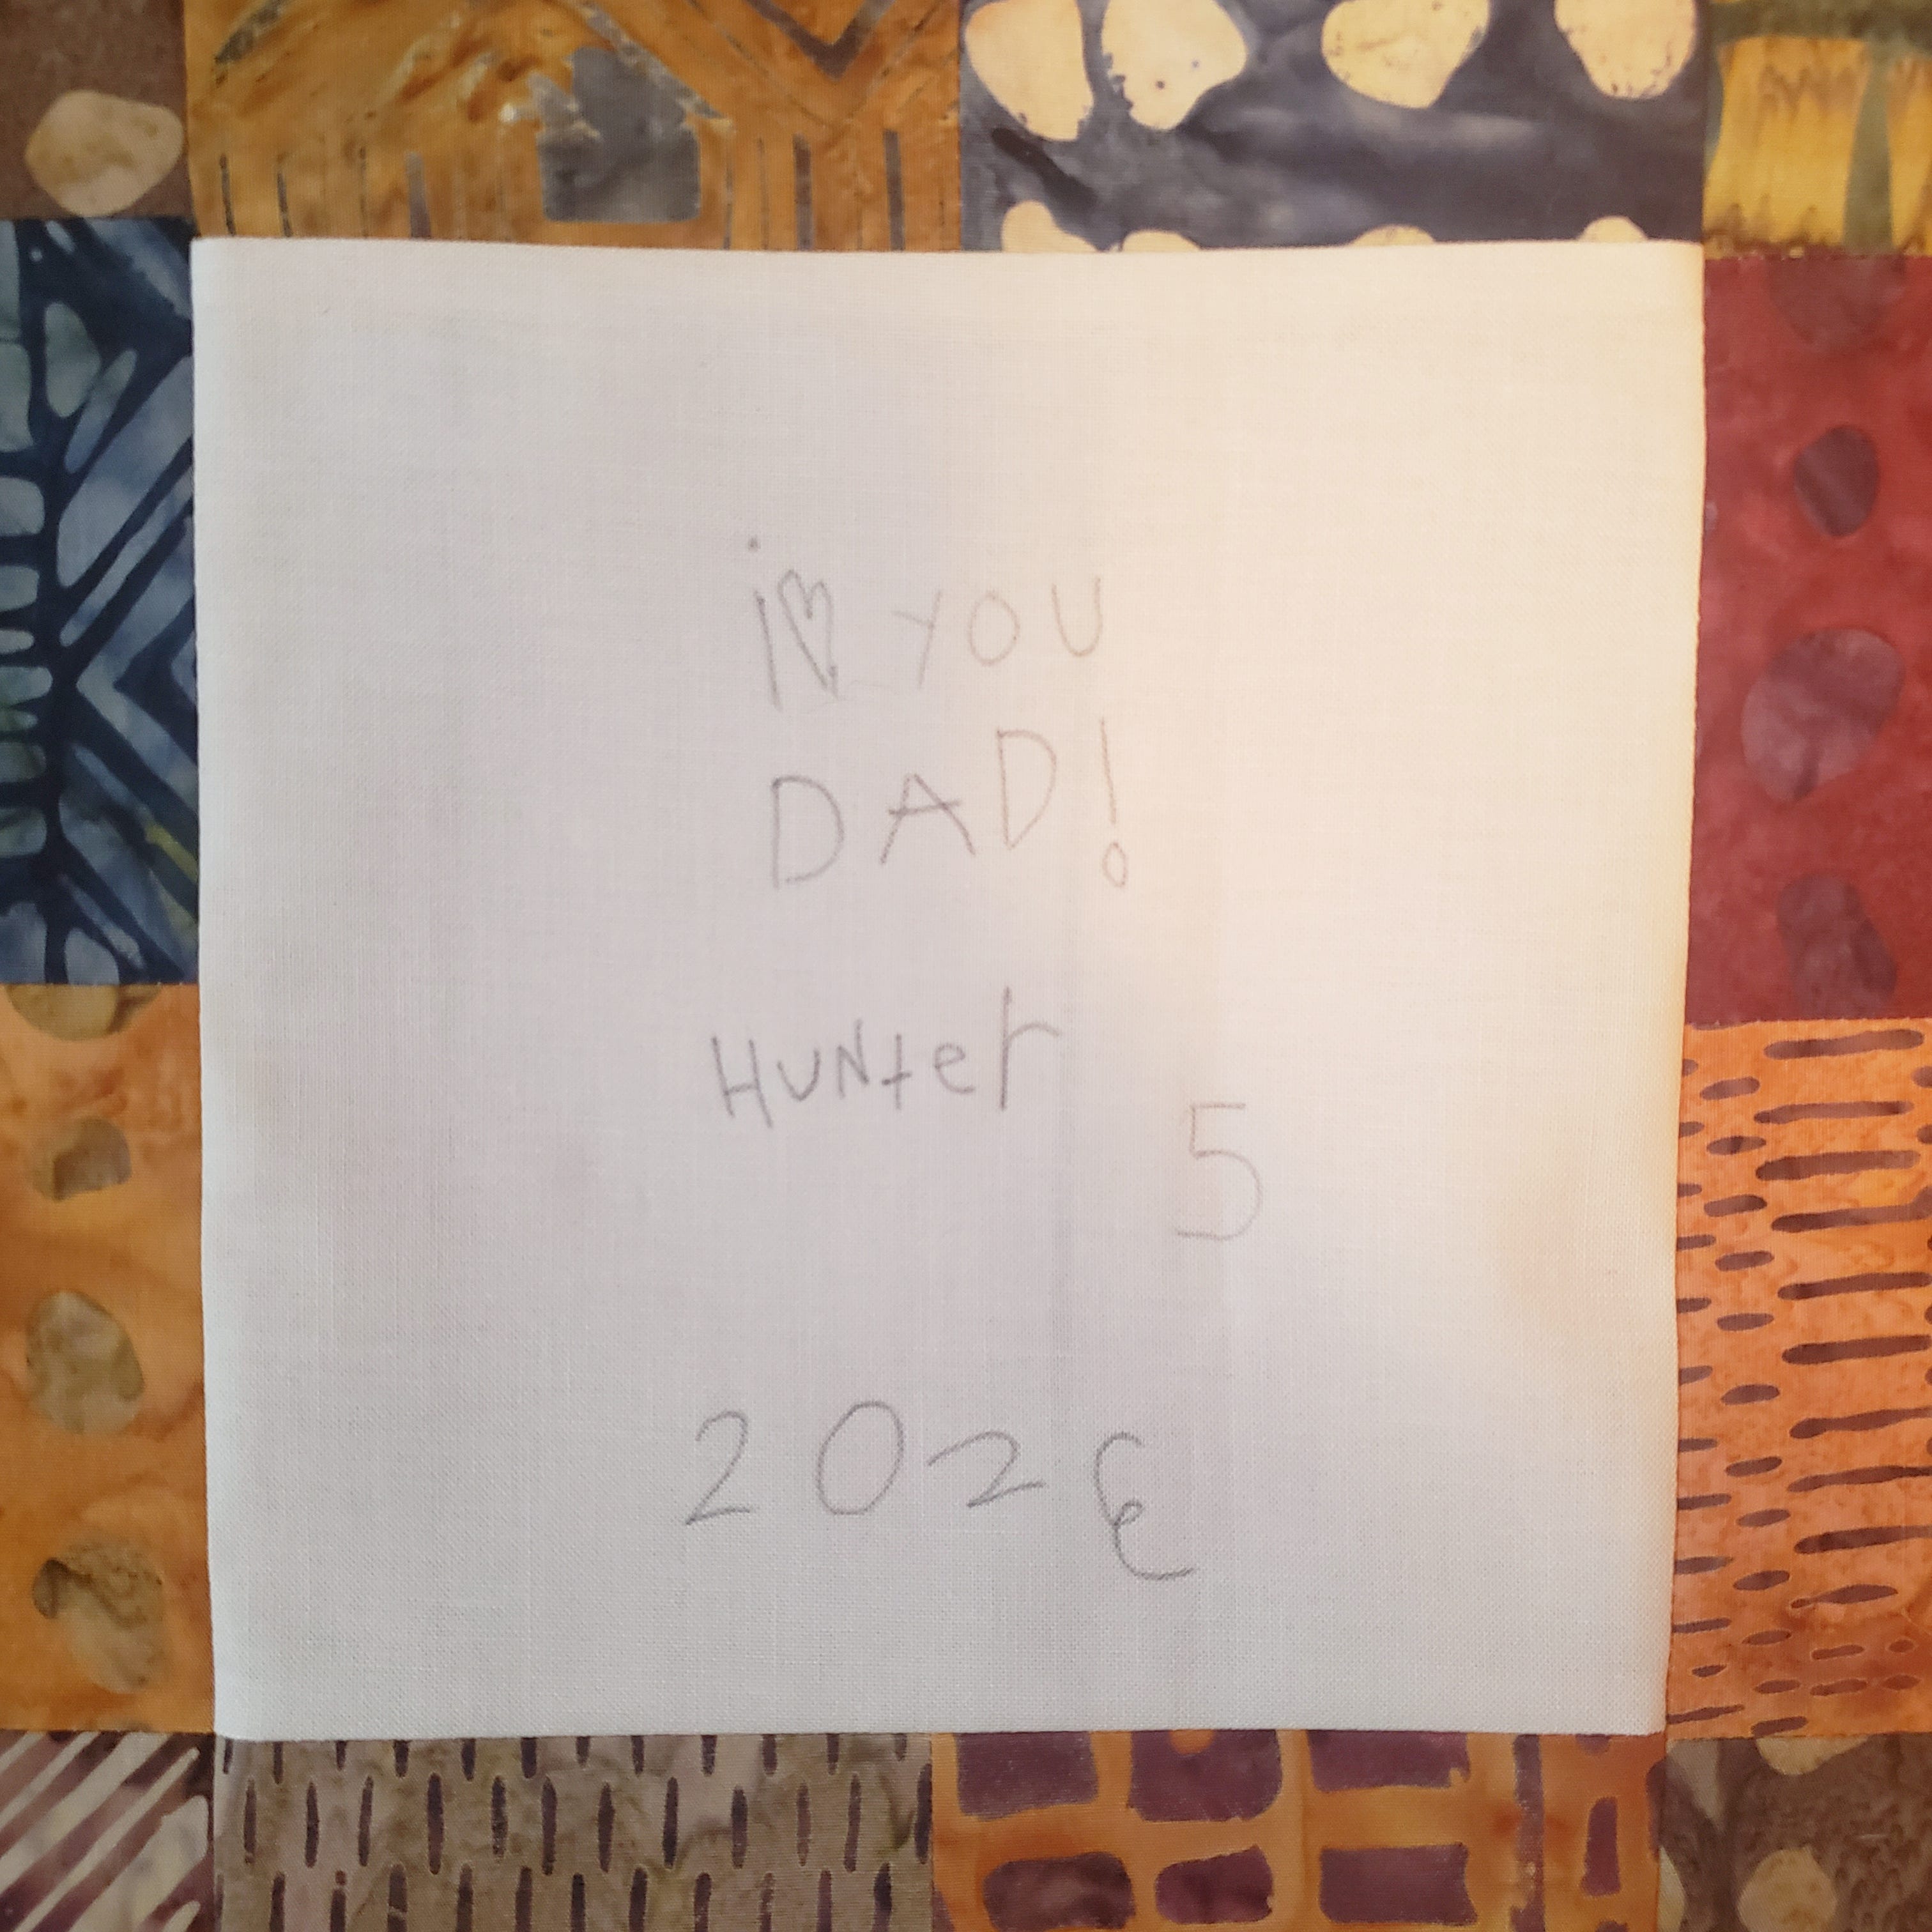
Father’s Day is coming up and I always have the hardest time finding the perfect gift for my husband and dad. (Why are guys so hard to shop/make gifts for?) After some brainstorming, I came up with this quick and easy wall hanging. It can be personalized with an embroidered message and is the perfect place for displaying pictures or mementos of special times with Dad. My sweet five-year-old nephew was kind enough to help me out with this project, and it will be a great gift for my brother this Father’s Day.
Supplies Needed
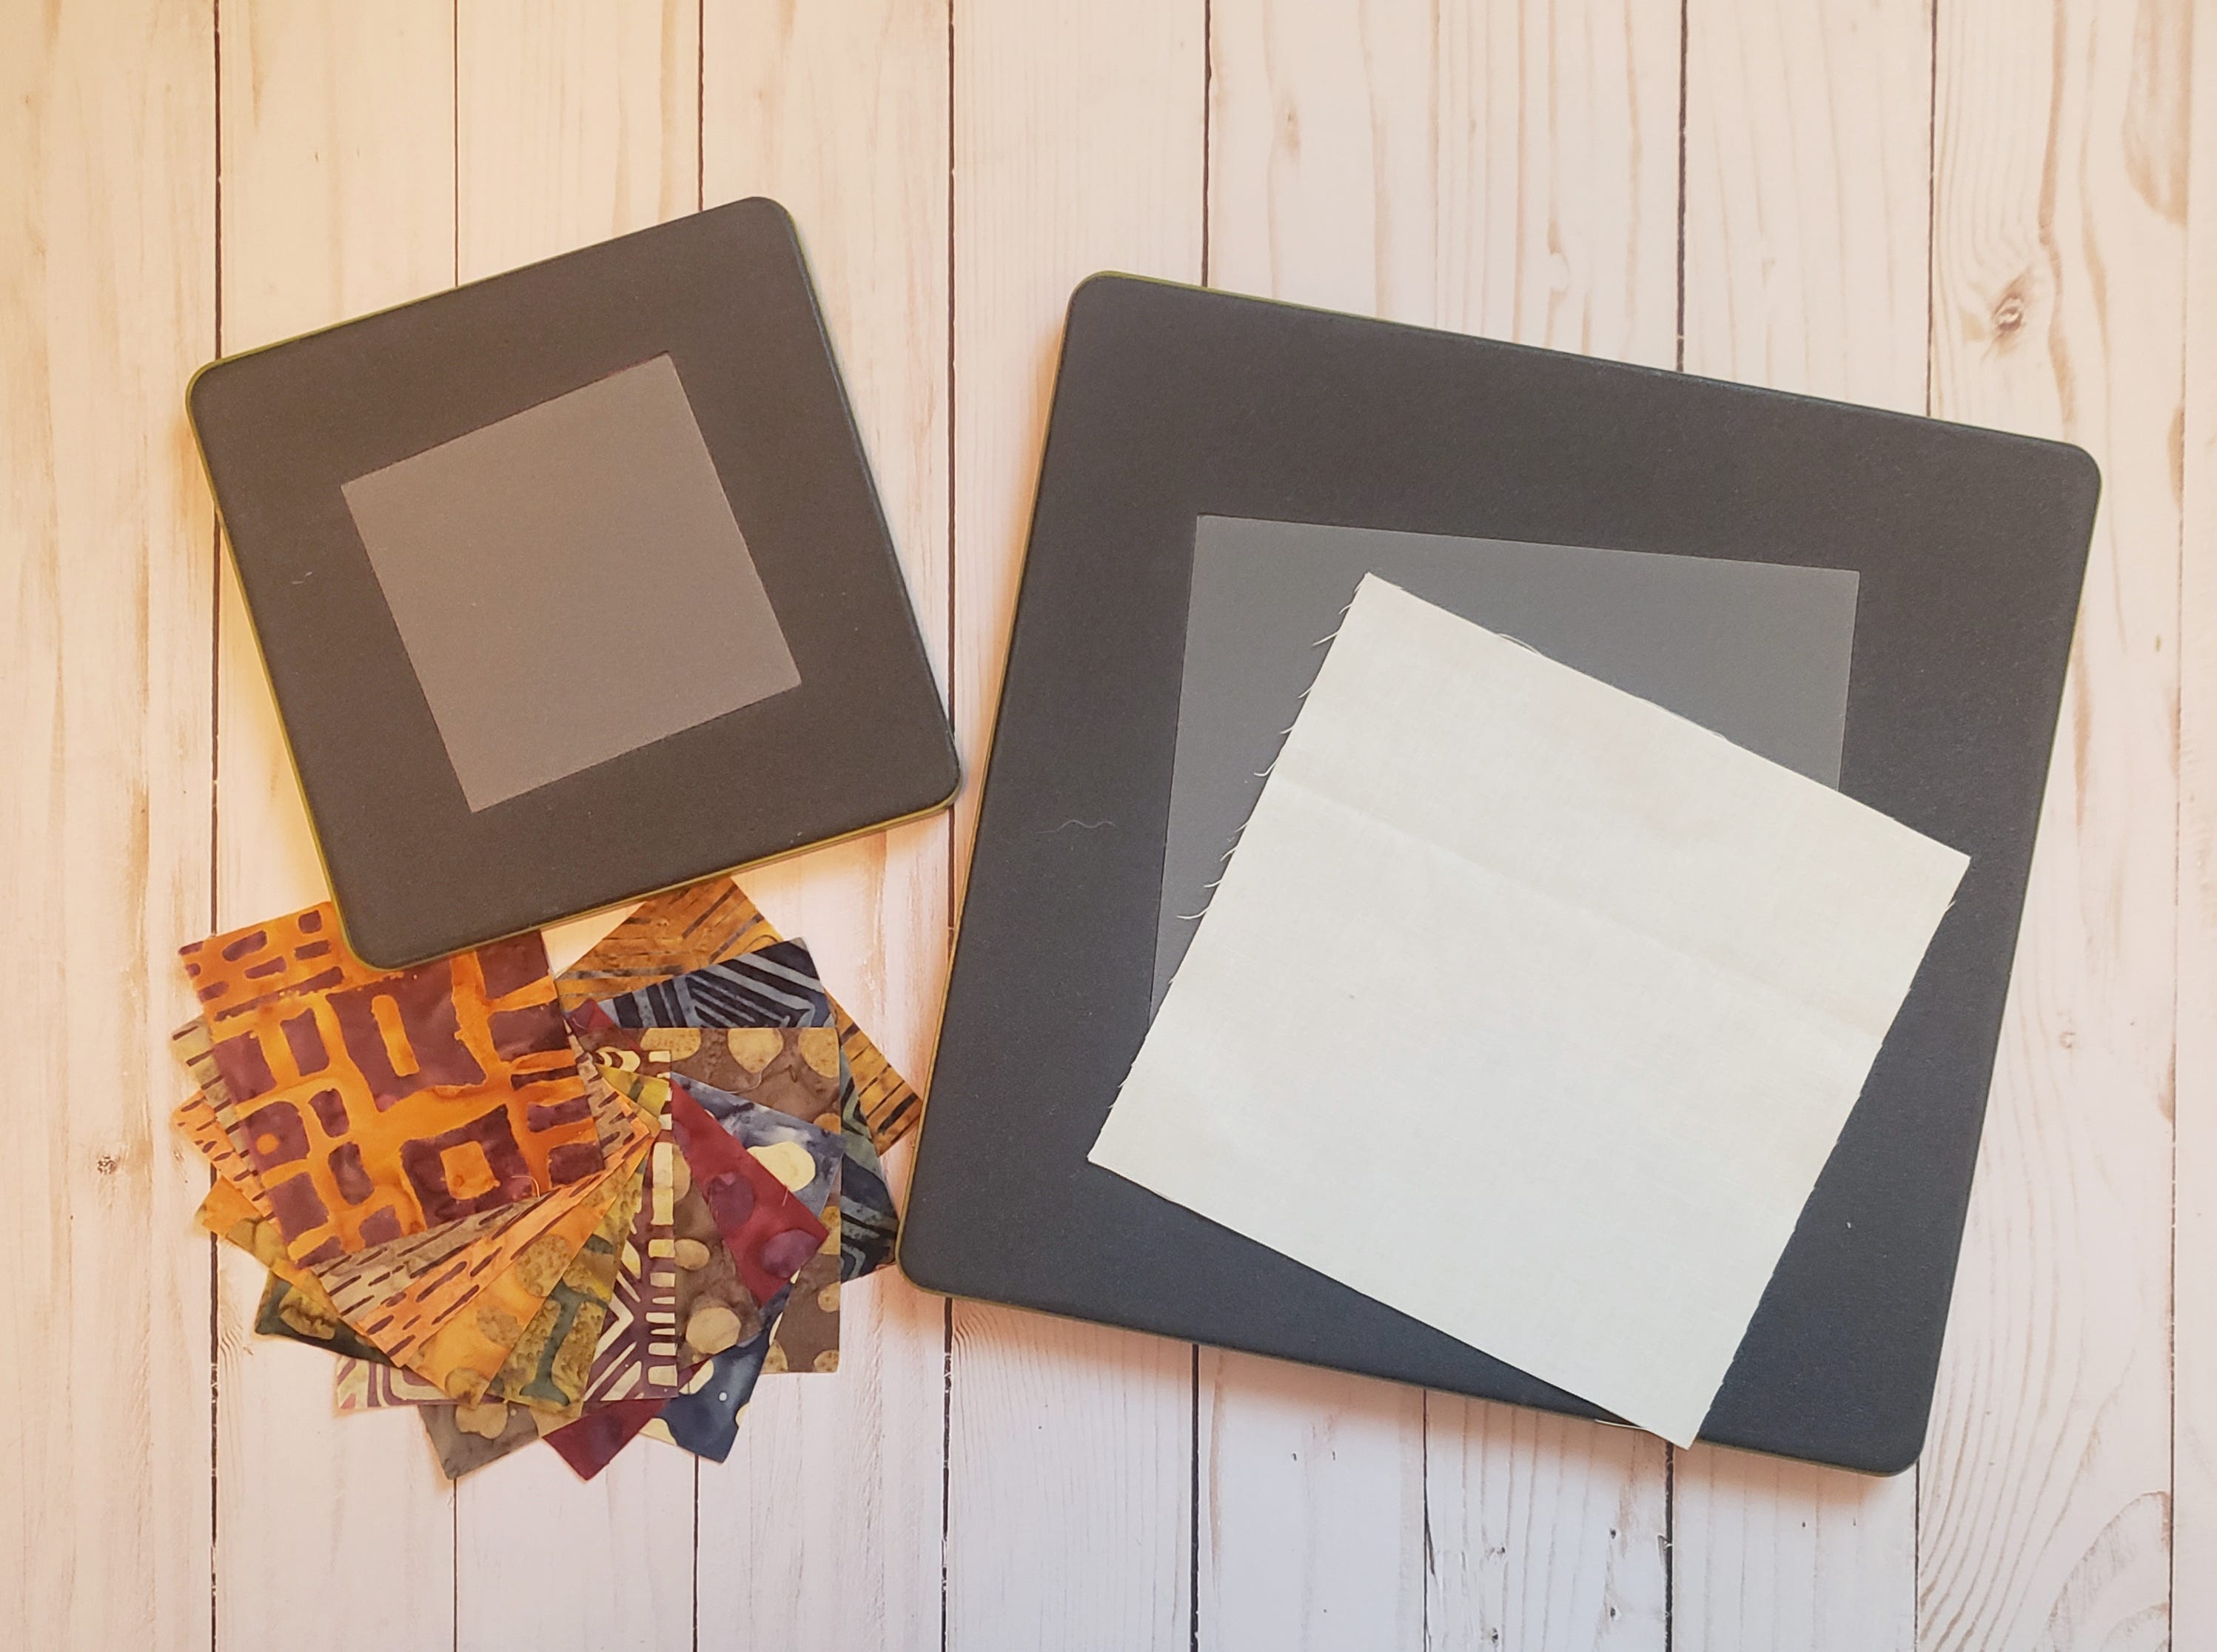
- Light-colored fabric scrap (at least 6 1/2” square)
- Fabric scraps for border (at least 3 1/2” square)
- Two 2 1/2” x Width of Fabric (WOF) strips for binding
- Backing fabric: 14” x 14”
- Batting: 14” x 14”
- Basting pins or basting spray
- Embroidery thread (I use size 8 Pearl cotton)
- Embroidery needle
-
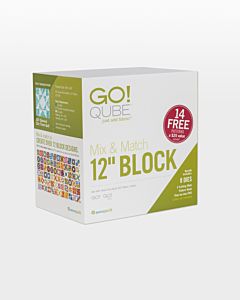 GO! Qube Mix & Match 12" BlockSpecial Price $309.99 Regular Price
$472.89You Save $162.90 -
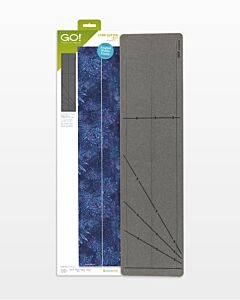 GO! Strip Cutter 2 1/2" (2" Finished)Special Price $99.99 Regular Price
$114.99You Save $15.00
Cutting Instructions
1. Using Shape 1 in the GO! Qube Mix & Match 12” Block, cut one 6 1/2” square from the light-colored fabric.
2. With Shape 2 in the GO! Qube Mix & Match 12” Block, cut 12 squares at 3 1/2” for the border.
NOTE: I kept it simple with squares, but you can get creative making your border! You can also use Shape 5, Shape 8 or any combination of those shapes to make a 3” (finished) wide border.
3. Use the GO! Strip Cutter-2 1/2” (2” Finished) Die to cut two 2 1/2” strips for the binding.
Assembly Instructions
NOTE: Unless otherwise indicated, use a 1/4” seam allowance and press the seams open.
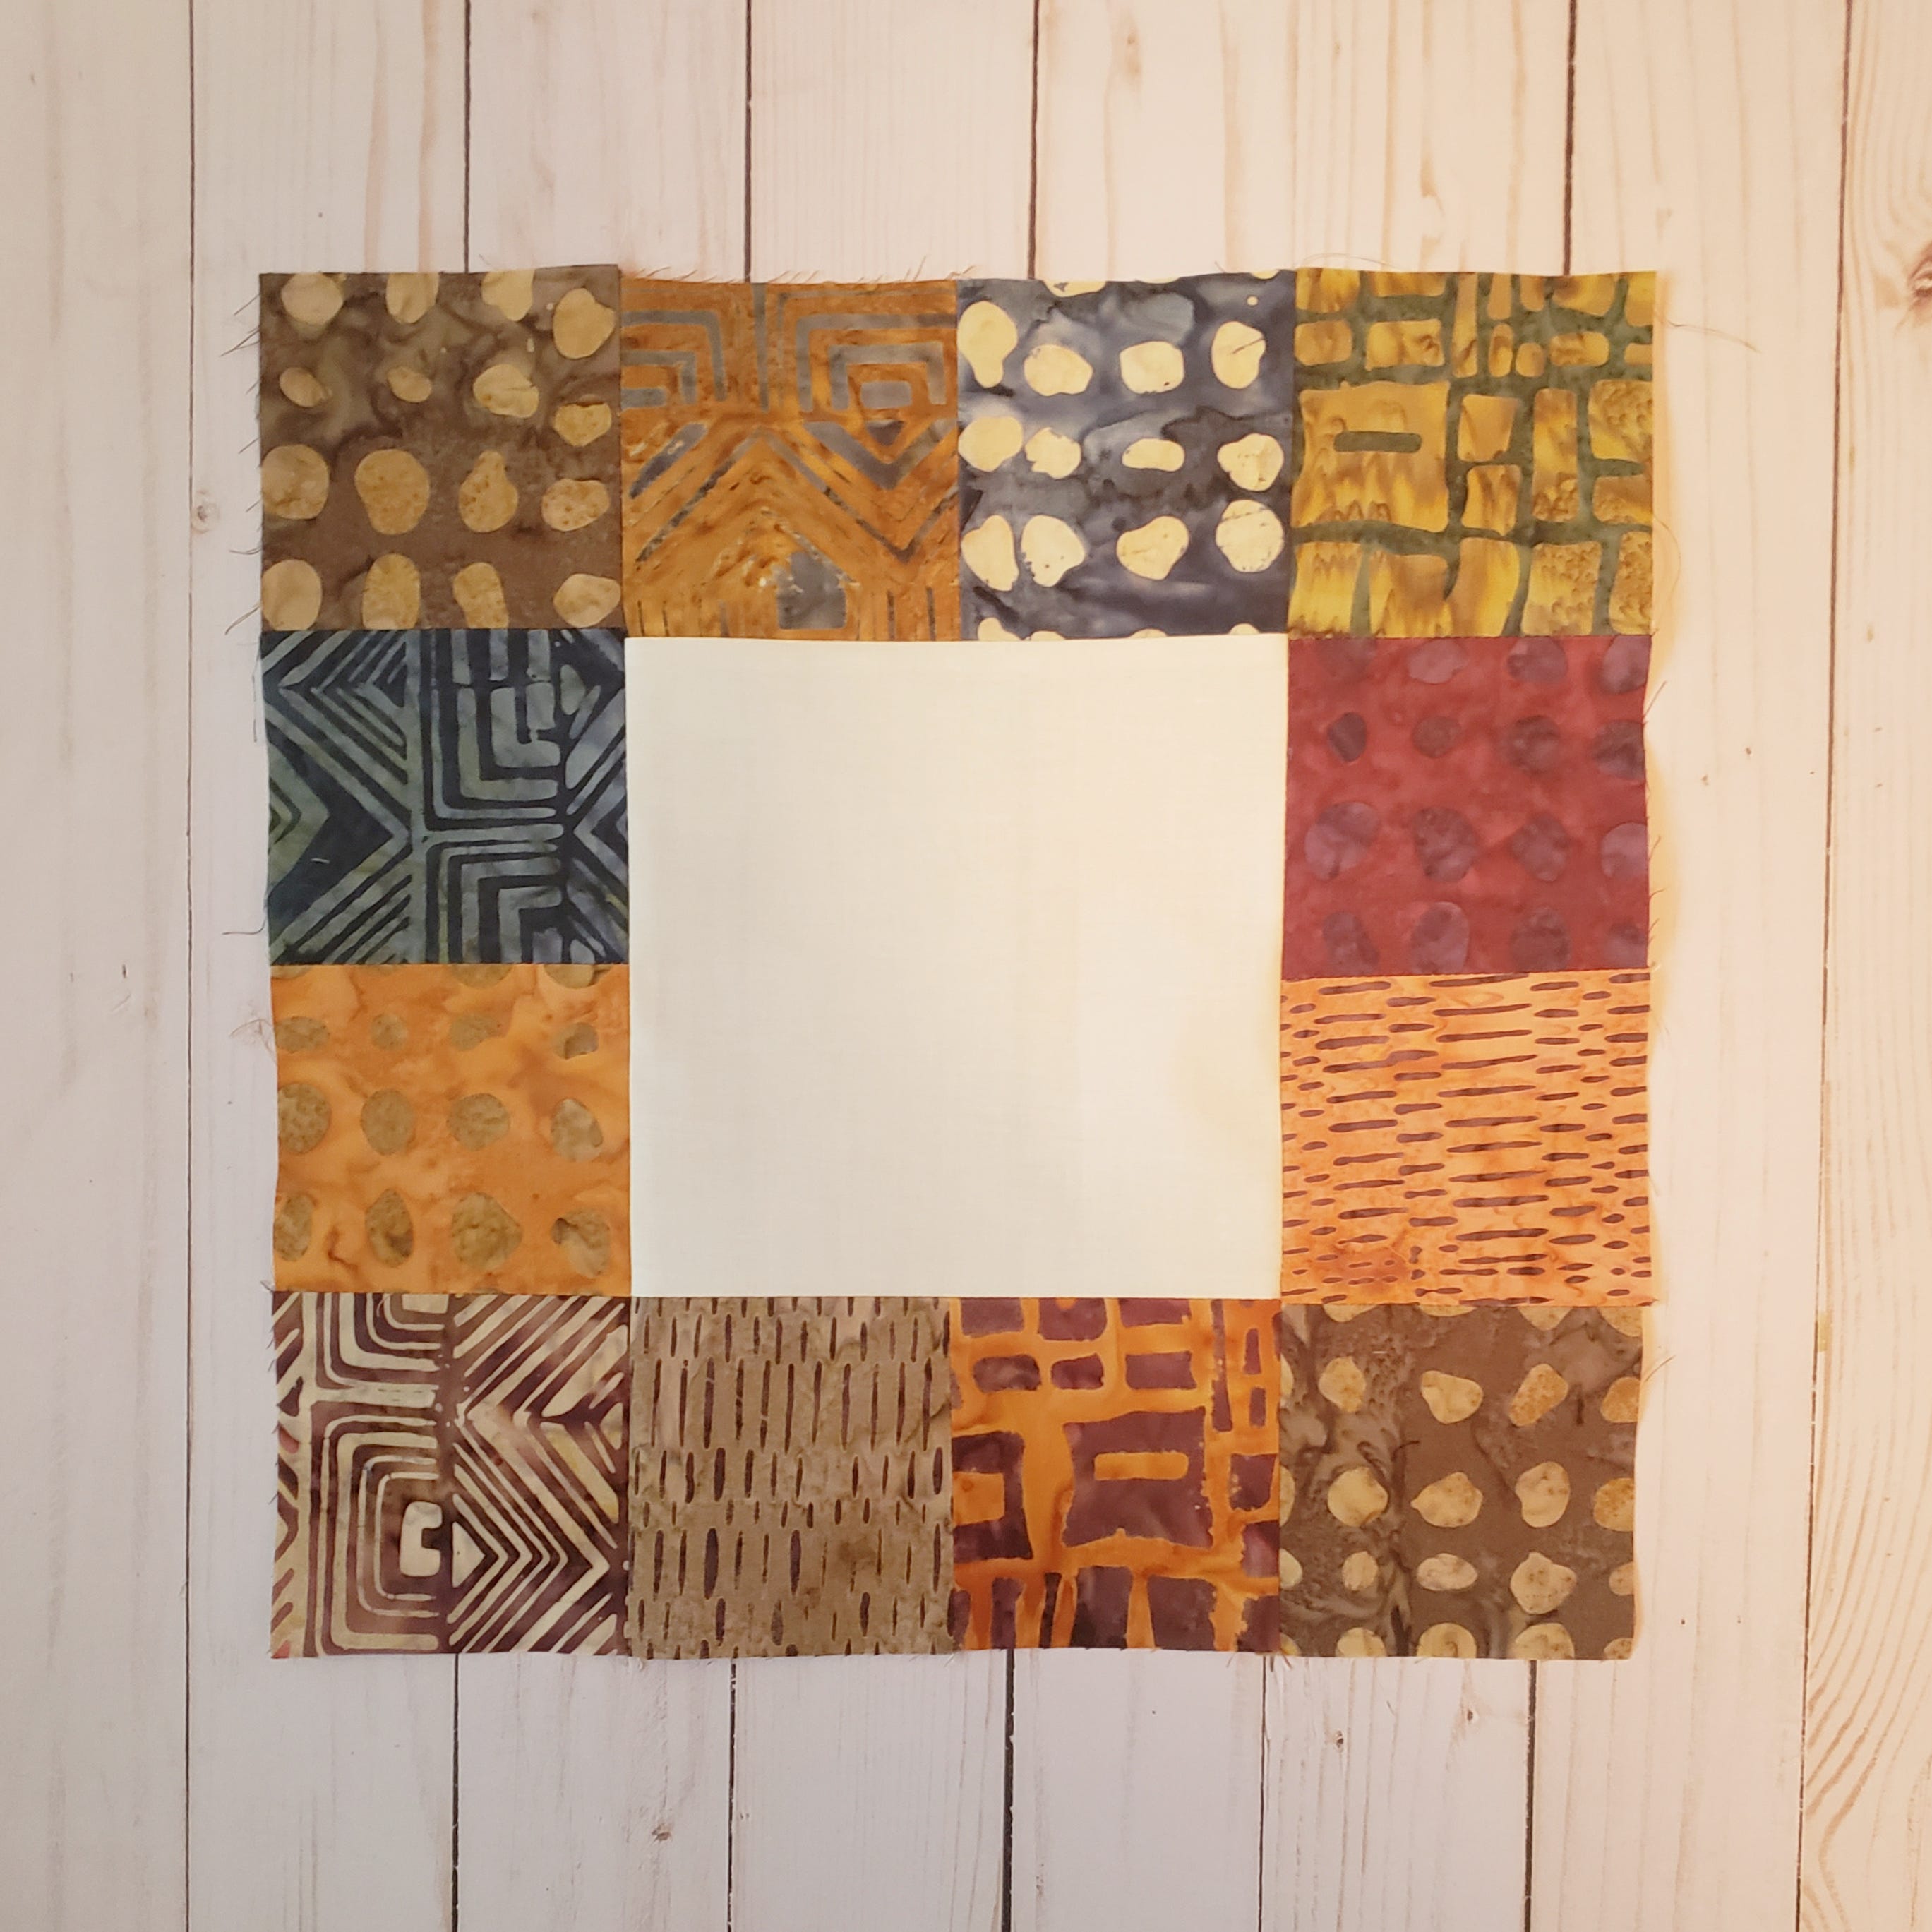
1. Sew two of the 3 1/2” squares together.
2. Then, sew the two-square unit to the top of the 6 1/2” square.
3. Press the seams toward the 6 1/2” square.
4. Repeat these steps with two more squares and sew to the bottom of the 6 1/2” square.
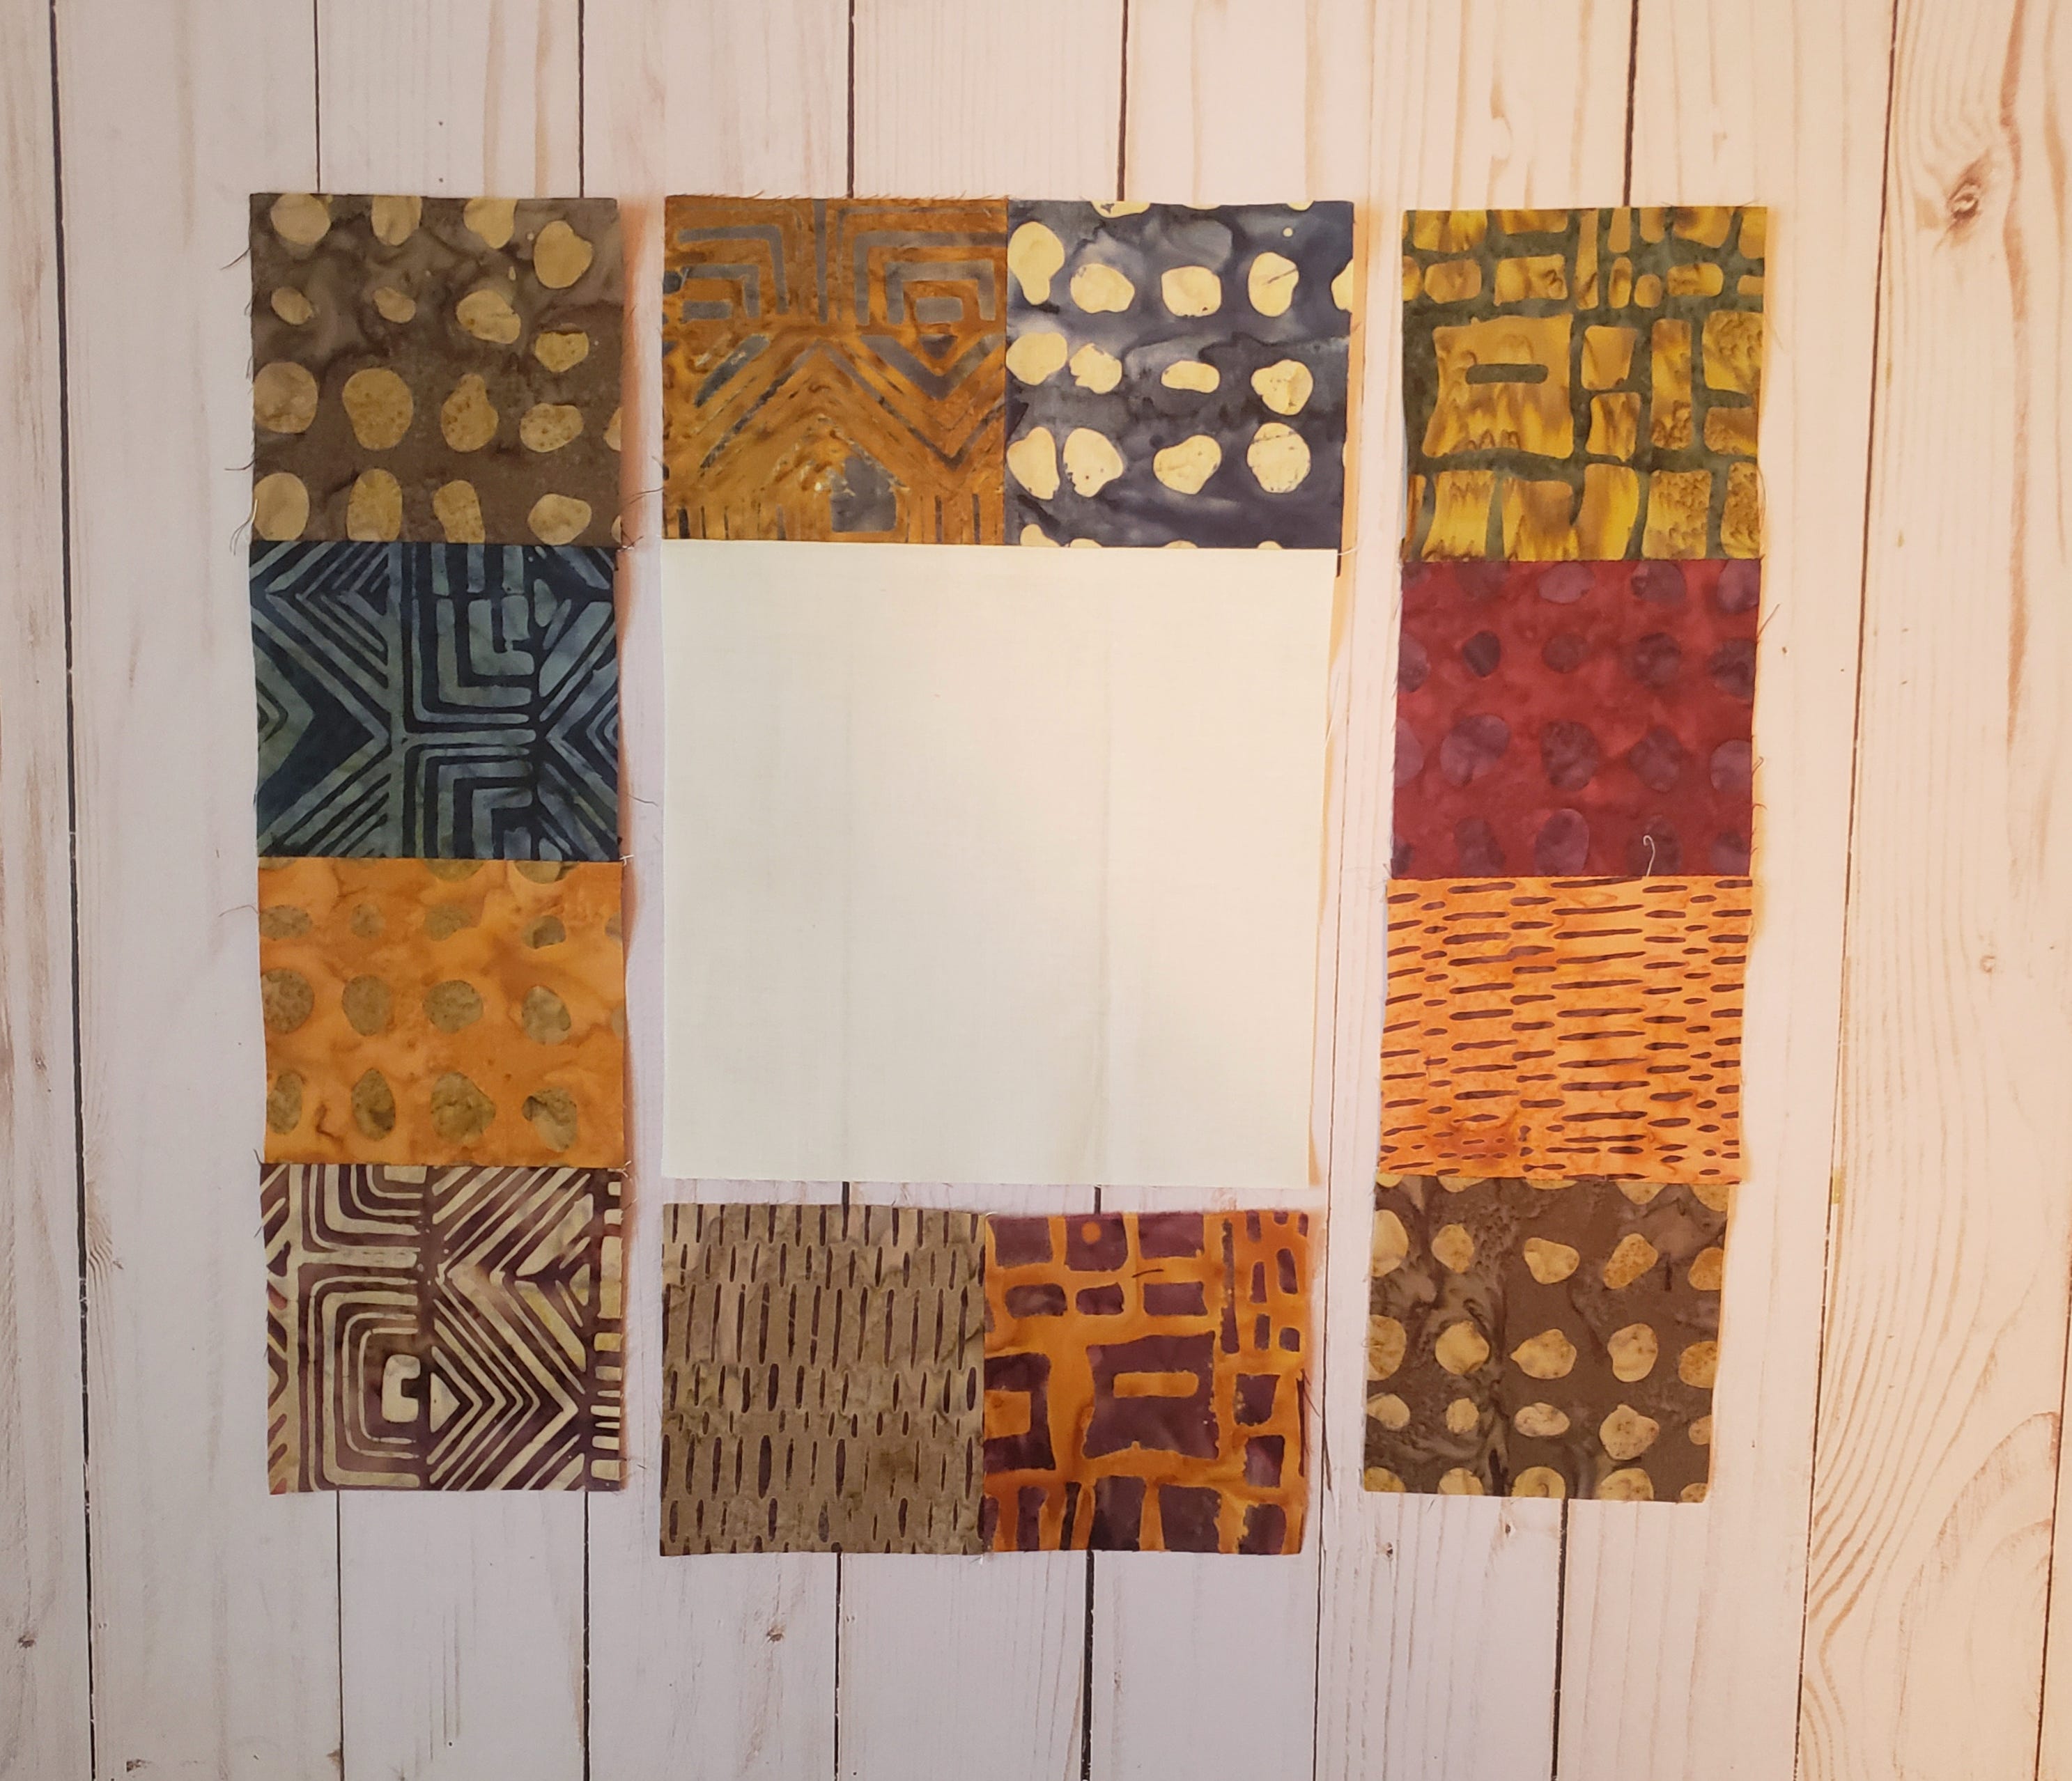
5. Sew four of the 3 1/2” squares together.
6. Then, sew the four-square strip to one side of the wall hanging top.
7. Repeat these steps with the remaining four squares and sew to the other side of the wall hanging.
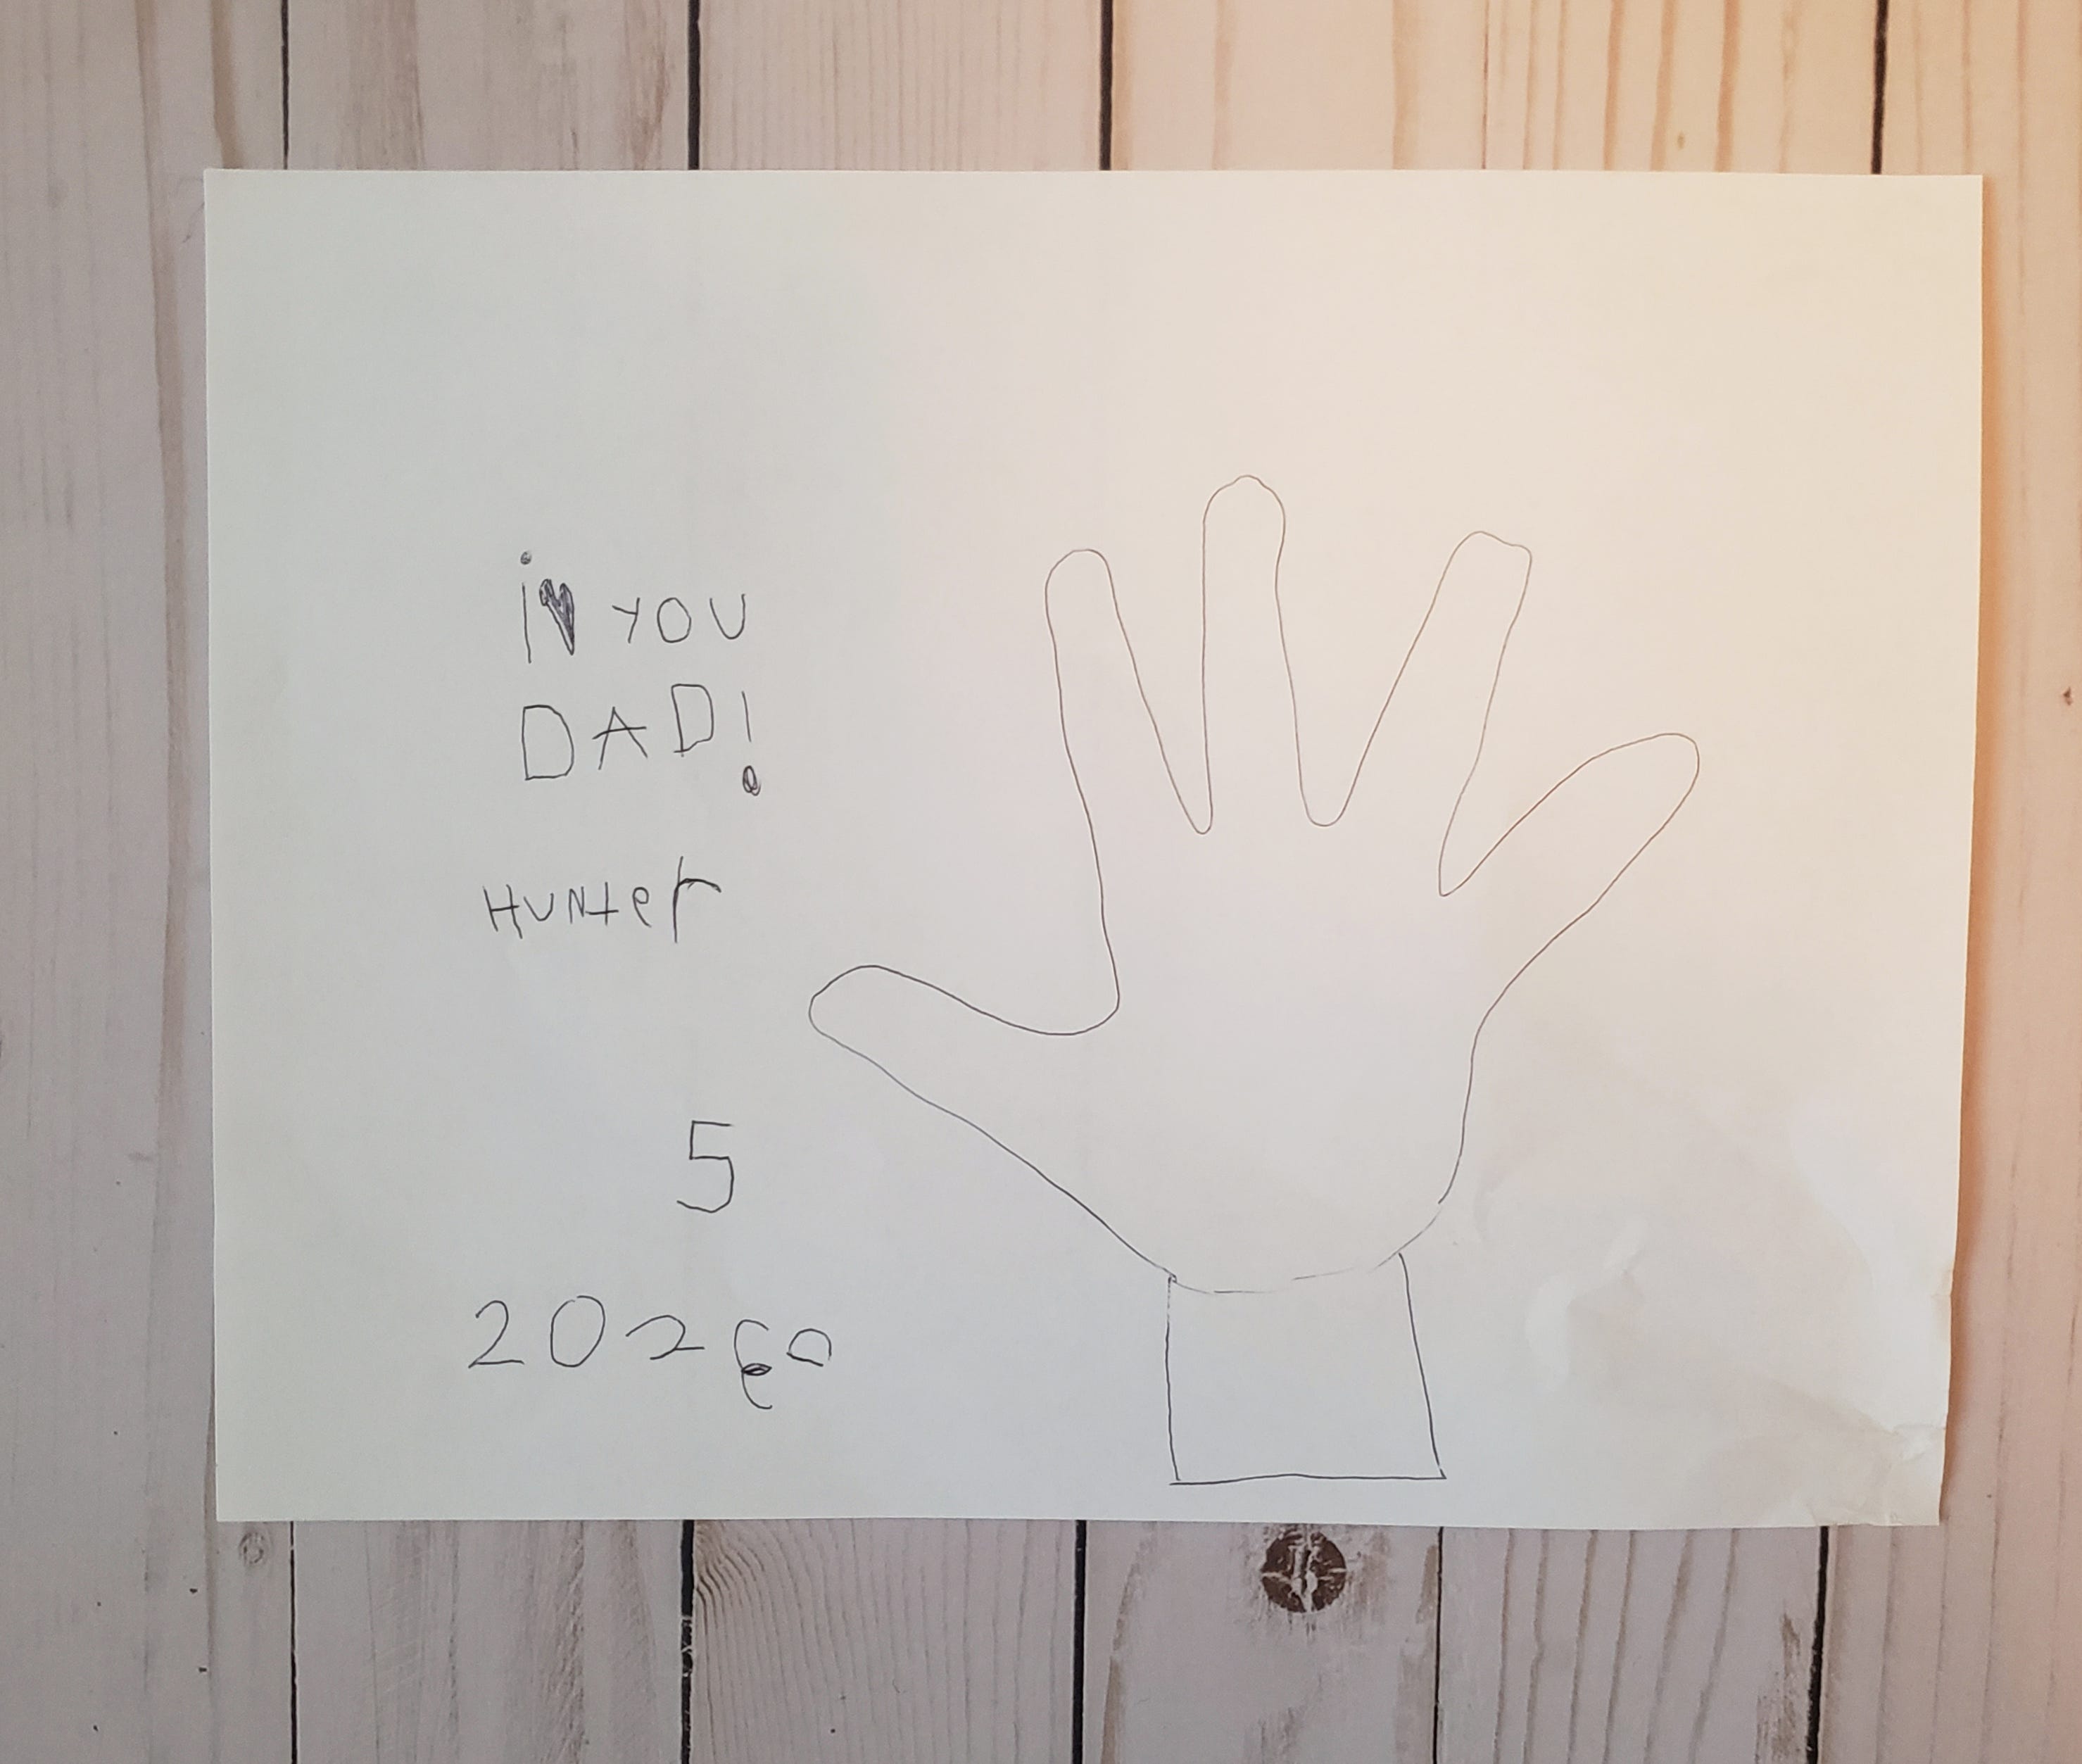
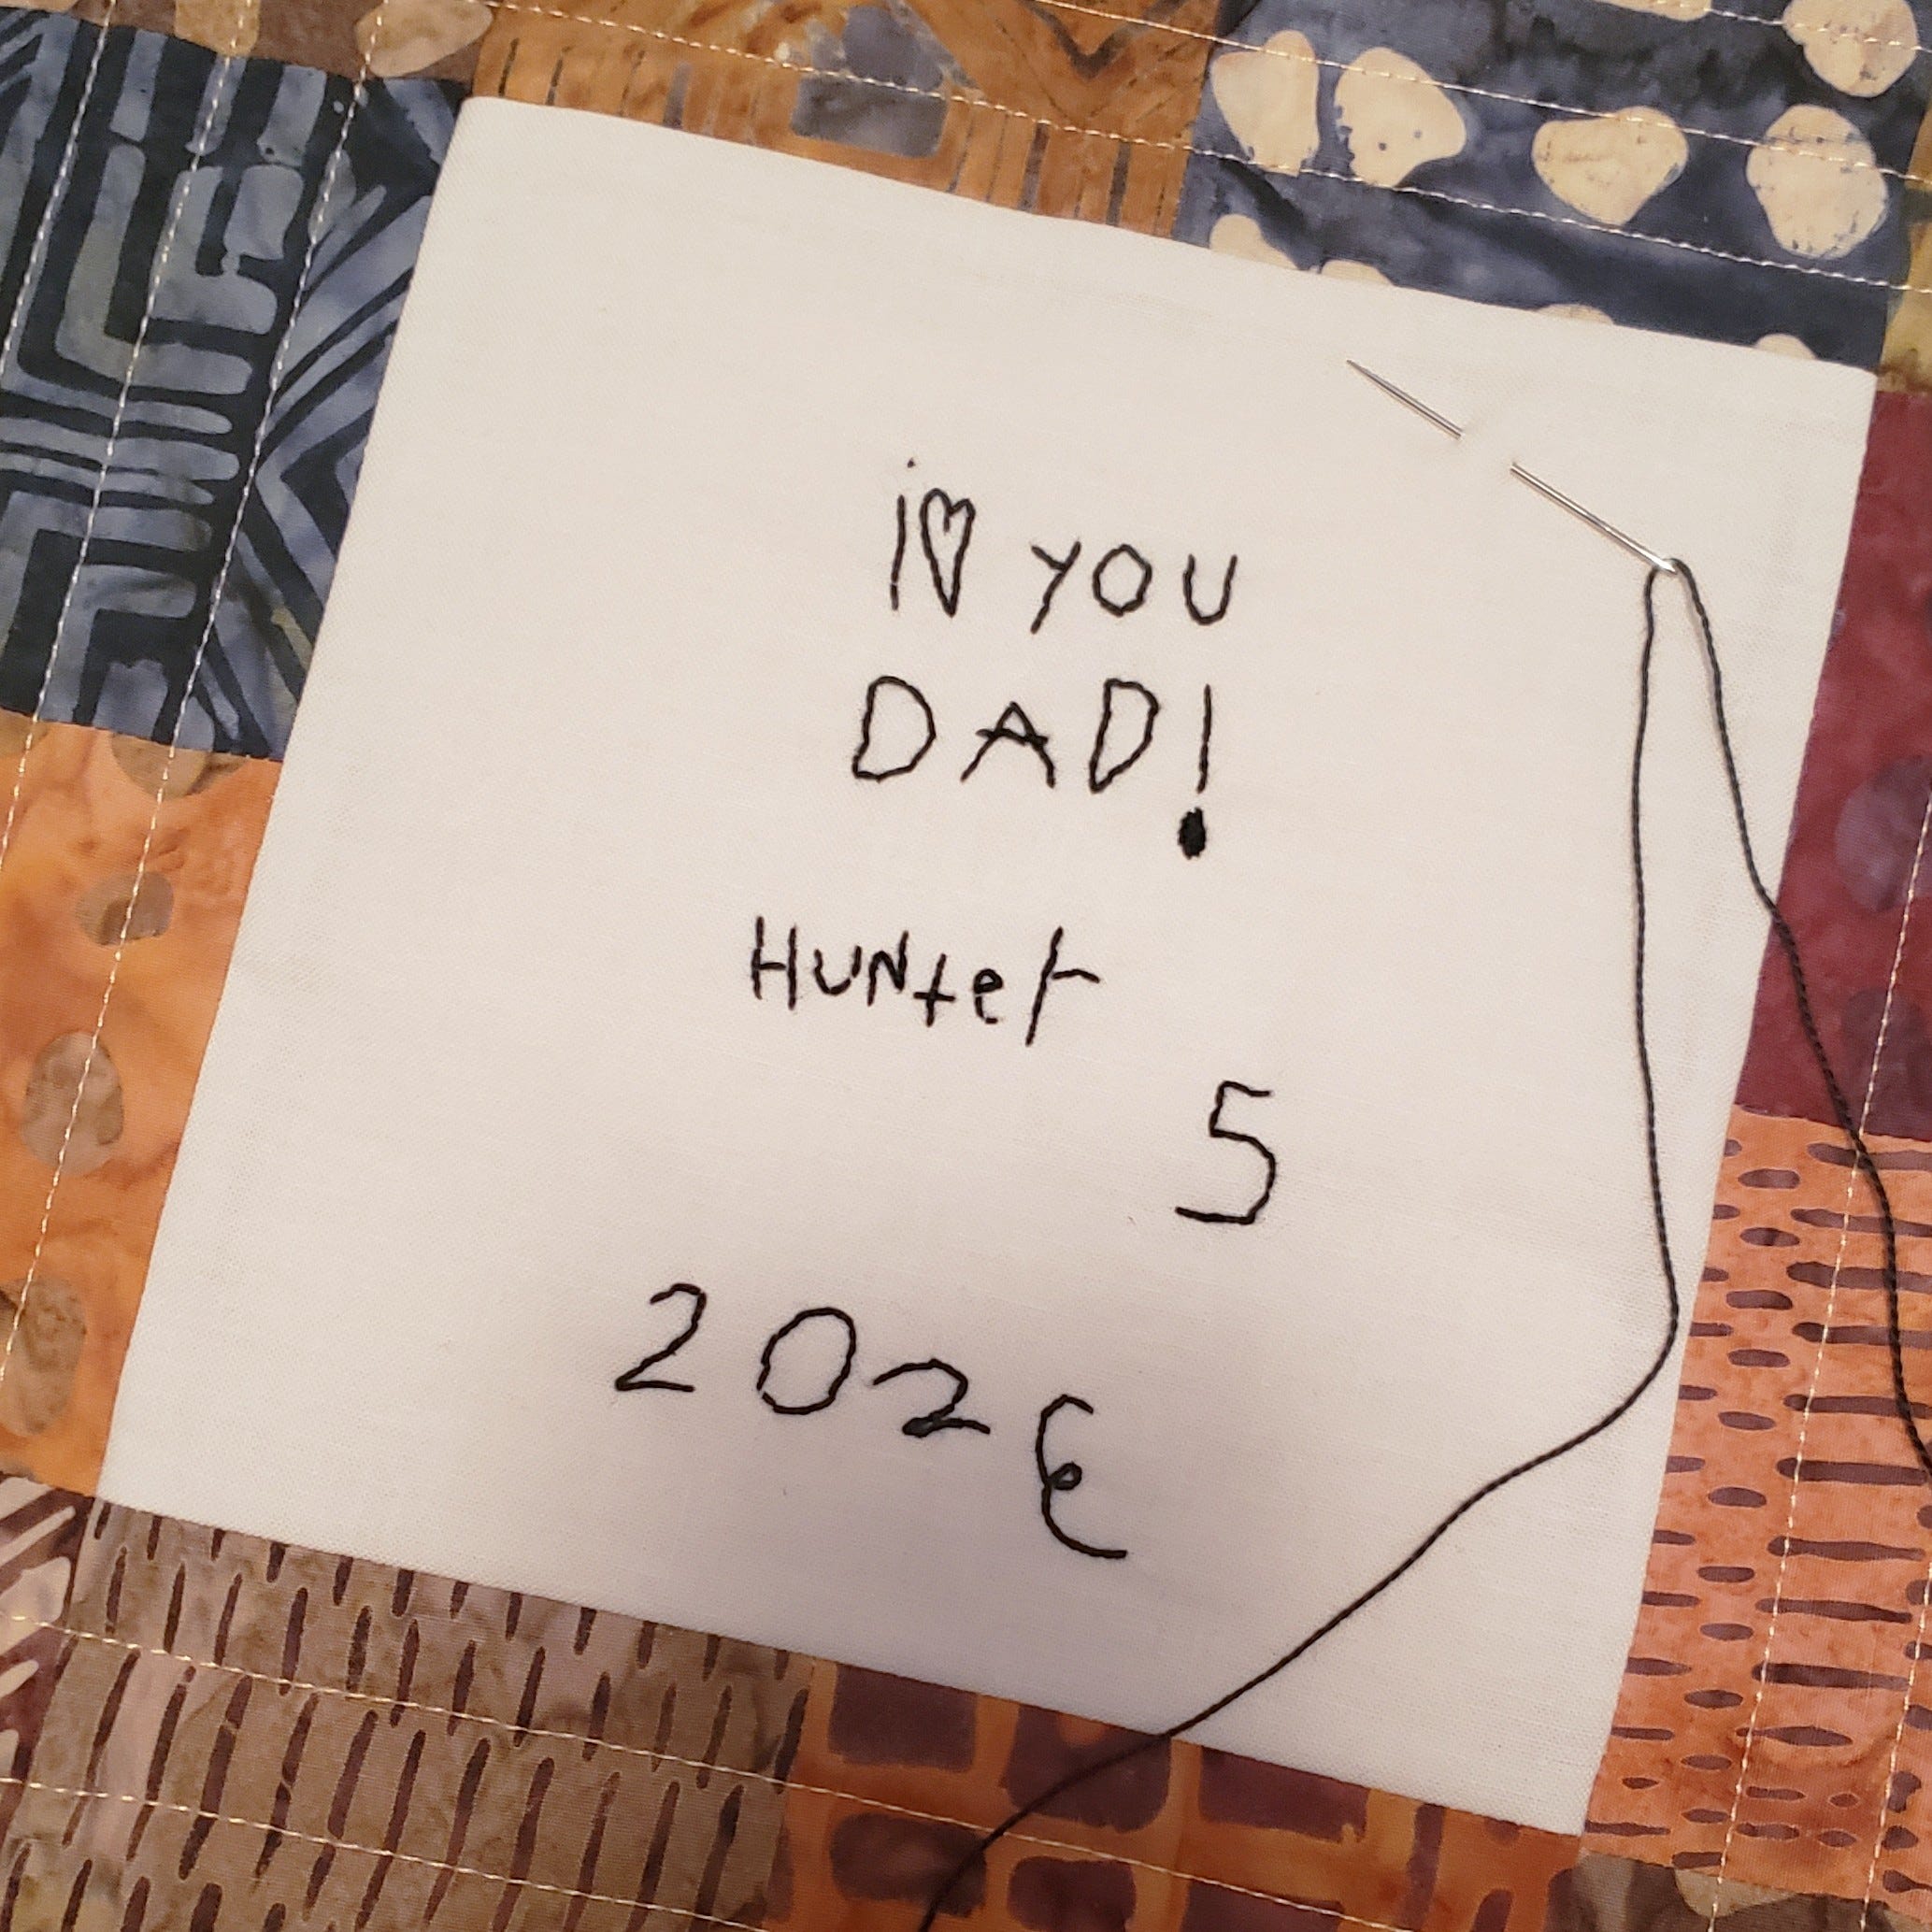
8. Once the quilt top is sewn together, add the embroidery to the center square. I traced everything first before embroidering it.
9. Add batting and backing and bind and quilt as desired.
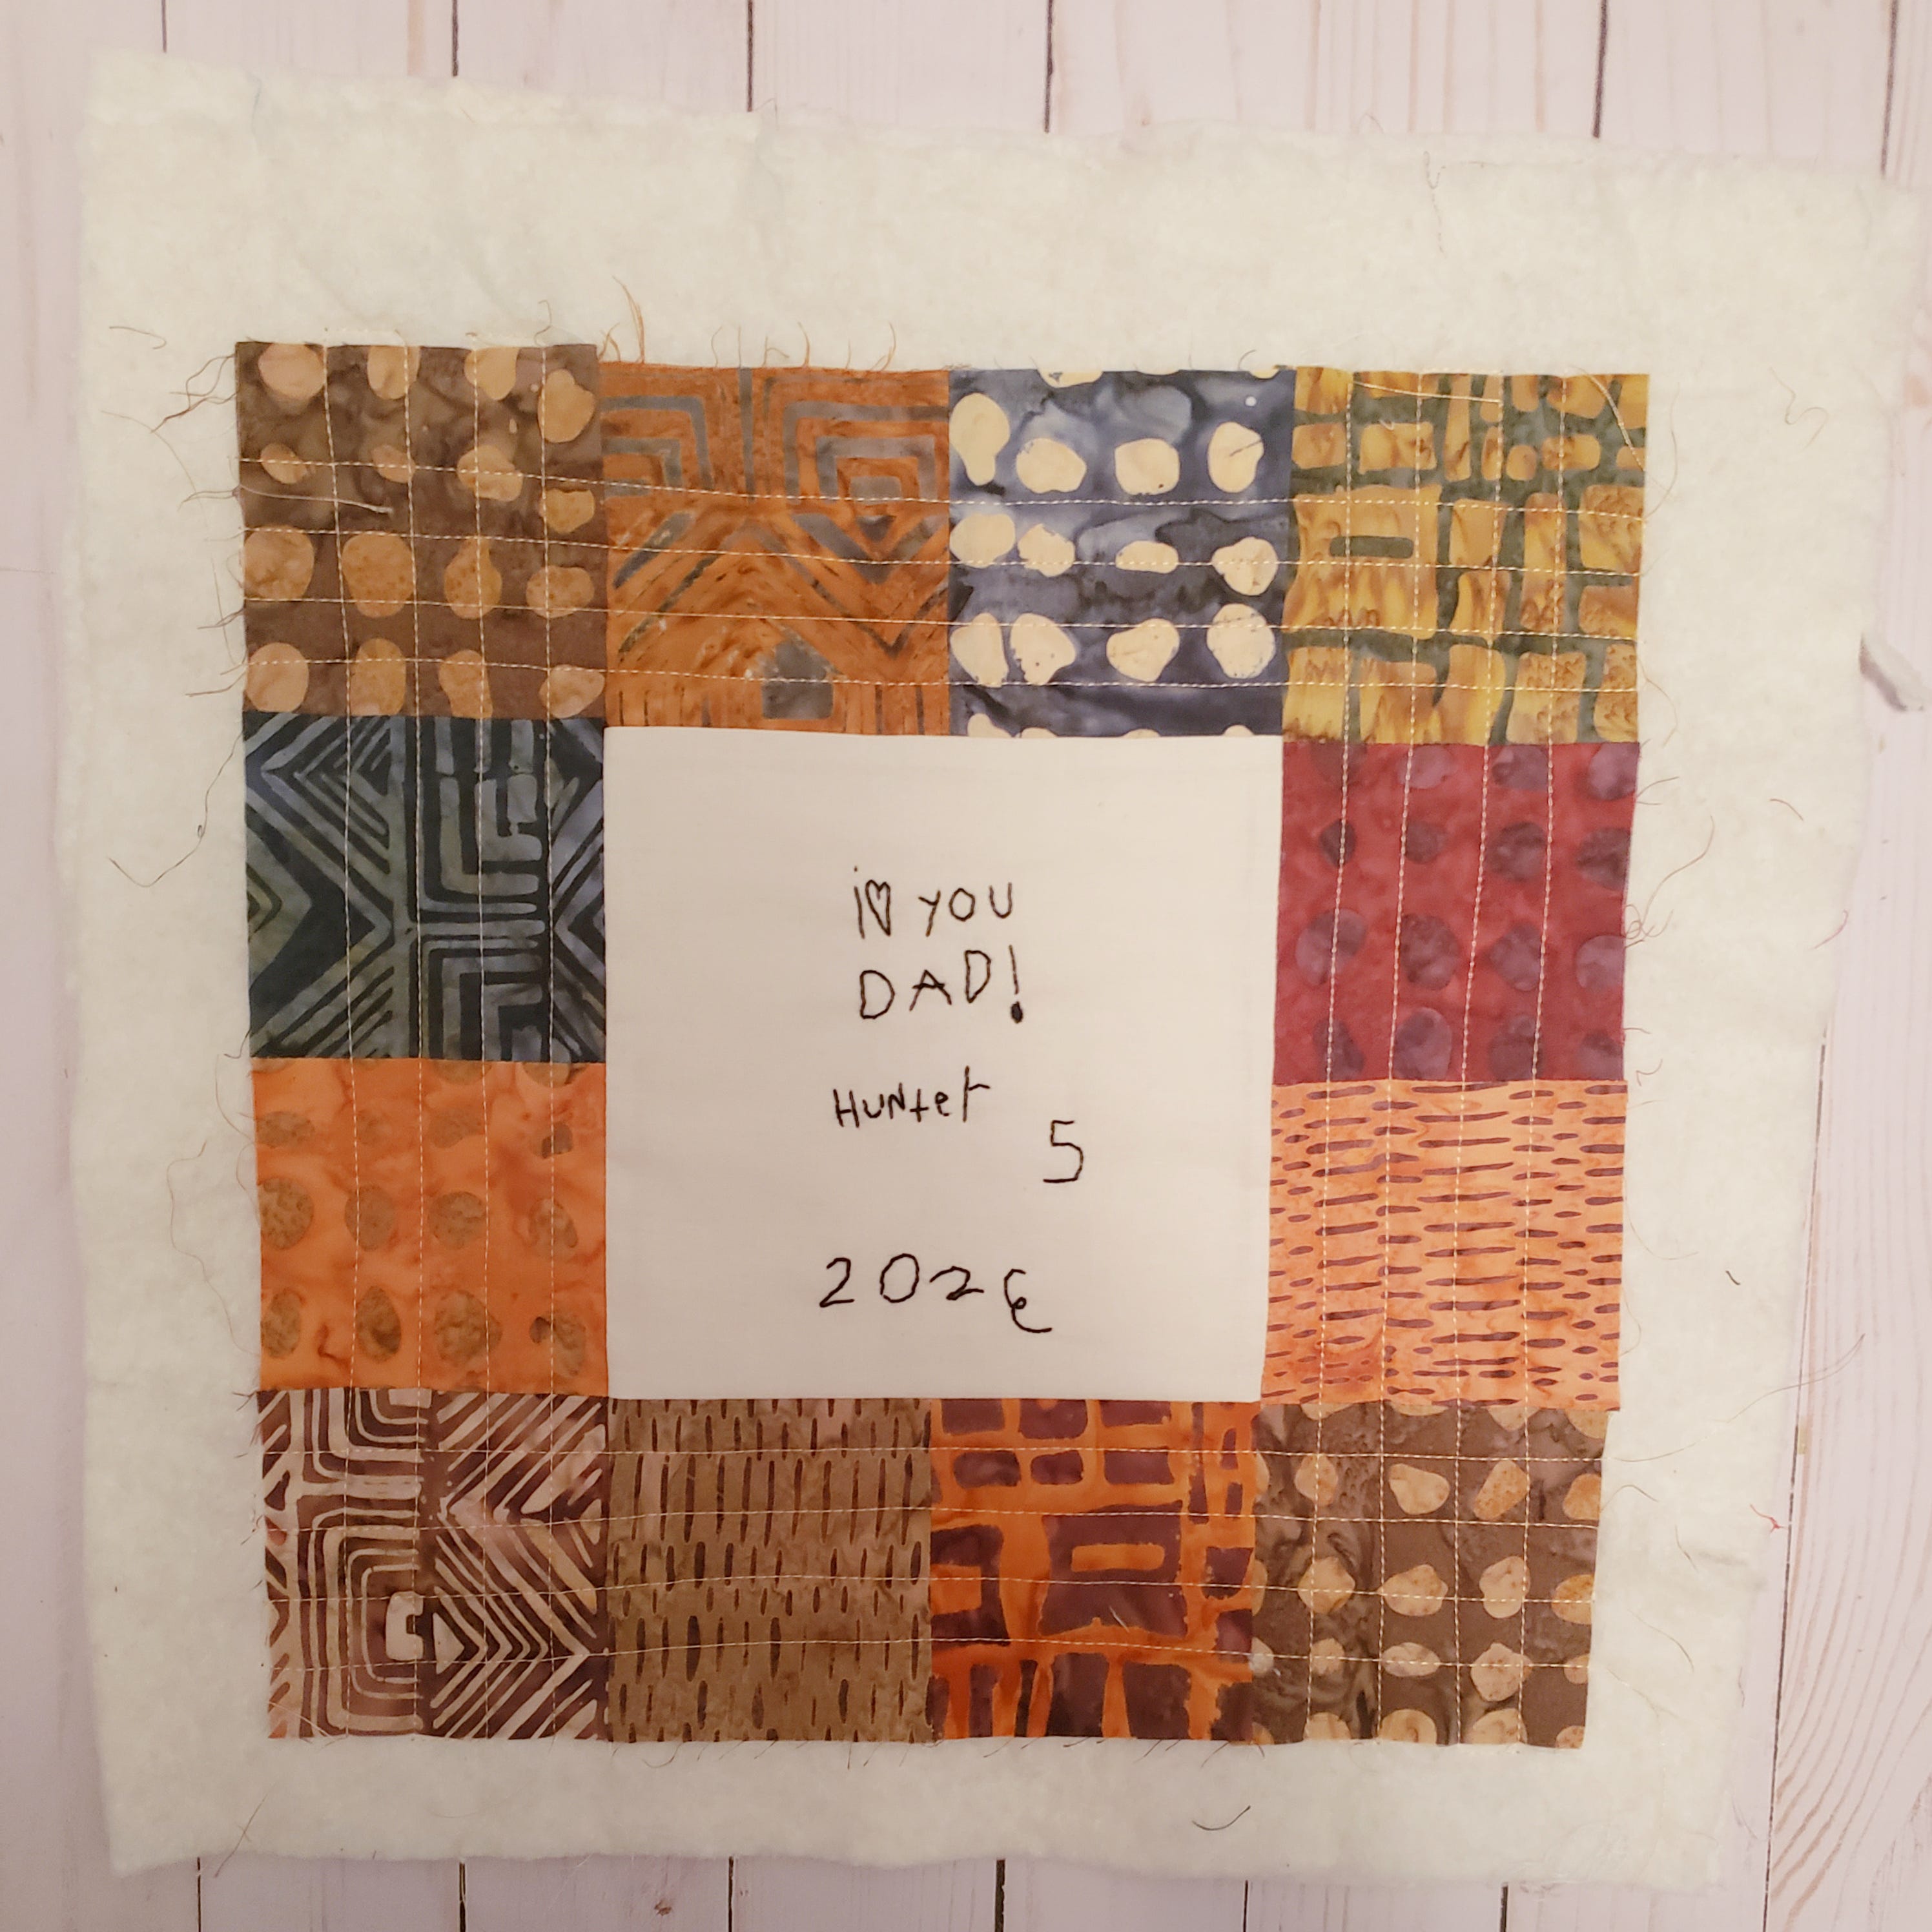
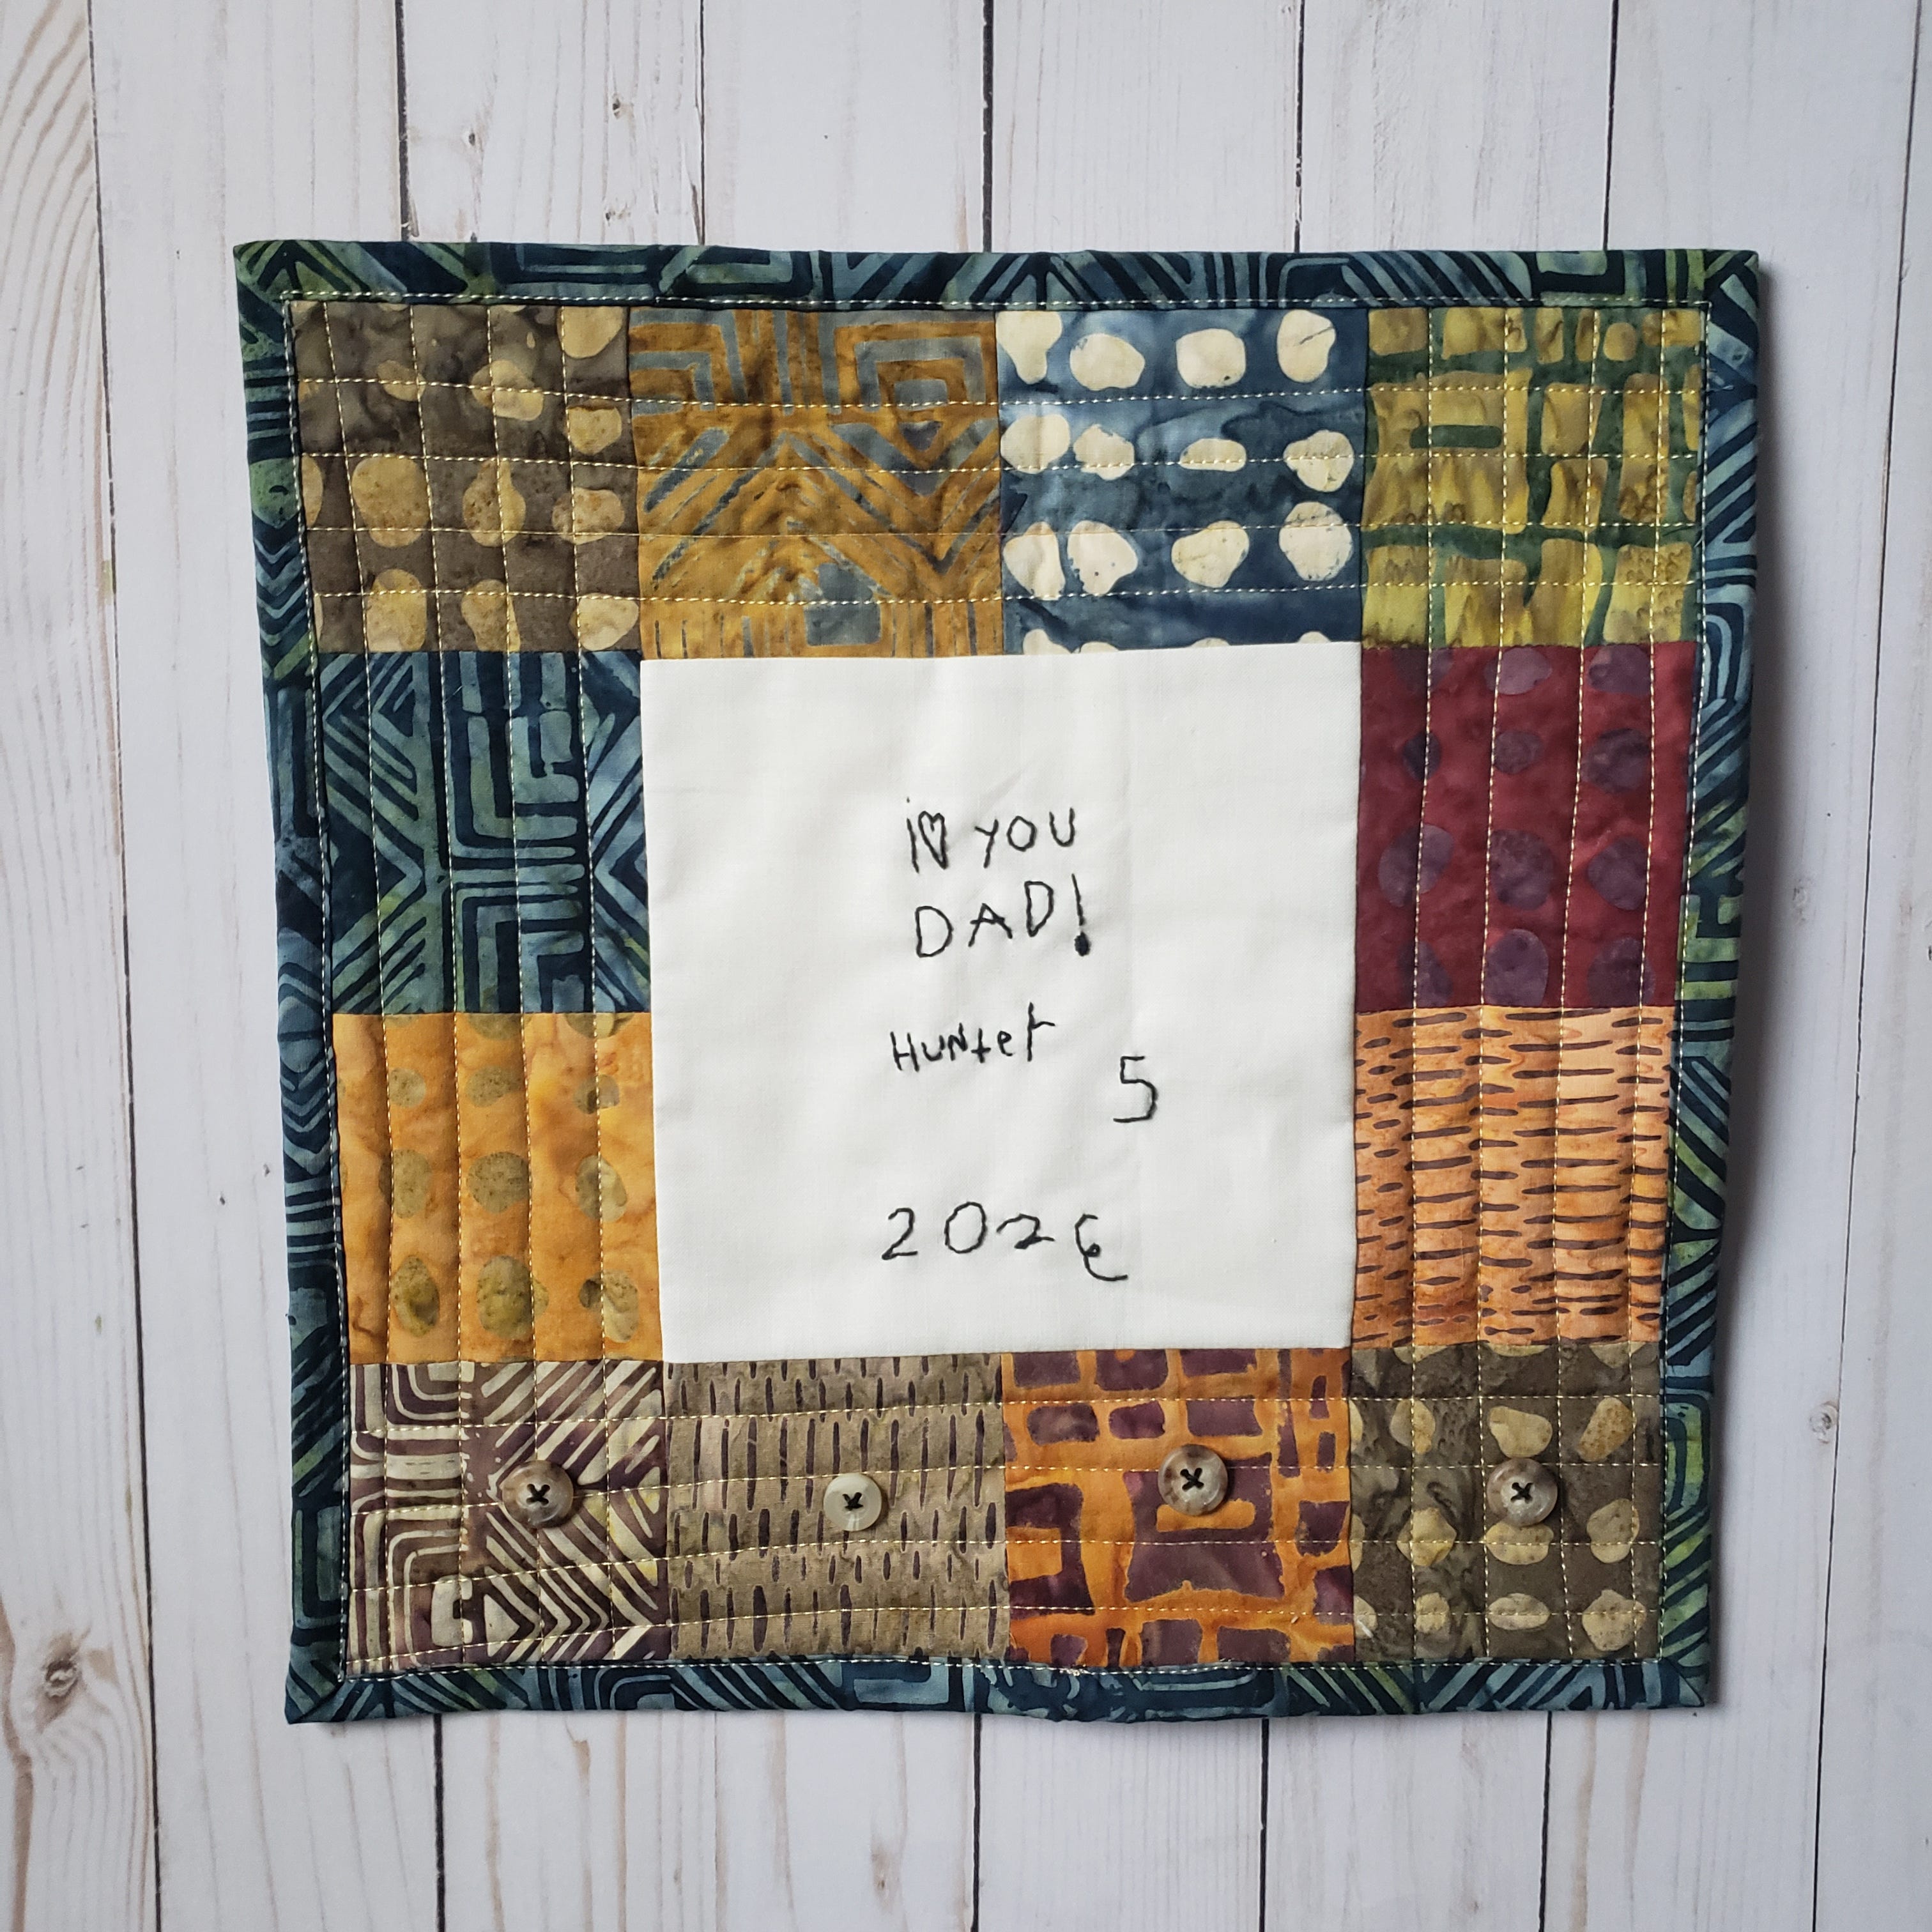
You can add photos anywhere on the wall hanging, too.
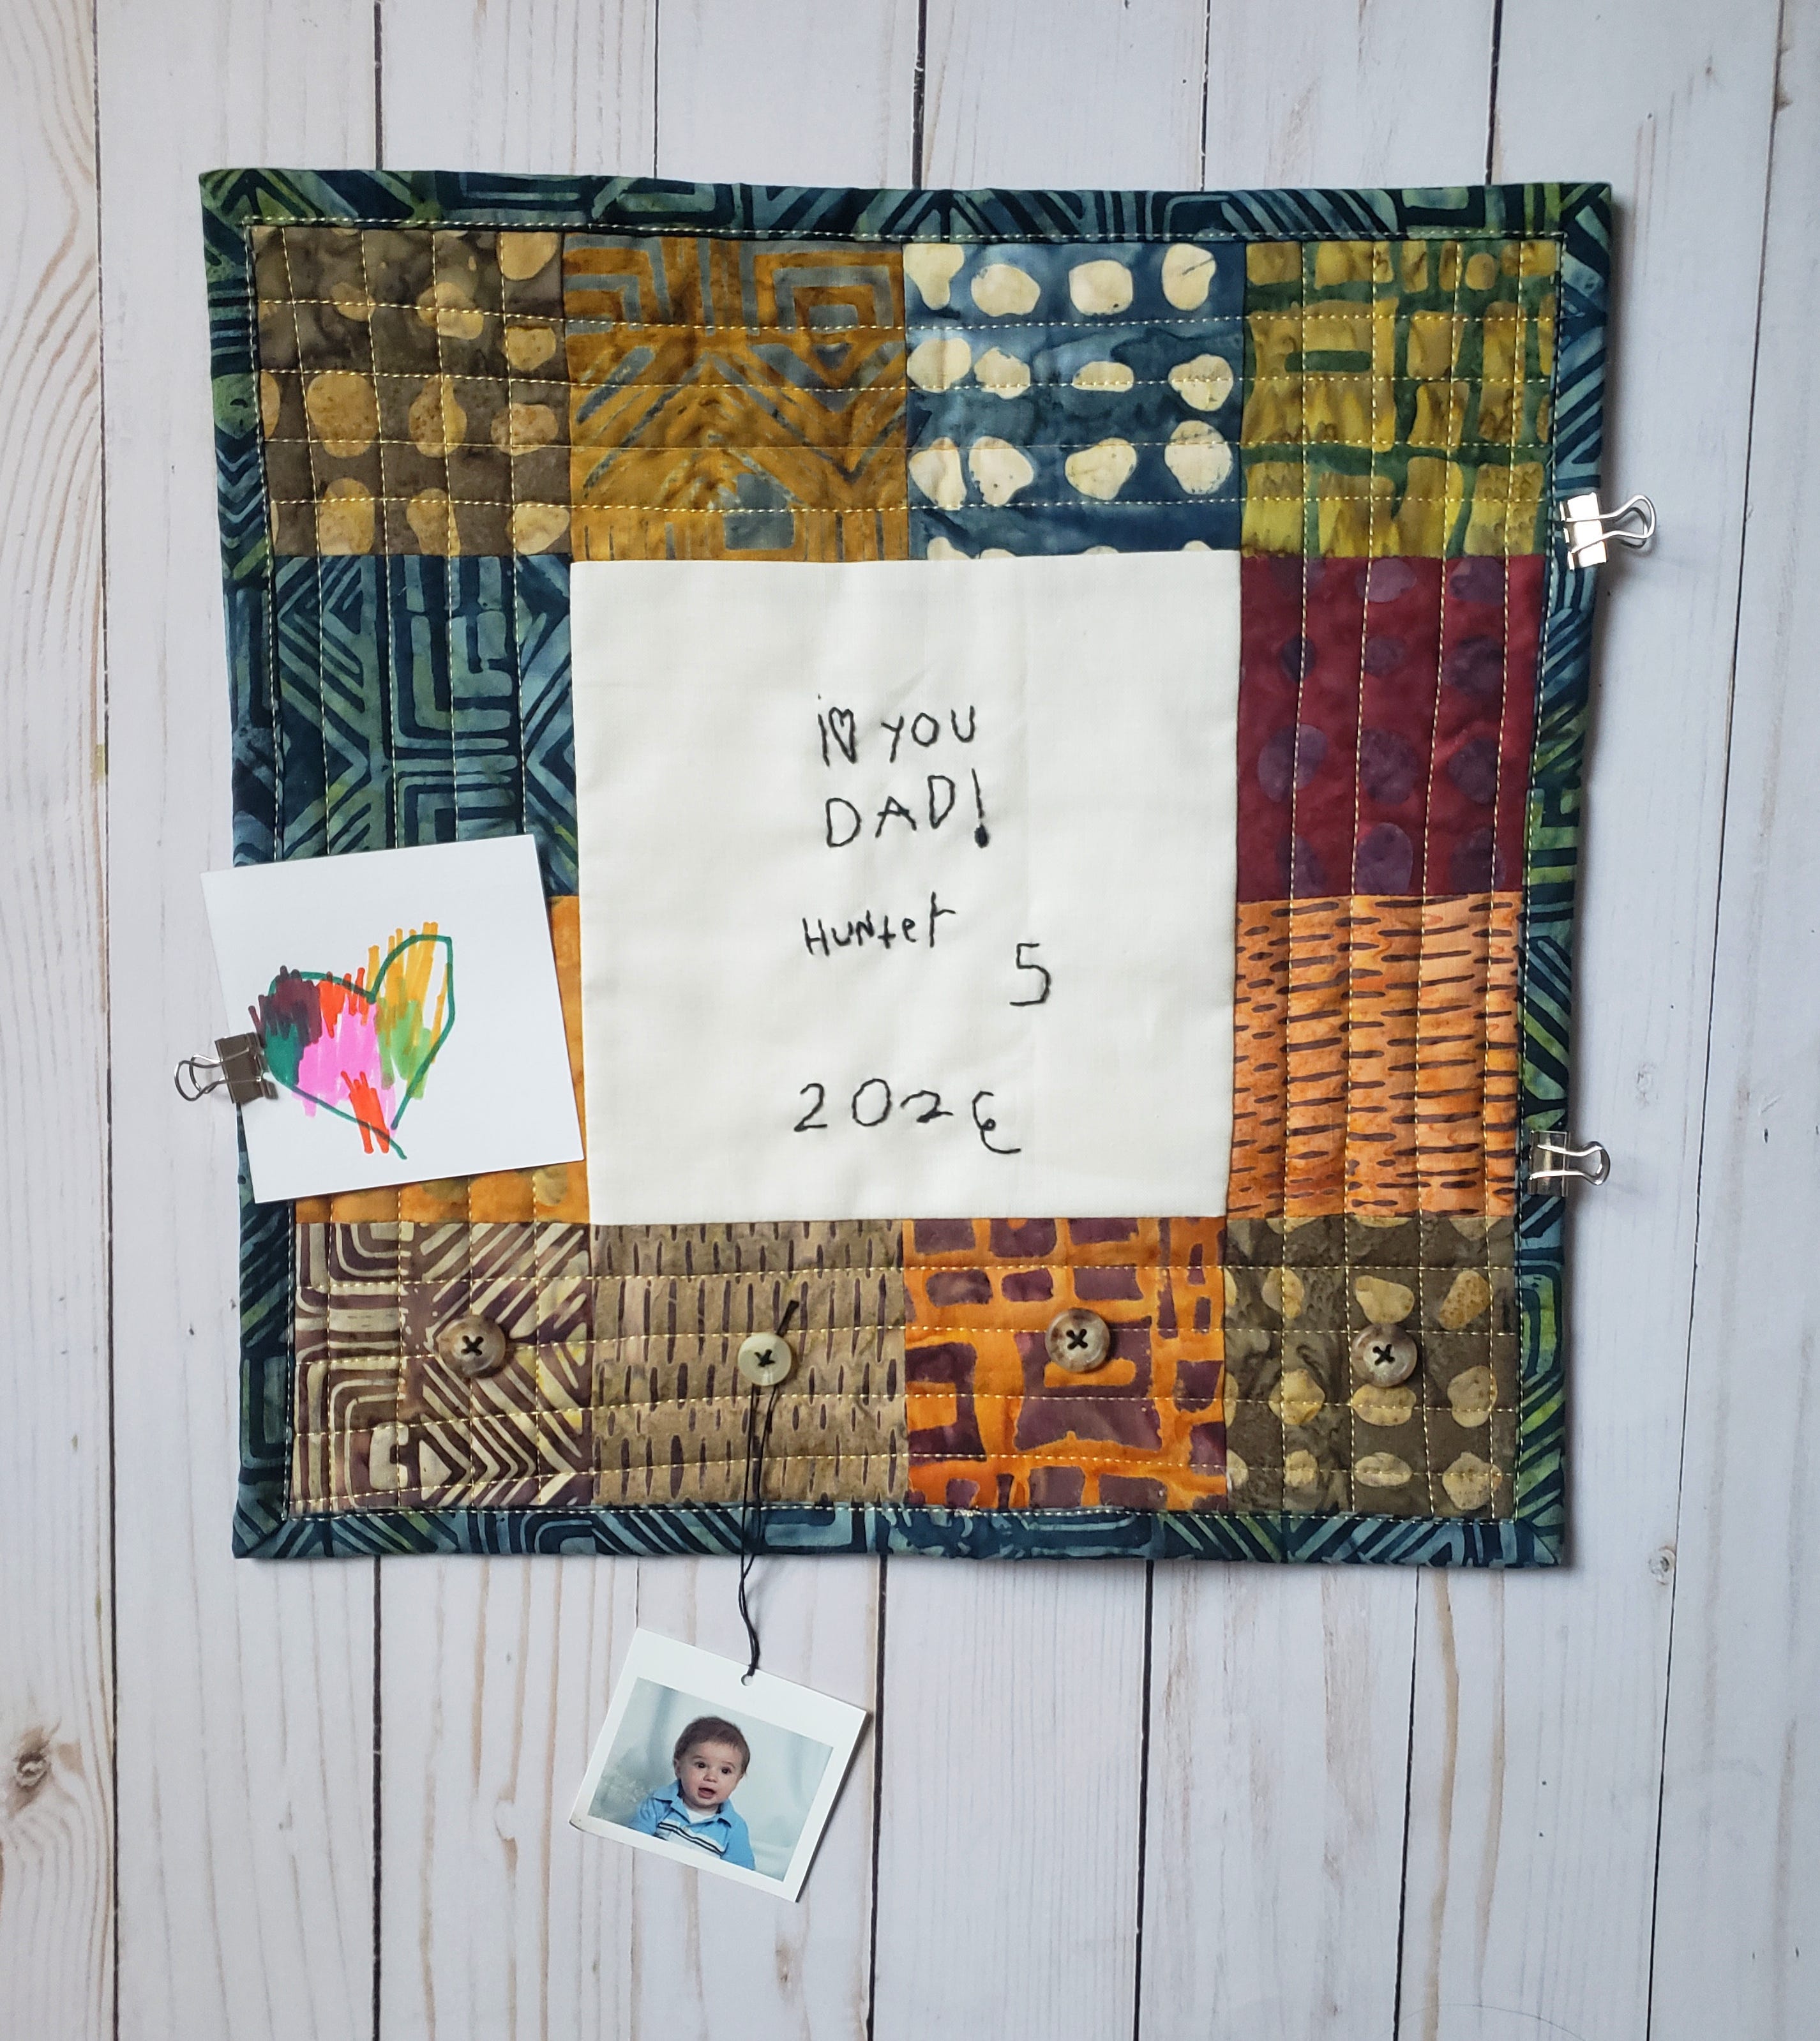
If you make your own version of this tutorial, please tag @stephjacobsondesigns and @AccuQuilt on social media, and don't forget to use the hashtag #AccuQuiltBuilt so that we can see your embroidered wall hanging!


