
Hi, it's Bea again from beaquilter showing you how to make Christmas ornaments out of felt, using the GO! cutter and several dies!
Everyone is thinking Christmas in July, yes? No? Well, when I show you how to make Christmas Ornaments using the GO! Dies, you'll see that they are fun and easy and would even make great gifts.
Here's how to make Christmas ornaments you'll love:
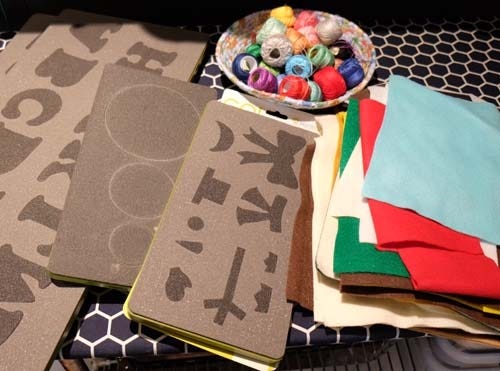
Felt (craft felt)
Matching embroidery floss, I used Presencia threads, but you can use regular gloss, and a needle that's thick enough for it :)
Fiber fill
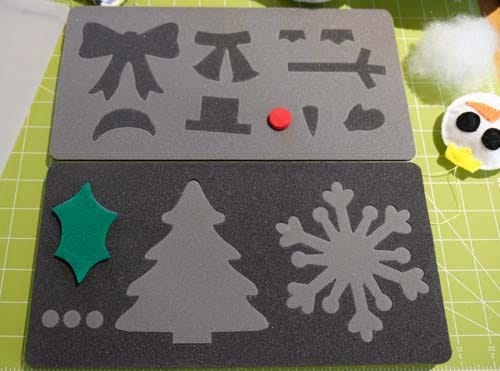
Accuquilt dies:
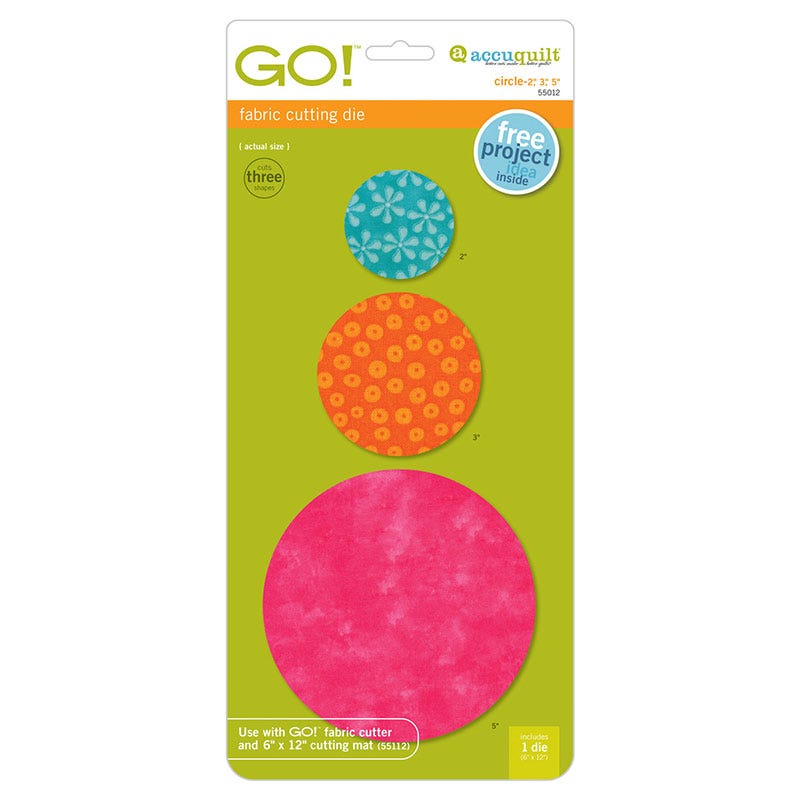
2, 3, 5" circle die #55012
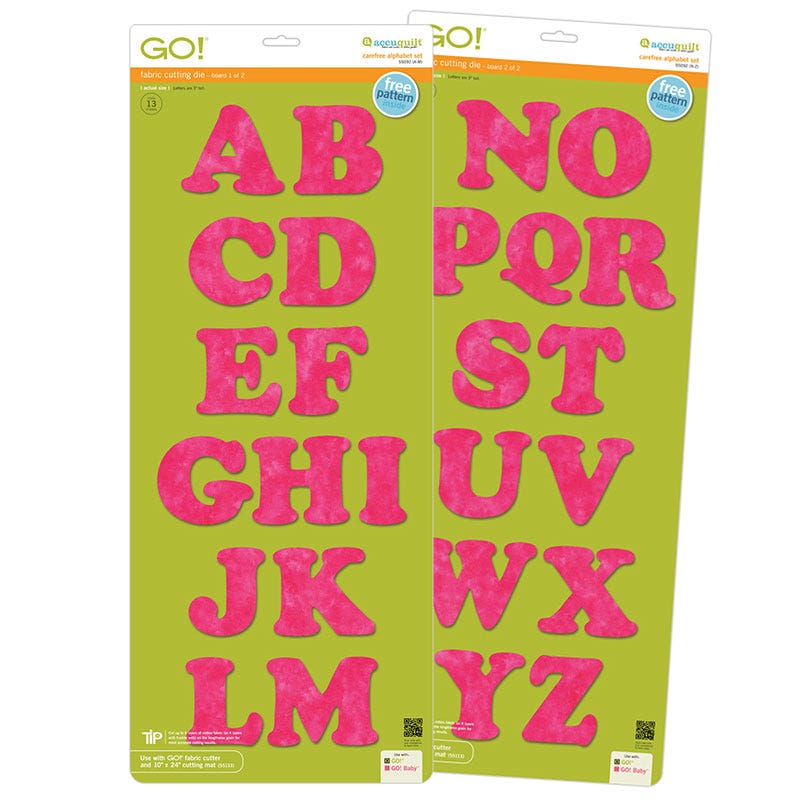
Go carefree Alphabet die set (optional) #55092
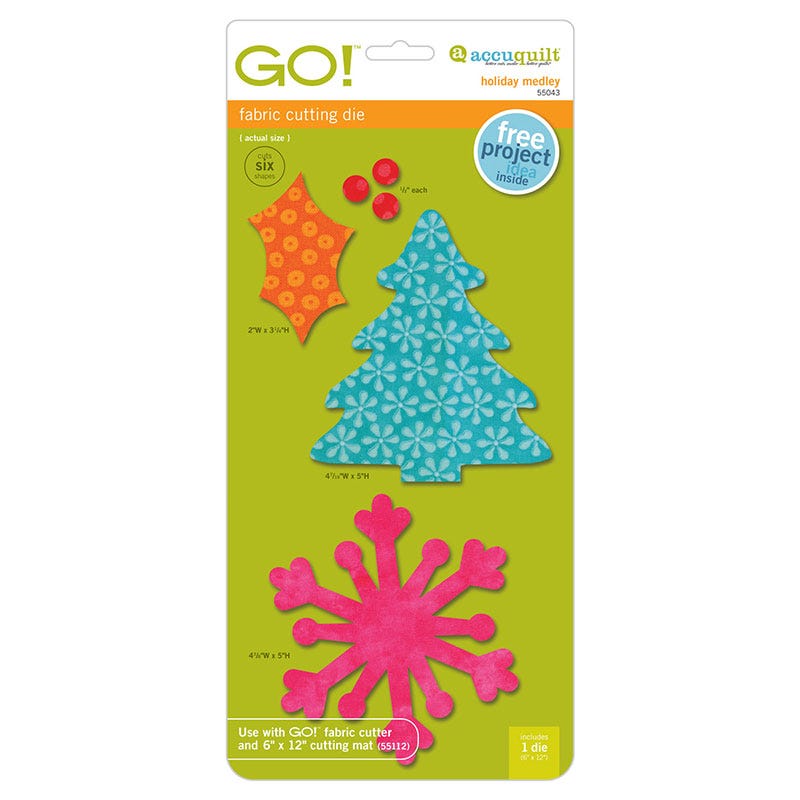
Holiday medley die (optional) #55043
You can really use any die you want for the applique part or even embroider something on the ornaments! But the circles and accessories dies are needed for the ornaments.
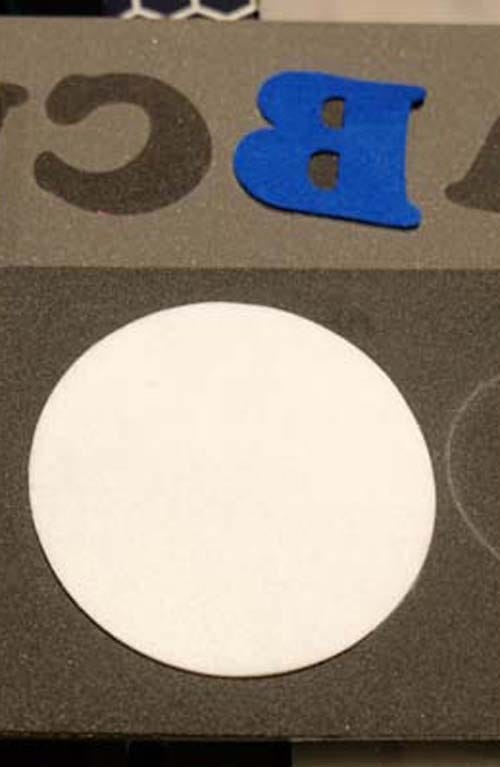
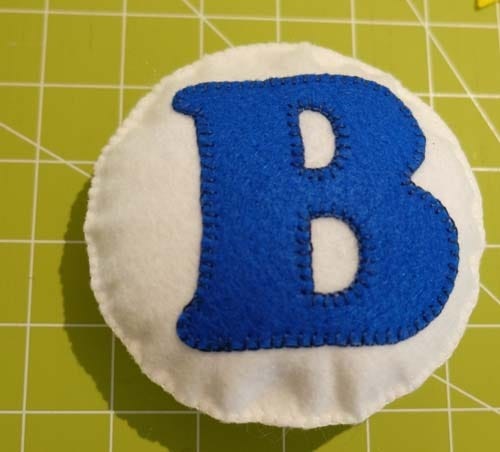
If you are making an ornament with letters from the alphabet die, they fit the 5" circle. So, cut out 2 in whatever background felt you want. I chose white, and a blue "B" for my name.
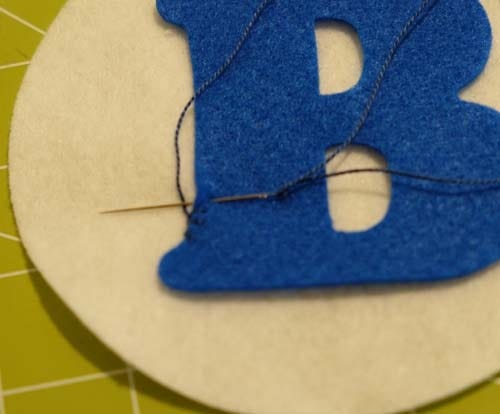
Then with a matching embroidery thread and needle, place the letter in the middle of one circle and sew button hole stitches all the way around the letter (and inside the holes of the B here.)
I make a button hole stitch by pulling the thread near the edge of the letter, then back down about 1/4" to the right and 1/4" down. Then pull the thread back out at the edge right ABOVE the inserted point below. Make sure the thread is behind the needle and pull tight (not super tight) and continue around. That's a button hole stitch :)
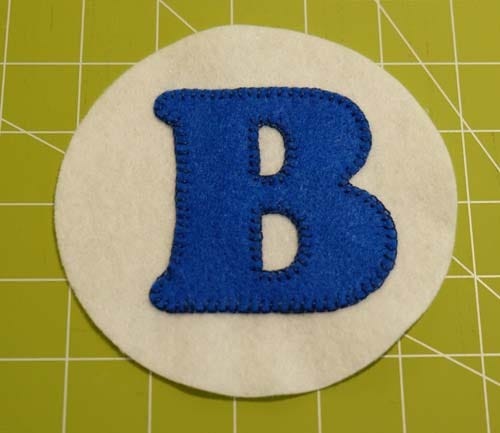
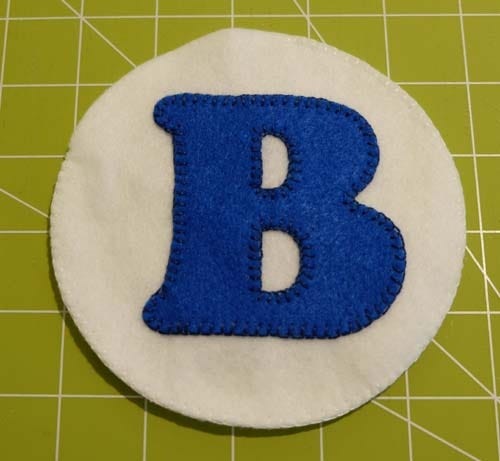
here's the letter all stitched down
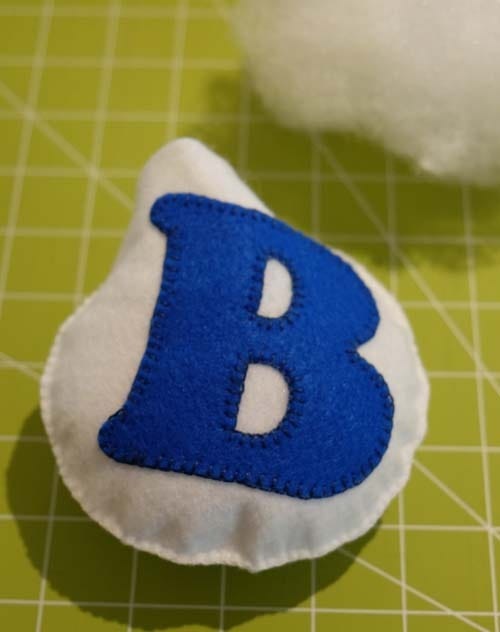
Now lay the 2nd circle behind it and button hole stitch around. Leave an opening for now to insert the fiber fill.
Make sure knots are in between the layers! The top of the button hole stitch is just flat by the edge, but the vertical part of the stitch goes thru both layers.
Now stuff with fiber fill and continue with the stitches around to close it. Stuff a bit more fiber fill as you go.
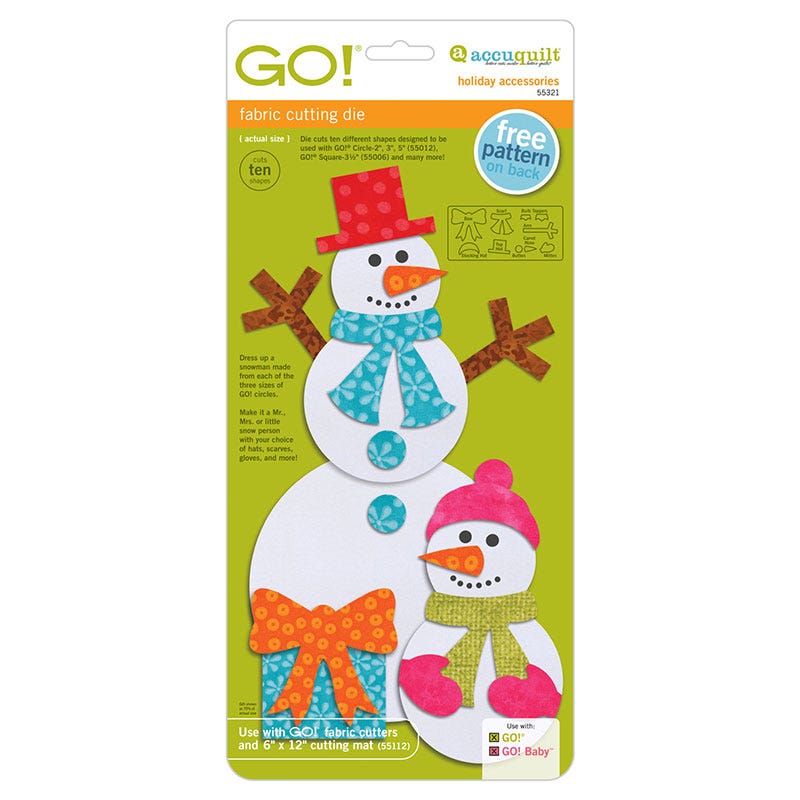
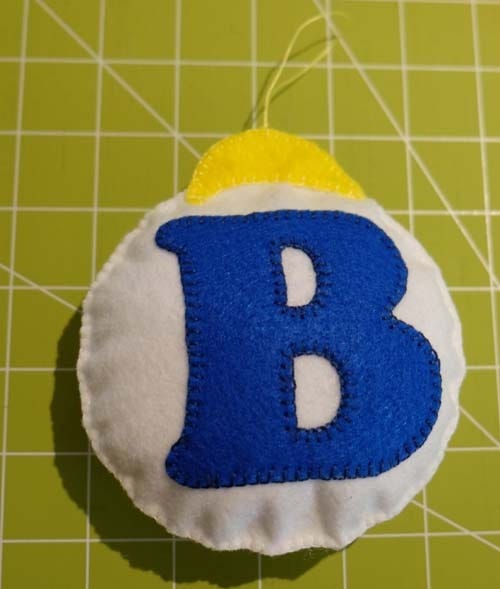
I then decided to cut out two yellow "hats" from the accessories die and used that as the topper for the ornament.
I tried the "topper" from the die, but it seems to fit the 3" circle better. Then found a matching yellow floss.

Sewing the topper on is a little tricky. Part of it is only thru the yellow and white layer on the front, then thru both yellow layers. If you start at an edge where the yellow meets, it works out. You can just flip the ornament and stitch down the back part.
Also add a yellow string for hanging. I had the knot on the back and then tied a knot at the bottom of the hanging thread near the top of the ornament.
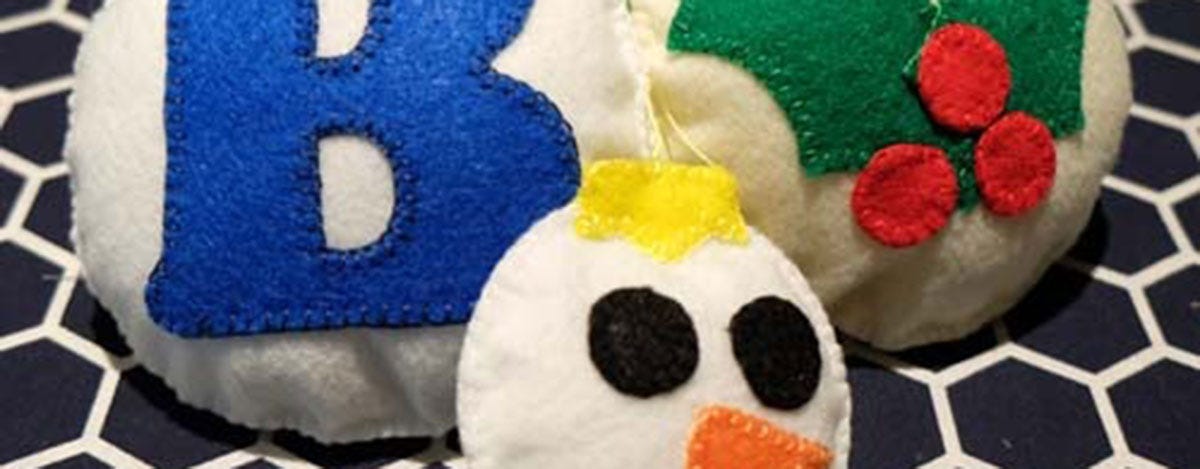
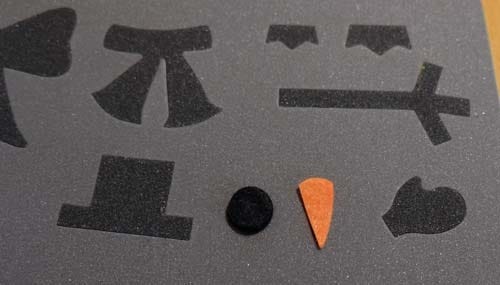
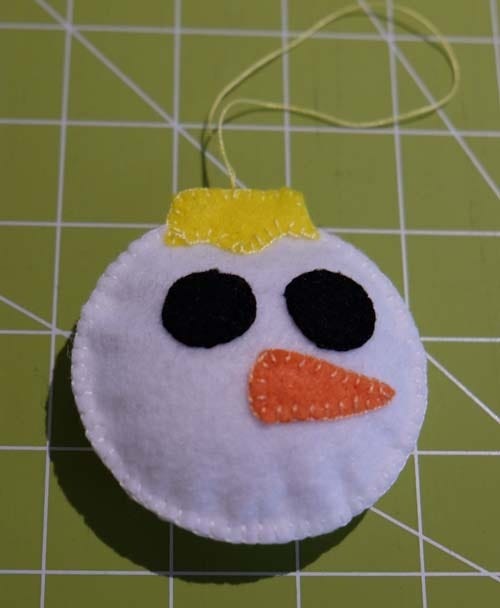
For the snowman ornament, I cut out two eyes in black and one orange carrot nose and then 2 white 2" circles.
Here the small ornament topper from the die fits well.
The ornament is made the same way as above.
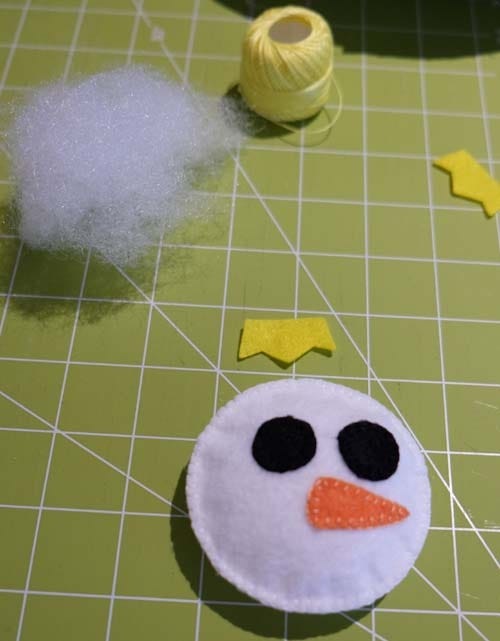
Voila! this one is done!
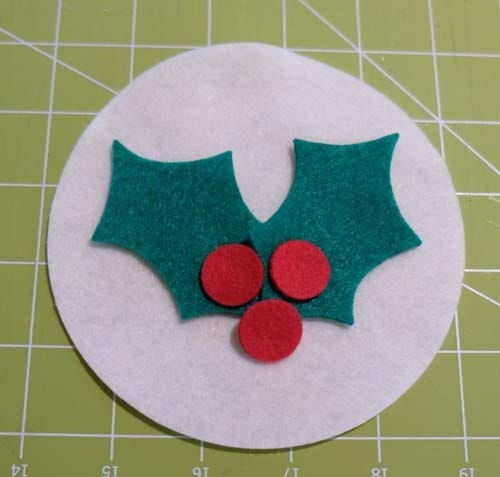
For the holly ornament, I cut out 2 green leaves from the holiday die. Instead of using the circles from that die for the berries, I used the eyes from the accessories and cut out 3 in red felt.
They fit well on the 3" circle. I used an off white background.
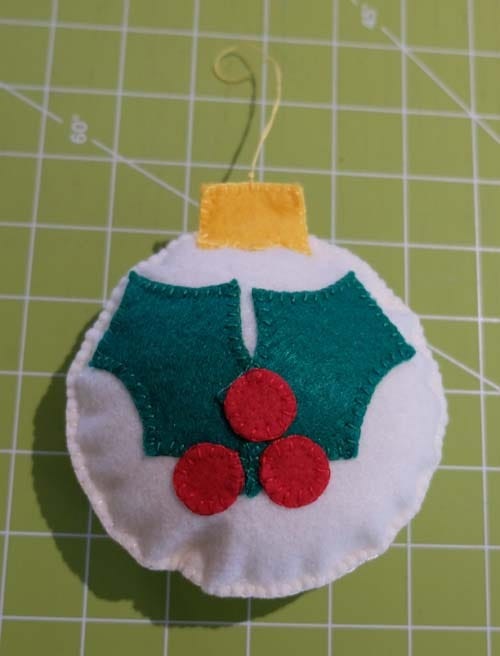
The big ornament topper worked great with it.
The ornament is stitched the same way. With the red berries you don't have to go all the way thru, but just enough to just attach to the green felt leaves.
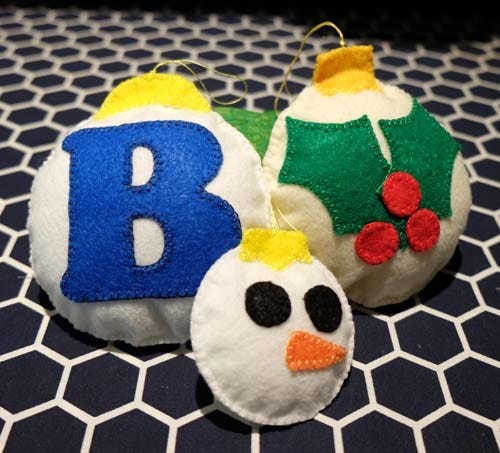
Here are all 3 of them together!
I made these in a few hours one afternoon.
(I might make some more before Christmas!!)
You can try other shapes from the accessories die. Maybe try using the ribbon as a topper for the ornament, or make another snowman and use the hat for the topper. I hope you've enjoyed learning how to make Christmas ornaments to use and give.
Have fun!!


