
Hi, it's Bea from beaquilter.com. I am here to show you how I quickly made this groovy pillow with the NEW GO! Qube Mix & Match 10" Block!

This pillow measures 20" x 20" when done and I had a bed pillow that fit it perfectly!
Here's what you'll need for the pillow:
I pulled out some nice red and orange batiks, choosing three plus a yellow, then another for the back of the pillow (less than ½ yd each).

This was my initial sketch in EQ. It uses shape #3 and #7 from the GO! Qube Mix & Match 10" Block.

First, I picked the fabrics for the star points. (This die contains two of the shapes.)
Next, I cut 3½" WOF strips and cut 4 right-side up plus 4 wrong-side up of the fabric I planned to use for the center (just fold the fabric once).
Then, I cut 8 right-side up plus 8 wrong-side up of another color.
Finally, I cut 4 right-side up plus 4 wrong-side up of the last color (the last two fabrics were very close in color).

Here are the pieces all cut.

When I sat down to sew, I laid out the pieces like this with 4 in each stack and made sure every fabric was right-side up (hard to tell on batiks).

Then, I sewed the pieces together in sets of 2. Now, this can be a bit tricky. You have to overlap just ¼". If you start with the needle DOWN and then line up the fabrics, you'll see if they are lined up right.

Iron the seams open.

Now, sewing the pieces together can be a bit tricky. Line up the fabrics by overlapping ¼" like before. It also helps to fold down the top fabric a bit to see the angled seams lined up perfectly.

It was at this point I decided to have a yellow background, so I quickly cut out (16) of shape #3.

This is what it will look like.

I sewed the "side" background pieces onto the blocks.

Then, I sewed the rest like this. It's easy to sew together!

Here's ¼ of the block/top sewn together.

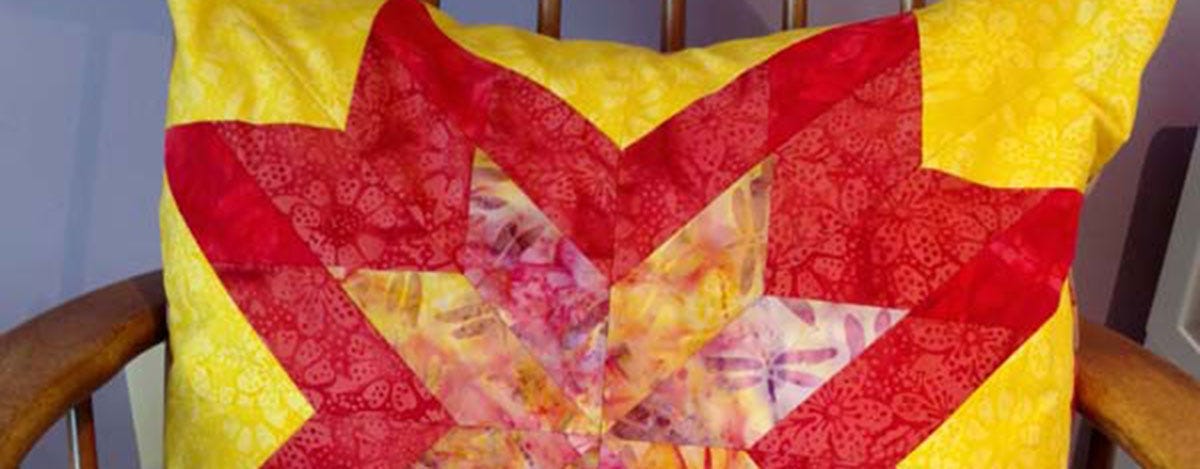
And here's the whole block/top! Groovy!! These colors just remind me of my childhood in the 70's. Maybe "groovy" was a 60's thing?

If you want to quilt it, do it now. I chose not to.
I made the backing, which was 2 pieces 20½" wide, and a bit longer than the half way point. Double fold the raw edge and stitch down.

Then, I laid those pieces right-sides together onto the block and sewed ¼" around the perimeter. I also zig zagged the edges and trimmed off the corners.

Turn it right-side out and insert your pillow!
I've made a pillow before with the same technique, and also with batiks from Island Batik.

You can easily make a bigger quilt with more parallelograms like this one below. Just use die #3 and #1 for the background!

Here's the same quilt with a black background so you can't see the lines.

I hope you try this! Have fun!


