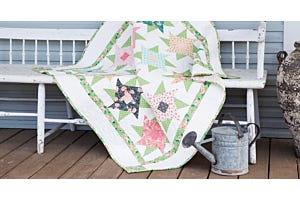
Welcome AccuQuilt enthusiasts, quilters, and sewists...it's me - Belinda from the Samplings from a Blue Ribbon Girl blog - I'm back again today with a guest blog post about the GO! Awesome Blossom Wall Hanging.
 Belinda Karls-Nace
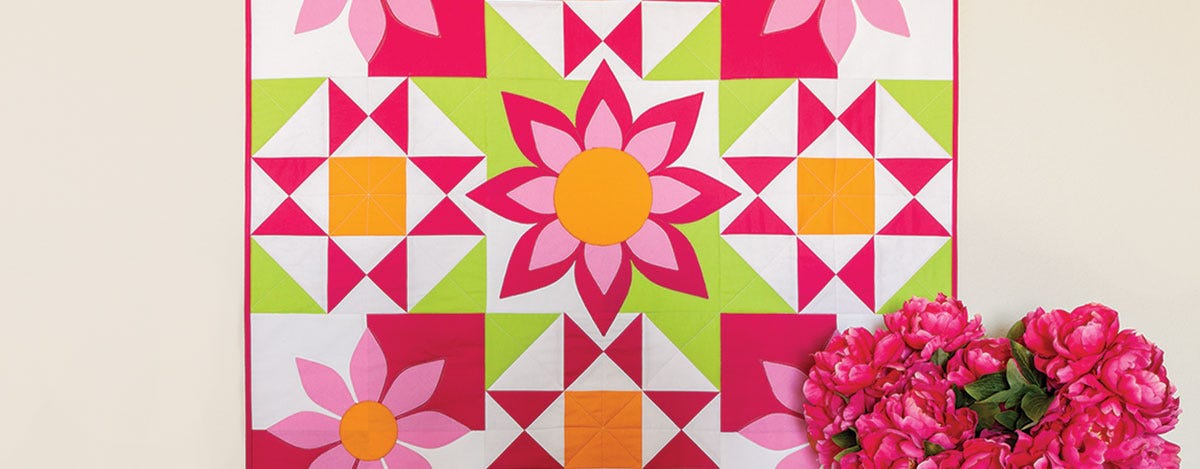
The GO! Awesome Blossom Wall Hanging is my latest quilting pattern for AccuQuilt...and truth be told, I thoroughly enjoyed working on this project from beginning to end! When creating new and original designs, I take great pleasure in combining traditional piecing with machine appliqué...and for this project, I was able to do just that. This bright and cheerful wall hanging combines 4-Patch Blocks and 9-Patch Star Variation Blocks (an Ohio Star Block Variation) with floral appliqué.
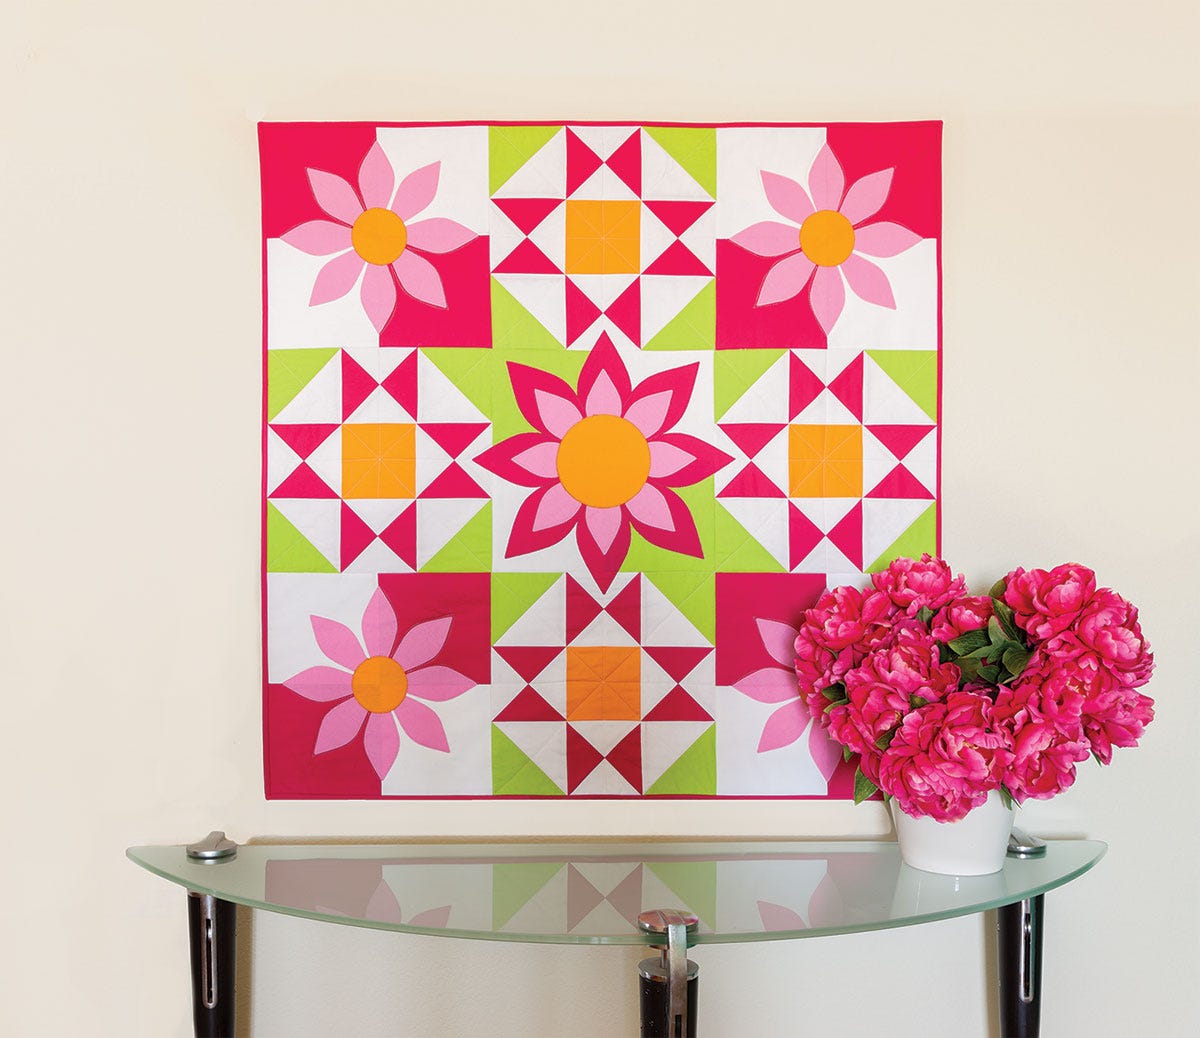
The fabulous appliqué flower blossoms are cut using the GO! Flower Power die by Sarah Vedeler (55309) and the GO! Circle-2", 3", 5" (55012). Sarah Vedeler is a giant in the quilting/machine embroidery industry and she has designed quite a collection of GO! Designer Dies, many of which are among my favorites, so I was absolutely thrilled to create a project around one of her specialty cutting dies. The pieced blocks use a combination of geometric shapes, including: GO! Square-6 1/2" (55000), GO! Quarter Square Triangle-4" Fin. (55316), GO! Square-4 1/2" (55060) and GO! Half Square Triangle-4" Fin. (55031)...and the binding was cut easily using the GO! Strip Cutter-2 1/2" (55017 or 55014).
The pattern gives comprehensive, step-by-step instructions for piecing the traditional quilt blocks and provides details for placing the appliqué shapes. The four corner flowers can be machine appliquéd onto the 4-Patch Blocks before piecing the quilt blocks into rows...and the center flower is fused and machine appliquéd after the entire quilt top is pieced, as the petals overlap the surrounding blocks...but don't worry - the entire quilt top is a very manageable 36" x 36".
As always, I would recommend applying paper-backed fusible web to the appliqué fabrics before cutting the shapes...and using a lightweight tear-away stabilizer on the back of your work will keep your machine stitches sharp and flat. I used a standard blanket stitch for the machine appliqué (for both the petals and the flower centers), but a zig-zag or satin stitch would be lovely, as well.
When working on the design, I laid out a handful of color options before AccuQuilt chose the color pallet for the sample - the original design actually used purples and gold...and although the sample was created with beautiful Kona Cotton Solids by Robert Kaufman Fabrics, this wall hanging would look fabulous in prints or batiks...be creative and choose fabrics that make you happy and match your decor.
Designing and creating this pattern brought me an immense amount of joy...and I am so excited to share this cheerful, floral pattern with you. I hope you will make a GO! Awesome Blossom Wall Hanging of your very own and the process will be fun and fulfilling for you too!
Stop by my blog, website, or social media pages and share your creative process with me - I am happy to answer any questions regarding this AccuQuilt project...and I always enjoy meeting fellow quilters and sewists!