It’s time!
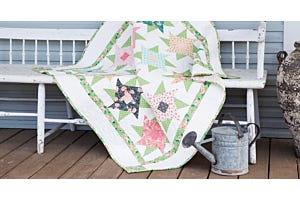
Time to get started on the second AQS & AccuQuilt-Along for the year. For this project, we’re exploring the GO! Qube System and making the GO! Simply Qubed Thow Quilt. This pattern was created for AccuQuilt by one of our own AccuQuilt team members, Anita Amador! Anita has worked with us as an expert and educator, with our Customer Experience team. Currently, Anita works with our retailers. Since the GO! Qube provides the basic geometric shapes that quilters use the most, you can also cut this project using traditional rotary cutting directions provided by our partners at AQS in the blog posts that introduced this quilt-along.
As with our past joint quilt-alongs, we’ll all be joining together to post pictures of our progress, ask questions and support each other on the AQS Quilting Project Parade Facebook page, so be sure to join. When posting your pictures, be sure to use #AQSews on any social media platforms so we can easily be inspired by each other. Okay, let’s get started!
-
 GO! Simply Qubed Throw Quilt PatternSpecial Price $0.00 Regular Price
$4.99You Save $4.99
Pattern Instructions
Today, we’re talking about cutting and organizing our pieces for this project. Whether you are using a GO! Qube or the traditional rotary cutting method, you’ll still want to download the free pattern from our website. Here’s how:
- Log into your account on our website.
- No account? It’s free to create one and will only take a few minutes, but you must be logged in to an account to download the pattern.
- Click here to view the GO! Simply Qubed Throw Quilt, or you can enter the name of the project into the search box.
- Click the green box that says “Add to Downloads”.
- You should get a pop-up, then click “Download Pattern”.
- From there you can save the pattern, print it or both!
The pattern is written using the GO! Qube Mix & Match 10” Finished Block, and that is what AccuQuilt Cutting Expert Pam Heller and I will be using for our projects. Because each size GO! Qube Mix & Match features the same 8 shapes, you can use any one you wish, you’ll just be making different sized blocks and your project will finish to a different size!
-
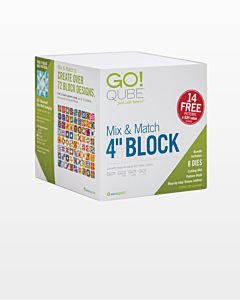 GO! Qube Mix & Match 4" BlockSpecial Price $249.99 Regular Price
$368.90You Save $118.91 -
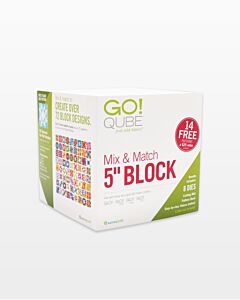 GO! Qube Mix & Match 5" BlockSpecial Price $249.99 Regular Price
$368.90You Save $118.91 -
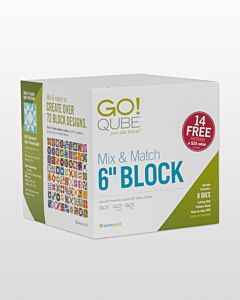 GO! Qube Mix & Match 6" BlockSpecial Price $249.99 Regular Price
$368.90You Save $118.91 -
 GO! Qube Mix & Match 8" BlockSpecial Price $249.99 Regular Price
$368.90You Save $118.91 -
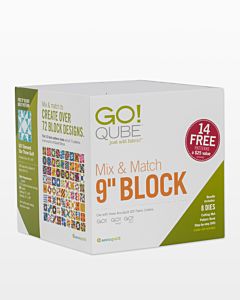 GO! Qube Mix & Match 9" BlockSpecial Price $249.99 Regular Price
$368.90You Save $118.91 -
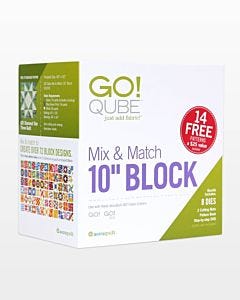 GO! Qube Mix & Match 10" BlockSpecial Price $309.99 Regular Price
$472.89You Save $162.90 -
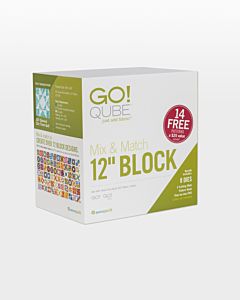 GO! Qube Mix & Match 12" BlockSpecial Price $309.99 Regular Price
$472.89You Save $162.90
How the GO! Qube System Works
If you’ve never worked with the GO! Qube, getting started can seem overwhelming, but trust me when I tell you that even if this is your very first project using it, you’ll be a pro by the time we’re done!
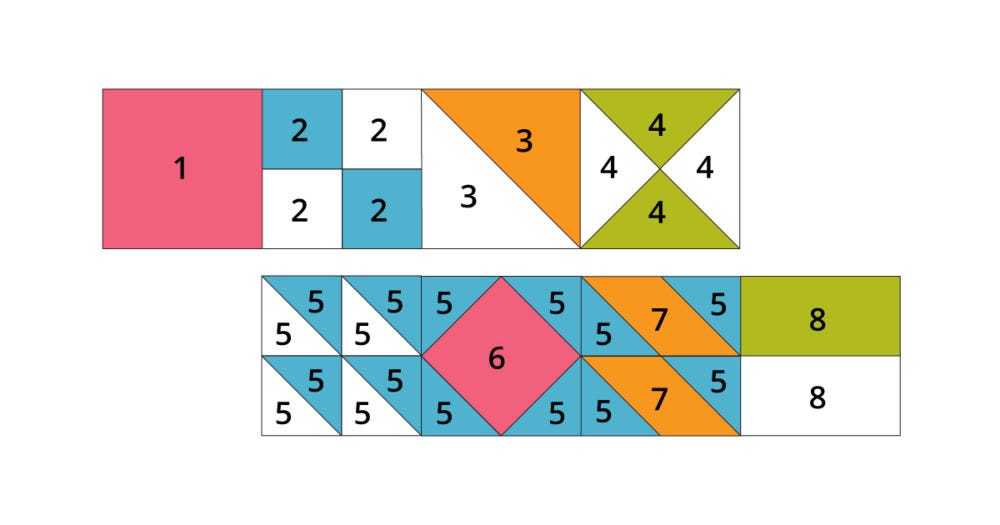
You’ll see the GO! Qube Mix & Match 5” Finished Block as an option in the pattern. Shapes 2 and 5 from the 10” Qube are the same as Shapes 1 and 3 from the 5” Qube. Why list them out? Well, if you have the 5” and not the 10” GO! Qube, you’ll still be able to cut those shapes with dies!
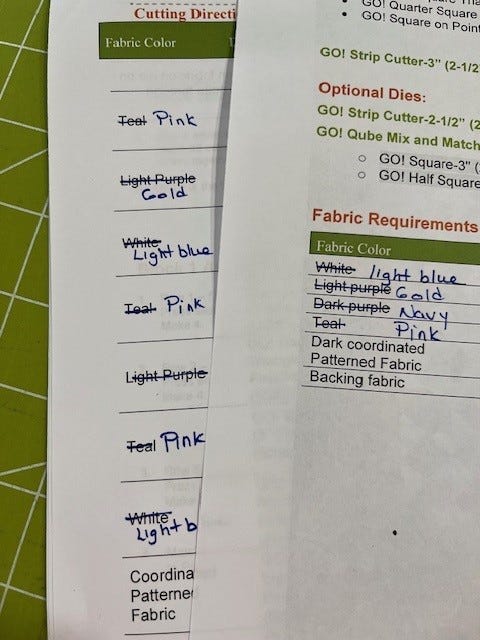
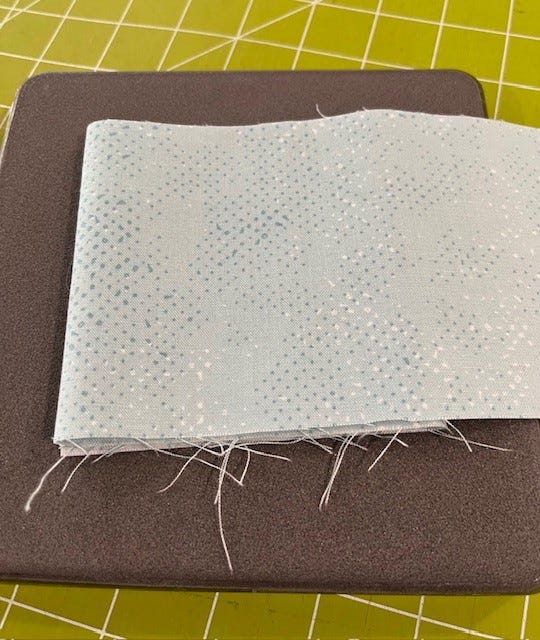
Before you start cutting your fabric, grab your pattern directions. If you have changed your colors from what the pattern shows, I suggest that you print a copy of the pattern and write in the changes, like I did. This can save you from getting confused and making any incorrect cuts.
The pattern will give you instructions on how to prep your fabric to lay it on the each die. If you are using a different size of GO! Qube, here’s how you can calculate how to prep your fabric.
First, gathering the dies you will need. For each one, you’ll want to lay an acrylic quilting ruler over the top of the die shape(s) and measure the width of fabric (WOF) strip you will need for each shape by measuring it and adding a ¼” extra on each side.
If you are following the pattern and cutting the same number of blocks, you will need the same number of each shape as listed in the pattern, no matter which GO! Mix & Match Qube you are using.
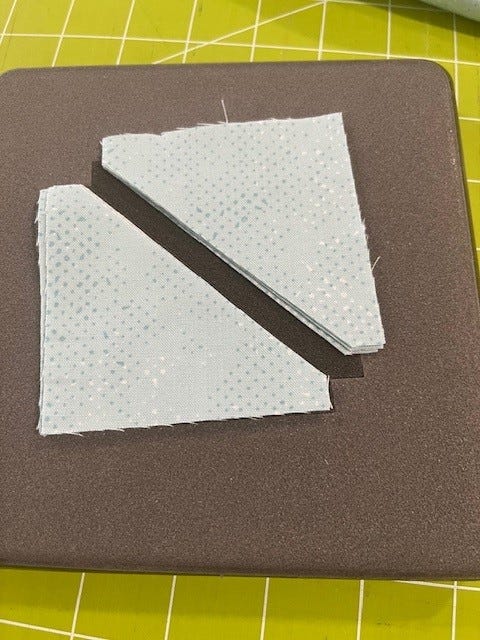
I like to work with one fabric at a time, cutting everything I need from it before moving on to the next. You could also cut all of pieces from each die at a time, it’s really up to you.

The Joy of Die Cutting
Needing 264 half square triangles (or more) doesn’t need to be overwhelming with die cutting! Once you have your fabric prepped by cutting them to the correct size, you can stack 3 strips that are each folded in half over the shape on a die or you can take one strip and fanfold over the die over the shape. Either way, be sure not to use more than 6 layers, then top with a mat and cut.
What’s even better is that the die will also be cutting the dog ears off the shapes for you at the same time, saving you even more time. What’s even better is that each shape will be perfectly cut, making piecing your blocks together easier than you can imagine.
Remember, we want everyone to be able to participate in this quilt-along, so if you not have a GO! Fabric Cutter and dies yet, no worries! Refer back to our blog post on March 27 that introduced this project and you will find traditional rotary cutting directions from our partners at AQS. You can also find these in AQS's blog post about this project.
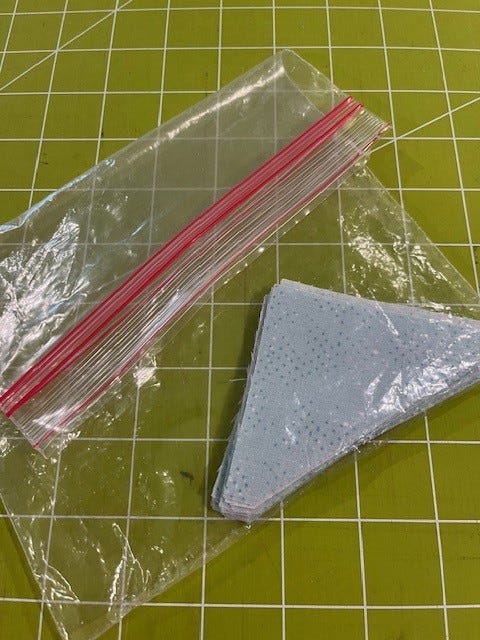
Organizing
Keeping track of your pieces will really be beneficial. It can be easy to confuse quarter square triangles with half square triangles, for example. I’m thinking I’ll use plastic zippy bags. A tray with stacks of pieces or some small baskets could also work well for you!
That’s it for today, simply cutting and organizing your pieces. Next week, we’ll be piecing together the first block for this project. I’m excited to make this project alongside everyone, so be sure to post pictures of your progress on the AQS Quilt Project Parade Facebook page using #AQSews!