


Hello, GO! Getters! It's Gina from Gem Hill Quilts. Refresh your table with this oh-so-pretty table mat! Three-dimensional half-circle scallops around the outer edges makes it fun and quirky.

With this fairly mild summer, spending time outdoors has been more enjoyable than ever. However, my outdoor table really needed something to jazz it up! Fortunately, I had some fabulous leftover fabrics from projects completed in the last few months. So, this project features this pretty coral floral print from QT Fabrics' Bleecker Street collection!

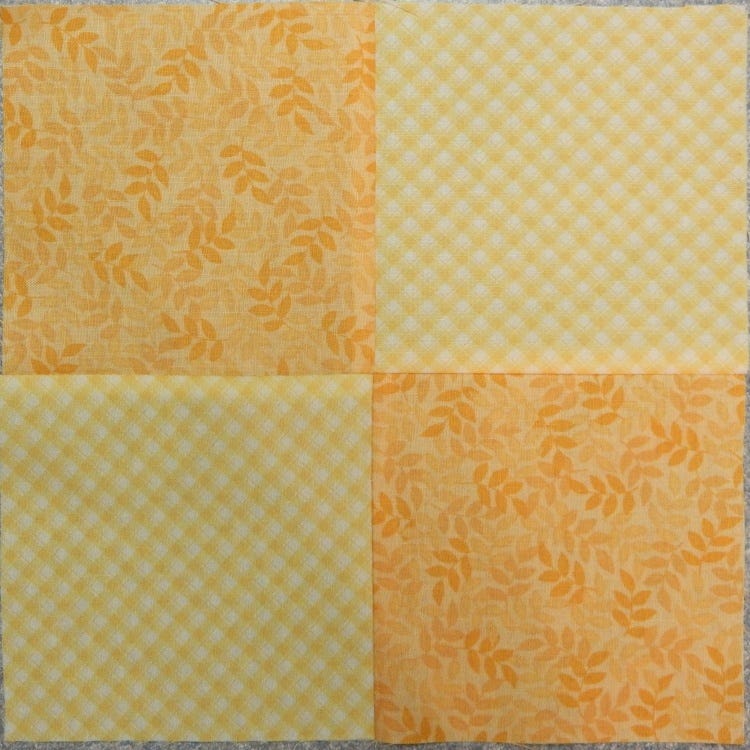
Once you have decided what your feature print will be, then simply add three or four more blenders. For my sample, one blender fabric is a nice light green for accent and two others are shades of pale yellow for background.
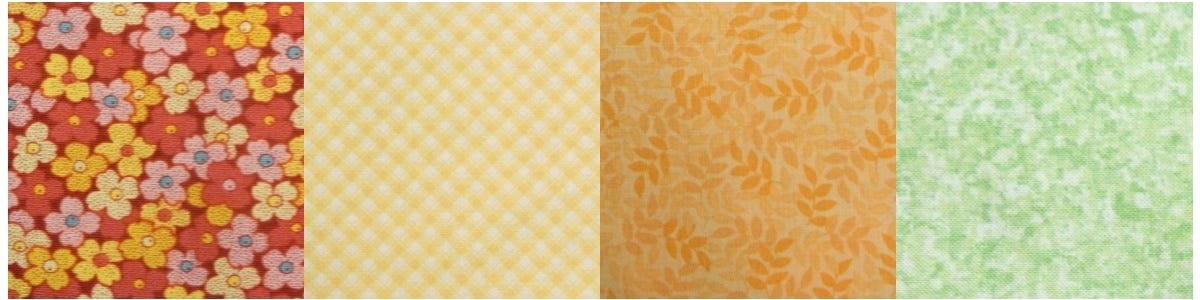
You can also add a tonal fabric that complements the main print. Further down this post, I have included an example of how you can use this complementary fabric.
For this project, I had great fun using the GO! Drunkard's Path-4" Finished (55338). This is a BOB, a Block on Board die! That means you can create a complete block with just this one die!
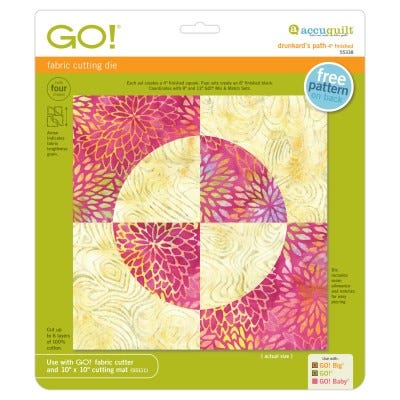
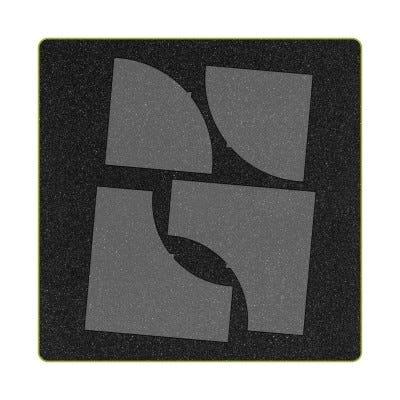
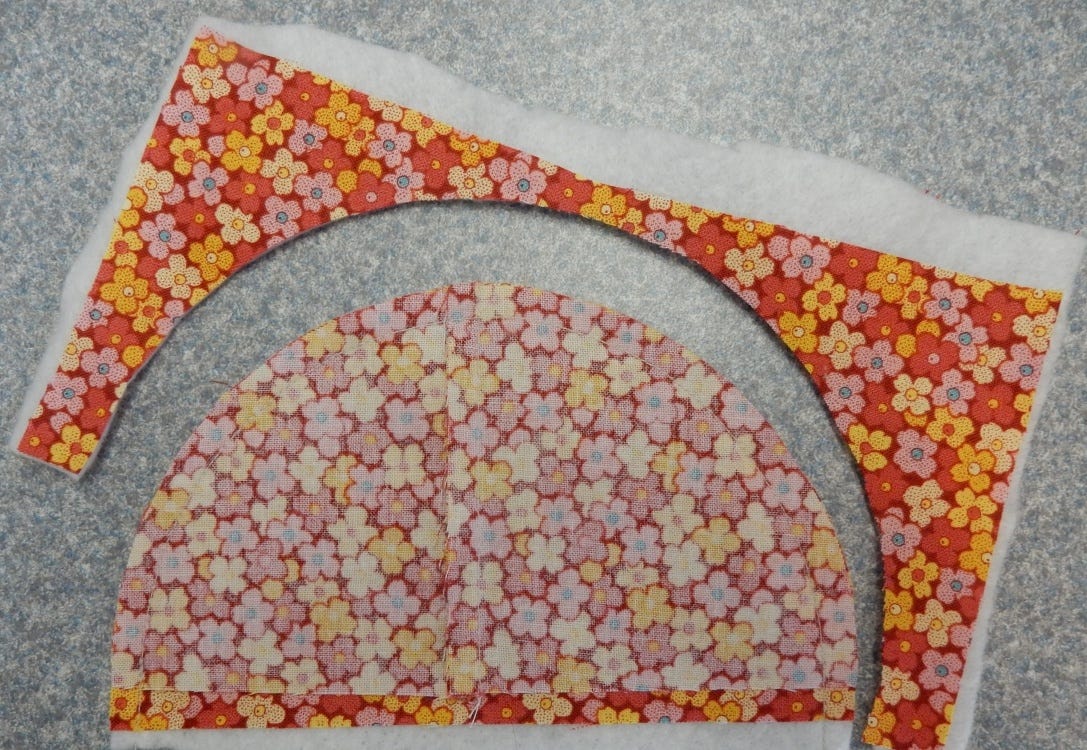
You can easily cut two "quarter circles" and two "arc shapes" all at once! Because of the way they are positioned on the die, you can also choose to cut only the quarter circles or just the arc shapes. This was a wonderful advantage for me since I did not cut both shapes out of any one fabric. For example, I cut only quarter circles from my feature print and none of the arc shapes.
Additional patches were cut from the GO! Qube Mix and Match 8" Block. This is a natural complementary fit for the GO! Drunkard's Path-4" Finished (55338) since all the patches are (or can become) a 4" Finished size.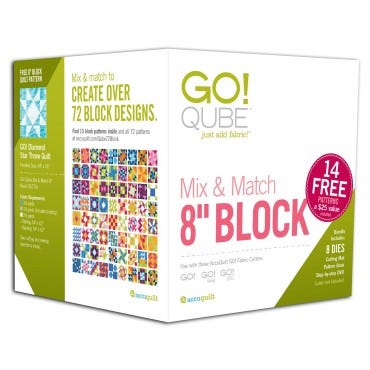

* I used the Floral Print as Backing for the half-circle scallops. You will need 1/3 yard to use as Backing for Scallops. From the Scallops Backing, cut twelve rectangles that measure approximately 4" x 7".
You will need about 7/8 yard Backing for Table Mat.
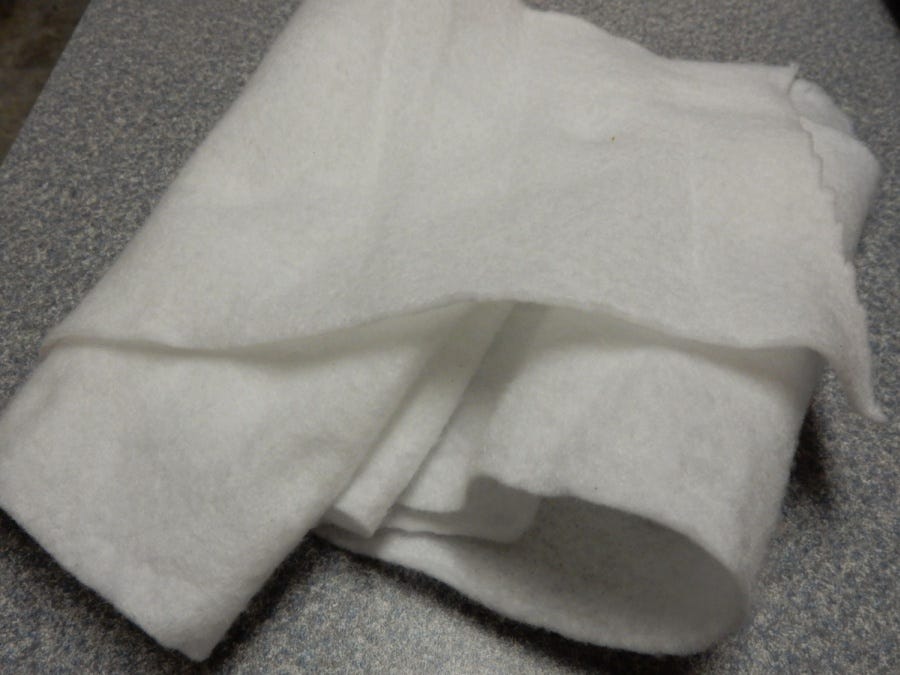
Also needed are scrap batting for the Scallops and a 30" square batting for the Table Mat. A low-loft batting is preferred.
Drunkard's Path Units
So, the elephant in the room is Curved Piecing! (Just remember, elephants are usually pretty gentle animals!) Really, it is all about practice, practice, practice! It is not difficut to piece curves once you get the hang of it. I have learned to sew Drunkard's Path Units with no pins but I know it is not everyone's choice.
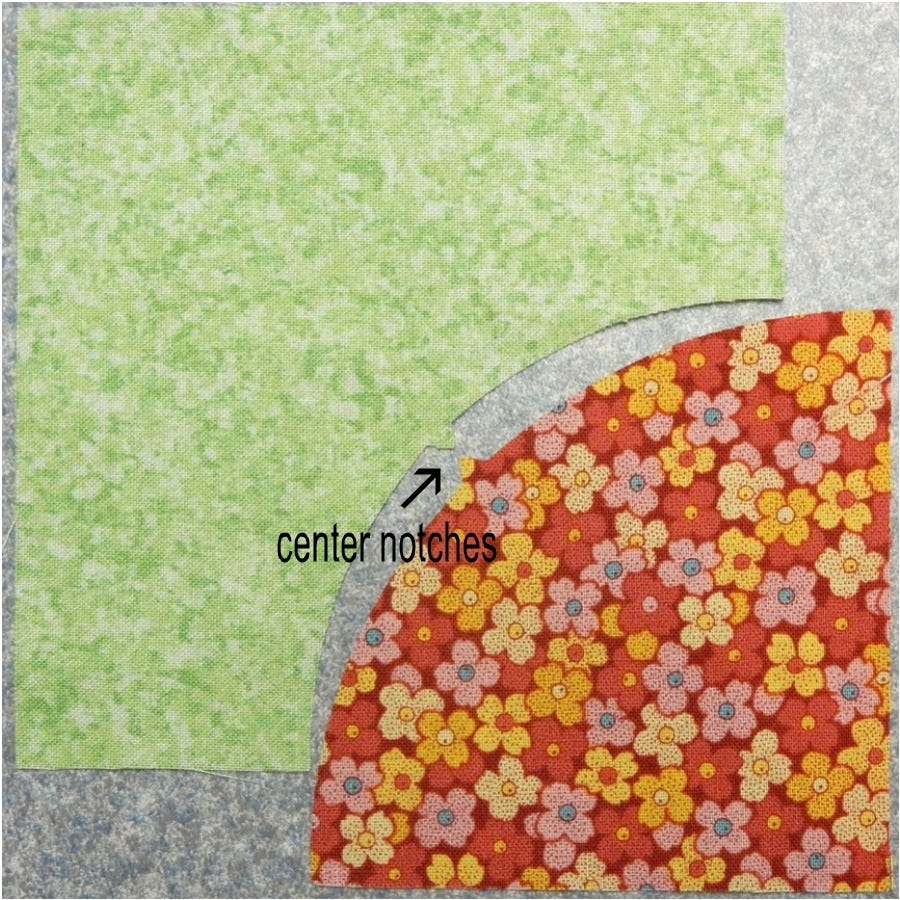
So, here's a couple of things to help you along. One of the really neat features of the GO! Drunkard's Path-4" Finished die shapes is that the center of the curve on both shapes is marked with a notch! That makes it so much easier to do curved piecing accurately. Just make sure those notches are matched up as you sew through that section.
A tool I love using is a pair of tweezers with which I can hold on to the tail ends of the fabrics as they get closer to the sewing machine needle. A stiletto works just as well.
If you decide to pin, be sure to use fine pins with thin shafts (for example, silk pins) that will distort your fabrics the least.
Finally, here are a couple of videos you may find useful:
"How to Put Together the Retro Drunkard's Path Quilt"
This video features the GO! Drunkard's Path-4" Finished (55338) die that I have used for this project. Pins are used in sewing the Drunkard's Path Unit.
"Drunkard's Path Tutorial - Lessons with Eleanor Burns"
This video features the GO! Drunkard's Path-7" Finished die. Eleanor Burns demonstrates curved piecing using no pins! Though this is a larger die than we use here, the technique still applies.
Piecing Patches
Sew one Floral Quarter Circle with one Yellow Arc Shape to make a Drunkard's Path unit that measures 4 1/2" square. Make 4 of these.
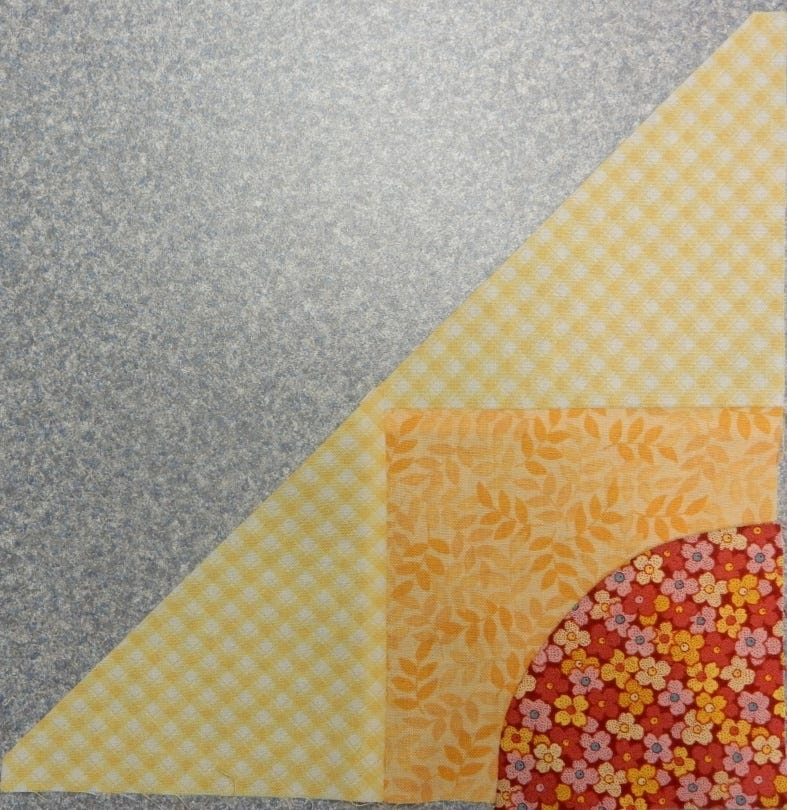
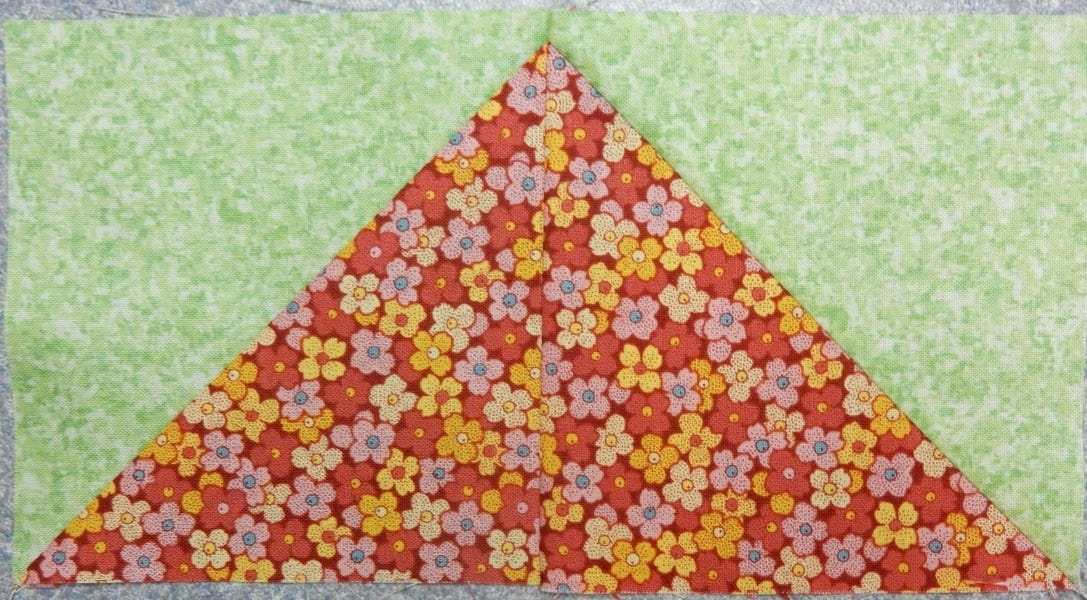
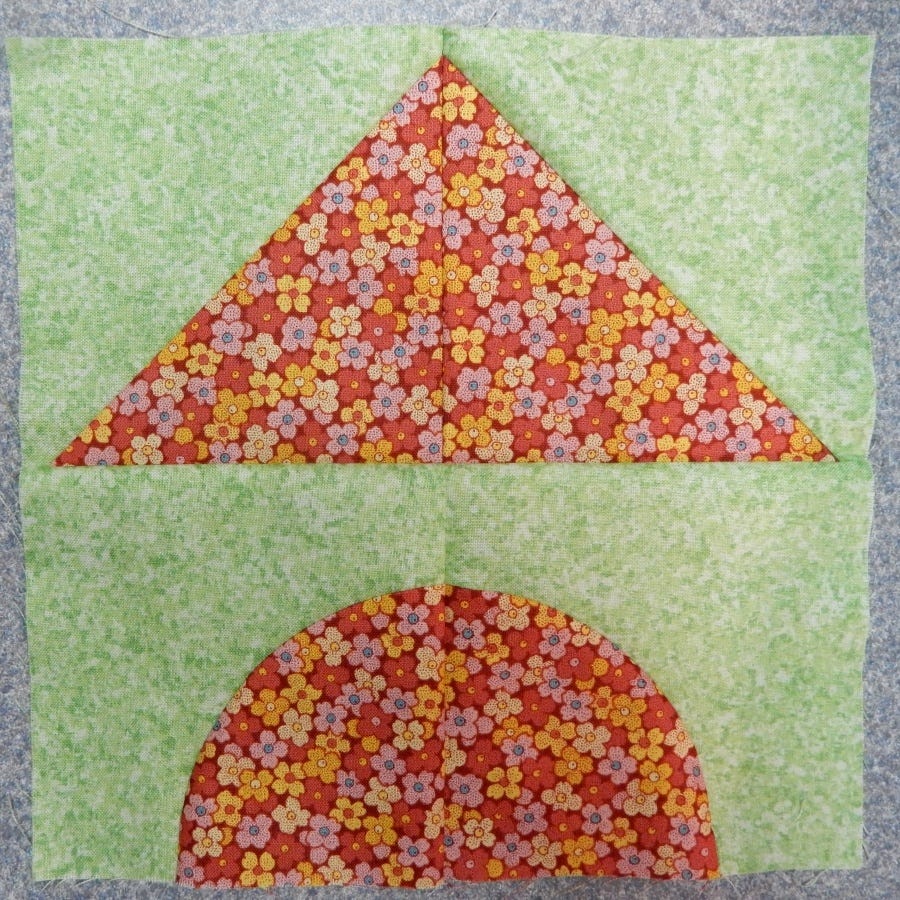
Sew a Light Yellow triangle to two sides of the Floral/Yellow Drunkard's Path unit as shown to create a Corner Triangle Block. Make 4 of these.
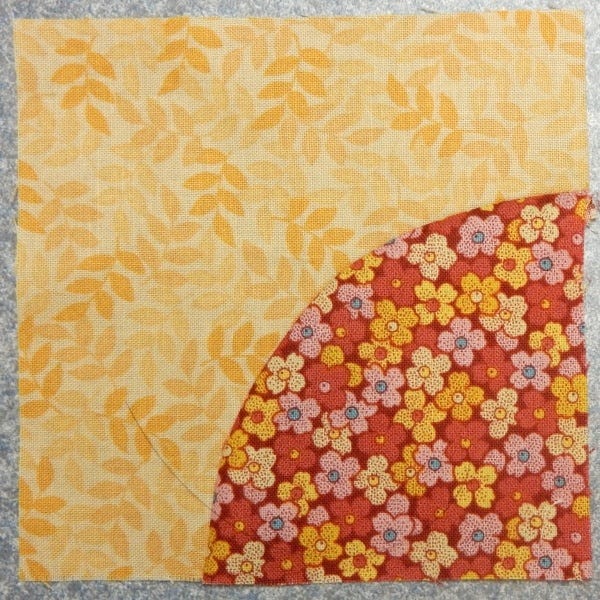
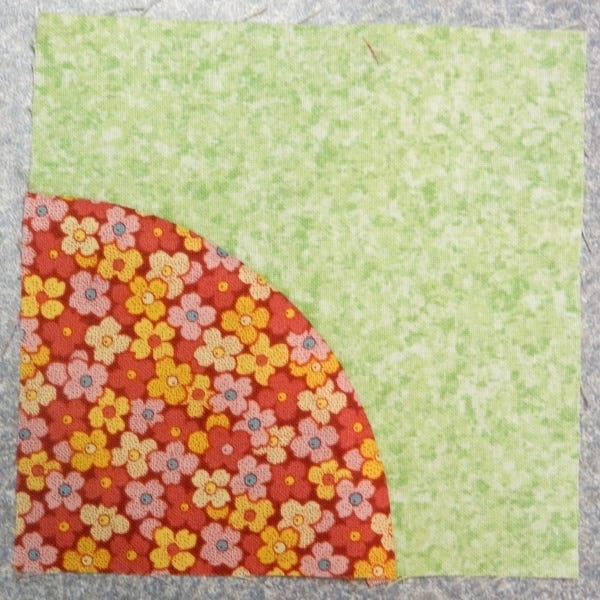
Sew one Floral Quarter Circle with one Green Arc Shape to make a Drunkard's Path unit that measures 4 1/2" square. Make 8 of these.
Sew two Floral/Green Drunkard's Path units together as shown. Make 4 of these double Drunkard's Path units.
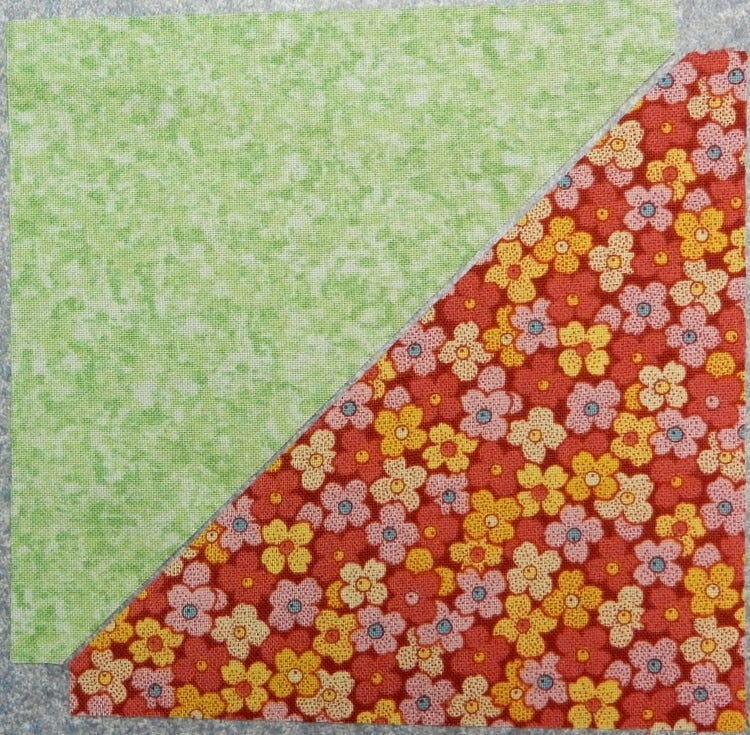
Sew a Floral triangle and a Green triangle together to make a unit that measures 4 1/2" square. Make 8 of these.
Then, sew two of these units together to make a rectangular unit that measures 4 1/2" x 8 1/2". Make 4 of these.
Sew a double Drunkard's Path unit with the Floral/Green rectangle to make a Side Block that measures 8 1/2" square. Make 4 of these.
Layout 2 Yellow and 2 Light Yellow squares as shown and sew together into a Four Patch unit that measures 8 1/2" square.
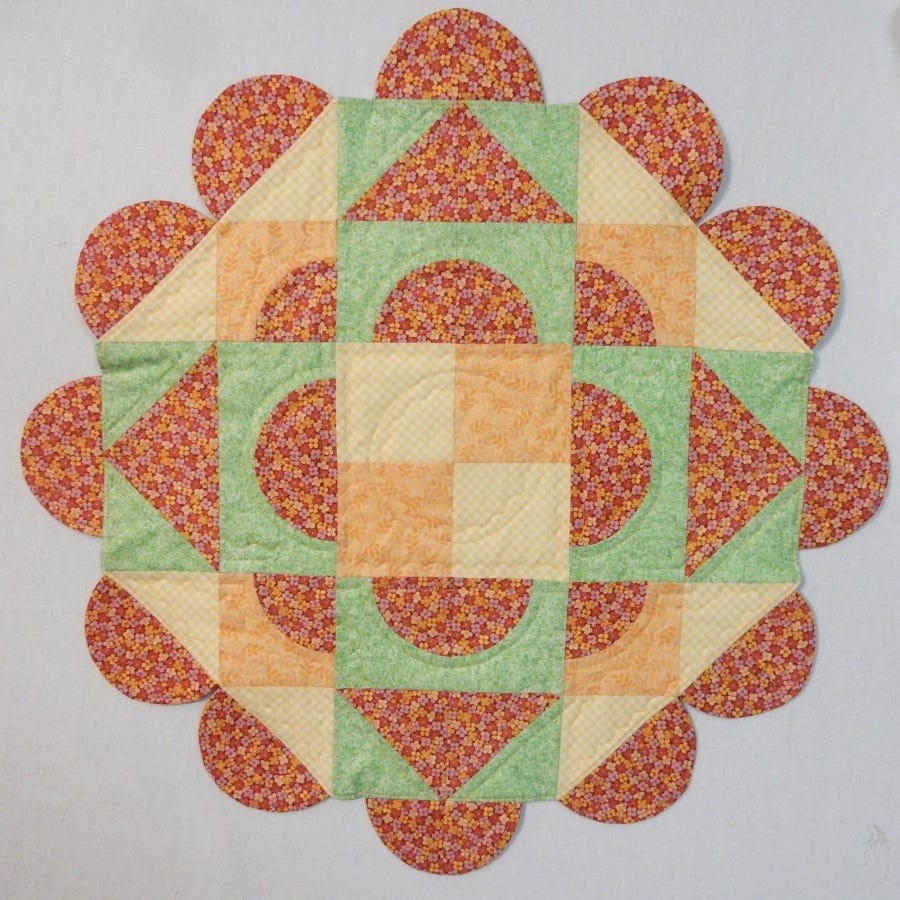
Assembling the Quilt Center
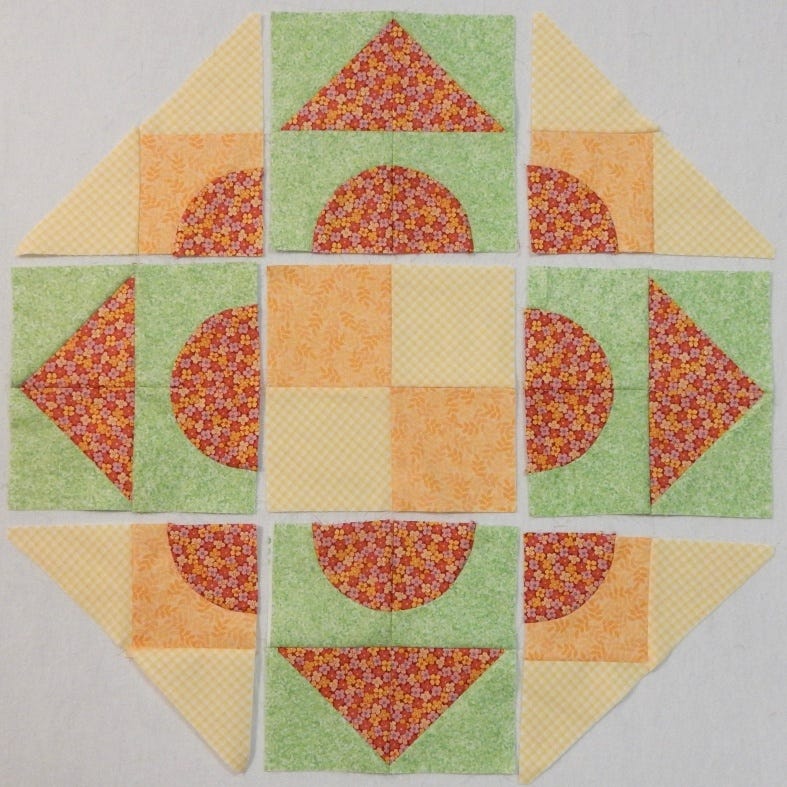
Layout 4 Corner Triangle Blocks, 4 Side Blocks and the Four Patch as shown. Sew units within each row together. Then, sew rows together.
Scallop Edge
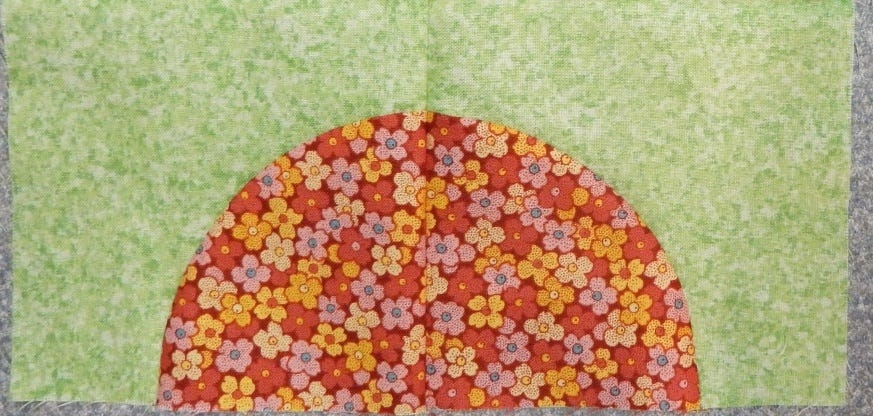
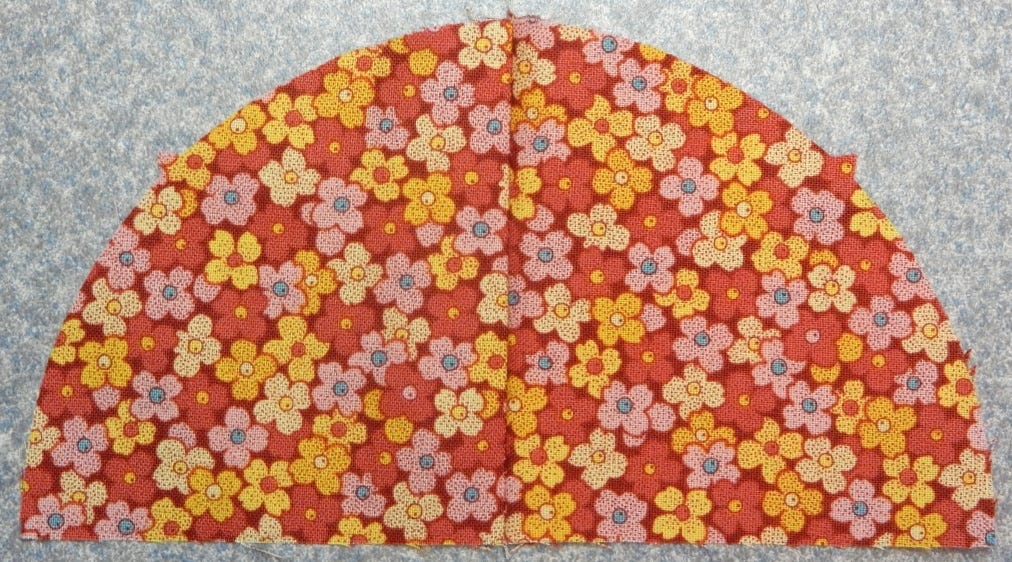
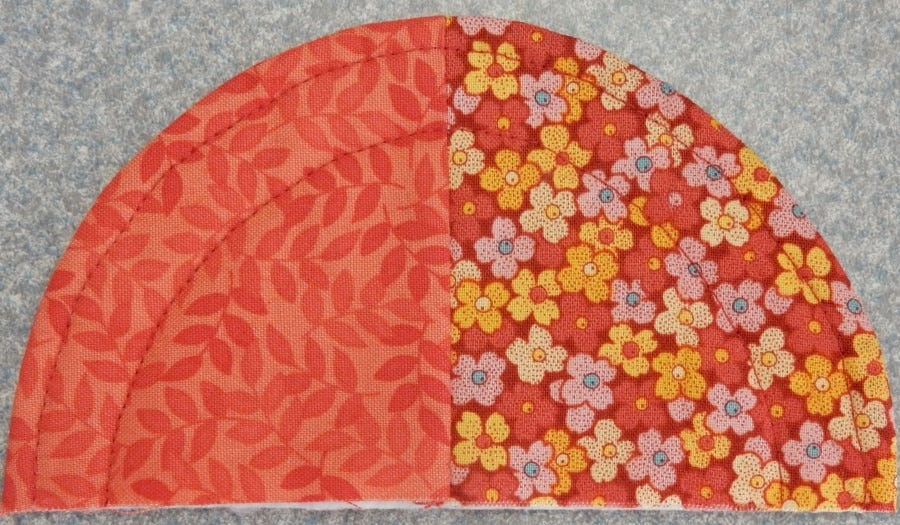
Sew two Floral Quarter Circles together to form a half-circle. Make 12 half-circles.
From a leftover batting strip, I cut batting rectangles for each of the half-circles.
Then, I layered batting, scallop backing rectangle and a half-circle with right sides together. I sewed a 1/4" seam along the curve of the half-circle, backstitching to start and end and leaving the straight edge open.
Trim excess batting and backing off around the half-circle.
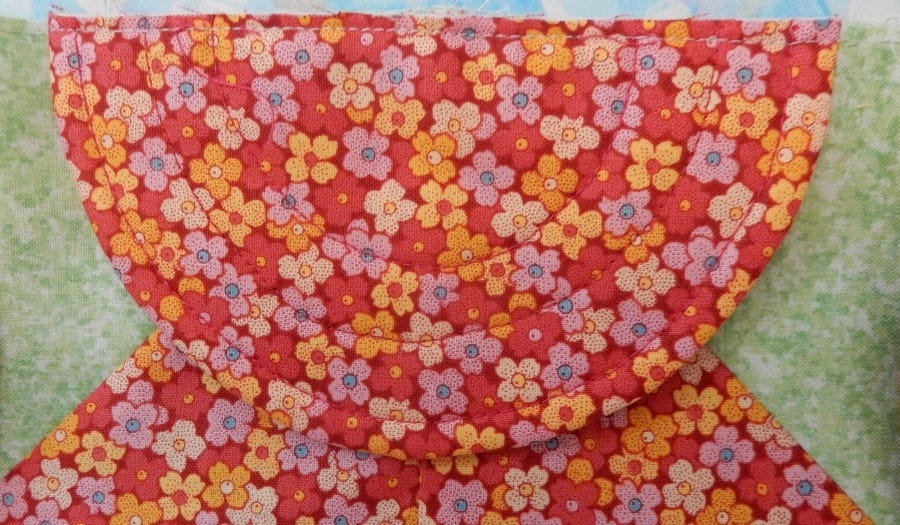
Turn inside out and press flat. Machine quilt as desired. Then, trim along the straight edge. Voila! One scallop completed! Make a total of 12 scallops.

If you like, you can use a two-fabric scallop by adding a complementary fabric to the mix. Here is an example of a two-fabric scallop:
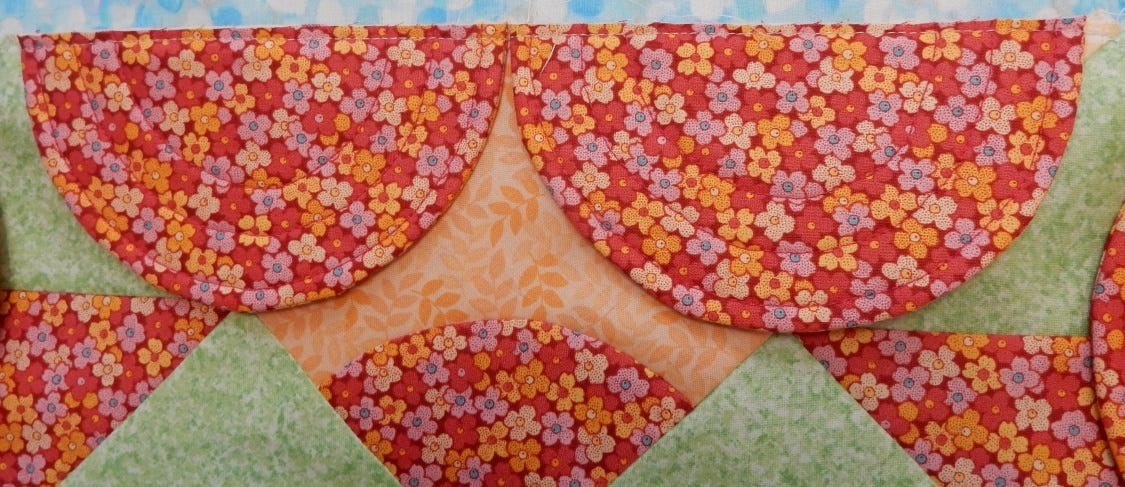
With a 1/8" seam, center and baste a scallop to each Floral/Green side of the quilt.
Also center and baste two scallops to each of the Light Yellow triangle edge.
Finishing the Quilt
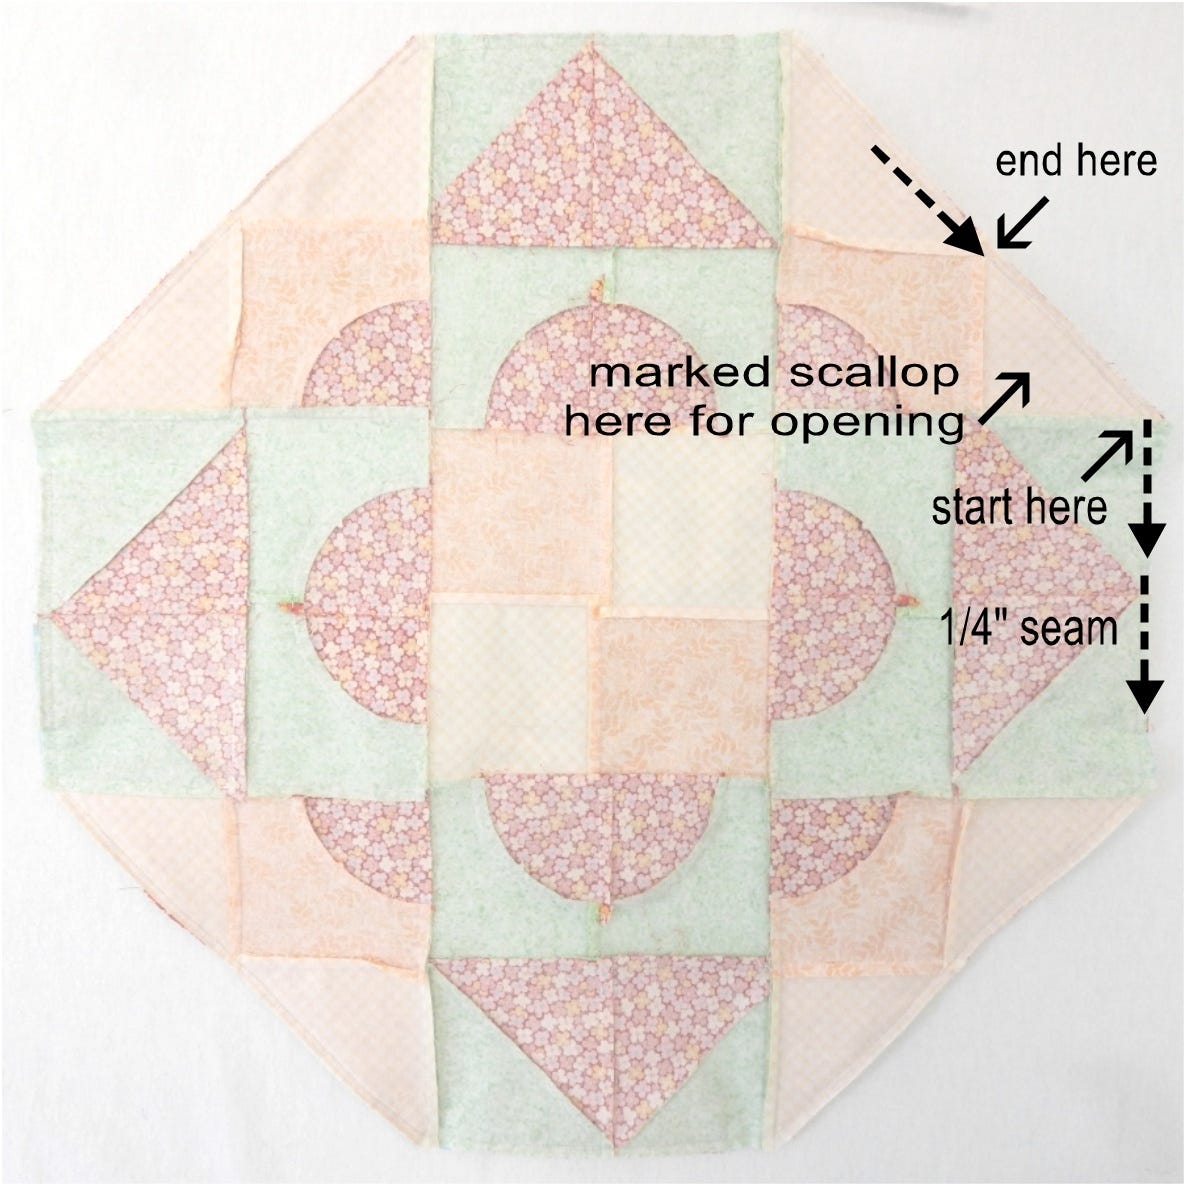
Pick one of the scallops sewn to one of the Light Yellow triangle edge. Sew it down with a regular 1/4" seam allowance. Mark this scallop with a pin.

Layer quilt batting and backing with the quilt top, right sides together. Notice that all the scallops will be sandwiched between the quilt top and backing.
Sew a 1/4" seam allowance all the way around. Start about 1/4" from the right end of the marked scallop and ending about 1/4" from the left end of the marked scallop as shown. This leaves an opening spanning most of the marked scallop. Take marking pin off and turn quilt inside out through this opening.
Push quilt edges out and press. Stitch opening closed. Pin-baste and machine quilt as desired. For my sample, I used a lot of straight line echo stitching and a wavy decorative stitch. This is a good opportunity to try out one of those decorative stitches on your machine!
Here's another look:
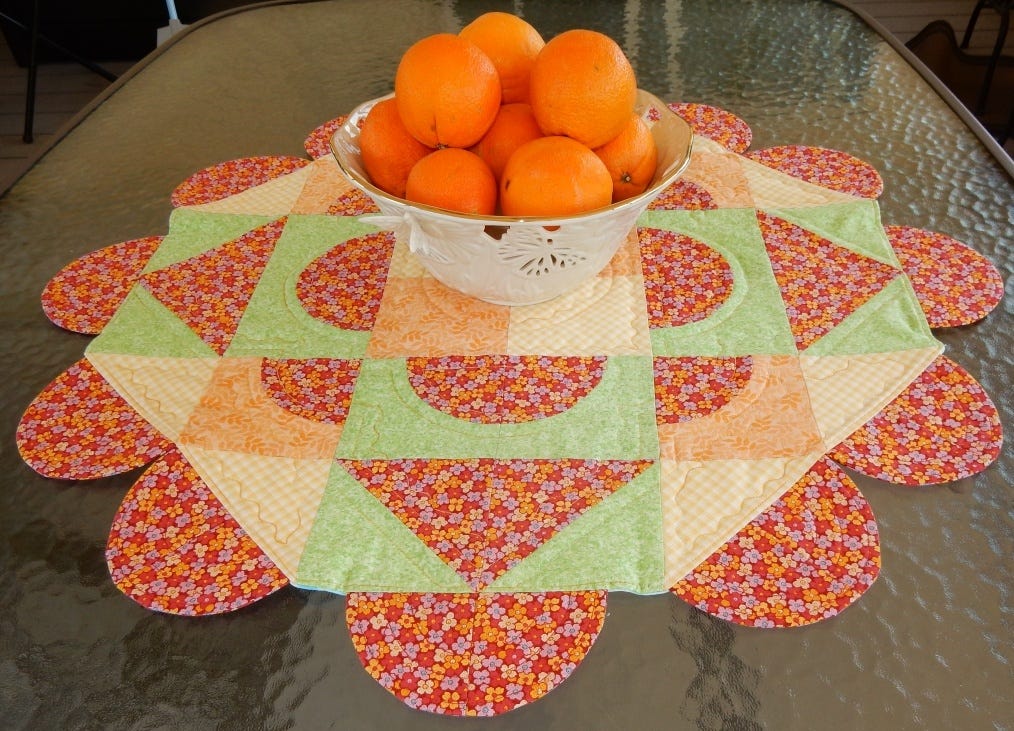
Enjoy your table mat!
Come and visit my site to see some of my other projects including several made with the GO! Fabric Cutter.


