


Hi, quilters! Kimberly here from NW Pepper with an easy, new project for you!
Sometimes, our project goals require a specific block size. If you are like me and have a nice, healthy library of AccuQuilt dies, you may be determined to use a specific die, like one of the Block on Board (BOB) dies. But sometimes, the finished size of the block is not quite the size you need. This may be because you are creating a mini quilt for something like a group exhibit, or maybe you want to create a pillow and have a specific size in mind.
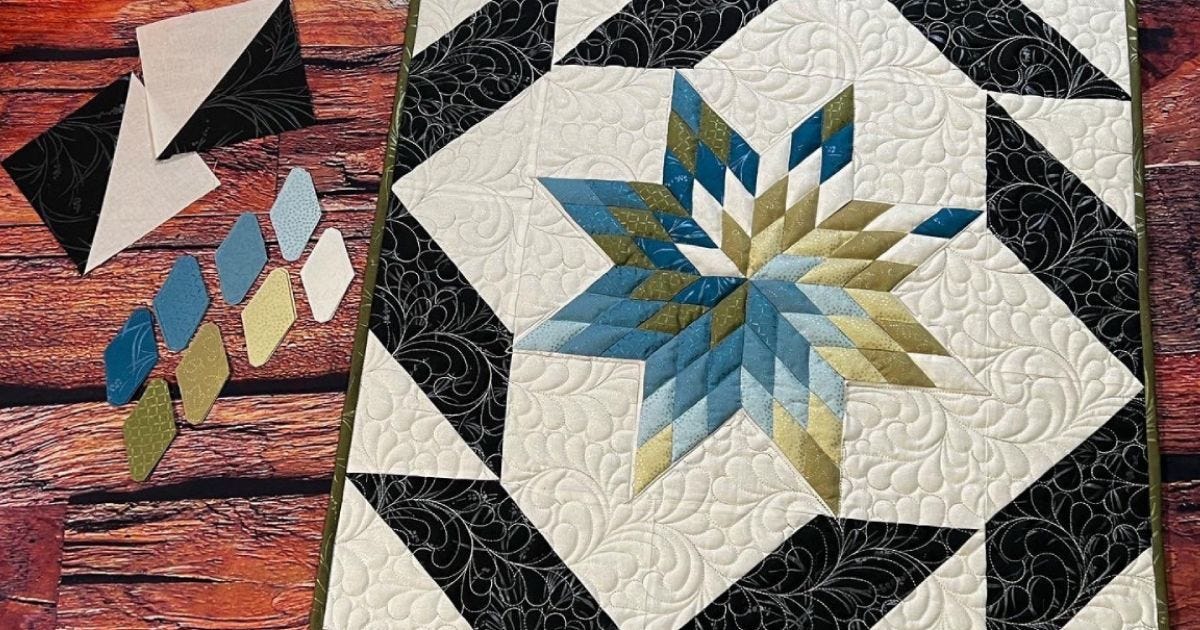
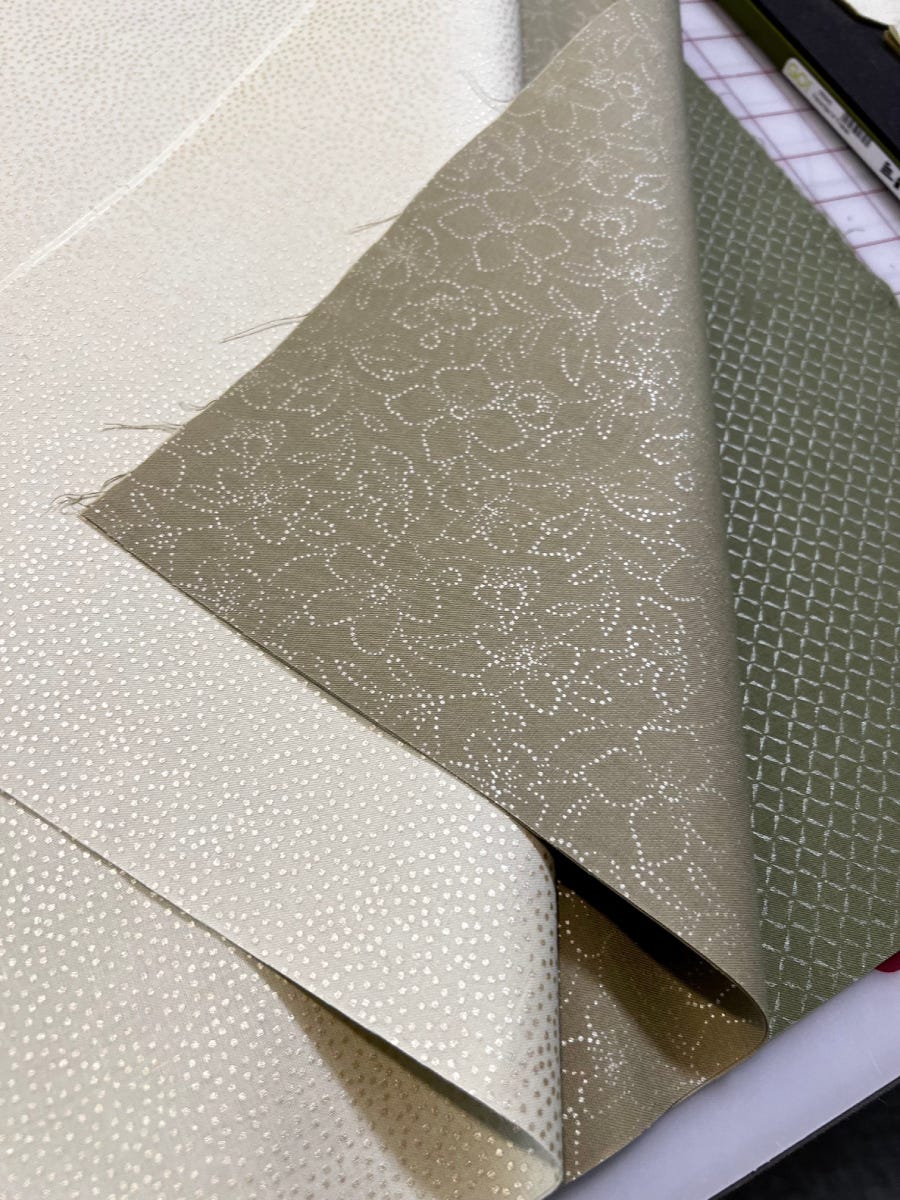
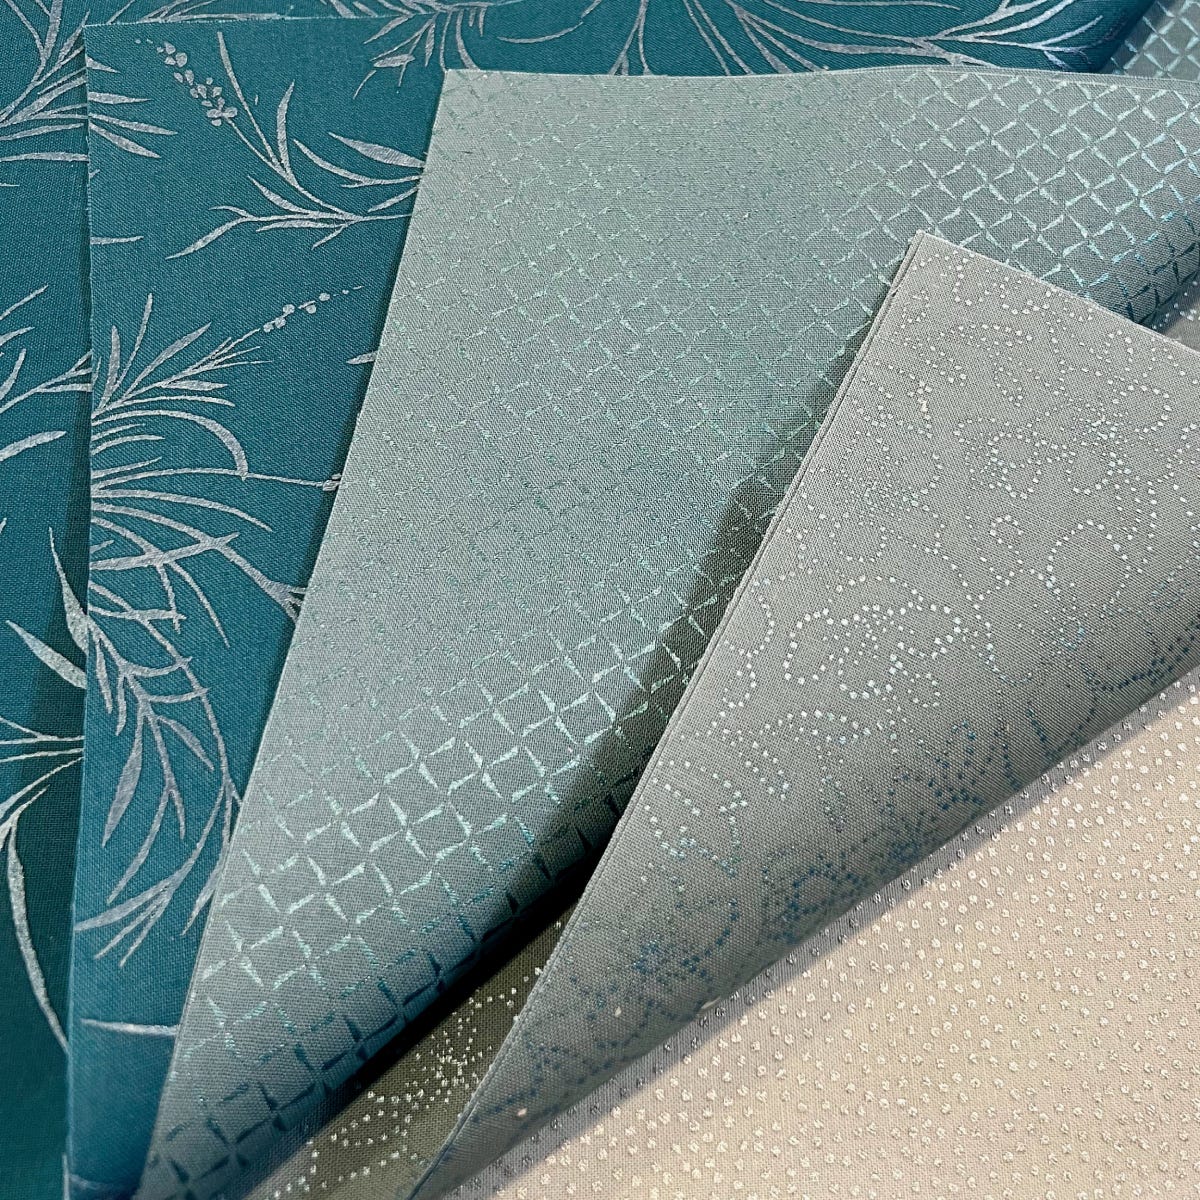
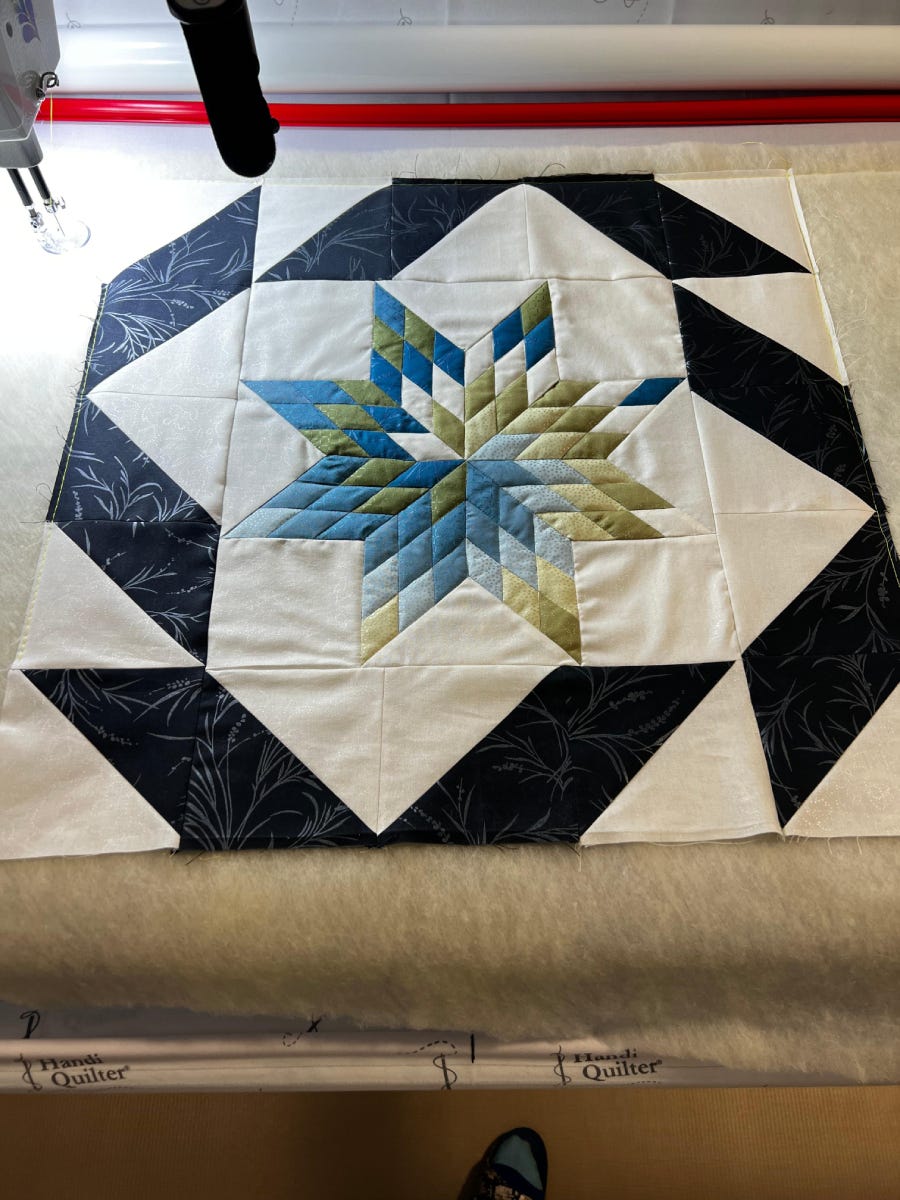
In my case, I was working on a project and had a specific fabric line I wanted to work with and wanted a finished block size of 24". The fabric was Maywood Studio Opal Essence, which has a beautiful sheen, but also comes in lovely gradient color ways.
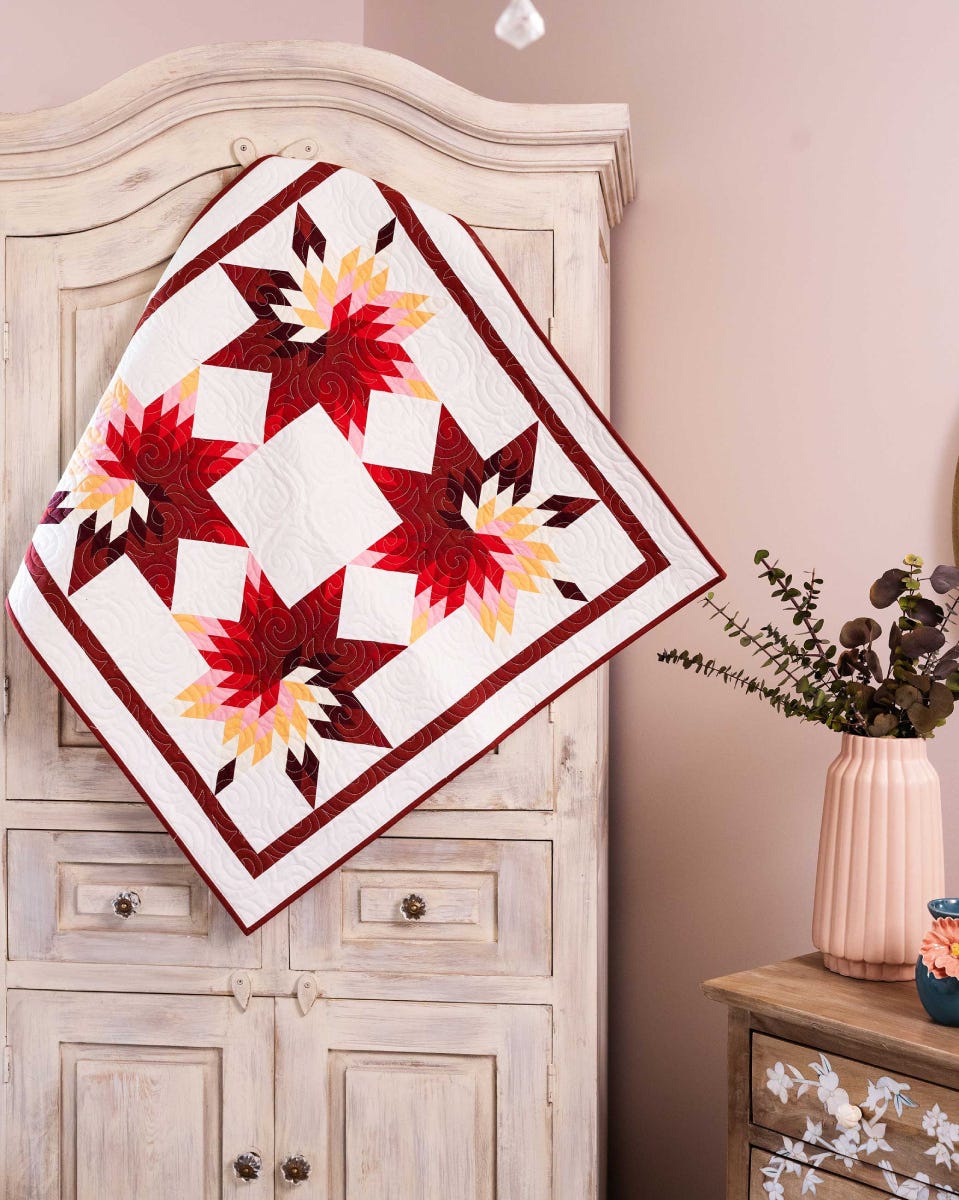
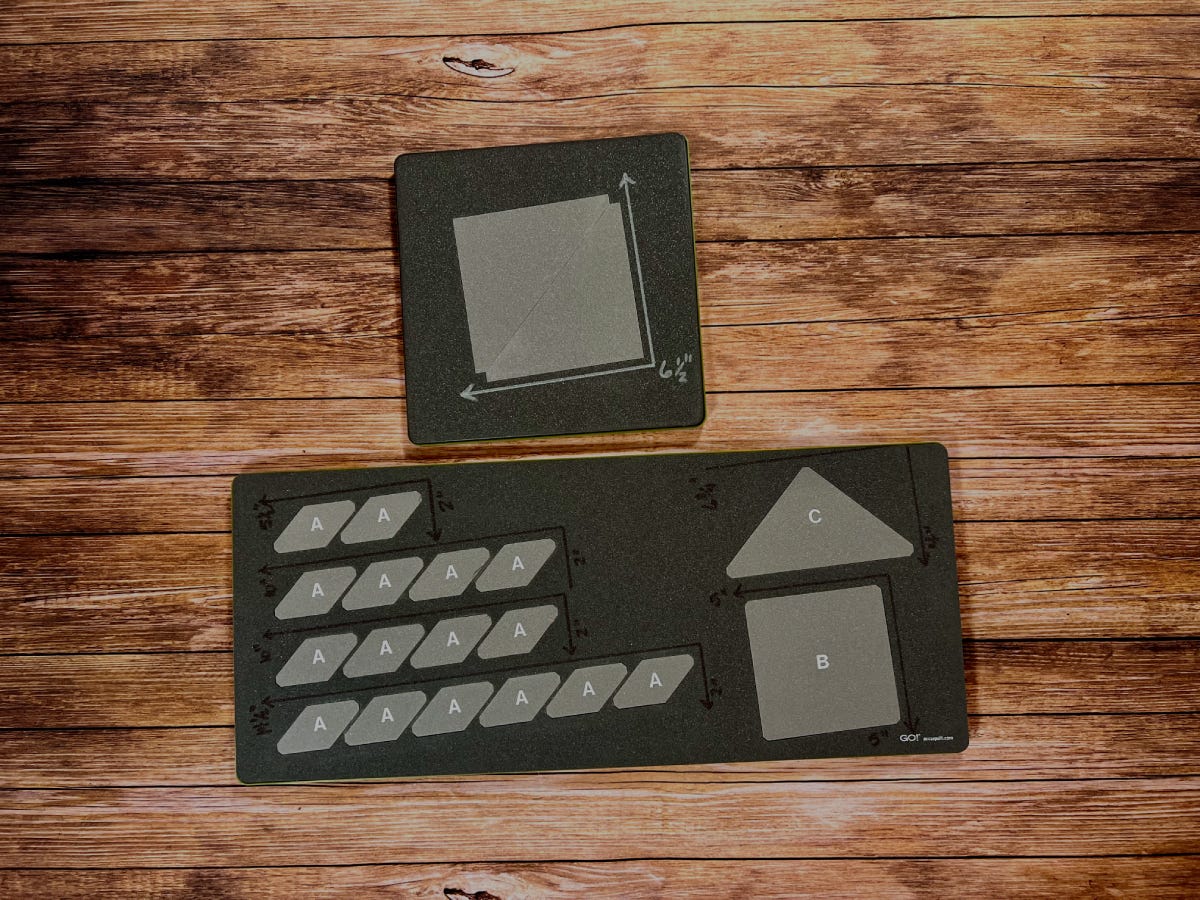
The gradient colors reminded me of the beautiful pattern created by fellow AccuQuilt GO! Getter, Bea Lee of Beaquilter. She used the GO! Prairie Star-14" Finished Die to create the GO! Aloha Stars Throw Quilt pattern. I have always admired the way the diamonds are arranged to create a swirling gradient effect. So, I decided this was my perfect chance to work with this die and pattern. I used this pattern as a base, but I only created a single star. Since I wanted a finished size of 24", I could add a 5" border to all edges, adding 10" to the overall block size. The larger half square triangle size (Shape 3) included in the GO! Qube Mix & Match 10" Block, as well as the square (Shape 1), are 5", so either would be the perfect size, depending on which looked best in my design.
Designing My Project
To assist me in achieving my desired finished block size, I turned to Electric Quilt 8 (EQ8) Quilt Design Software. This would be the best way to create the final design and really get a feel for how the fabric I selected would look in the finished project. AccuQuilt sells EQ8 as well as add-on software, which includes the Prairie Star block. It is a part of the EQ8 Block Library - AccuQuilt BOB – Set 3 by Lori Miller Designs. I installed this add-on then followed these steps:
1. Create a quilt layout that is 14” (the size of the finished BOB) and has a single border that is 5” and use the border style of “blocks.”
2. Select the Prairie Star block from the block library and place it as the center block. Then, choose half-square triangle blocks to be placed in the border.
3. Download the fabric swatches from the manufacturer's website and import them into EQ8.
4. Color the center Prairie Star block using your choice of fabrics from the collection, using the GO! Aloha Star Throw Quilt pattern as your guide.
5. Color the half square triangles and arrange them so that they create an interesting swirl pattern, especially when using the high contrast fabric colors of black and white as I did.
6. Once you are happy with the layout, print it out for reference and begin cutting your fabric.
7. As a bonus step, you can name your new design! This one is called the Qubed Prairie Star Table Topper, but it would look great as a wall hanging, too.

Cutting, Sewing, & Quilting, Oh My!
Once the planning process was completed, it was time to get started cutting. I like to measure the shapes on my die boards and mark the size of fabric strip that I will need to cut in order to maximize my fabric before placing on the dies. I do this by marking my dies with a permanent marker and mark 1/4” away from the edge of the shape on two sides. I always find this helpful in getting my fabric cutting assembly line going.
I love using AccuQuilt dies to cut my fabric because of the thought put into the way the dies cut shapes, include notches that make it easy to keep you within that 1/4” seam allowance, and avoid the need to trim away excess fabric after sewing. I noted that the diamond, triangle, and square shapes were all designed to remove the corners (sometimes referred to as dog-ears), which would otherwise require trimming away.
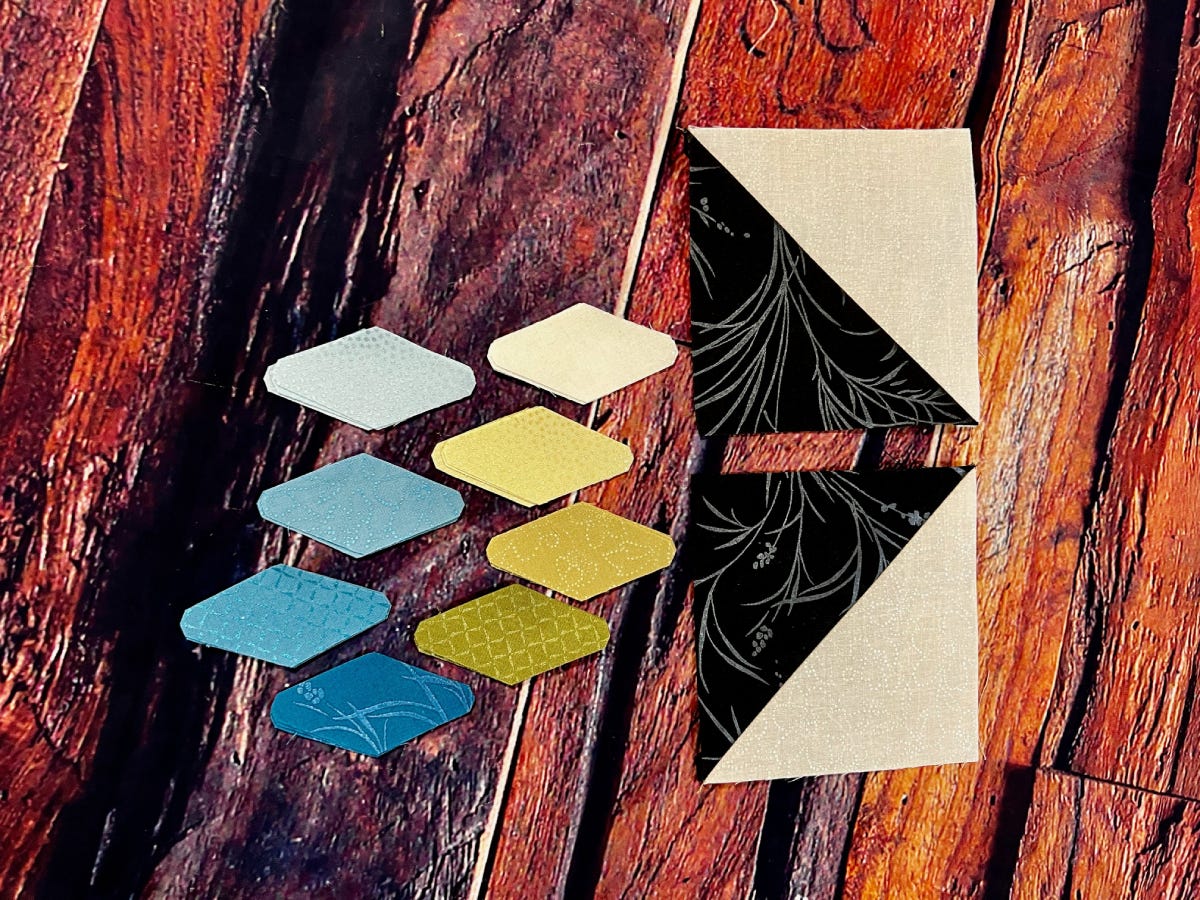
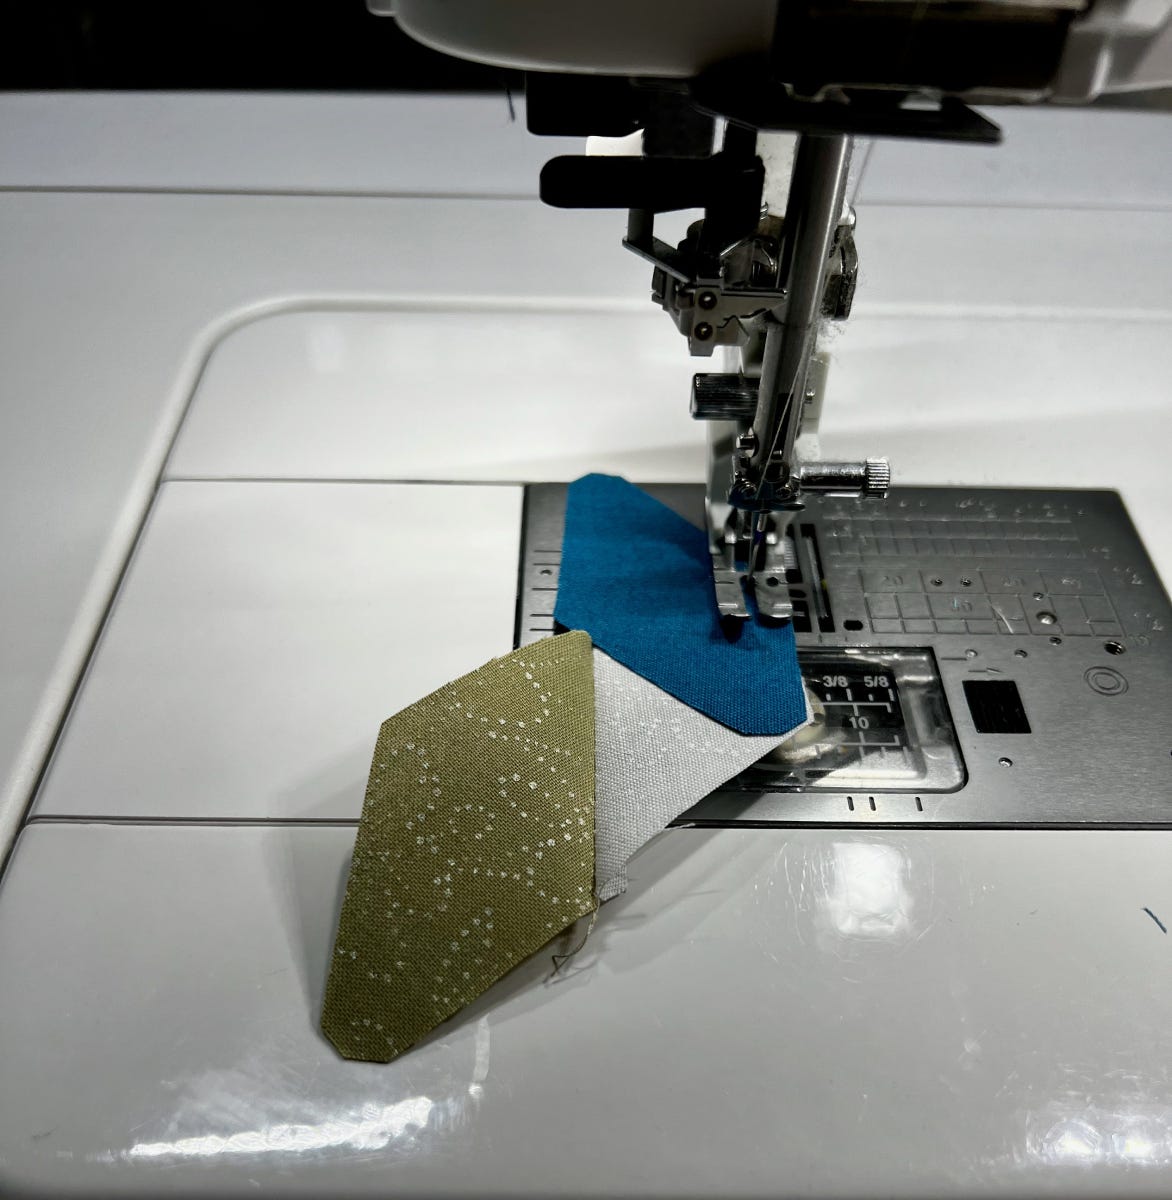
Once everything was cut, the block came together quickly, first by sewing individual diamonds into rows and then sewing those rows of diamonds together into a larger diamond, making sure to use my EQ8 printout as well as the pattern as my guides.
The Prairie Star block requires Y-seams (also known as partial seams). The biggest lesson I’ve learned when it comes to Y-seams is not to fear using my seam ripper. I typically only need to remove a single stitch, maybe two, to back things up to that 1/4” seam so that I can join the background sections to the diamond sections to form the star.
I then quickly pieced together the half square triangles and created the block by sewing each row together based on my EQ8 design.
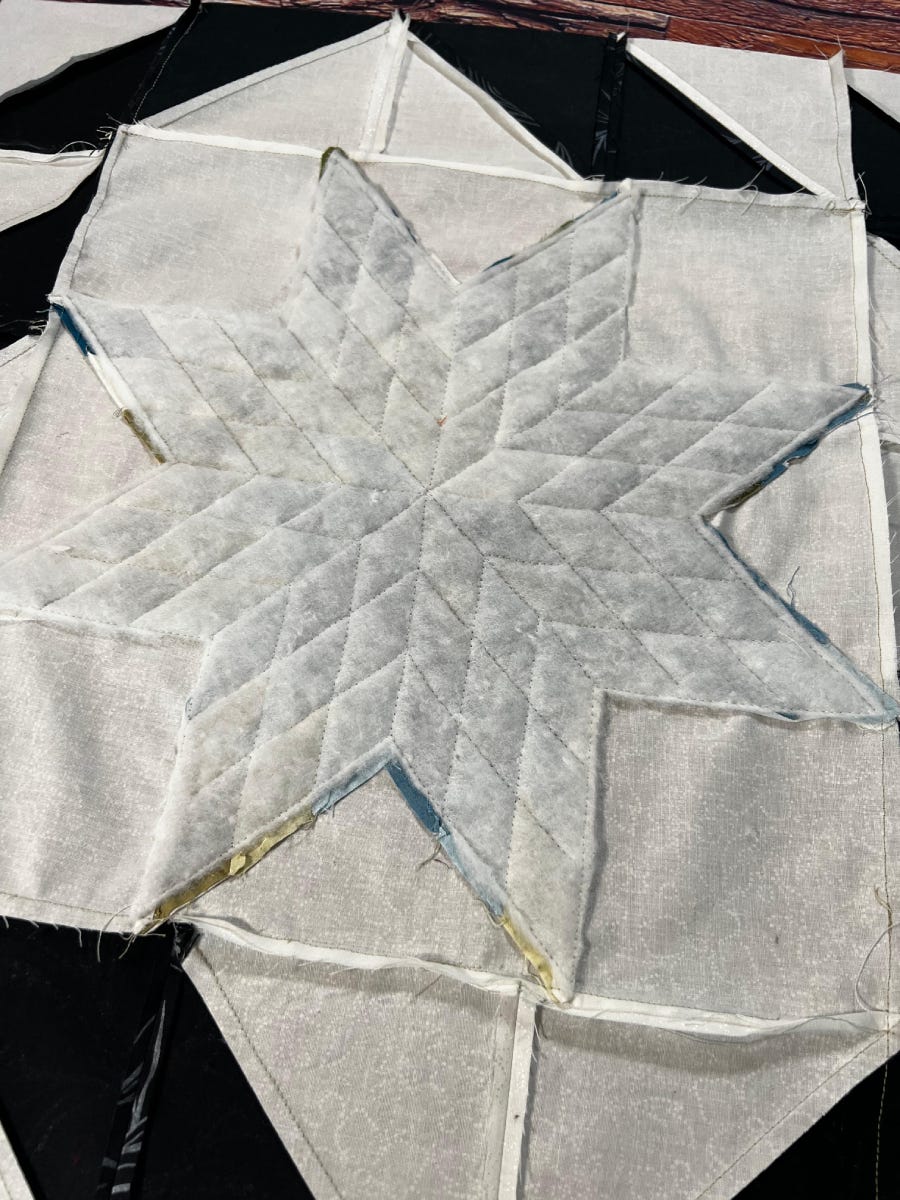
The next decision, as with any quilting project was how to quilt it. After building that beautiful Prairie Star block as the feature, I knew I should use a technique called trapunto to make it really stand out.
I basted just the area containing the star to a high loft polyester batting, which is used in bed comforters. I threaded my sewing machine with water soluble thread and basted this layer in place so that I could quilt on my long arm machine. I used my walking foot and stitched in the ditch between each row of diamonds, including the outline of the star. I then cut away the batting, close to the star.
Then, it was time to move the project to the long arm. I love to use my robotics-driven setup, but it does require a combination of custom work, like excluding the star shape, so that the rest of the design quilts in the background. For this project, I thought that the perfect edge to edge design would be Abundant Feathers by Three Sisters Fabric. I sized it so that it would be small enough to create background texture rather than distract from the focus on the center star.
After the background quilting was complete, I manually quilted in the ditch of each diamond, using a monofilament (invisible) thread.
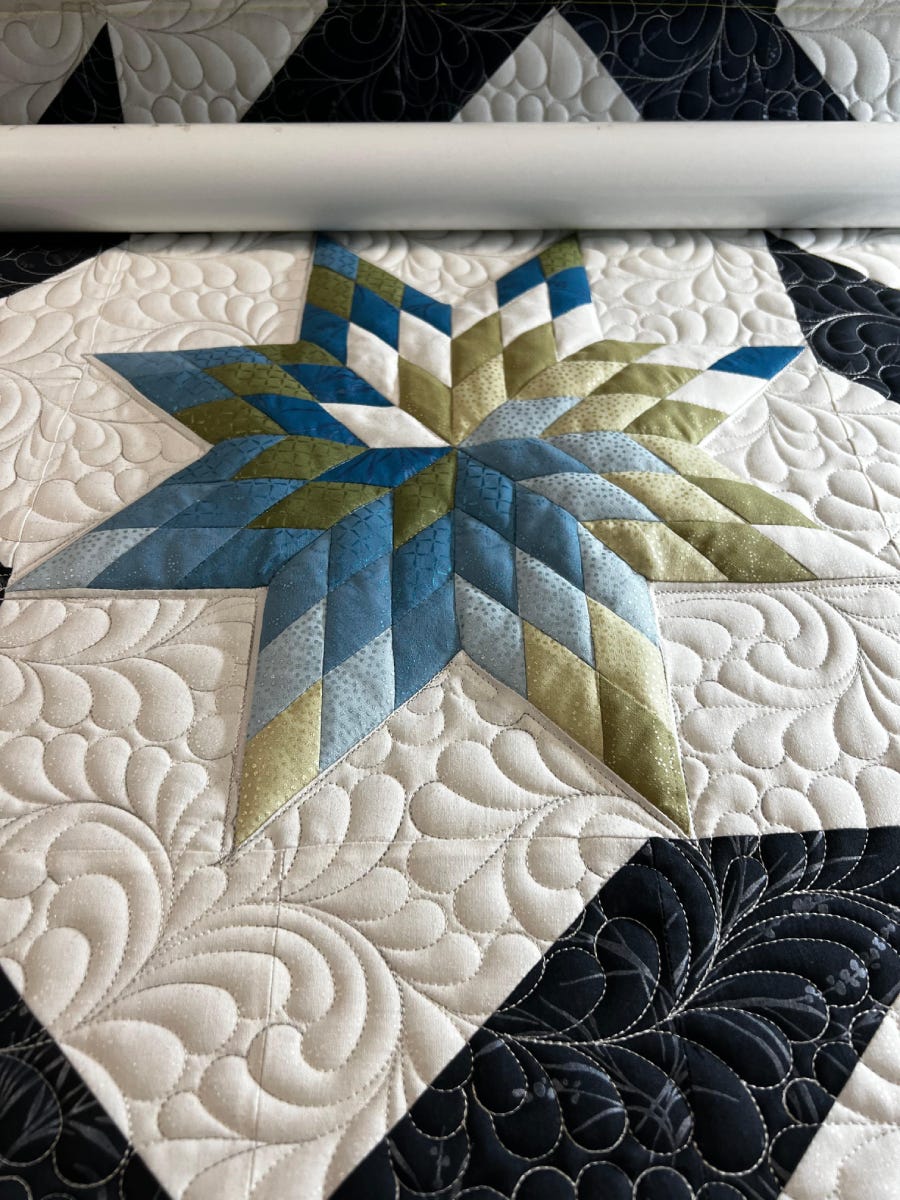
I loved the result of the finished block! I could also see this same technique repeated in different fabrics. Perhaps you could create six different versions, using six different color schemes and hang them along the hallway in your home or create a series of pillows for your home.
PRO TIP: You can always combine any BOB die with a GO! Qube to create an interesting border and help you achieve your desired finished block size.

If you make your own version of this tutorial, please share the photo on social media using the hashtag #AccuQuiltBuilt, and don't forget to tag @nwpepper and @AccuQuilt, so we can see your fun creation!


