
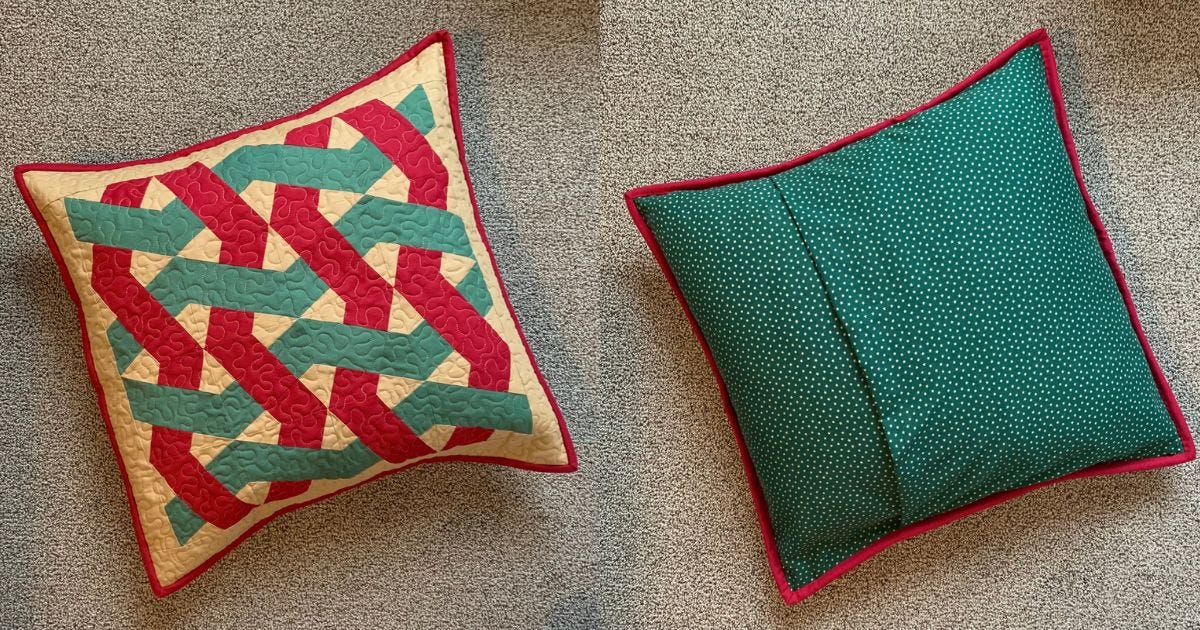
Throw pillows are a fun and useful way to decorate for the holidays, but who has room to store pillows for every season? Katy here from KatyQuilts to show you a fun pillow cover that can be changed with the seasons and easily stored when not in use.
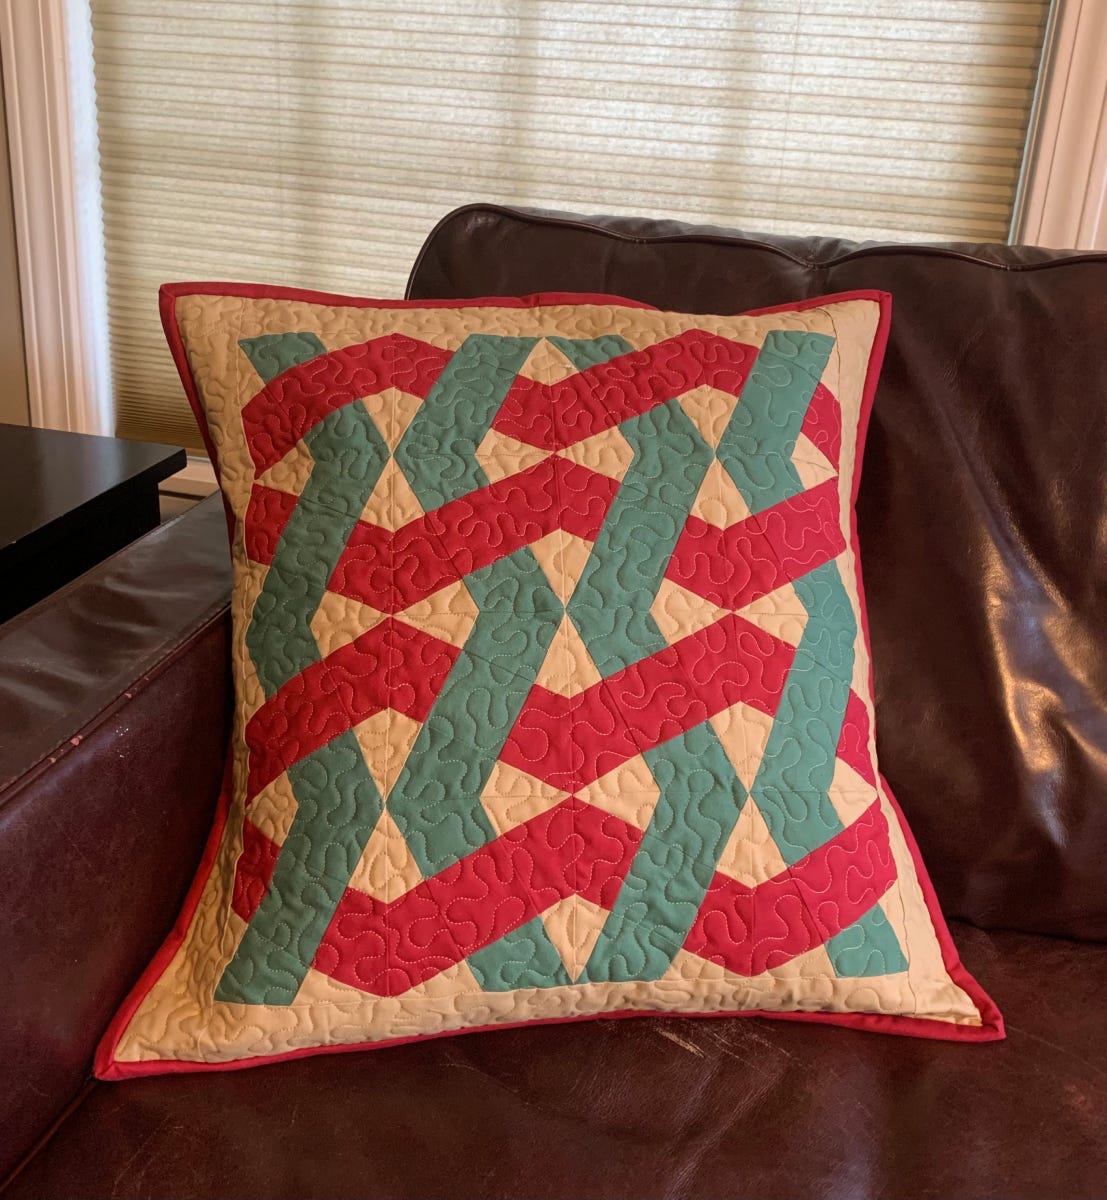
I used the GO! Washington’s Puzzle-4" Finished Die, but you could adapt this idea using any Block on Board (BOB) die for a pillow of any size. My pillow form was a 20” square, so these instructions are for that size.
Supplies Needed
- GO! Washington’s Puzzle-4" Finished Die
- GO! Strip Cutter-2 1/2” (2" Finished) 3 Strips Die
- 1 1/4 yards of backing fabric
- 2/3 yards of muslin
- Tan fabric
- Red fabric
- Green fabric
- 20” pillow form
Cutting Instructions
1. For the red fabric, cut:
- One 3 1/2” x Width of Fabric (WOF) strip.
- Subcut eight of Shape A from the GO! Washington's Puzzle-4" Finished Die.
- Cut two 4” x WOF strips.
- Fanfold and subcut 32 of Shape C from the GO! Washington's Puzzle-4" Finished Die.
- Use the GO! Strip Cutter-2 1/2” (2" Finished) 3 Strips Die to cut three 2 1/2” strips for binding.
2. With the green fabric, cut:
- One 3 1/2” x WOF strip.
- Subcut eight of Shape A from the GO! Washington's Puzzle-4" Finished Die.
- Cut two 4” x WOF strips.
- Fanfold and subcut 32 of Shape C from the GO! Washington's Puzzle-4" Finished Die.
3. Using the tan fabric, cut:
- Three 3 1/2” x WOF strips.
- Fanfold and subcut a total of 64 of Shape C from the GO! Washington's Puzzle-4" Finished Die.
- With the GO! Strip Cutter-2 1/2” (2" Finished) 3 Strips Die, cut two 2 1/2” strips.
- Subcut two strips to 16 1/2” for side borders.
- Subcut two strips to 20 1/2” for top and bottom borders.
- Subcut two strips to 16 1/2” for side borders.
4. Cut the backing fabric into two pieces measuring 20 1/2” x 28”.
NOTE: You will be making mirror image blocks. Fanfolding is necessary, where noted, if you are using prints.
Sewing the Blocks
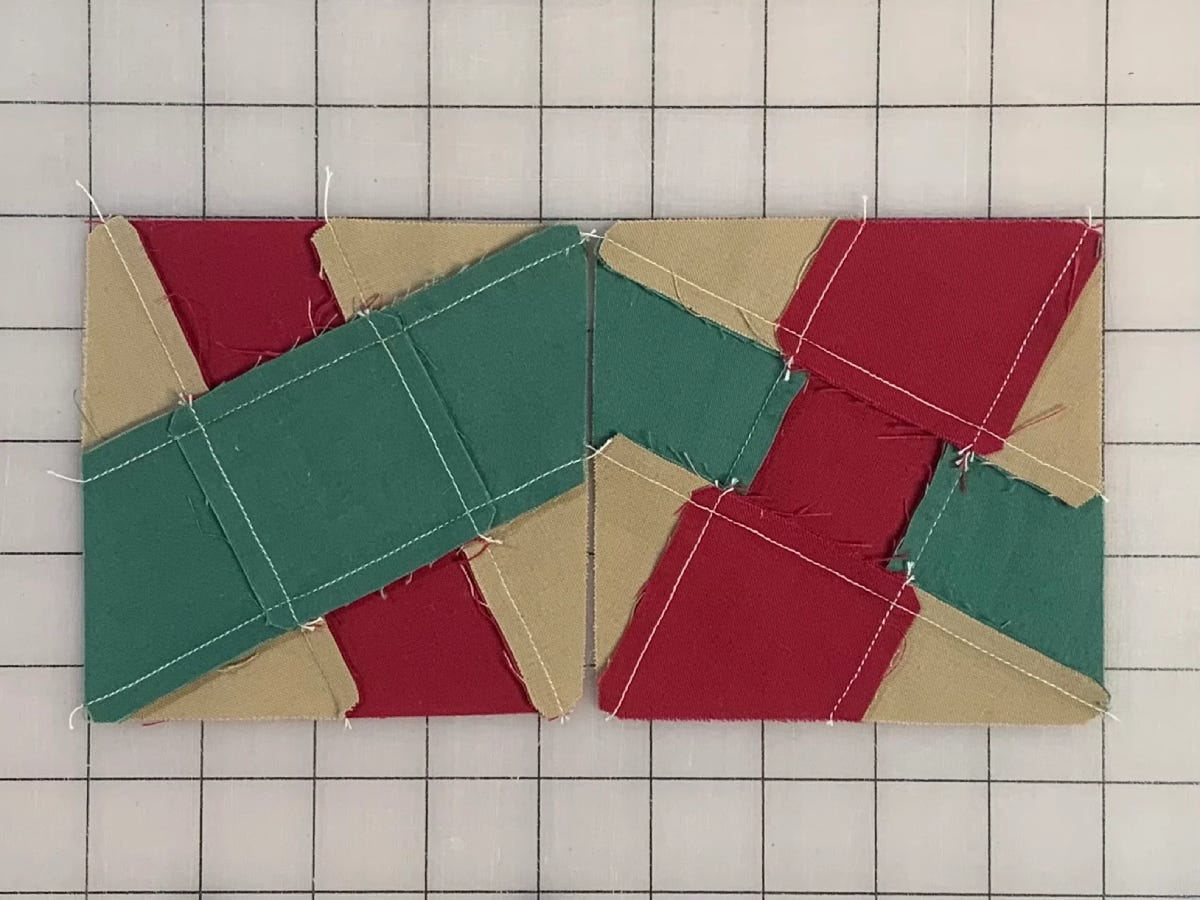
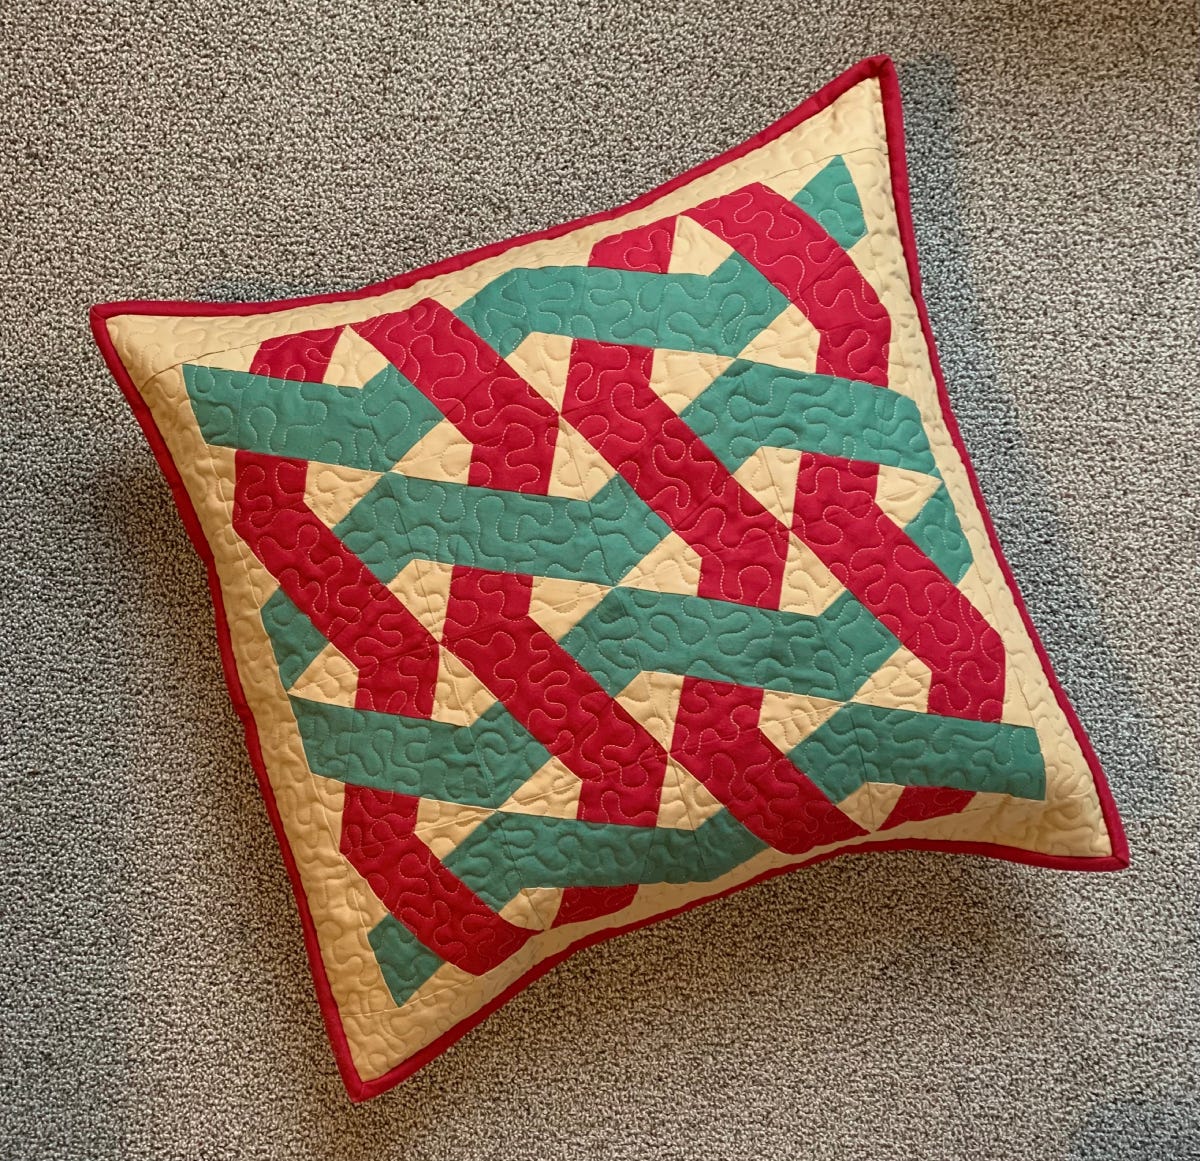
You will make eight of block A and eight of block B as shown below.
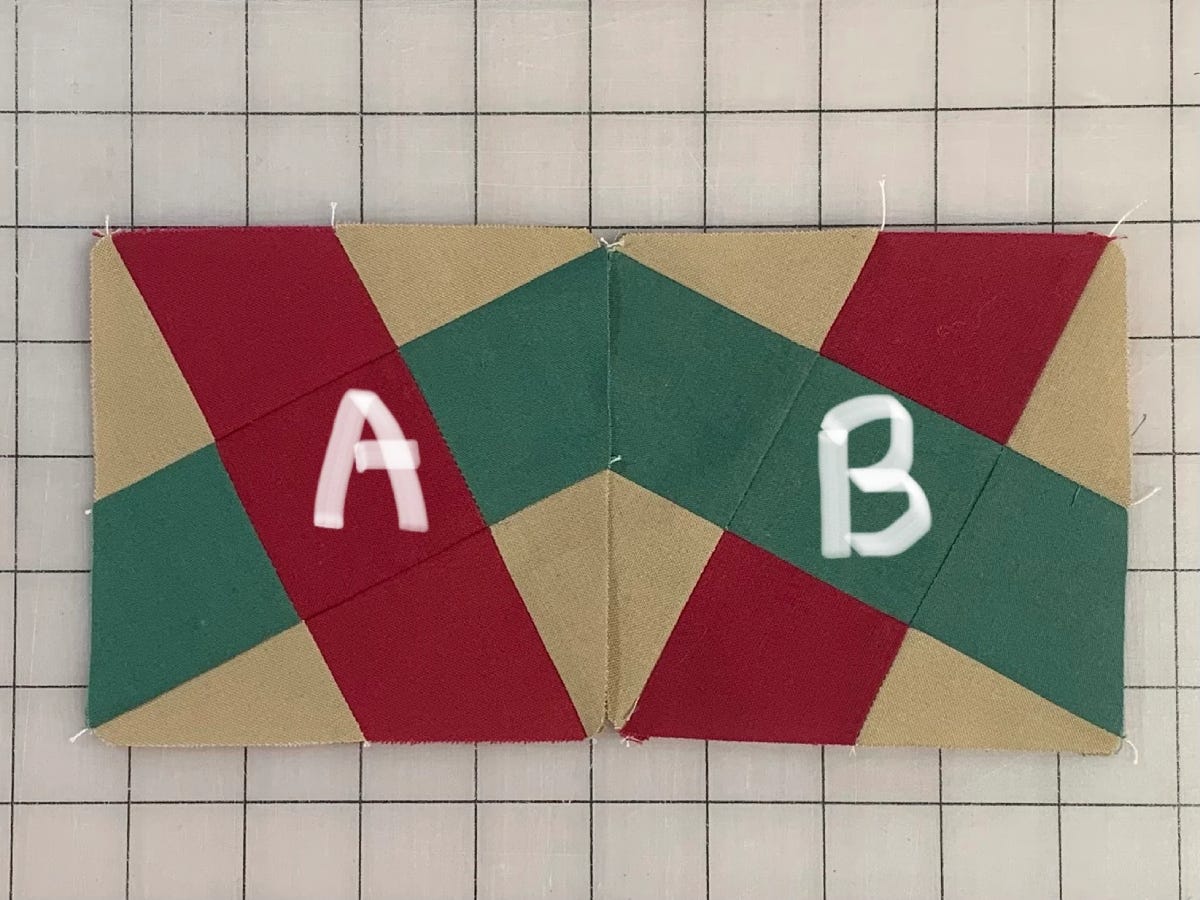
These blocks are simple to piece, but easy to get muddled! I recommend making all the A blocks first and then all the B blocks.
1. Begin by laying out the pieces for Block A using the photo below as a guide.
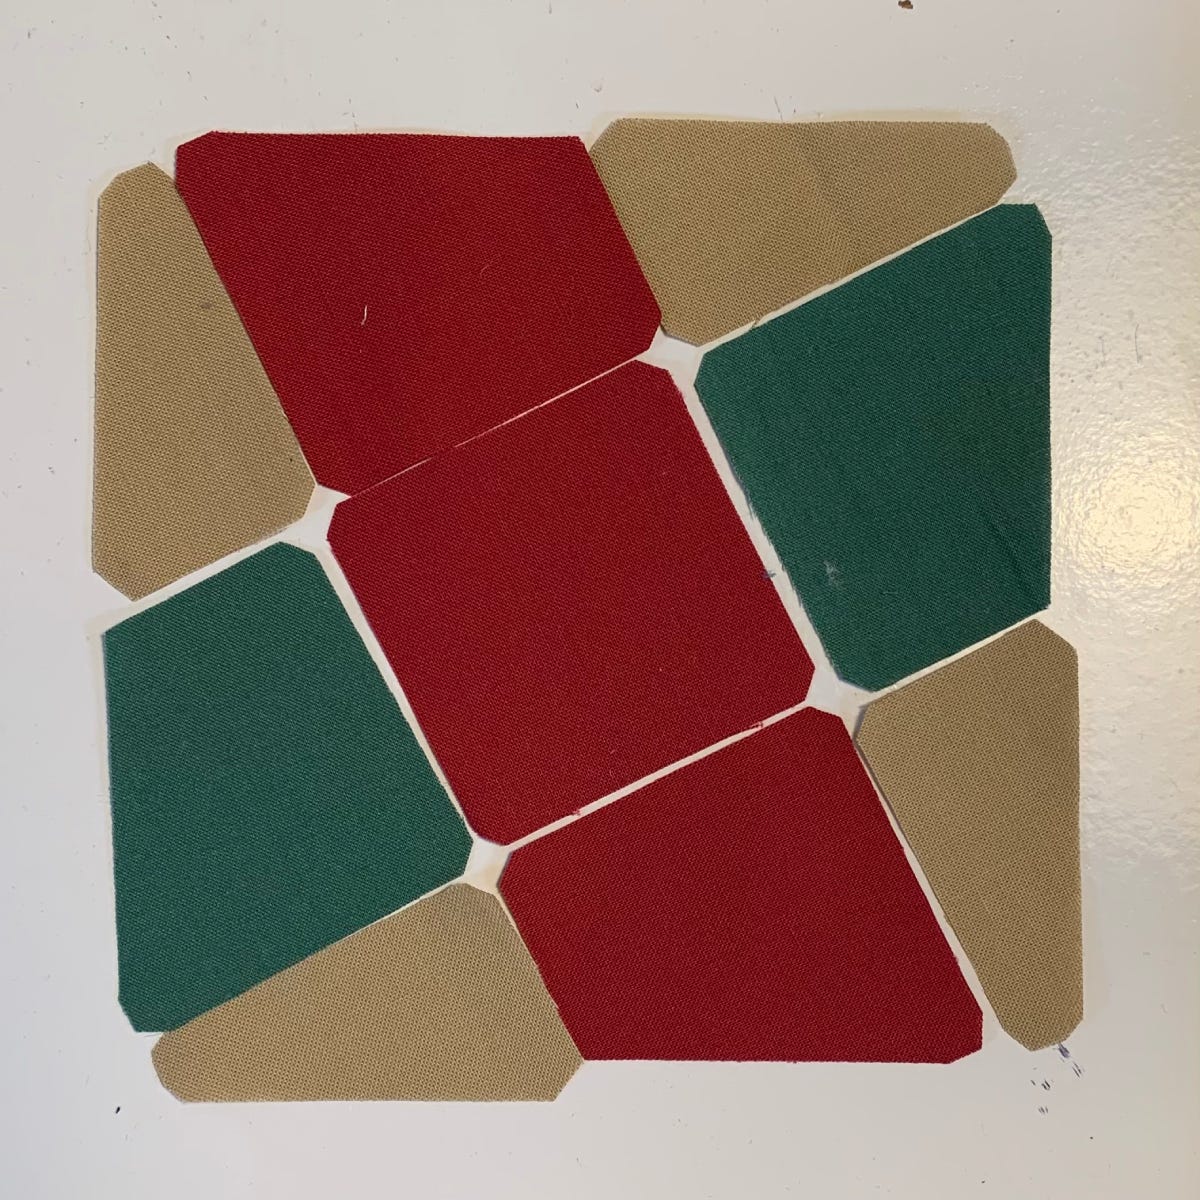
PRO TIP: Don’t be intimidated by those funky shapes! This is just a simple nine patch block.
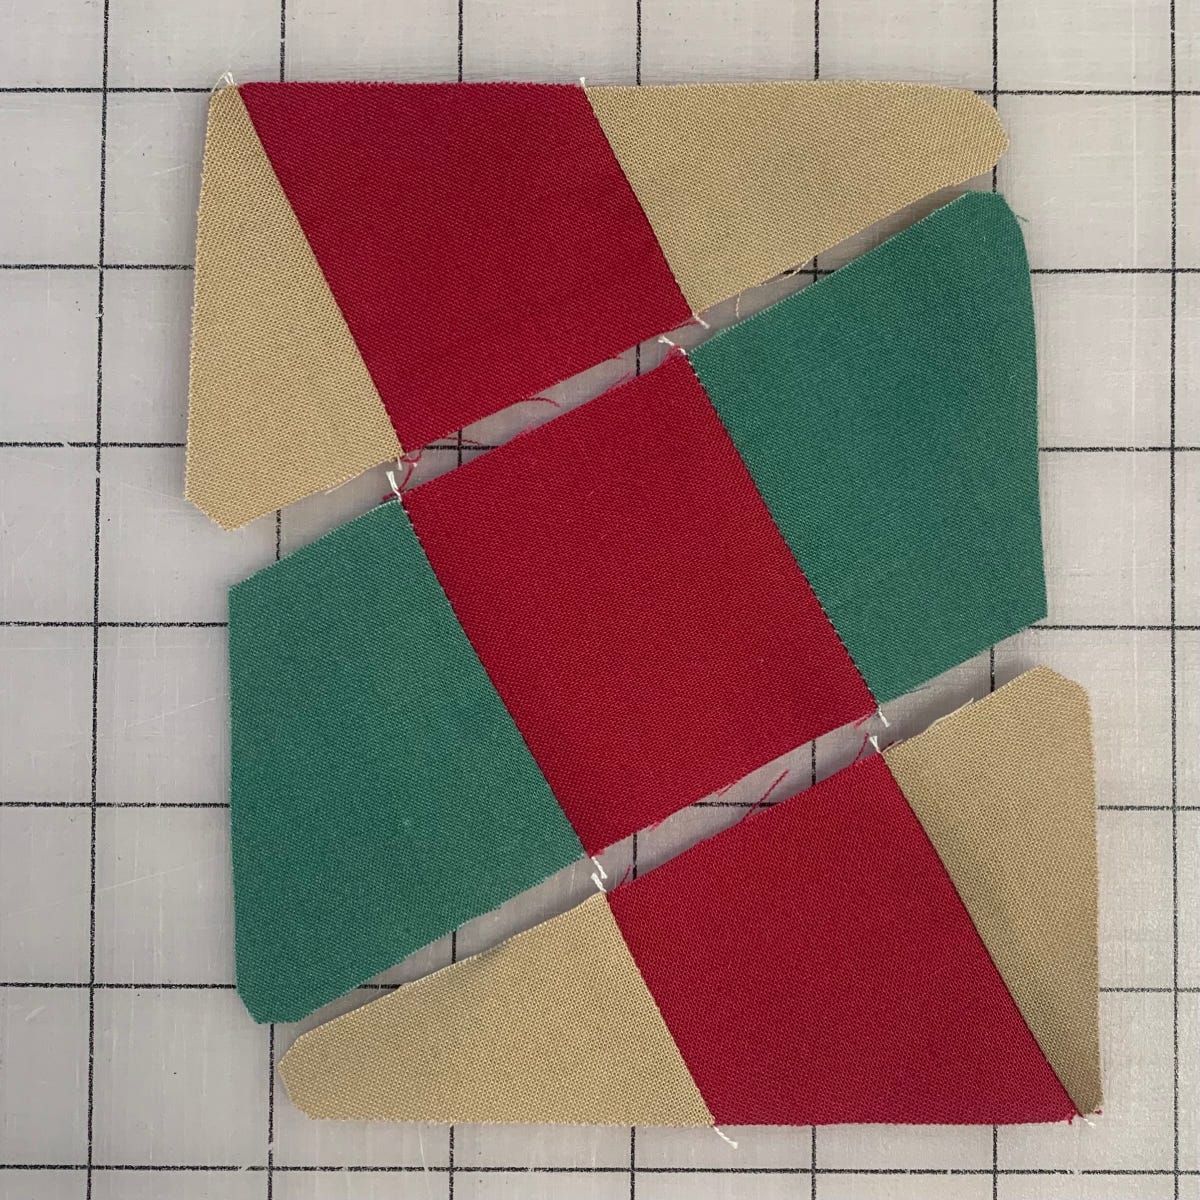
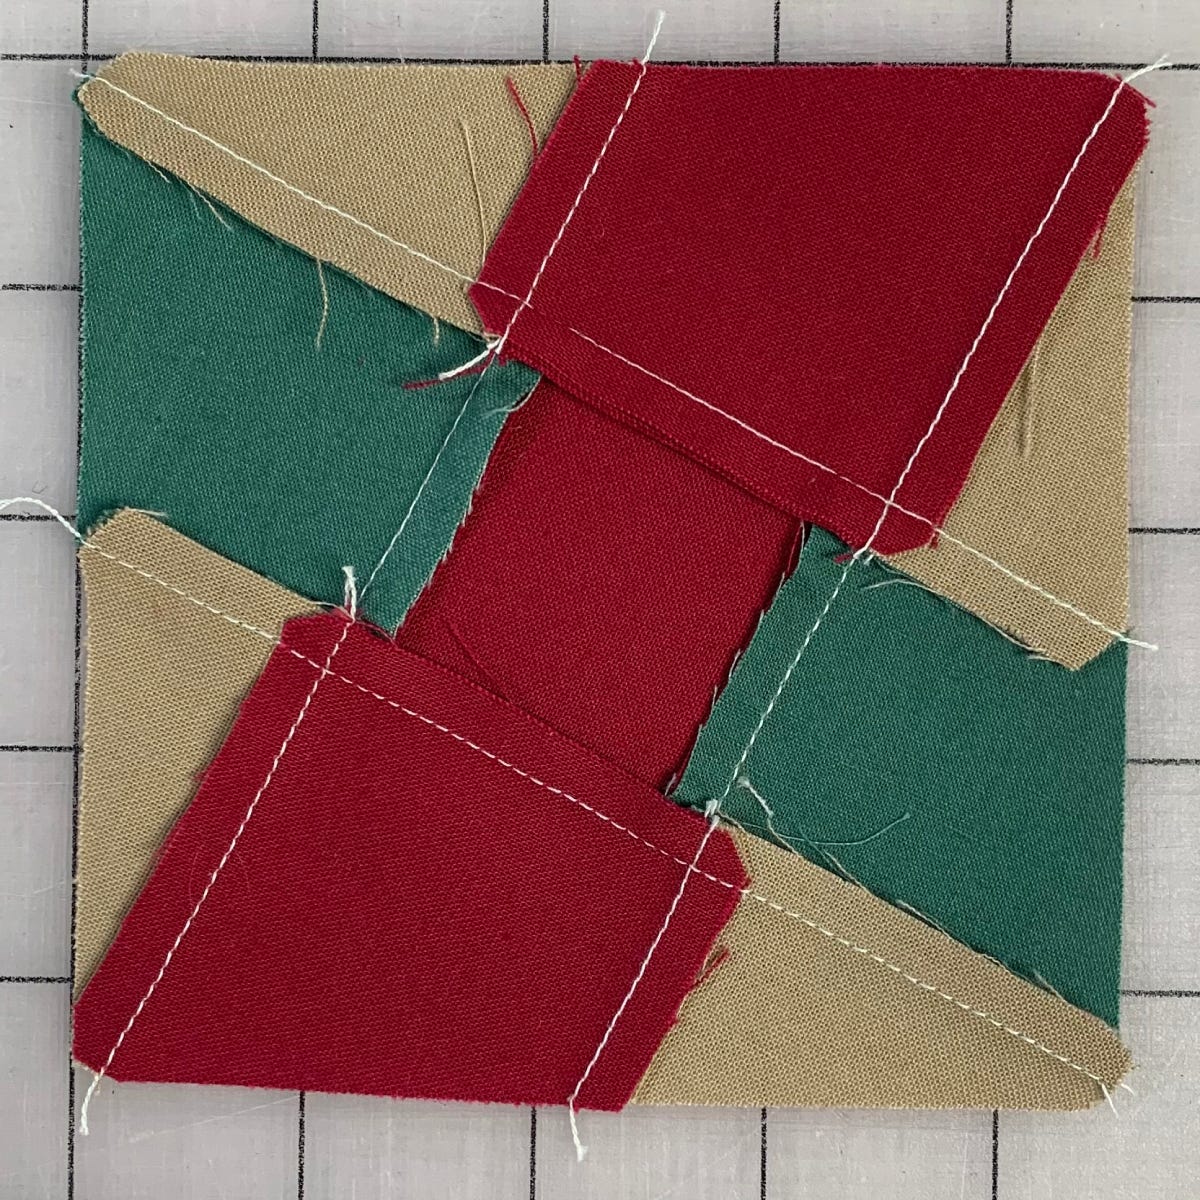
2. Sew the pieces into rows and then, sew the rows together. The built-in dog-eared corners make it so easy to get everything lined up perfectly.
3. Press the seams. One thing to pay attention to is the pressing. If you press as I did, every single intersection will nest together, giving you perfect points. This is the back of block A.
4. Repeat these steps to create all the needed block A's.
Now onto Block B!
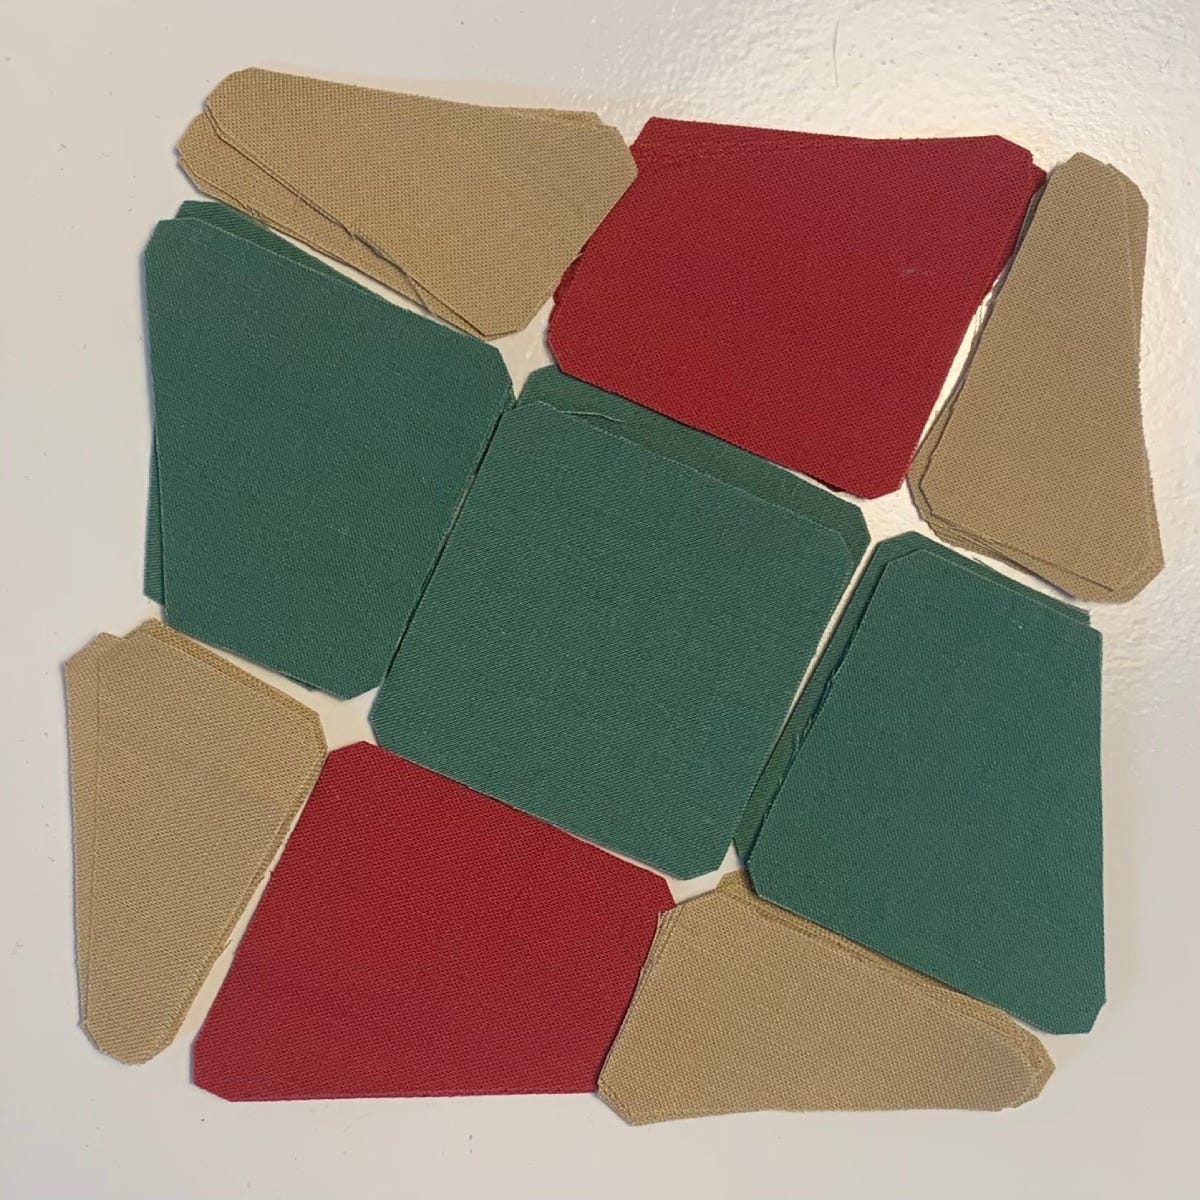
5. Again, lay out the pieces.
6. Press the seams like this:
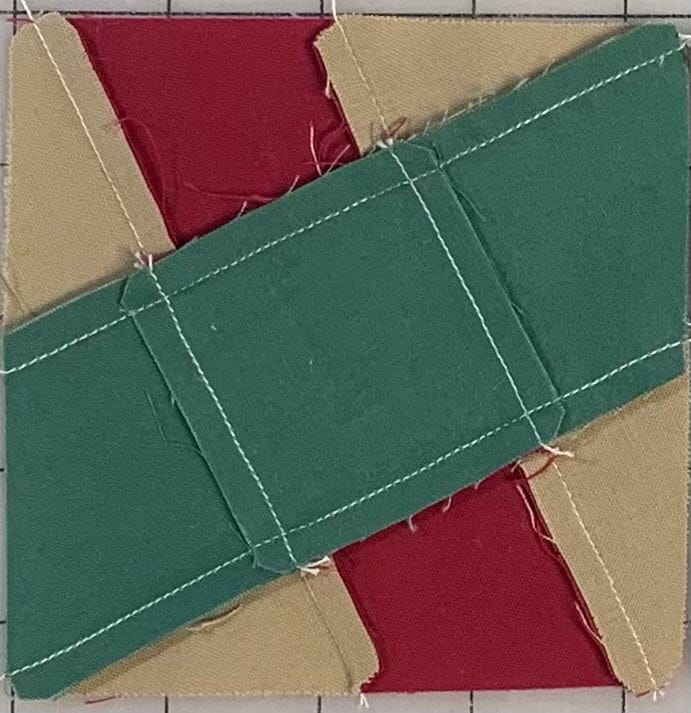
You can see the difference here. Block A is on the left while block B is on the right.
7. Repeat until all the block B's are created.
8. Lay out all the blocks as shown below.
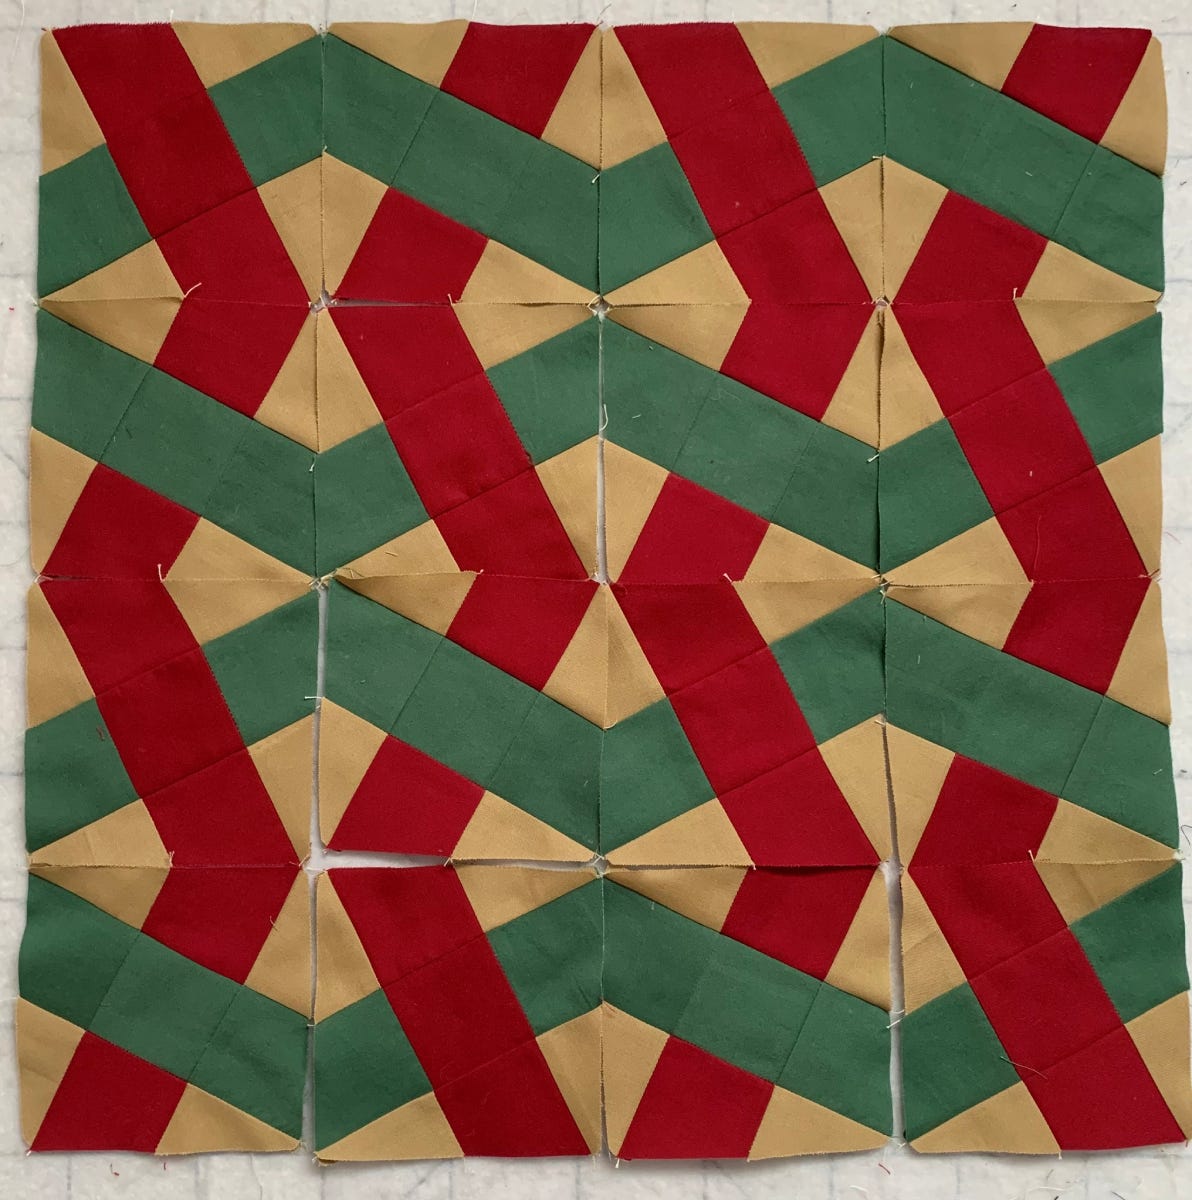
9. Sew the blocks into rows, and then, sew your rows together.
10. Add the borders.
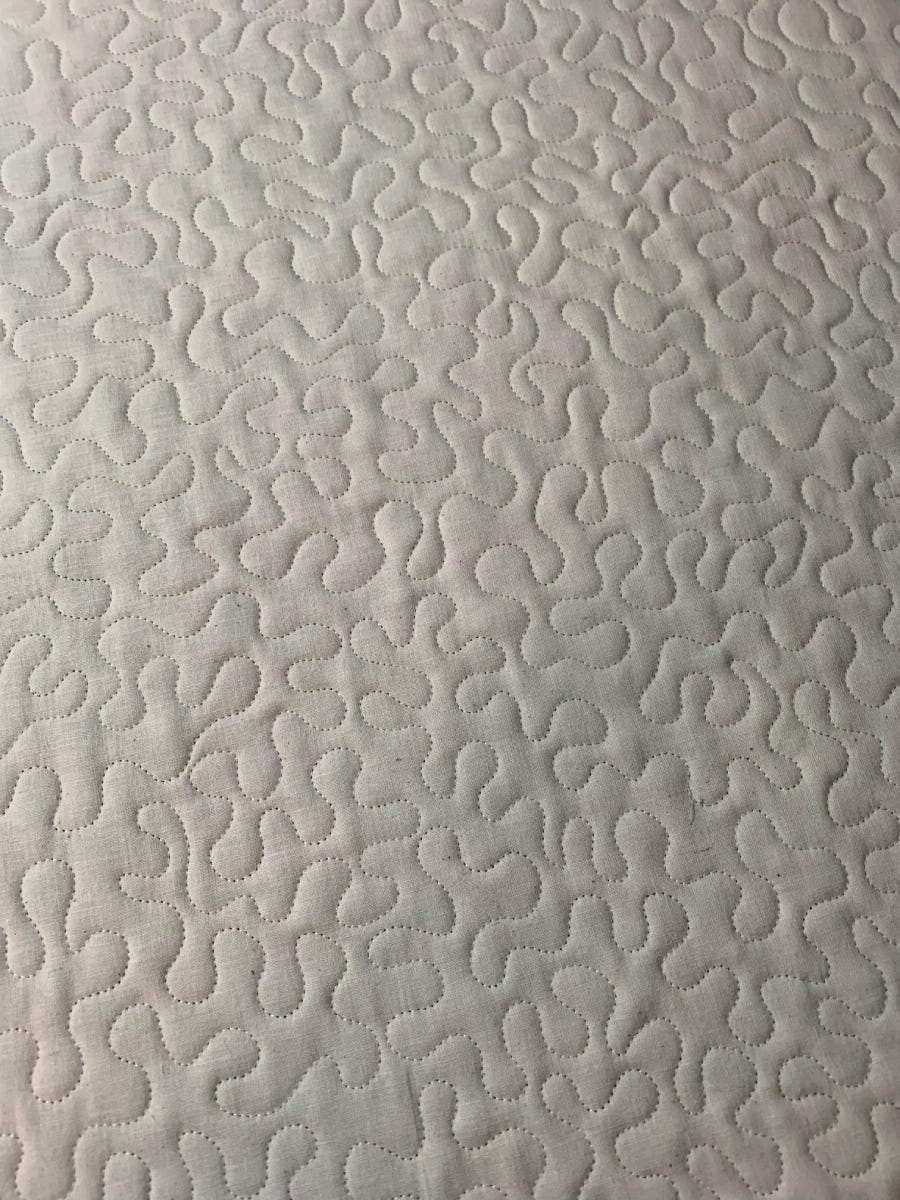
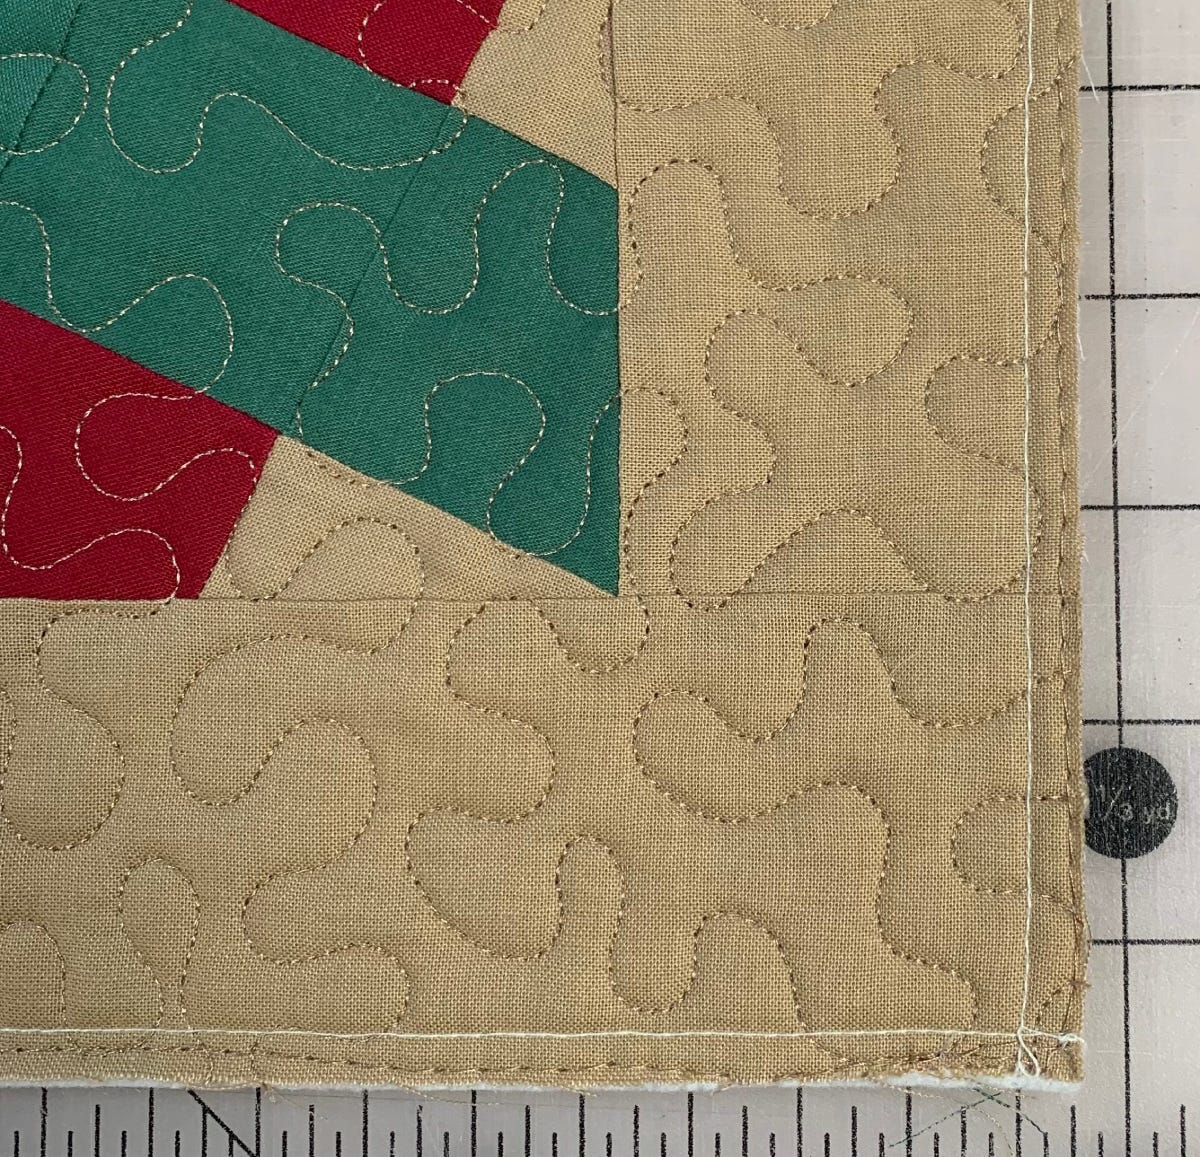
11. Quilt as desired.
12. Trim even with the top. I used a plain muslin on the back side.
Pillow Assembly Instructions
Now, it’s time to put this thing together!
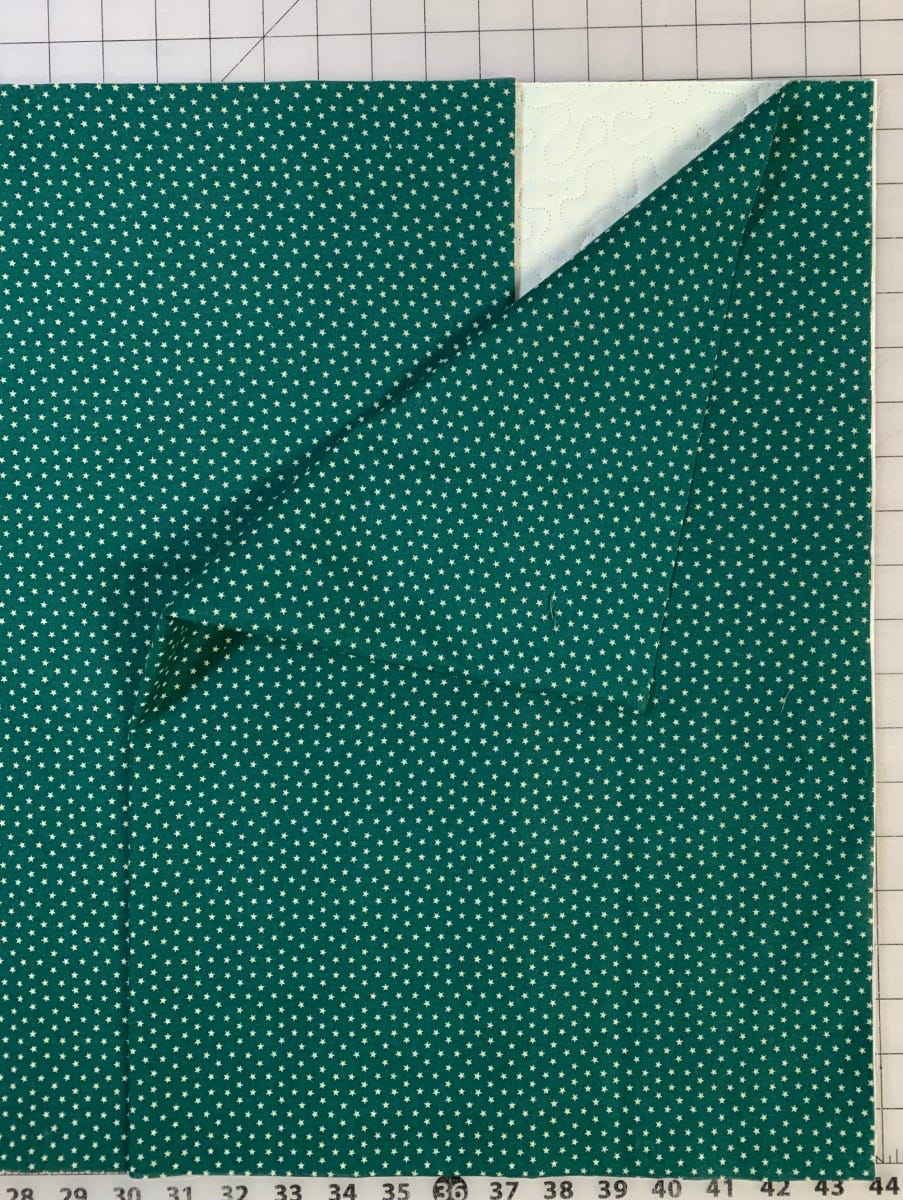
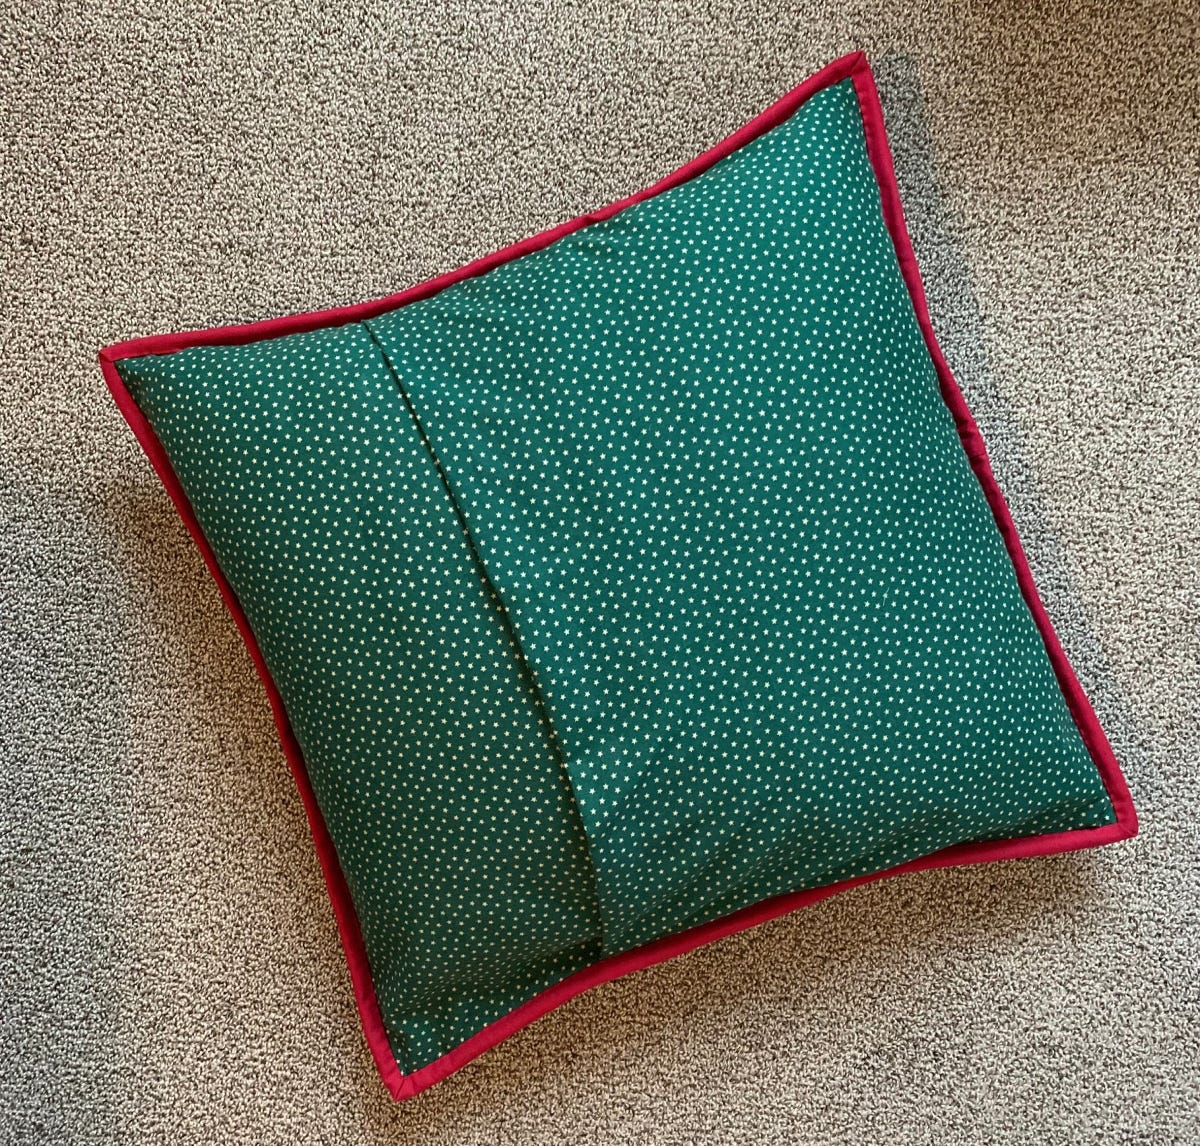
1. Take the two large backing pieces and fold them right sides OUT!
2. Press the pieces well.
3. Lay each piece on the back of the quilted pillow top with the folds toward the center. They will overlap.
NOTE: The double layer backing gives some sturdiness to the pillow cover, and as a bonus, you don’t have to hem the edge!
4. Pin the layers together.
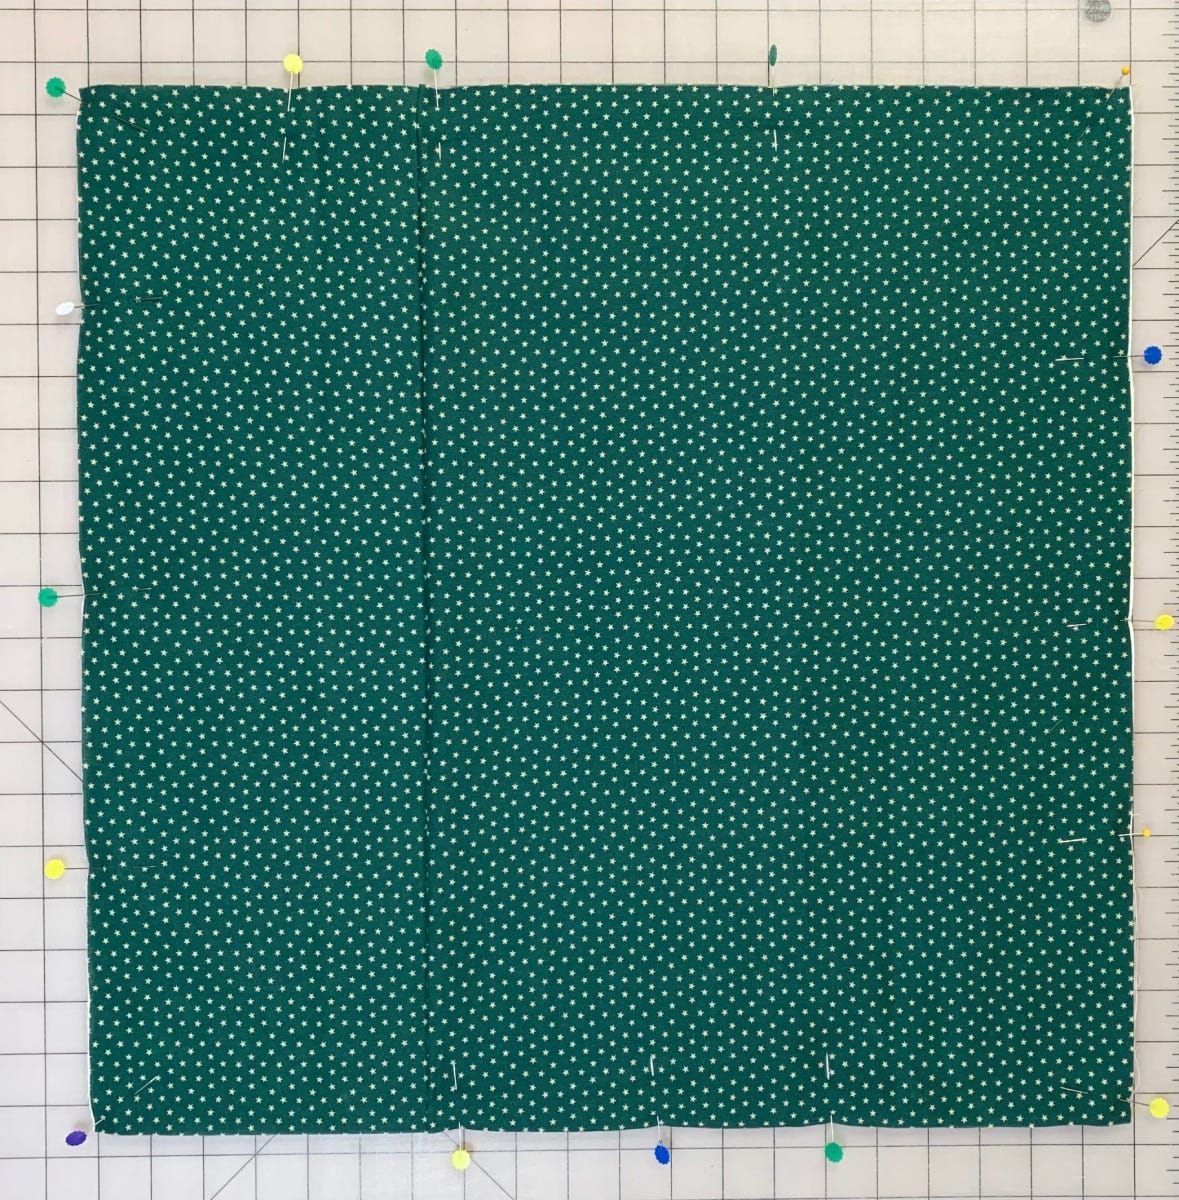
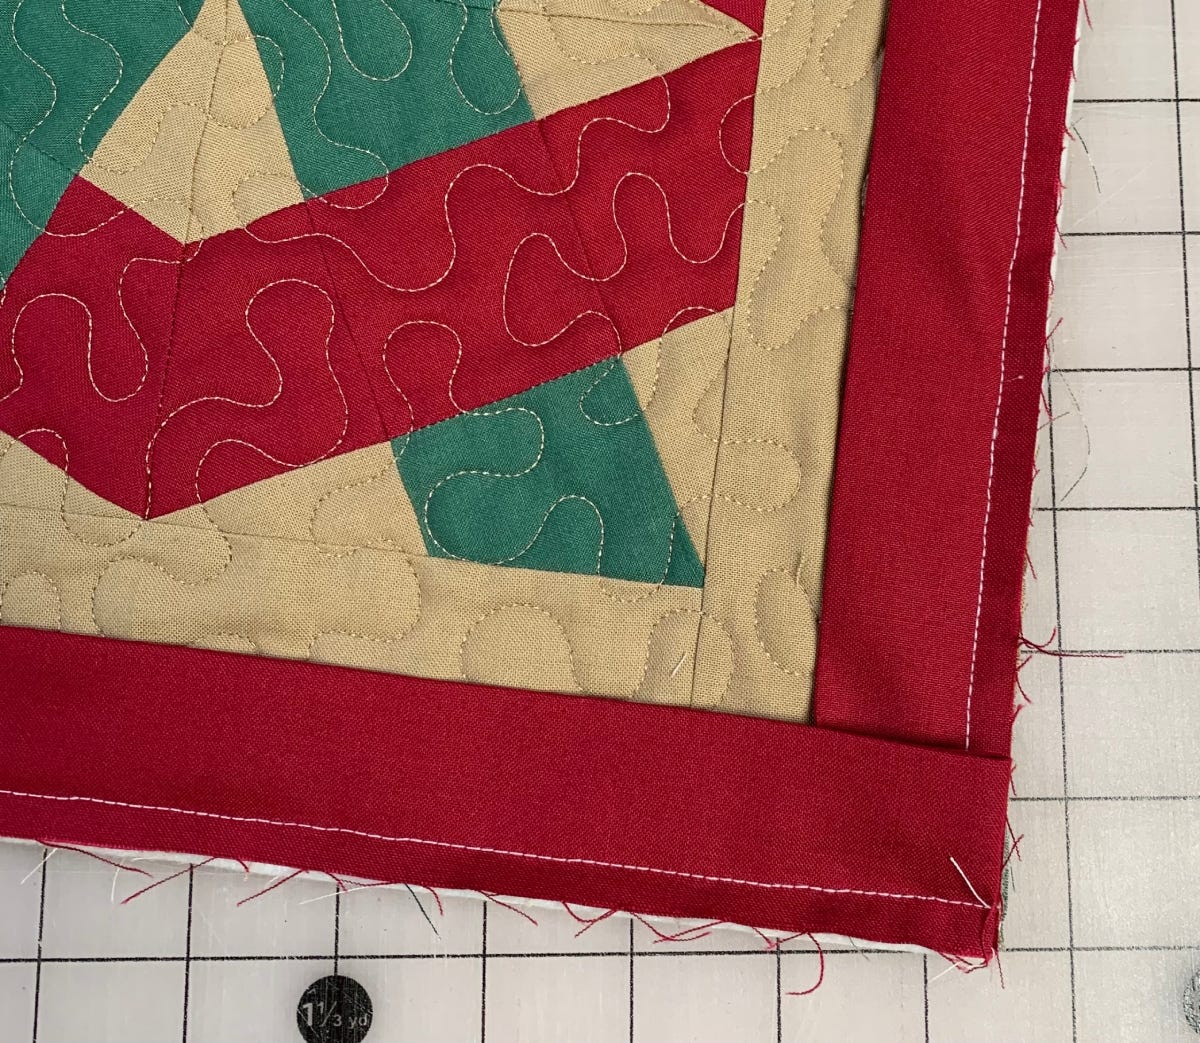
5. Using a walking foot, stitch around the edge with a seam allowance that is slightly less than a quarter inch.
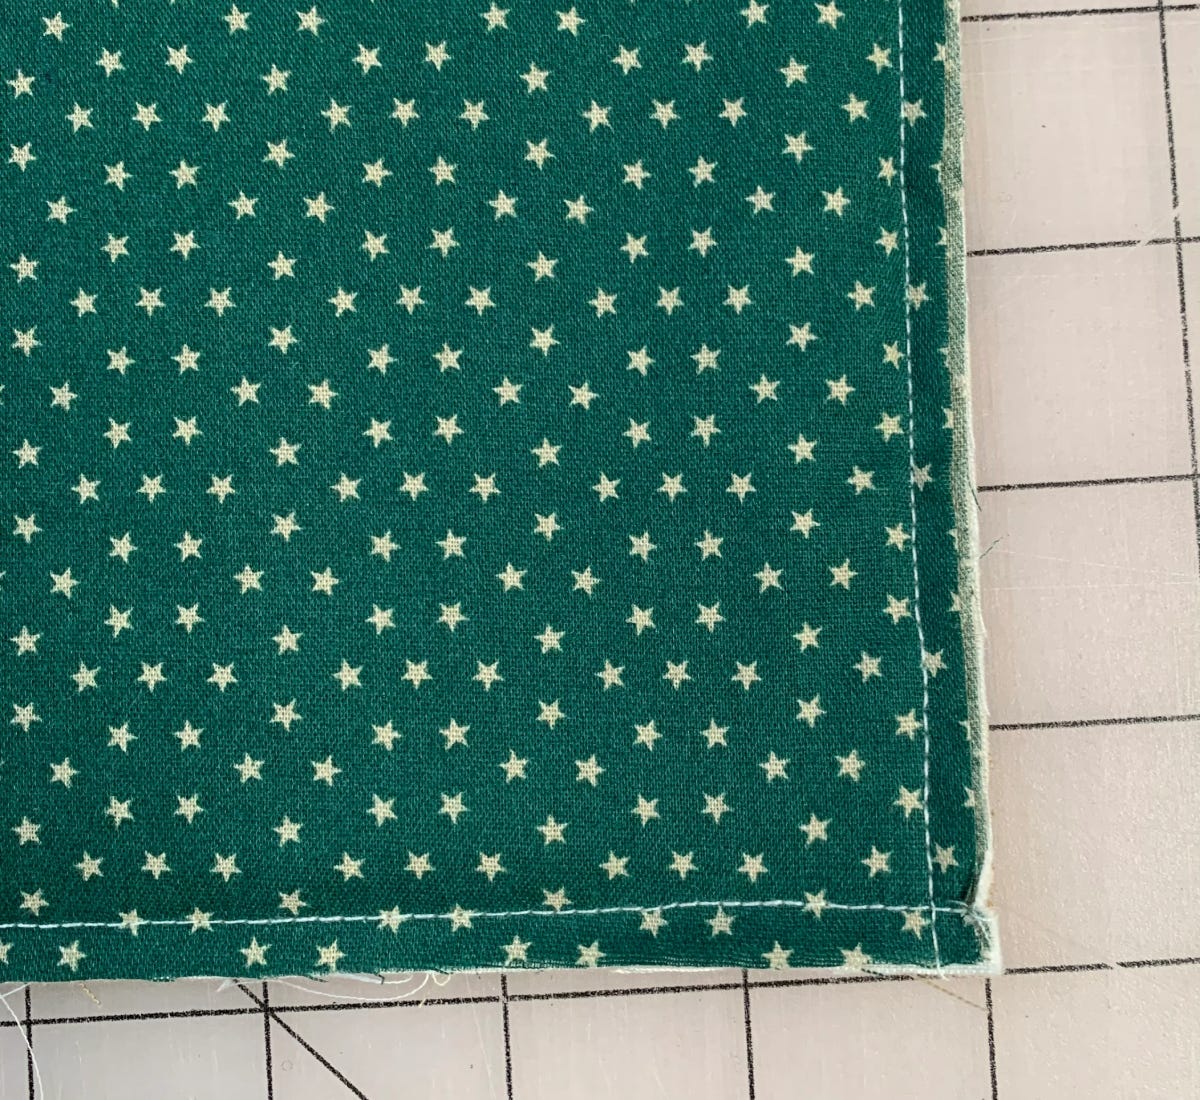
This is what the front looks like at this point.
6. Bind by hand or machine to finish the edges.
7. Stuff a pillow form inside and enjoy!
If you've been inspired to make your own holiday Washington's Puzzle pillow or pillow cover, please share it with us on social media using the hashtag #AccuQuiltBuilt and tag @katyquilts and @AccuQuilt, so we can see what you made!


