

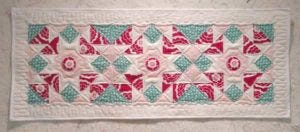
Hi everyone, it's Bea from beaquilter.com I'm here to show you how to make this quick & easy on point table topper with your AccuQuilt 8" GO! Qube and GO! Qube 8" Companion Set-Corners.
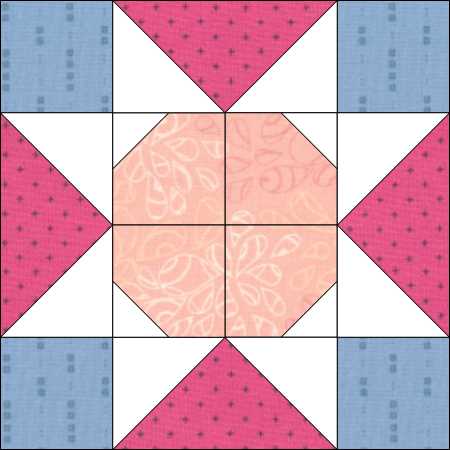
I started this project by sketching out a block in EQ8.
Then set it on point.
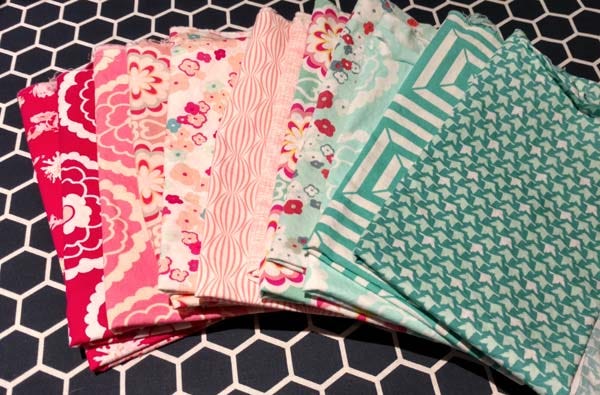
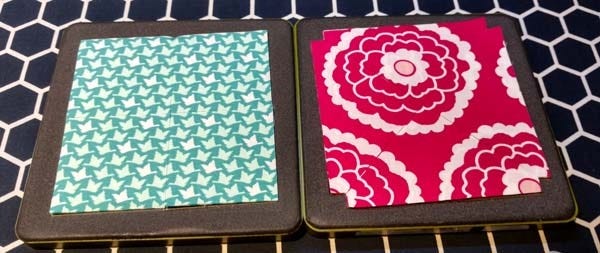
The table topper is made with fat quarters and white. I selected three fat quarters from a bundle I had for the topper in coordinating colors: teal, dark pink and pale pink. I included 1/2 yard of white plus more for the binding.
The quilt was made with the 8" GO! QUBE Mix & Match Block and the 8" GO! Qube Companion Set-Corners.
Cutting Instructions:
Teal: Cut (12) squares with die #2 from GO! Qube Block set
Dark Pink: Cut (24) triangles with die #14 from the GO! Qube Companion Set-Corners
Teal: Cut (12) triangles with die #4 from GO! Qube Block set
Light Pink: Cut (24) small triangles with die #5 from GO! Qube Block set
Light Pink: Cut (12) Bowtie shapes with die #11.1 from GO! Qube Companion Set-Corners

White: Cut (48) triangles with die #5 from GO! Qube Block set
White: Cut (12) small triangles with die #12.1 from GO! Qube Companion Set-Corners

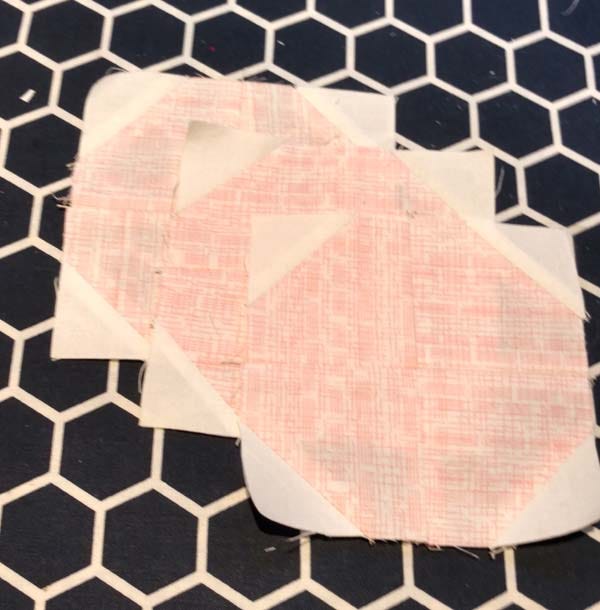
Sew white small triangles to light pink Bowtie shapes, pressing the seams open.
Sew two of the Bowtie units together. Next, make (24) flying geese units with the dark pink and solid white triangles.
Then, complete the light pink Bowtie blocks with the small white triangles in the corners.
Next, sew light pink triangles to the sides of (8) flying geese units (as shown). Sew flying geese units to the top of the (3) light pink Bowtie squares. And sew teal squares to the sides of (6) flying geese units. (Note: since my teal squares were directional, I did 3 upside down.)
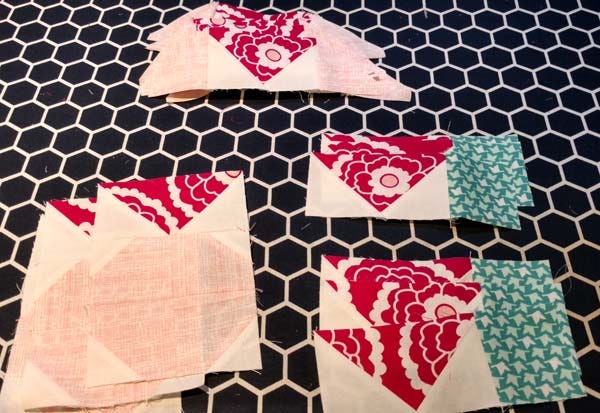
Next, sew the #4 teal triangles to the top of the flying geese units with the light pink triangles (as shown). Add more flying geese units to the bottom of the light pink Bowtie squares and teal squares to opposite sides of flying geese units (as shown.)
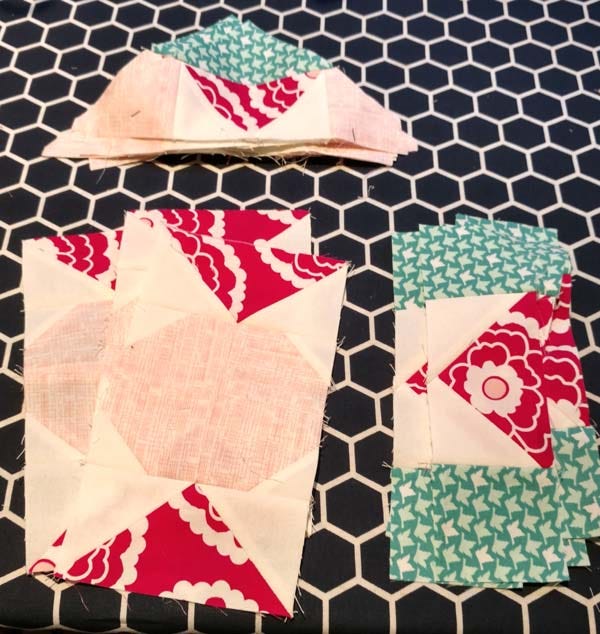
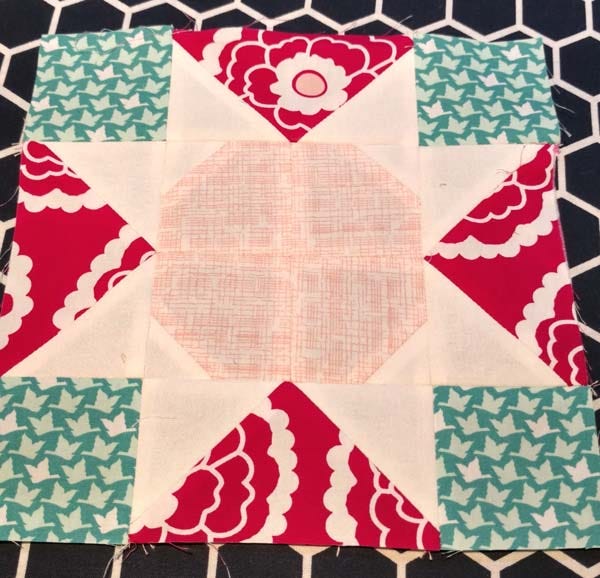
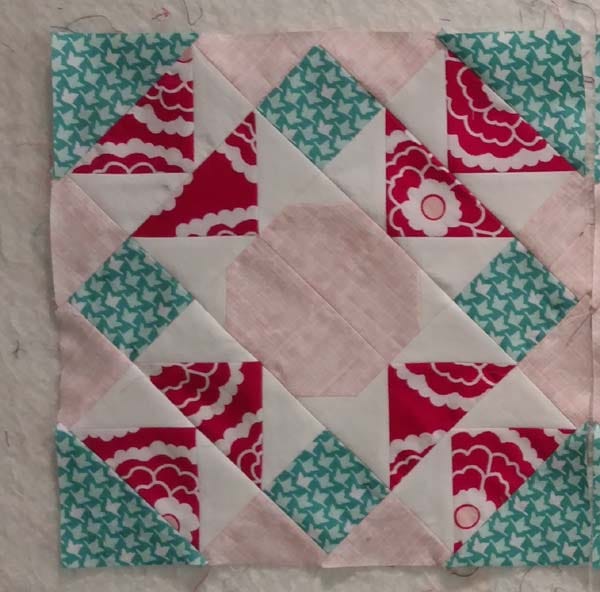
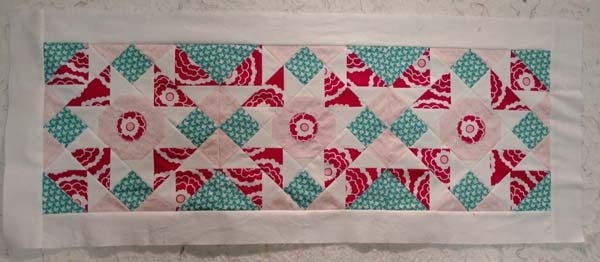
Complete the three star blocks (as shown).
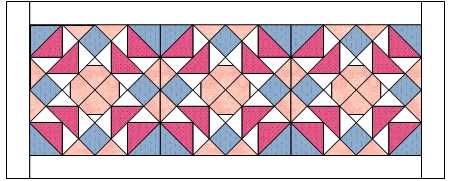
To determine if I wanted the teal directional facing each other or going one way, I placed my blocks on the design wall and decided to treat everything like large blocks, with two blocks going one way and the middle block facing the opposite way.

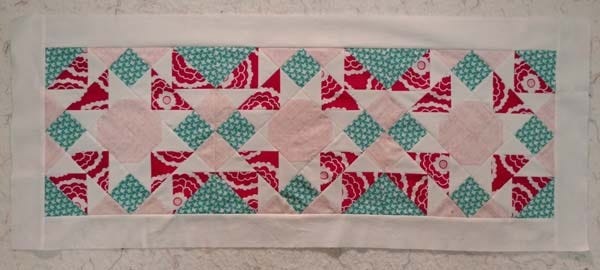
I then sewed together the three blocks like this.
I sewed the blocks together and added a white border (cut with the 2 1/2" strip die).
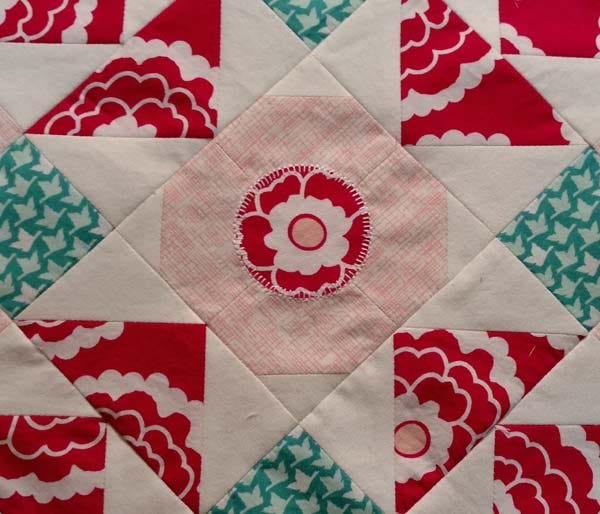
I felt the light pink centers needed a little "something". I had an idea of what I could add using my circle die, some lite steam a seam2 and leftovers of the flowers on the dark pink fabric.

I used the Steam a Seam 2 grid on the back to cut (3) 2 1/2" squares, then I stuck the squares on the back of the flower centers.
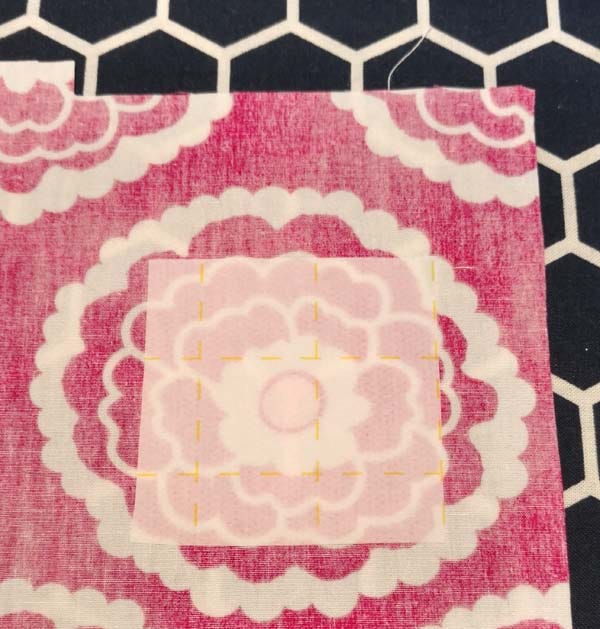
Then I centered the squares on the 2" circle and cut out three circles.
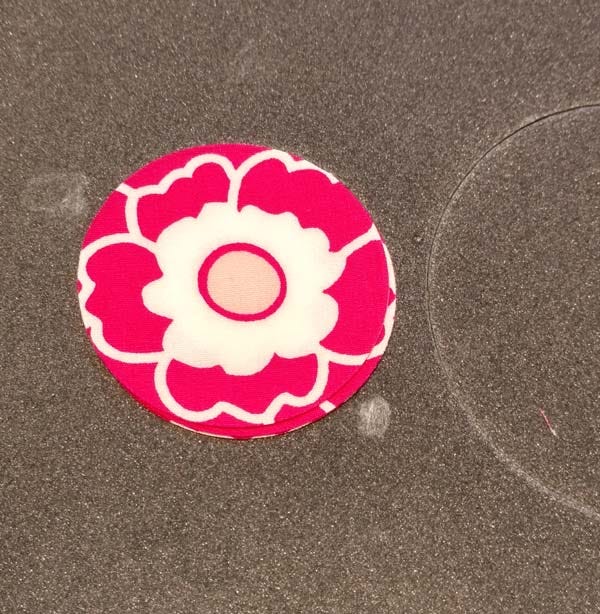
I centered the circle on the blocks and button hole stitched around each one.
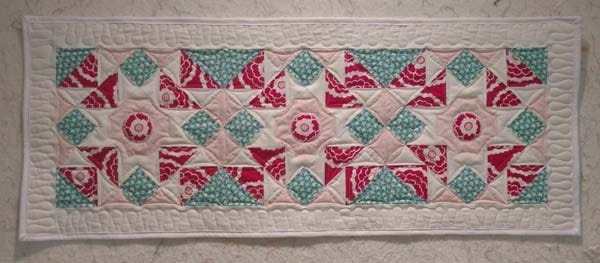
I quilted curves on the center of the quilt and swirls on the border then added a white border and binding.
The table topper measures 48" x 15".
Try this quick and easy table topper free pattern! On point quilts are not hard and with the AccuQuilt GO! Qube Sets, it's SEW easy and fun!


