Hello, quilters! It's Kelli from Kelli Fannin Quilts. I've been designing quilt patterns for the last eight years, but I'm new to the GO! Getter team.
AccuQuilt Kept Me Quilting Despite an Injury
I was introduced to AccuQuilt after a nerve injury left me with weakness in my left hand, and therefore, unable to use my rotary cutter. So, I made the switch to AccuQuilt, and I'm so glad I did. Along with designing patterns, I love to share free block tutorials on my website. Today, I'm going to share with you a pattern I enjoy using AccuQuilt.
Quilting Projects Are Made Easier with AccuQuilt
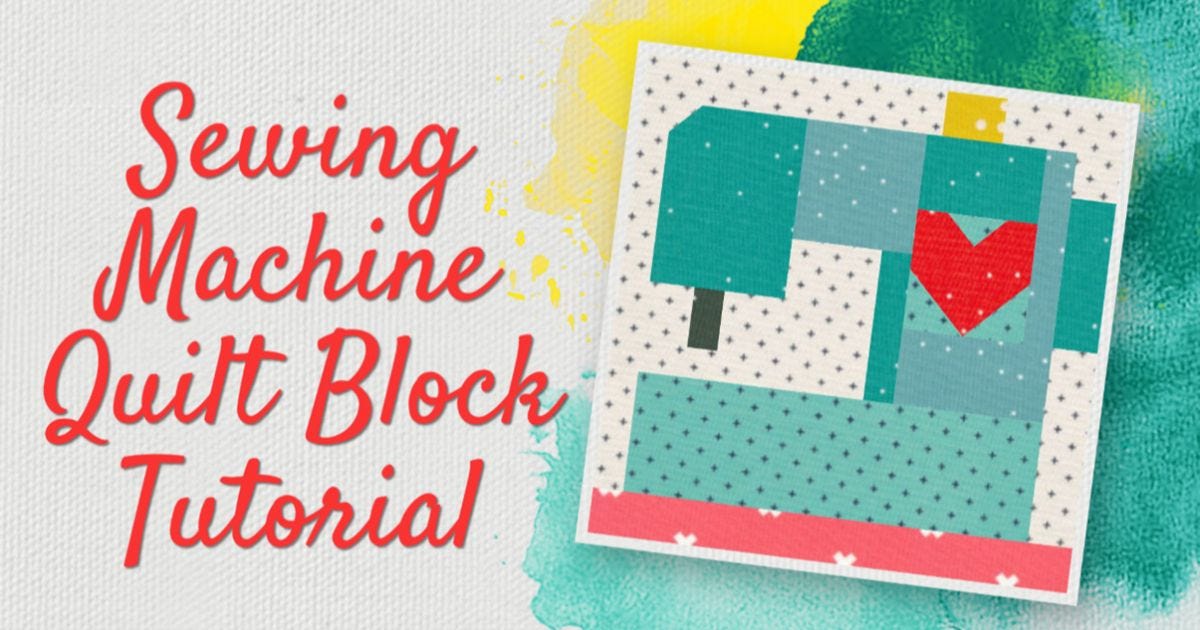
In 2019, I started sharing scrap-friendly tutorials for various National Days quilt blocks one of them being a sewing machine for National Sewing Machine Day. I made an 8" finished sewing machine quilt block before I discovered AccuQuilt, and you can find both a written and video tutorial to see how this fun quilt turned out!
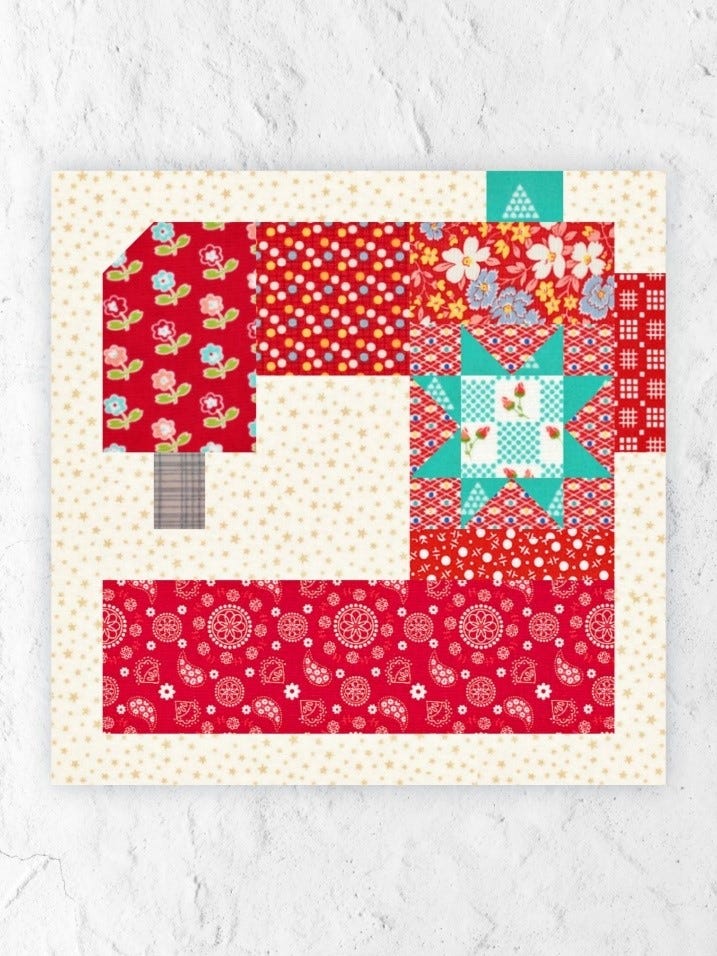
Today, I am revamping it! For this AccuQuilt-friendly version, I've resized this block to 12" and swapped the heart shape for a star. This block is great for scrap-busting and can be completed very quickly using the AccuQuilt fabric cutting system.
GO! Products You Need
- GO! Fabric Cutter
- GO! Strip Cutter-1 1/2" (1" Finished) 5 Strips Die
- GO! Strip Cutter-2 1/2" (2" Finished) 3 Strips Die OR GO! Strip Cutter-2 1/2" (2" Finished) Die
- GO! Strip Cutter-3 1/2" (3" Finished) 2 Strips with Angled Guidelines Die
Fabric Scrap You Need
- Background fabric - can be any pattern or color that is different from the other colors (A)
- Red fabric (B)
- Aqua fabric (C)
- Gray fabric (D)
How to Cut Your Fabric
With each GO! Strip Cutter Die, you will cut your fabric into strips to then subcut.
-5-Strips-Die---packaging.jpg)
Subcutting with the 1 1/2" Strips
Subcut the background fabric (A) strips into:
- Three 1 1/2" x 1 1/2" squares
- One 1 1/2" x 2 1/2" piece
- Two 1 1/2" x 3" strips
- One 1 1/2" x 6" strip
- One 1 1/2" x 9" strip
- One 1 1/2" x 10 1/2" strip
- One 1 1/2" x 12 1/2" strip
From the red fabric (B) strips, subcut:
- Four 1 1/2" x 1 1/2" squares
- One 1 1/2" x 4" strip
- One 1 1/2" x 4 1/2" strip
With the aqua fabric (C) strips, subcut:
- Eight 1 1/2" 1 1/2" squares
- One 1 1/2" x 2" piece
From the gray fabric (D) strip, subcut:
- One 1 1/2" x 2" piece
-3-Strips-Die---web.jpg)
-Die.jpg)
Using the 2 1/2" Strips
Using the red fabric (B) strips, subcut:
- Four 1 1/2" x 2 1/2" pieces
- One 2 1/2" x 4 1/2" strip
Subcut the aqua fabric (C) strip into:
- One 2 1/2" x 2 1/2" square
-2-Strips-with-Angled-Guidelines-Die.jpg)
Cutting from the 3 1/2" Strips
From the background fabric (A) strip, subcut:
- One 3 1/2" x 4 1/2" strip
With the red fabric (B) strips, subcut:
- One 3 1/2" x 3 1/2" square
- One 3 1/2" x 5" strip
- One 3 1/2" x 10 1/2" strip
How to Assemble Your Block
This block has just a few corner flip units to prep. If you need help with this part, check out this video.
1. For this first clip and flip unit, place a 1 1/2" x 1 1/2" square of background fabric (A) right sides together in the left upper corner of a 3 1/2" x 5" strip of red fabric (B).
2. Stitch from corner to corner.
3. Trim the fabric as needed, flip it over, and press the seams.
4. With the same corner flip technique, use two 1 1/2" x 1 1/2" squares of the aqua fabric (C) and a 1 1/2" x 2 1/2" piece of red fabric (B) to make the flying geese unit pictured below.
5. Repeat the previous step for a total of four flying geese units.

6. Assemble the rest of the block as shown below.

Built with AccuQuilt
There you have it! Since this block finishes at 12", you can make more sewing machine blocks to complete a quilt. Or, use it as a centerpiece block in a project - like a table topper or wall hanging. Just pair it with other GO! Dies or GO! Qubes that also finish at 12".
If you make your own version of this tutorial, be sure to use the hashtag #AccuQuiltBuilt and don't forget to tag @kellifanninquilts and @AccuQuilt on social media so that we can see your fun creation!