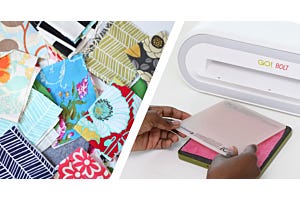
Hi everyone, this is Bea from Beaquilter.com! I'm here to show you this fun modern yet traditional pineapple block made with the NEW Studio Pineapple-12" Finished die (50176) and the Studio Setting Triangles-12" Finished die (50083)!
Want a quick tip on how to avoid fabric waste? Join us on 7/31 for Facebook Live where Pam will explain the Cut and Flip Method. RSVP here!
Supplies:
- Studio Pineapple-12" Finished (50176)
- Studio Setting Triangle-12" Finished (50083)
- Studio Square-12½" (12" Finished) (50021)
- AccuQuilt Studio fabric cutter
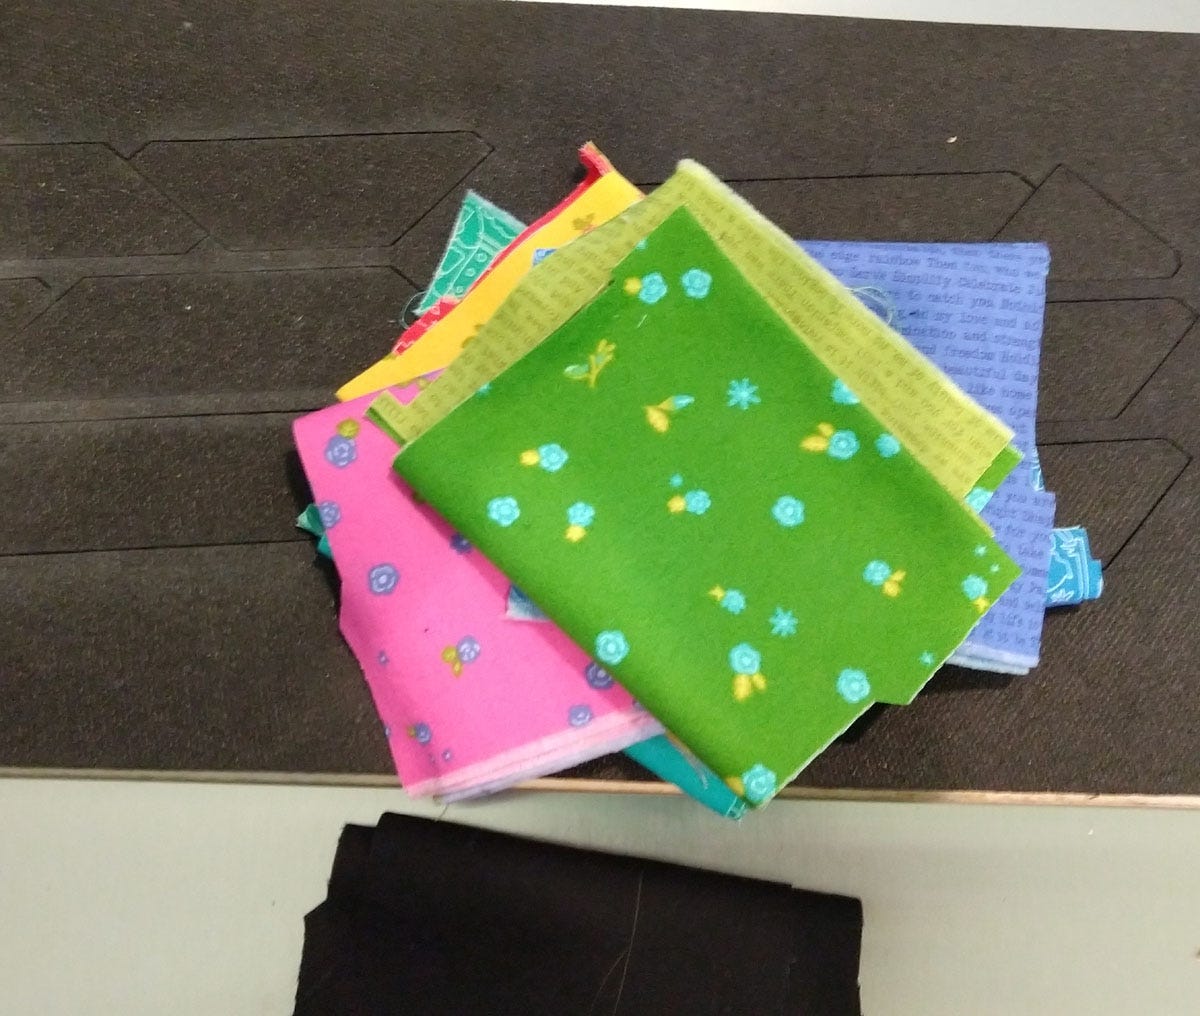
To start, I got this yummy fat quarter bundle.
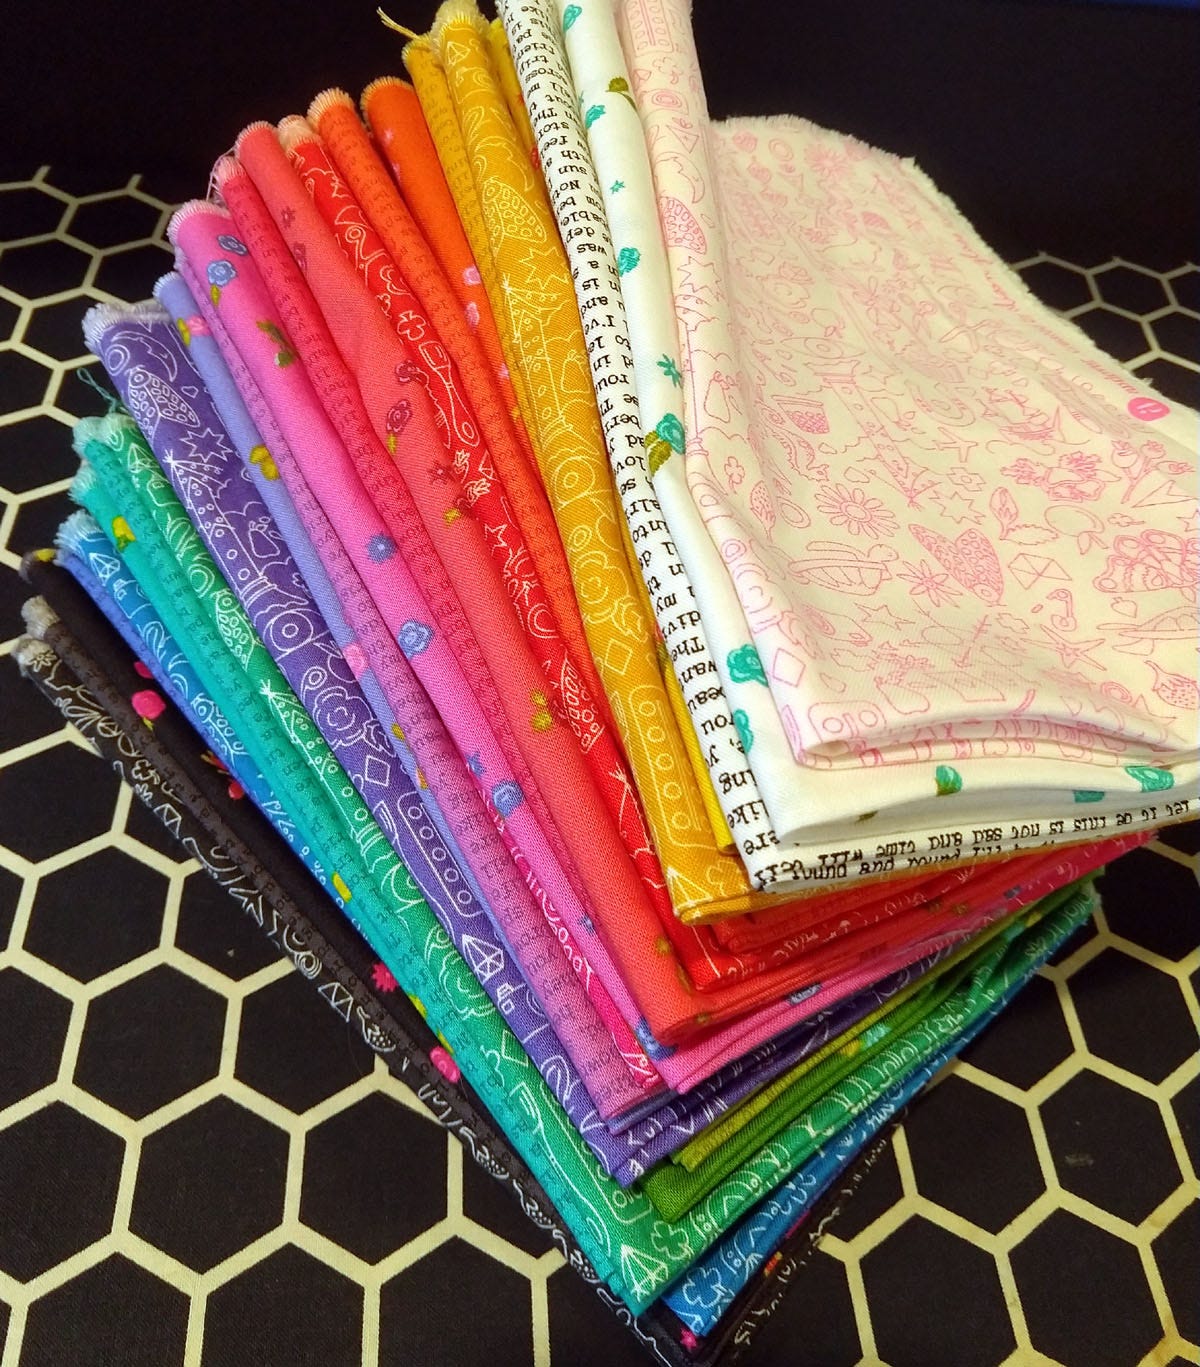
I had to pick 12 out of all these, which was really hard. In the end, I decided on these 12:
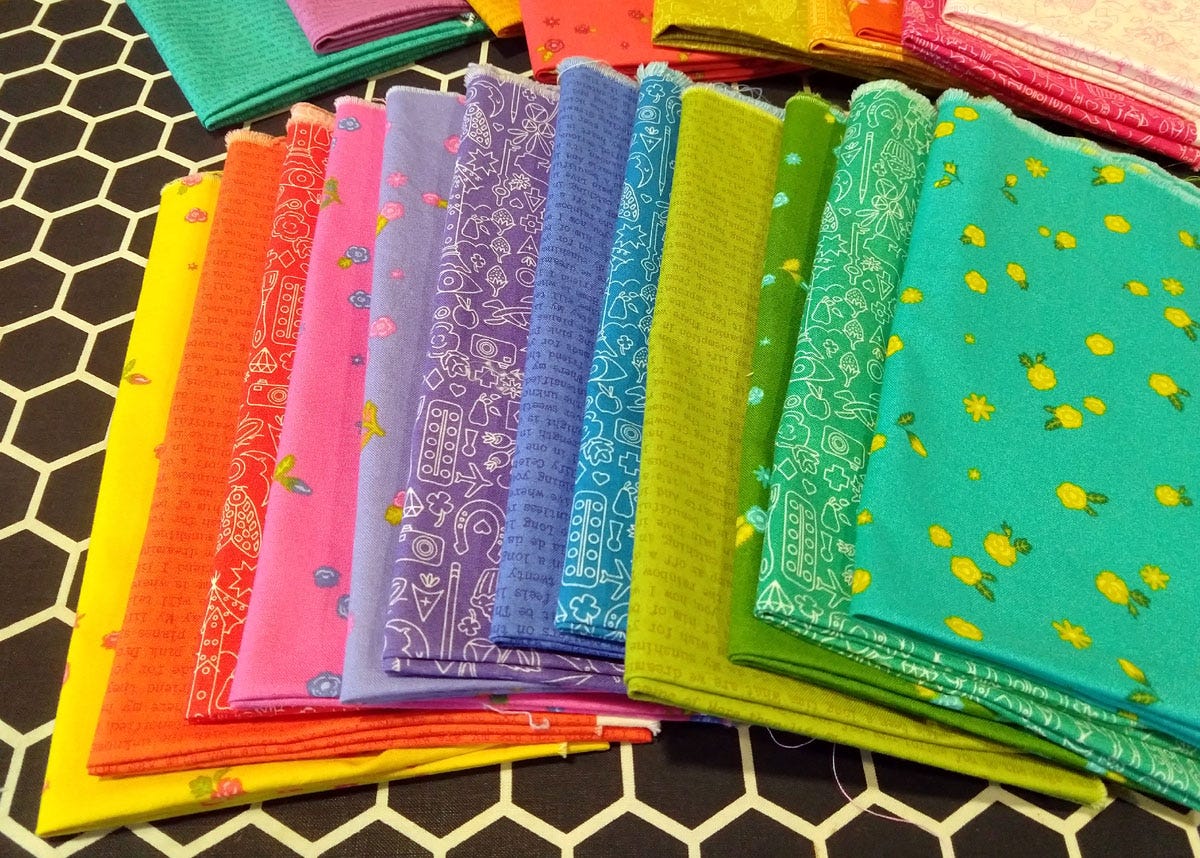
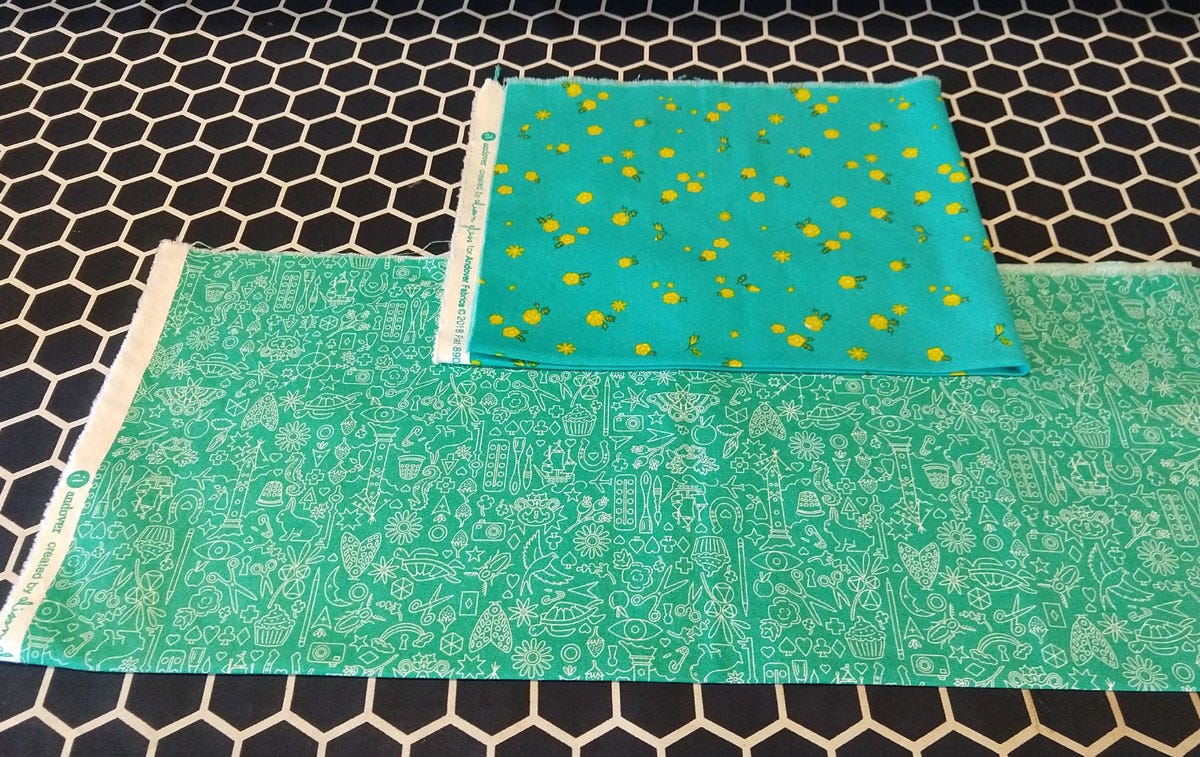
For the background, I also used 3½ yards of black. I ironed each FQ in half on the 20" edge so the selvedge edge was on the side, then folded in half the other way as shown.
Cutting Directions
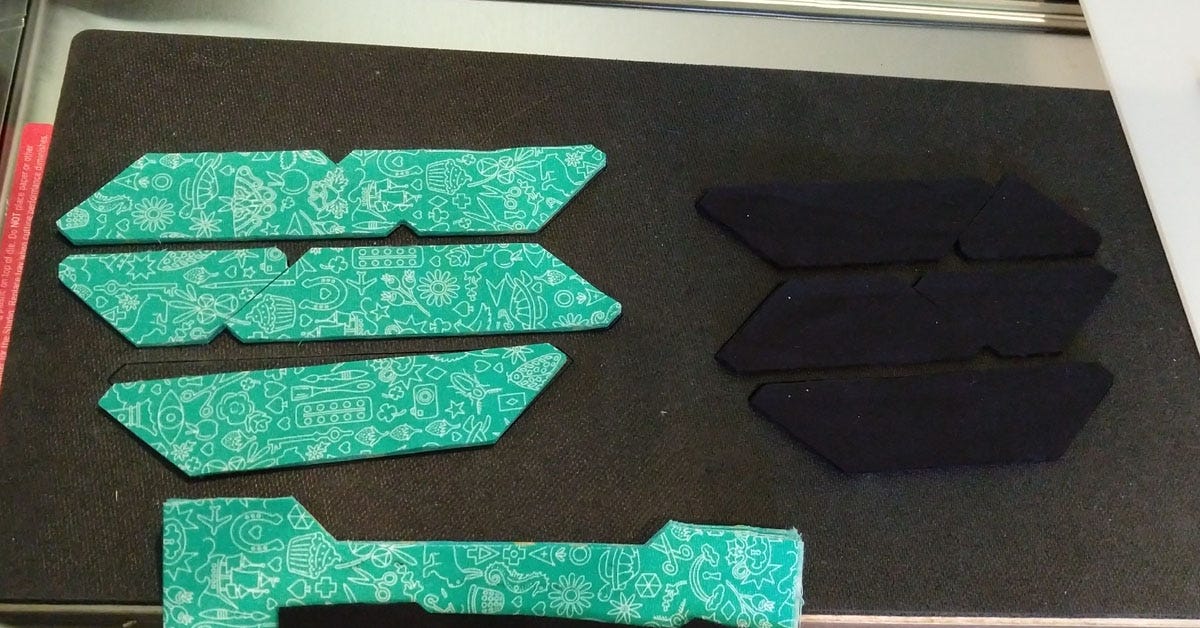
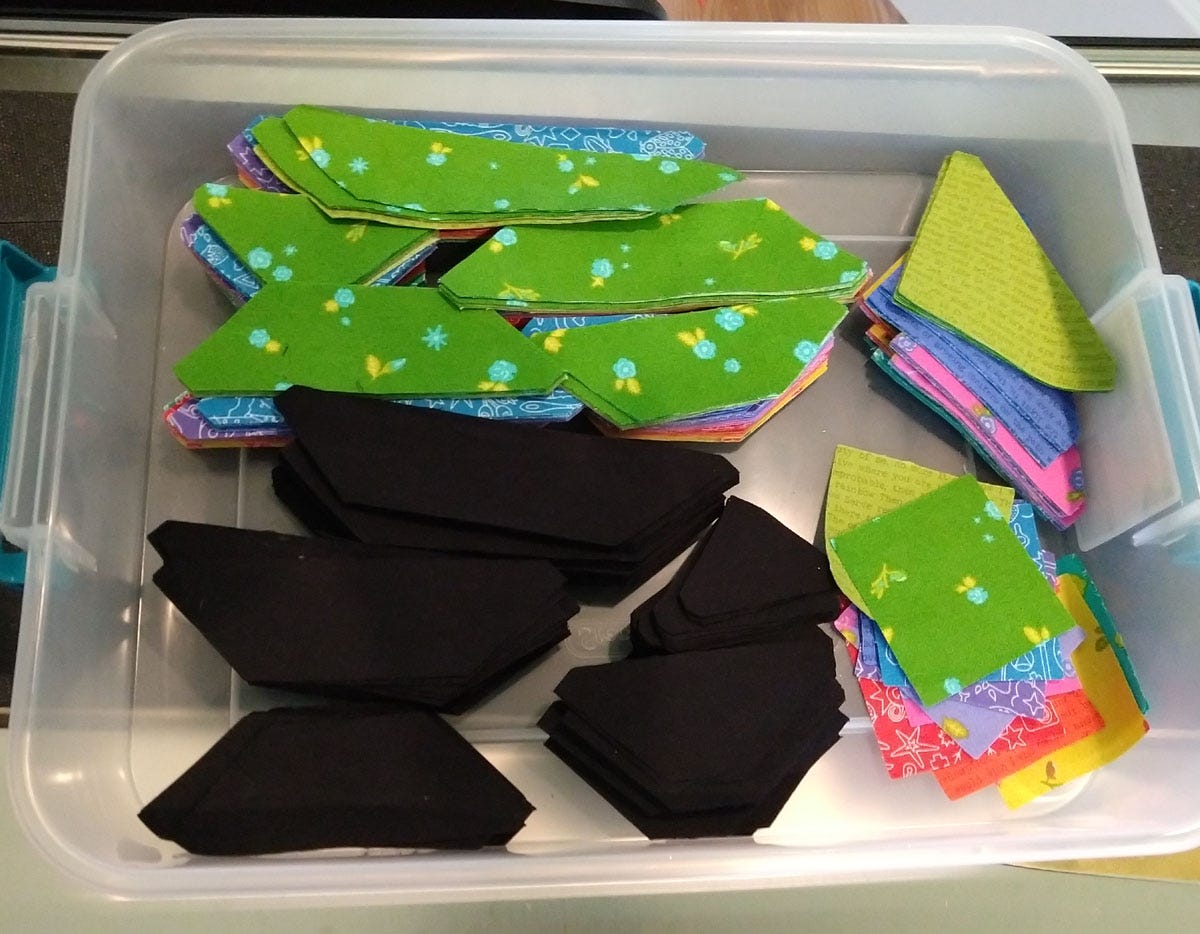
I cut seven 7½" WOF strips of the black and then folded that in half once. I laid both a FQ and a black strip on the studio pineapple die and cut out the pieces, I actually did two FQs and two black WOF strips so there was eight layers of fabric at once.

Here's what I was left with after cutting out the pieces.
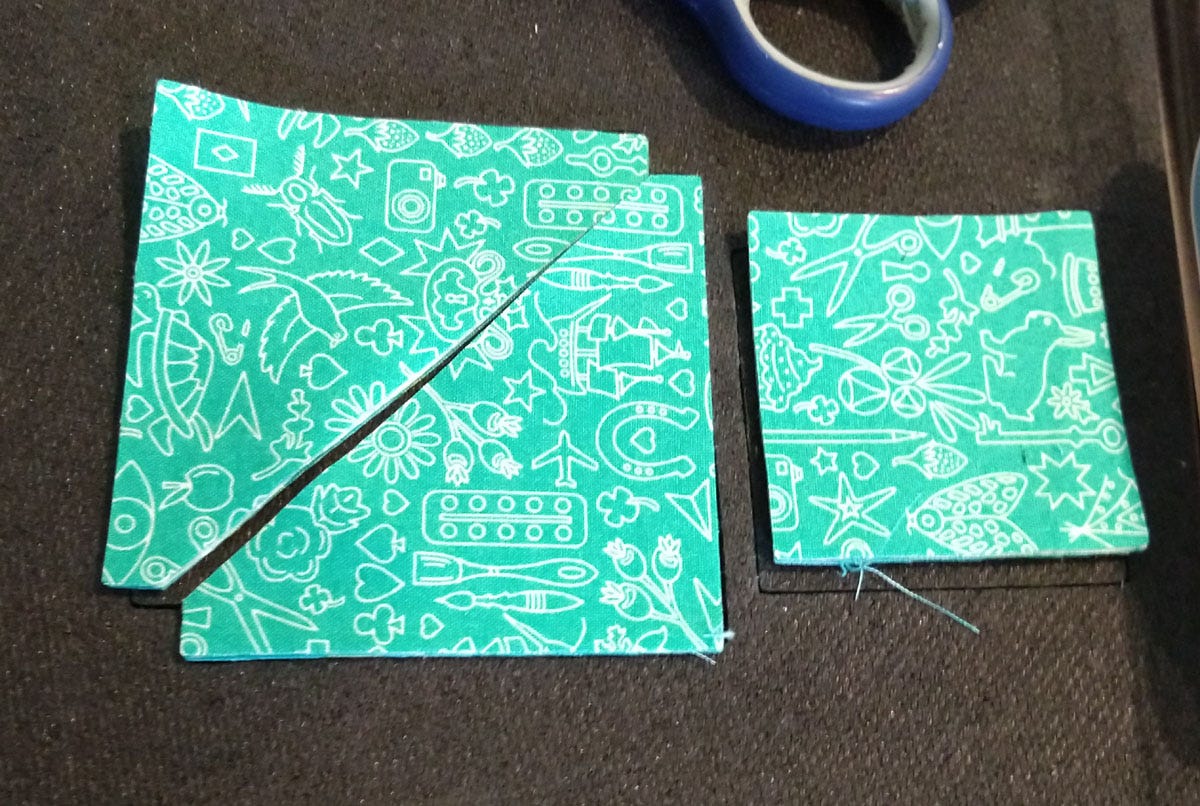
After the first set was cut out, it was easy to use the leftover FQ scraps for the section with the corner triangles and the center square. I quickly cut out four triangles and two center squares. You only need one of the squares but the fabric was also in two layers when cutting the triangles, so it saved time and I can always use the squares for something else in the future. :)
As you can see here, I had sort of an assembly line going - a new FQ on the left with black in the middle then the previous FQ scraps on the corner triangle and center square part - so I had all the pieces cut in no time at all!

And there's hardly any scraps left over from the FQs!
I like to keep my pieces together in plastic bins with snap lids, because I have little kids who would LOVE to help while mommy is away, not to mention the two cats. If you didn't know, cats love fabric and bins, so I usually cover up the bin when I leave my sewing area. ;)
Now let the sewing begin!
Sewing Directions
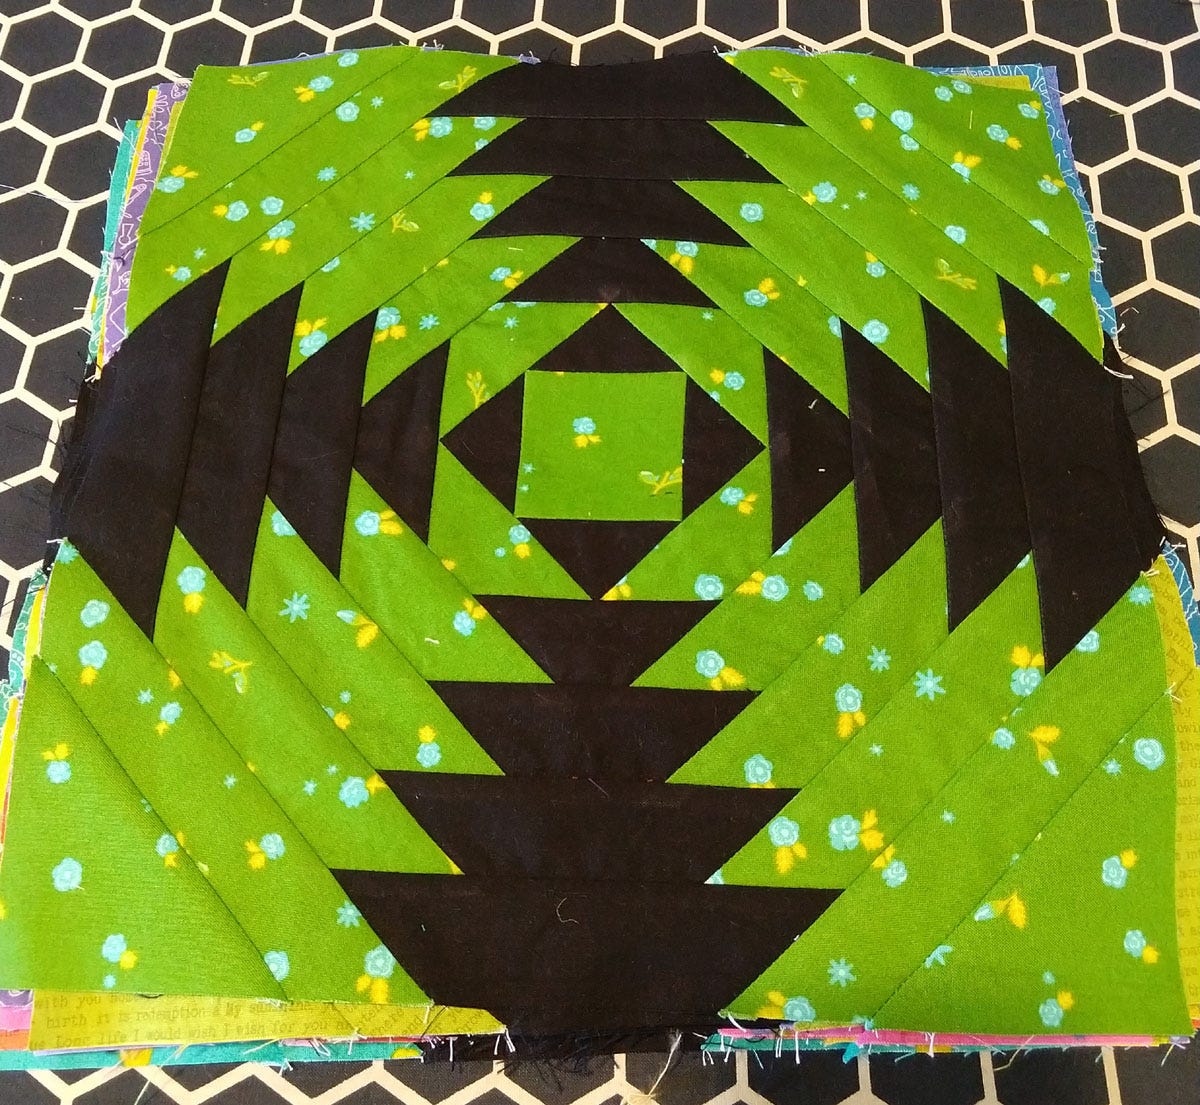
Step One: sew the smallest black triangles to the sides of the center squares.

Add the matching colored small pieces. I did the opposite sides first before ironing and ironed toward the new piece as it was added.
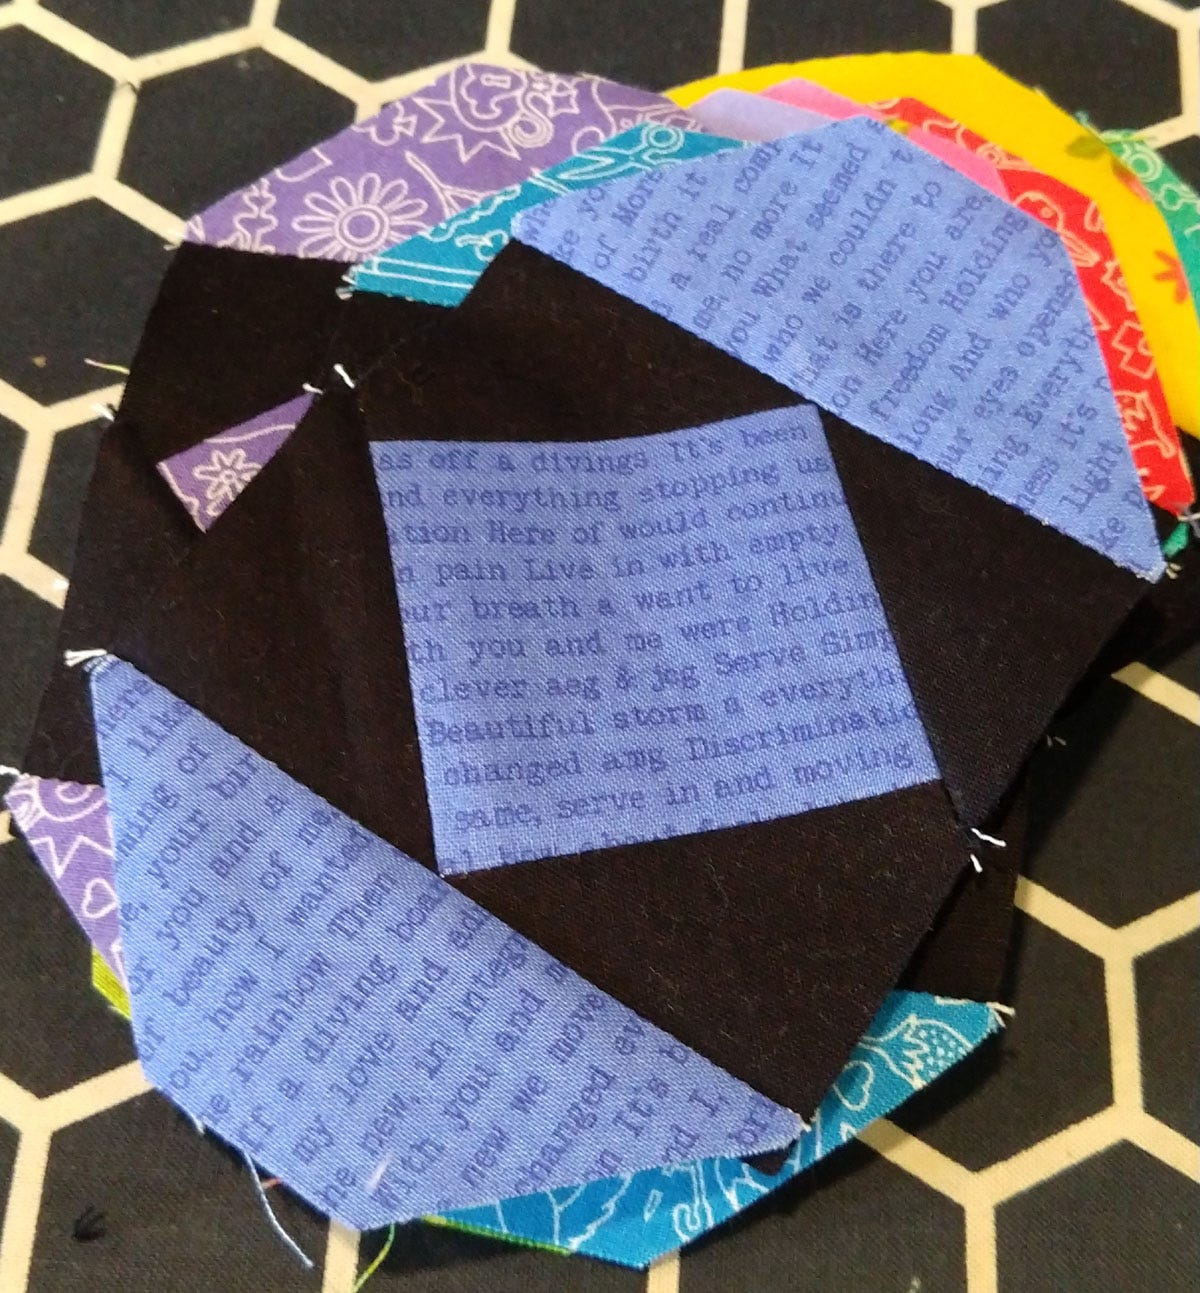
Soon, I was able to sew all four pieces before getting up to iron.
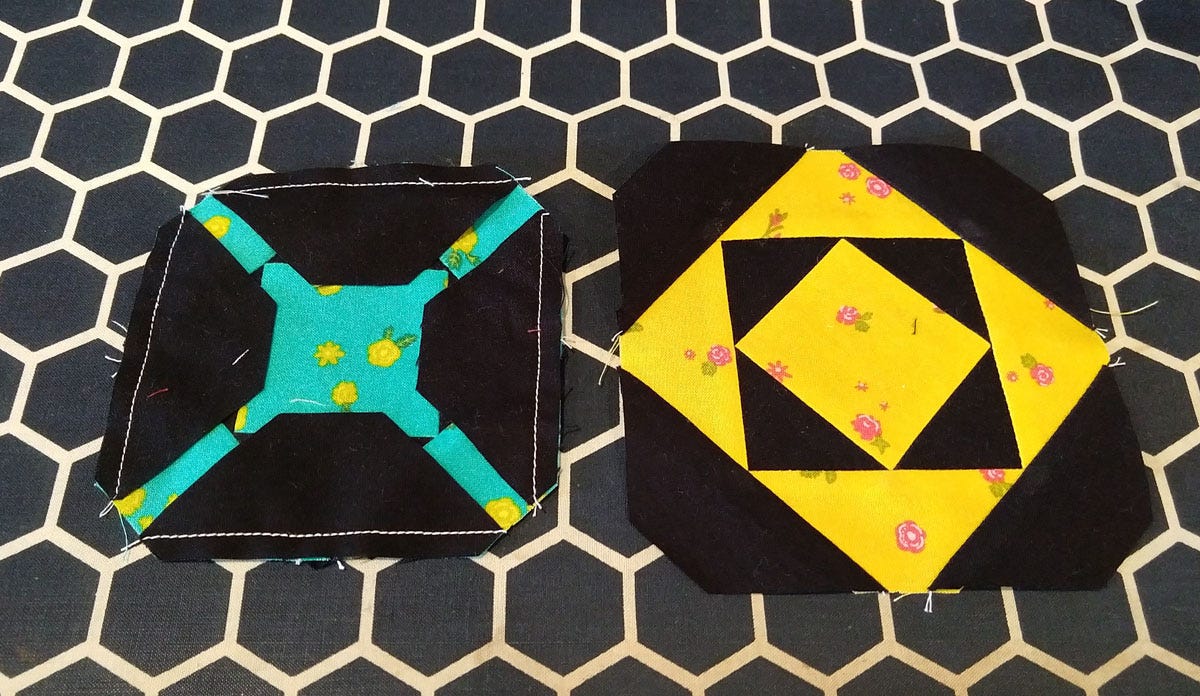
And the blocks kept growing! I love how the dog ears are cut off so the pieces line up perfectly!

And the blocks kept growing more!

And growing...
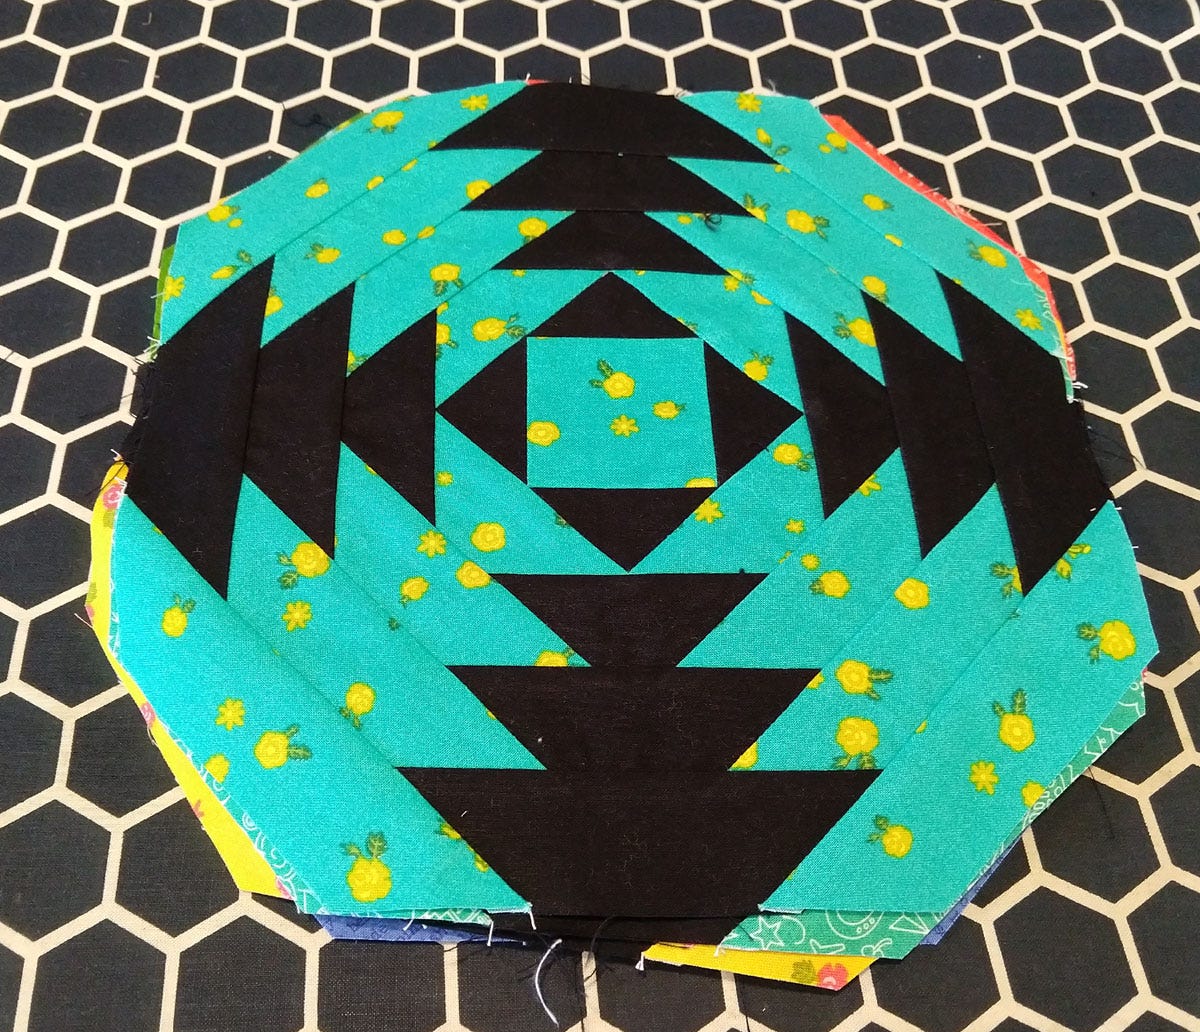
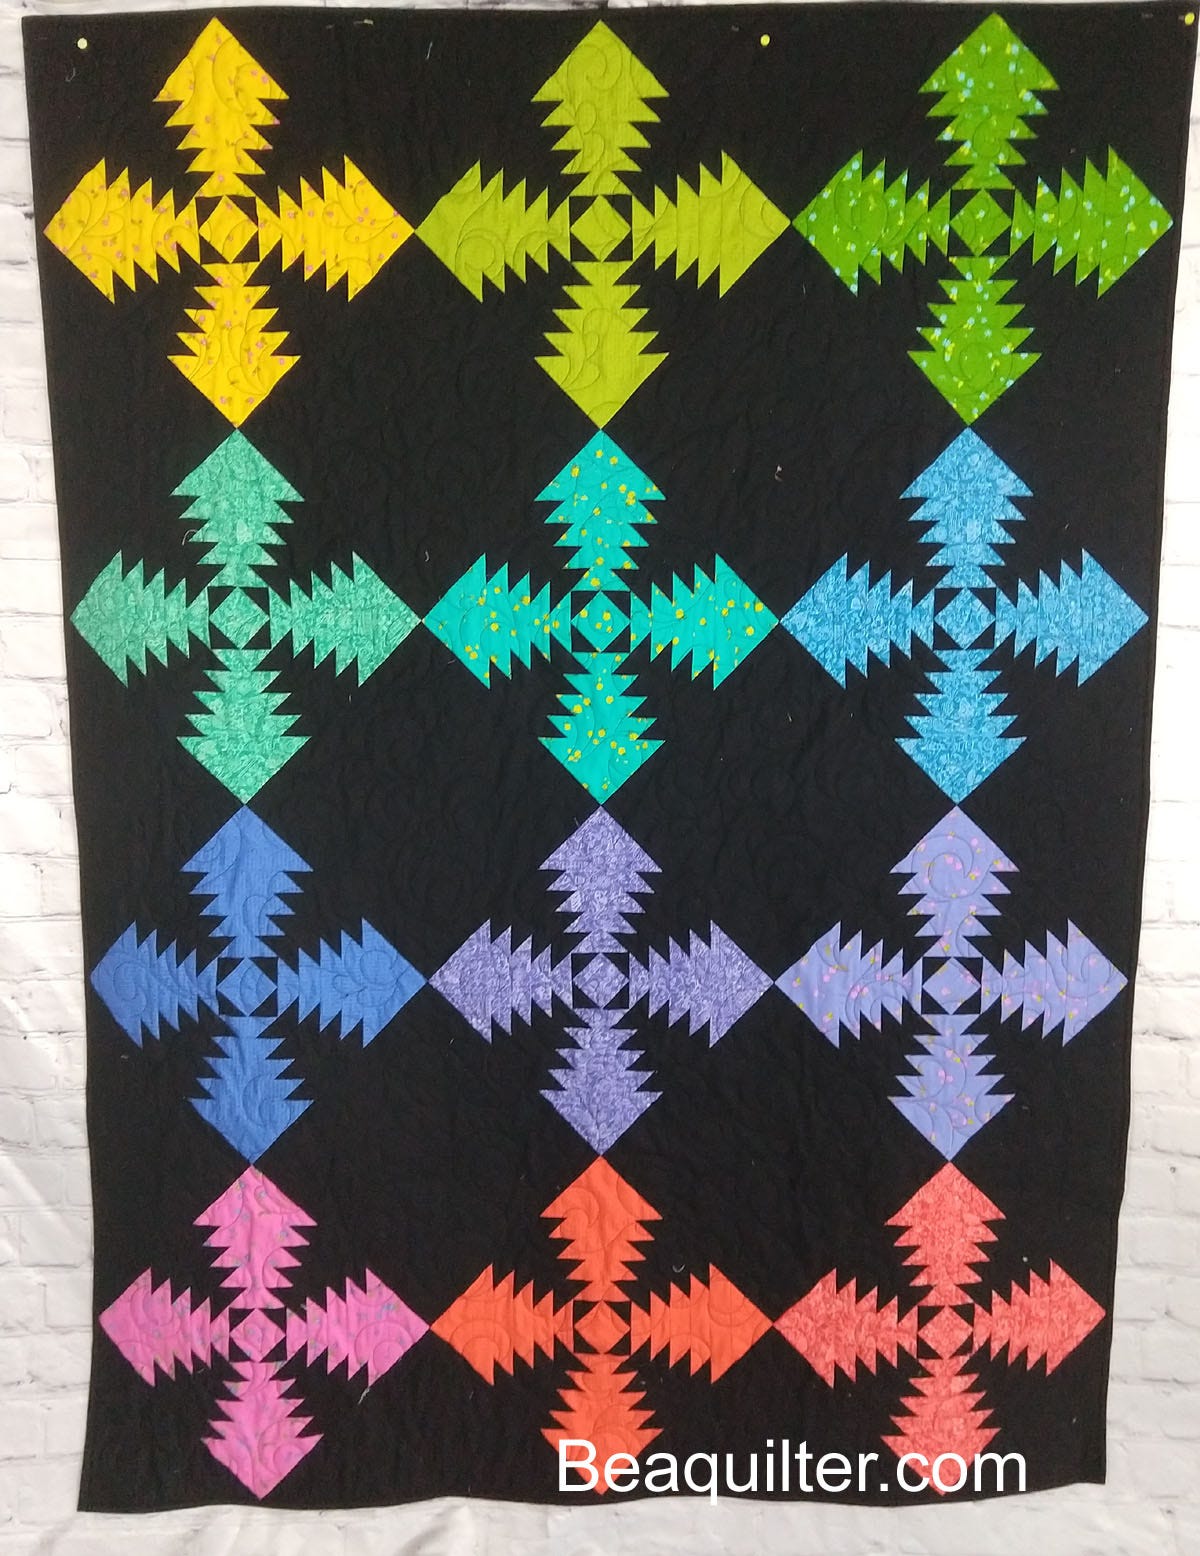
Finally they are done and SEW COOL looking!
Then with black fabric, I cut out 10 large and four small setting triangles using the Studio Setting Triangles-12" Finished die.
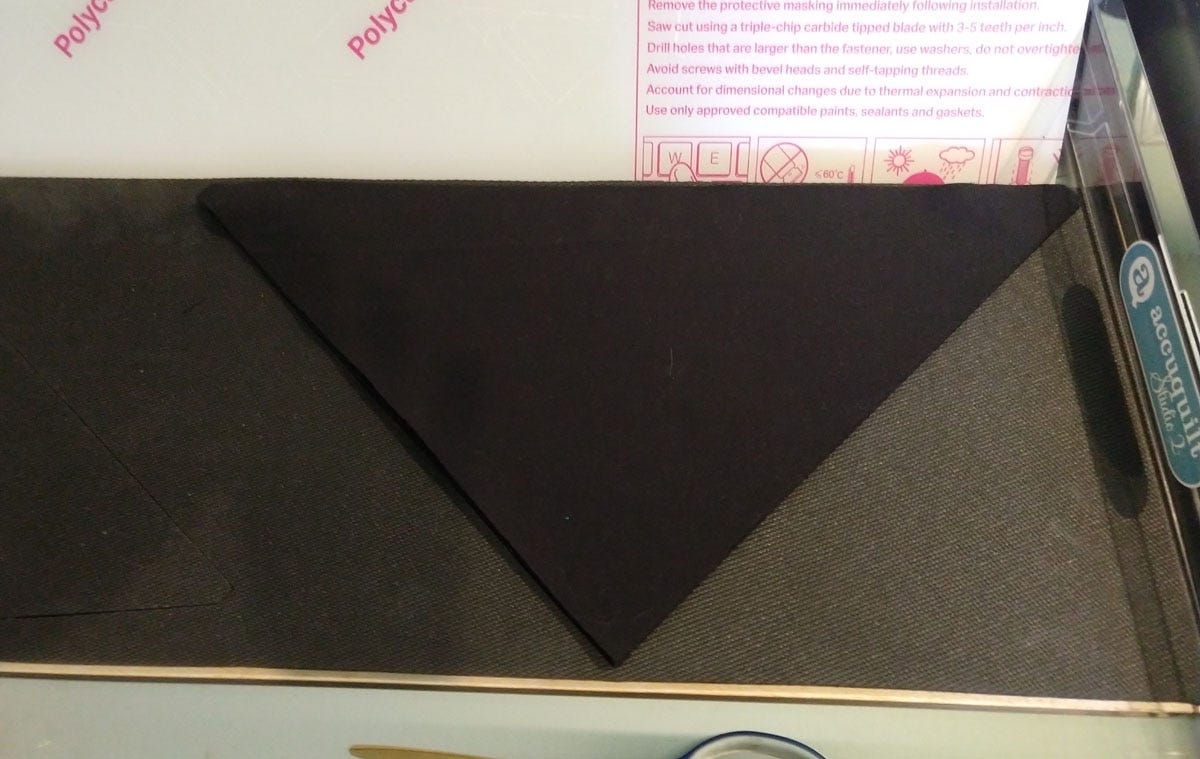

I also cut six 12½" squares using the Studio Square-12½" (12" Finished) (50021).
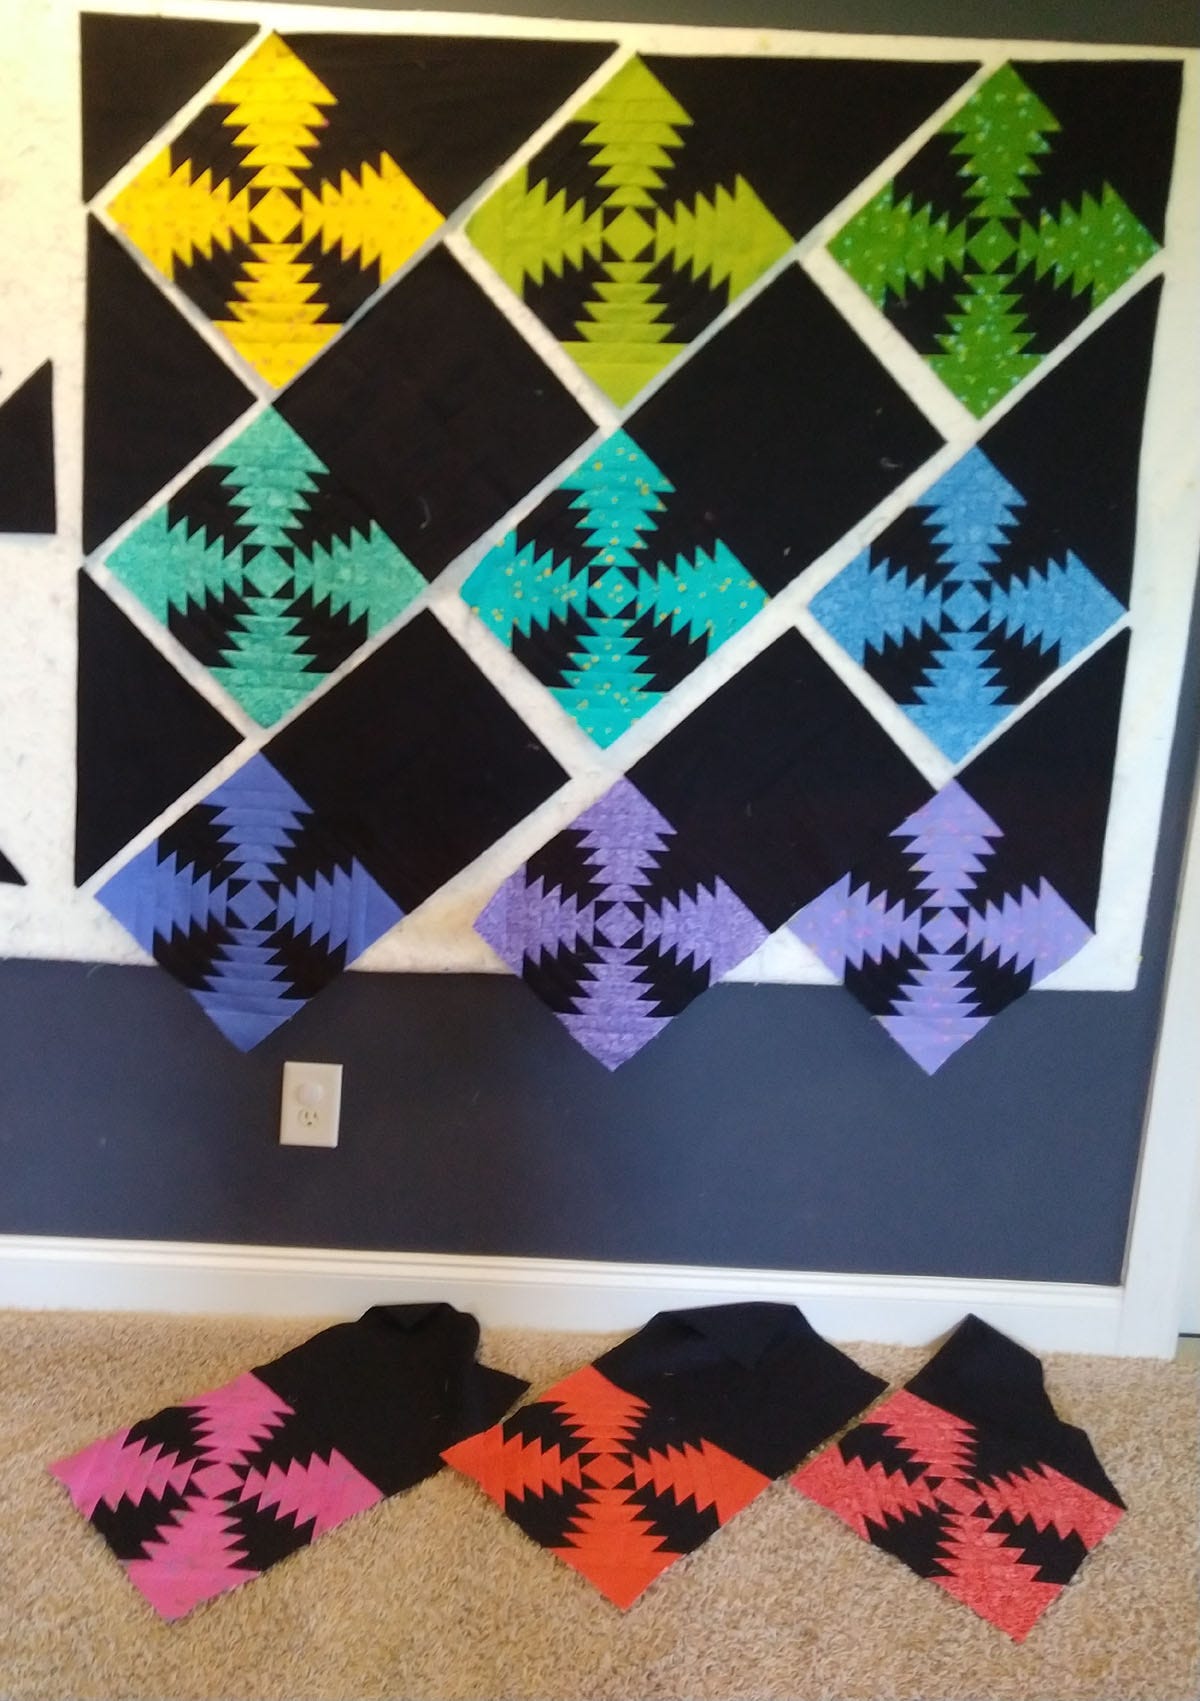
I then put the blocks and setting pieces on my design wall to decide in which order to put the rainbow blocks. I ended up liking this the best because of the colors and prints in the fabrics which are hard to see on this picture.

Then I started sewing everything together on the diagonal lines.
Again, with the setting triangles the dog ears are cut off so everything lined up perfectly.

Soon enough I had the top done! It measures 51½" x 68½".

Here it is all quilted and bound:
I used an allover quilt design I created called Feathers and Swirls in black thread.

This was a really fun quilt to make, and I hope you get to try it too! If you have been avoiding an on-point quilt pattern or a pineapple block, these new dies make both so much more approachable.
Will you be making any on point quilts? Share them with us on Facebook, Twitter, YouTube, Pinterest, and Instagram, and don't forget to subscribe to the AccuQuilt blog so you receive tips, tricks and inspiration right to your inbox!