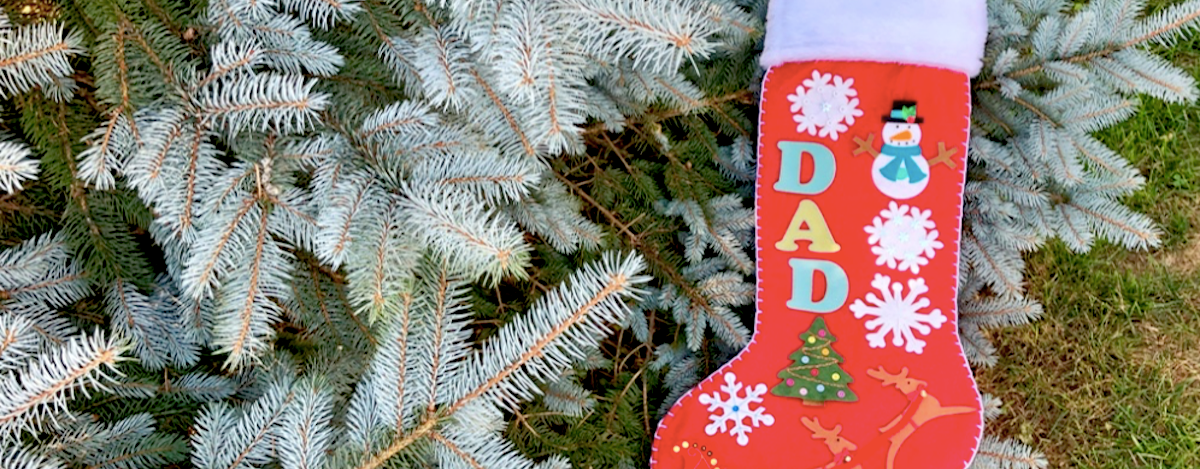
The stockings are bigger than the children and they just get a kick out of it! On Christmas morning, they really look forward to digging into their huge stockings.

This project makes one oversized Christmas stocking.
MATERIALS
- GO! Holiday Medley (55043)
- GO! Holiday Accessories (55321)
- GO! Sleigh & Snowflakes (55322)
- GO! Circle- 2", 3", 5" (55012)
- GO! Carefree Alphabet Set (55092)
- 1½ yards of red wool felt (I buy my felt from Benzie Design & use 'red'- here)
- ½ yard Faux white fur
- Wool felt in various colors for the appliqué (I love these assortments- here)
- Sequins, glass beads, and other embellishments for the appliqué
- Studio Santa Stocking (50858)
INSTRUCTIONS
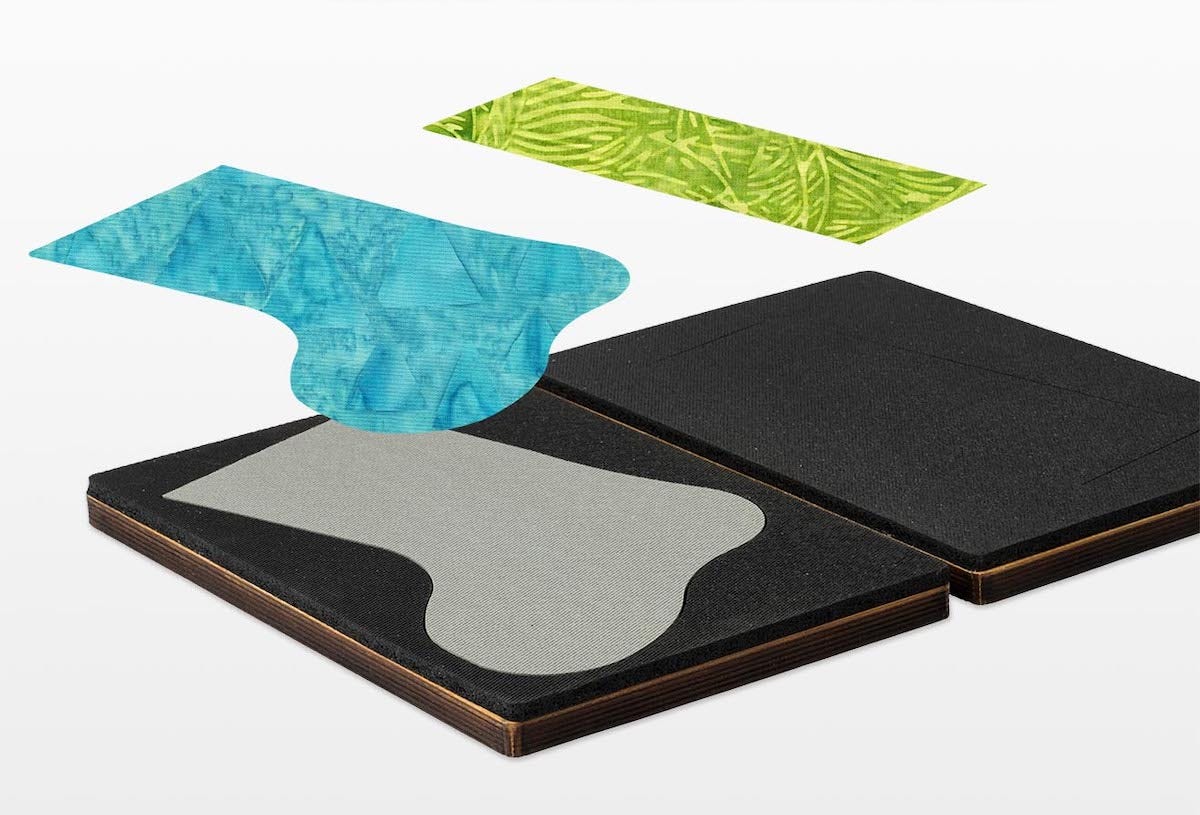
The first step is to cut your stocking. I used a template, but the AccuQuilt Studio and Studio Santa Stocking die would have saved me so much more time.
The Studio Santa Stocking finishes at 11½" wide and 18½" long and my stocking isn't far off with 11½" wide across the top by 29" long. Both sizes can fit a lot of appliqué and I love it like that.
Also, from the red felt, cut one 3" x 10" piece. This will make the tab for hanging the stocking. Fold this in half lengthwise, gently press with an iron on the wool setting. Open it up. Fold on long edge into the middle crease that you just made with the iron. Do the same thing with the other side. Then fold on the crease. Sew along both of the long edges, about ⅛" away from the edge. Set aside for stocking assembly steps.
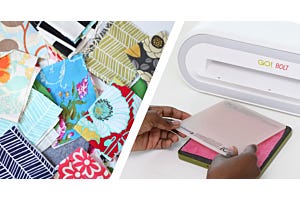
Next, using your various wool felt colors, rough cut out the colors that you'd like to use to make the appliqué.
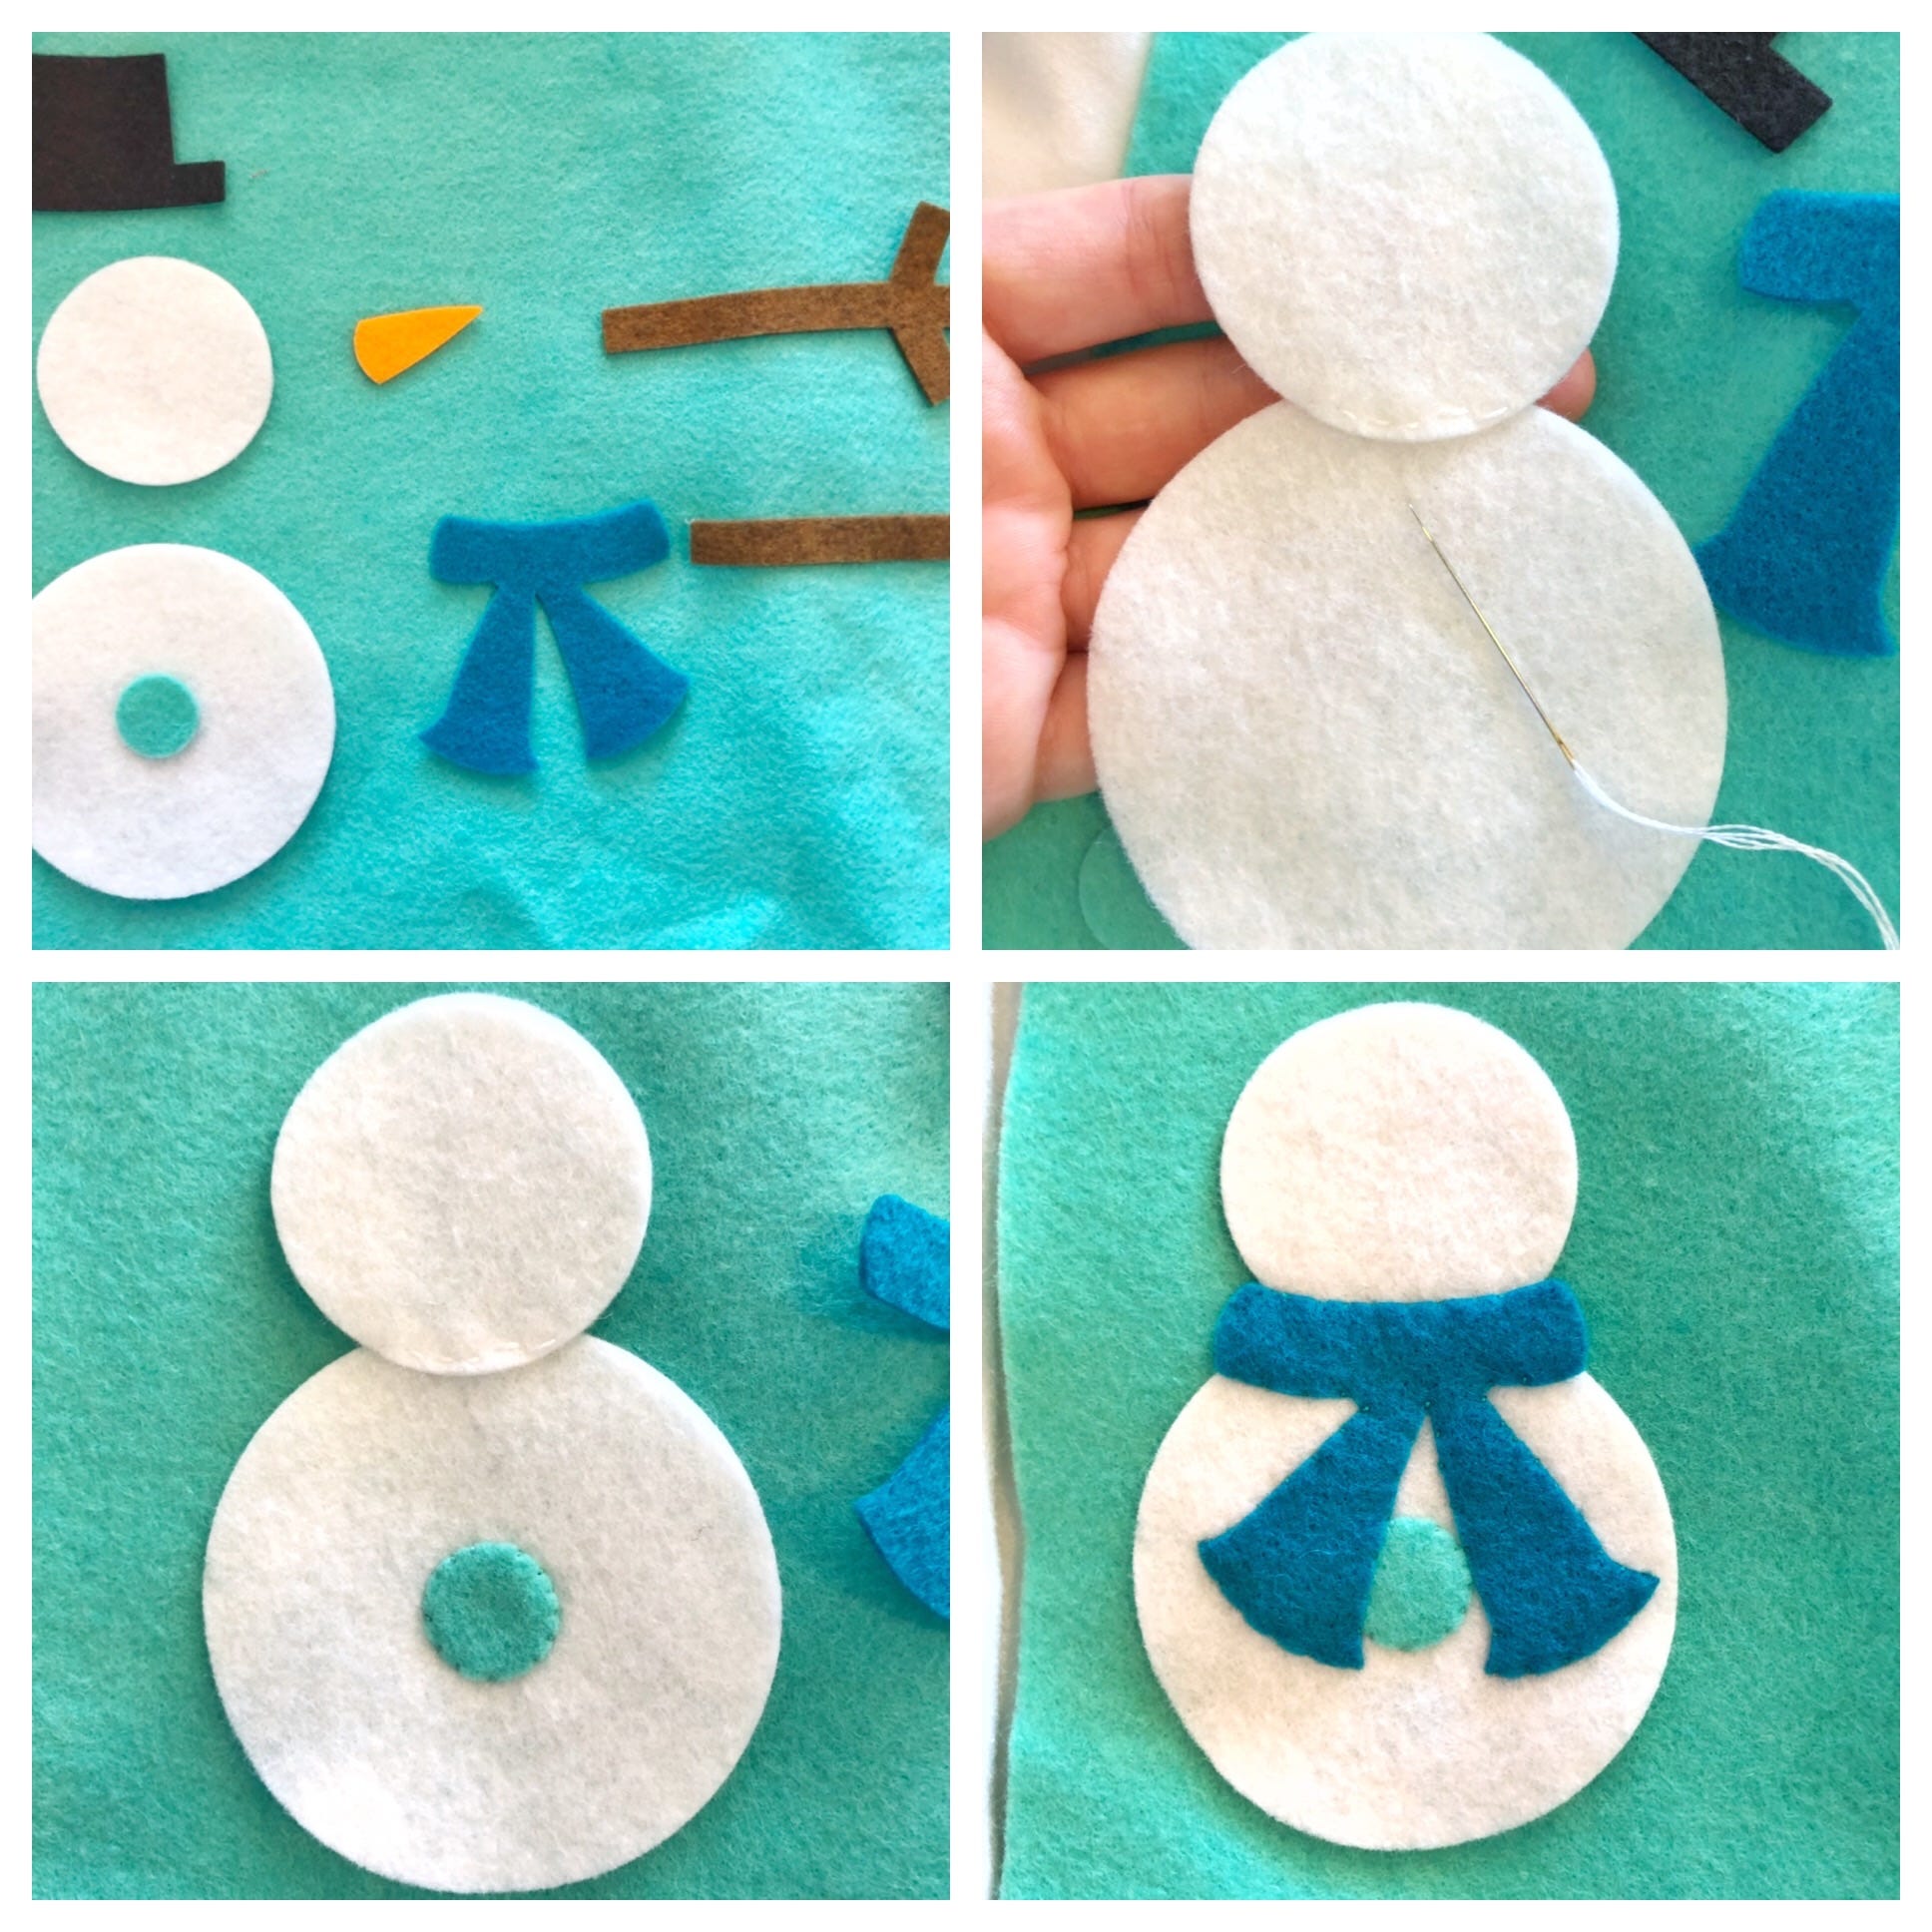
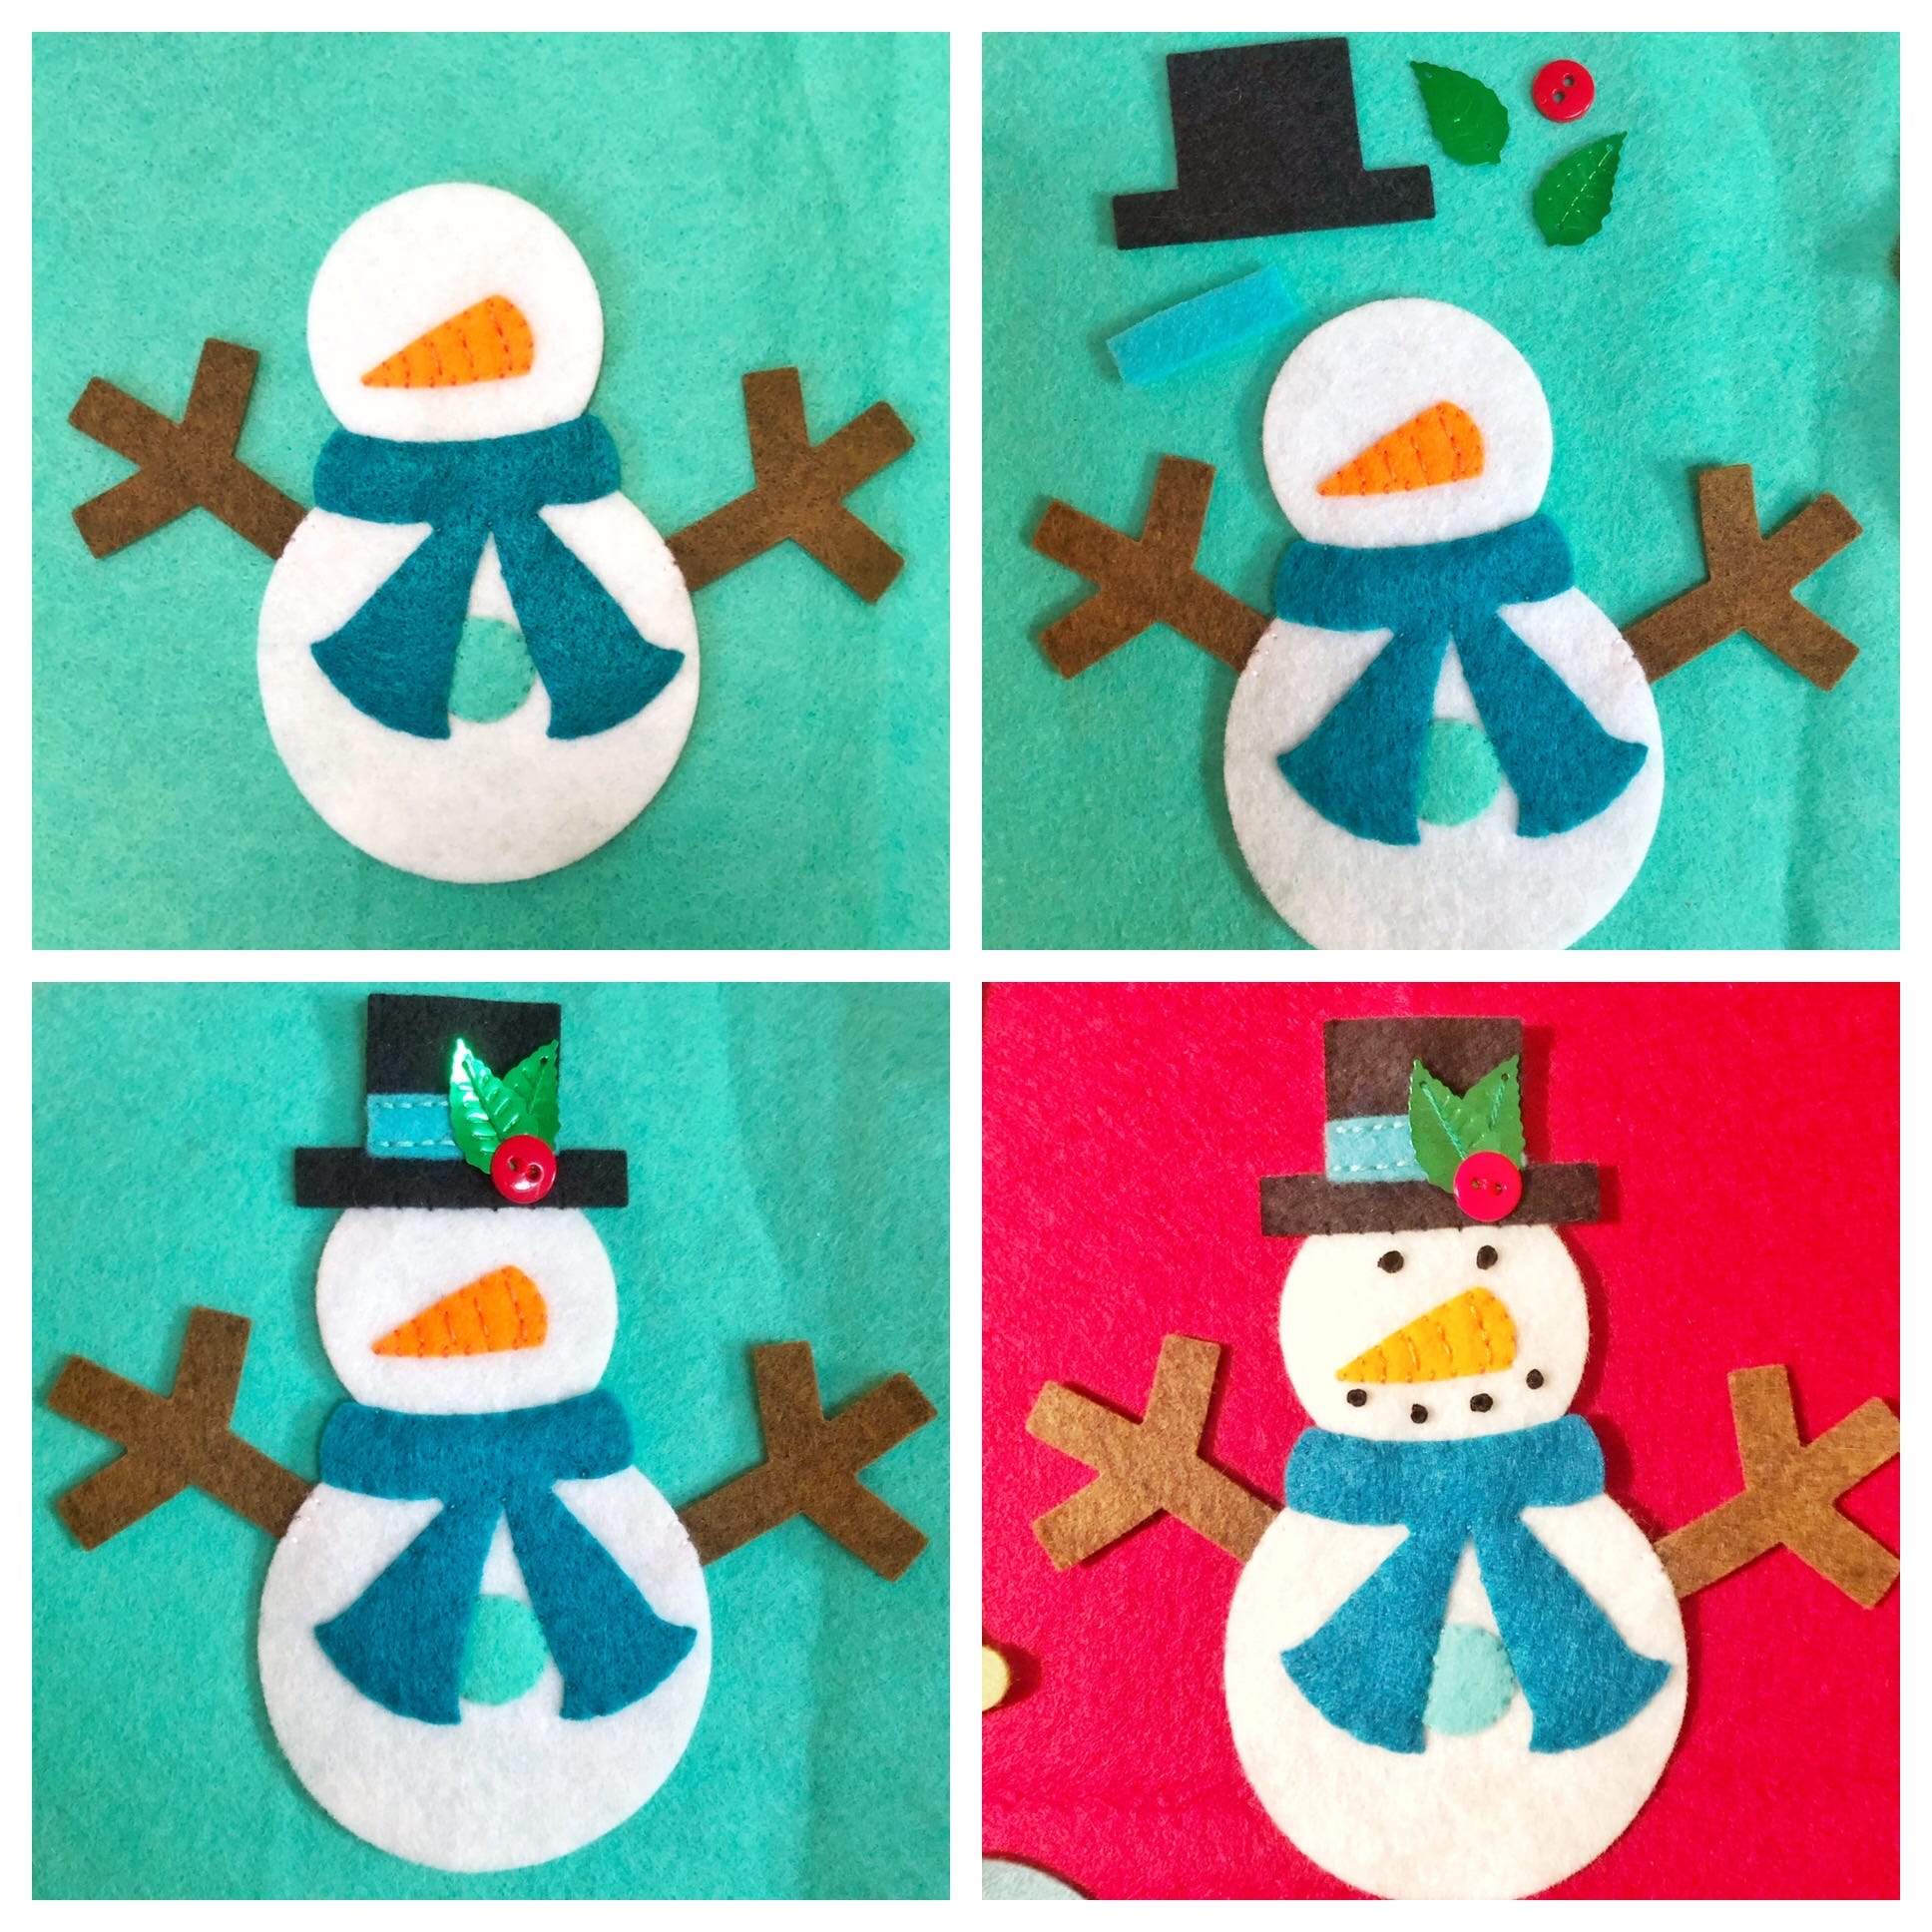
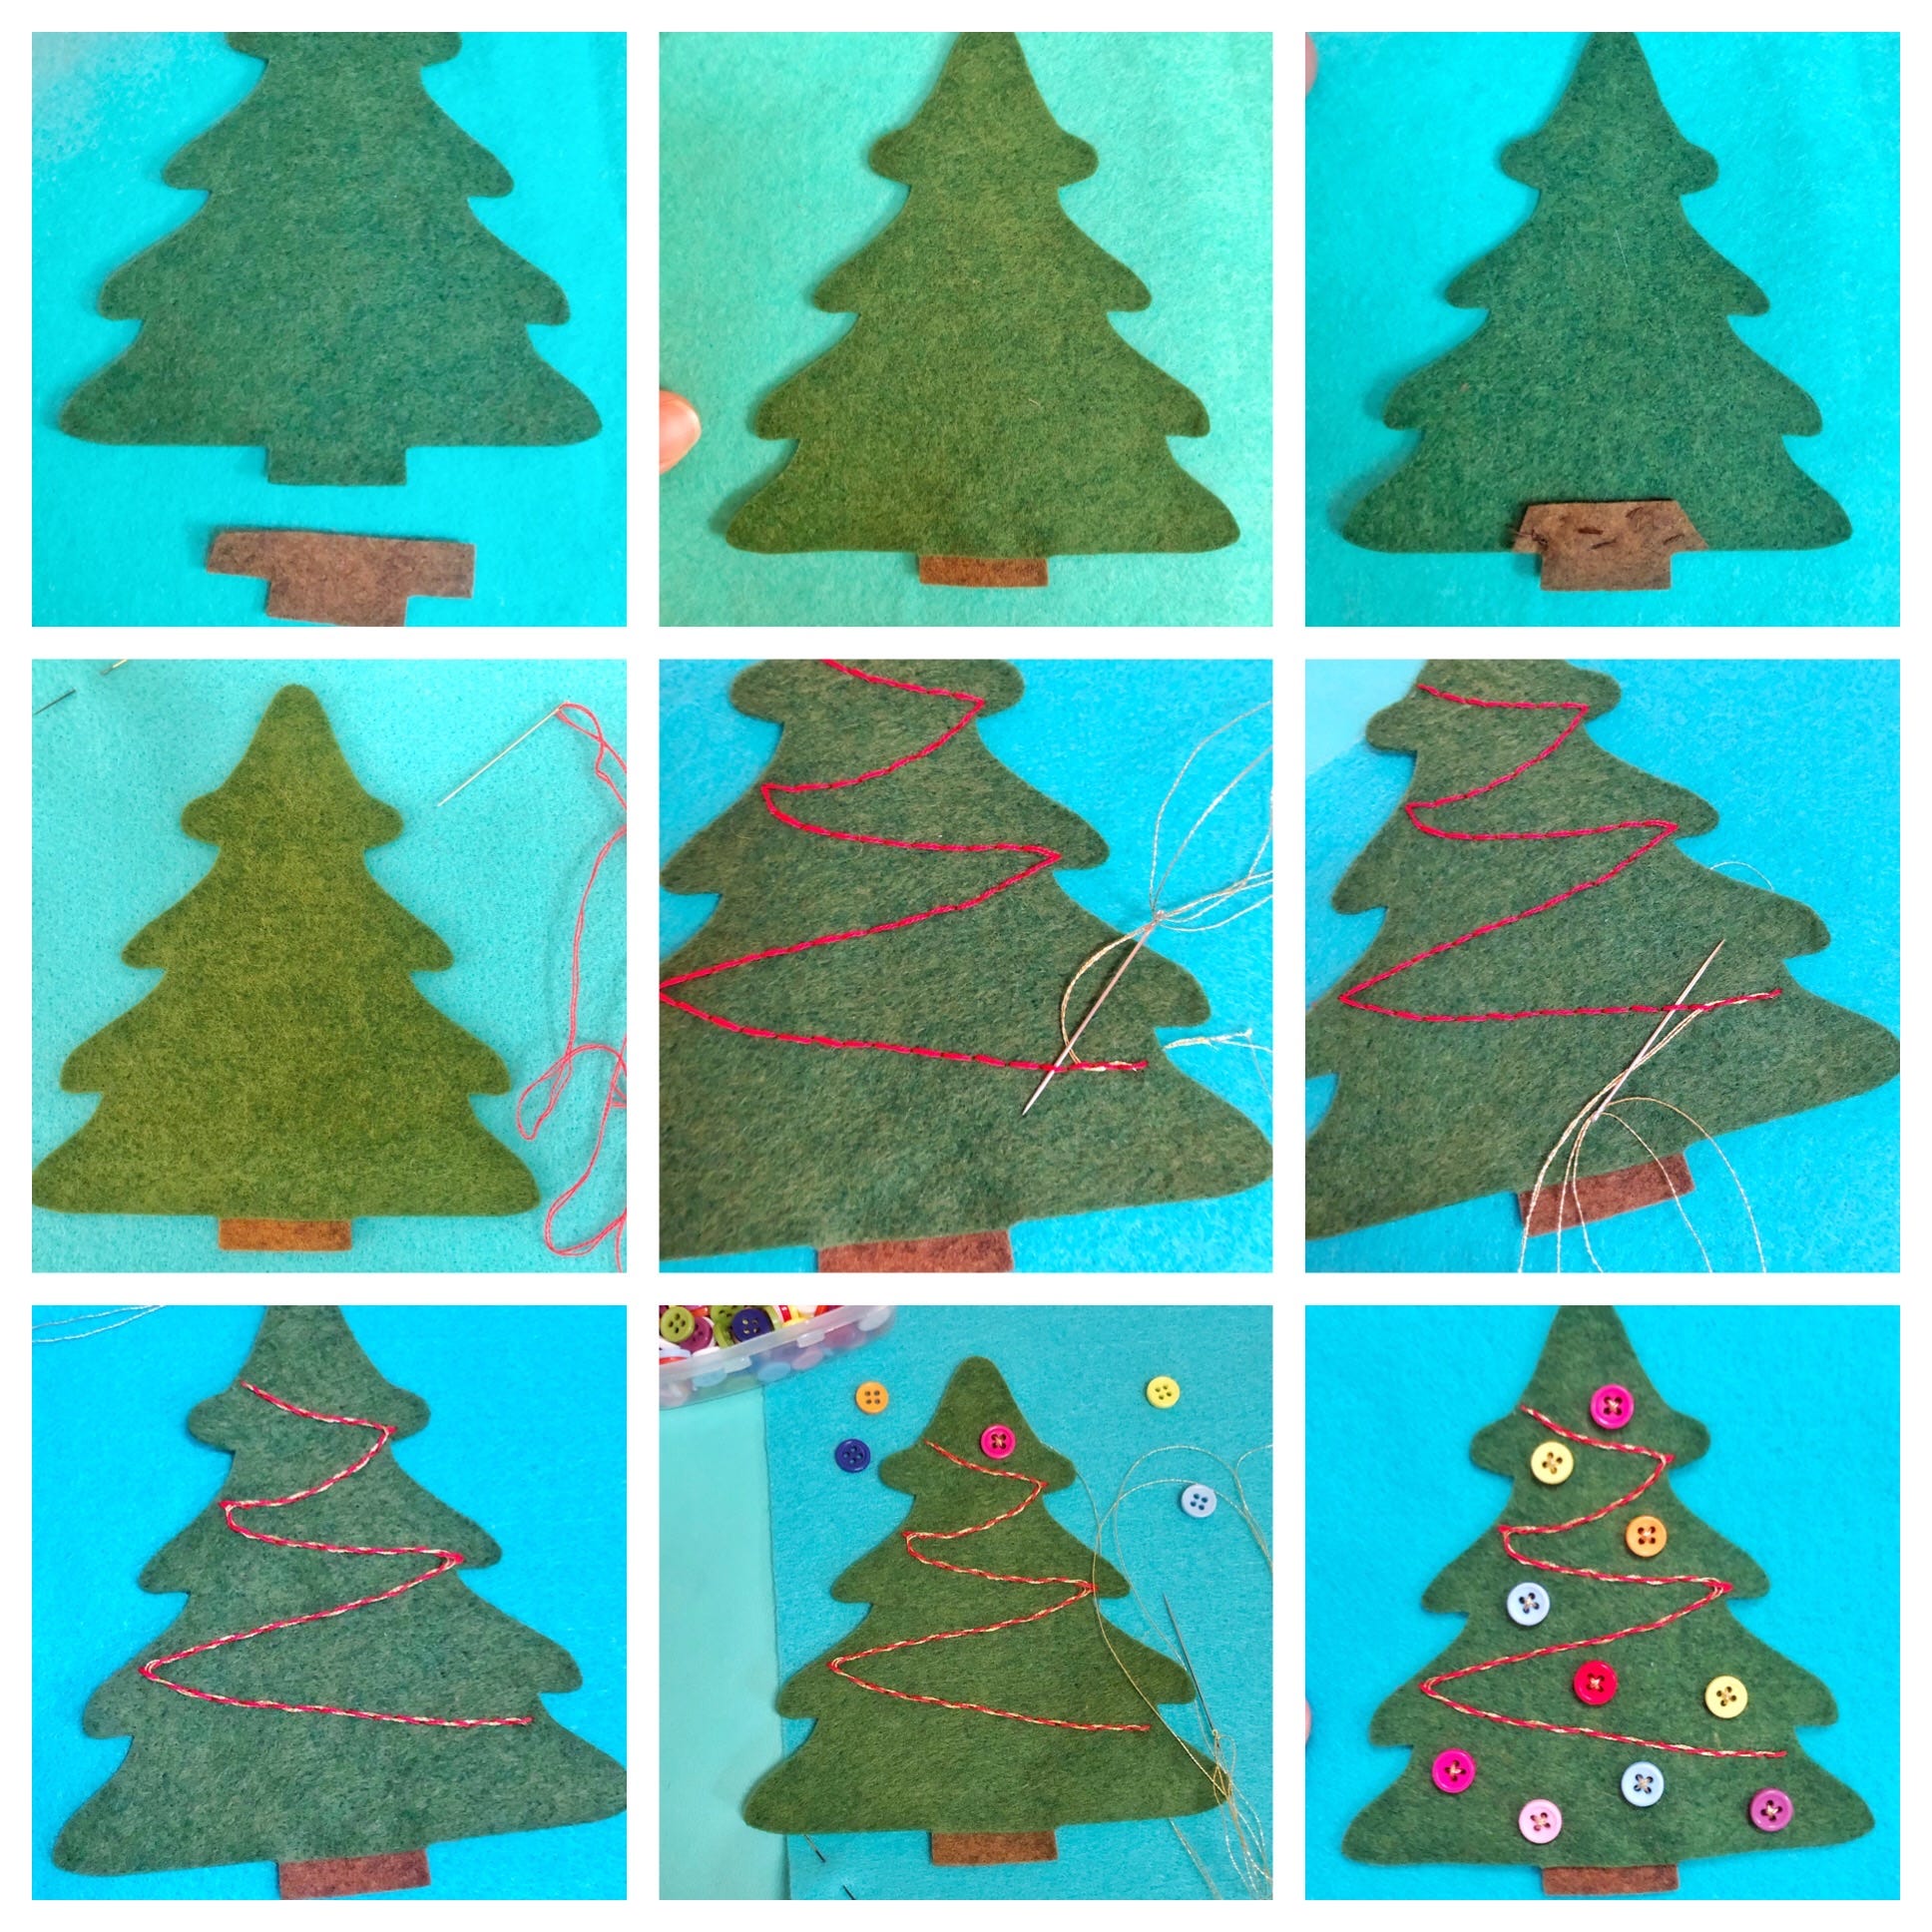
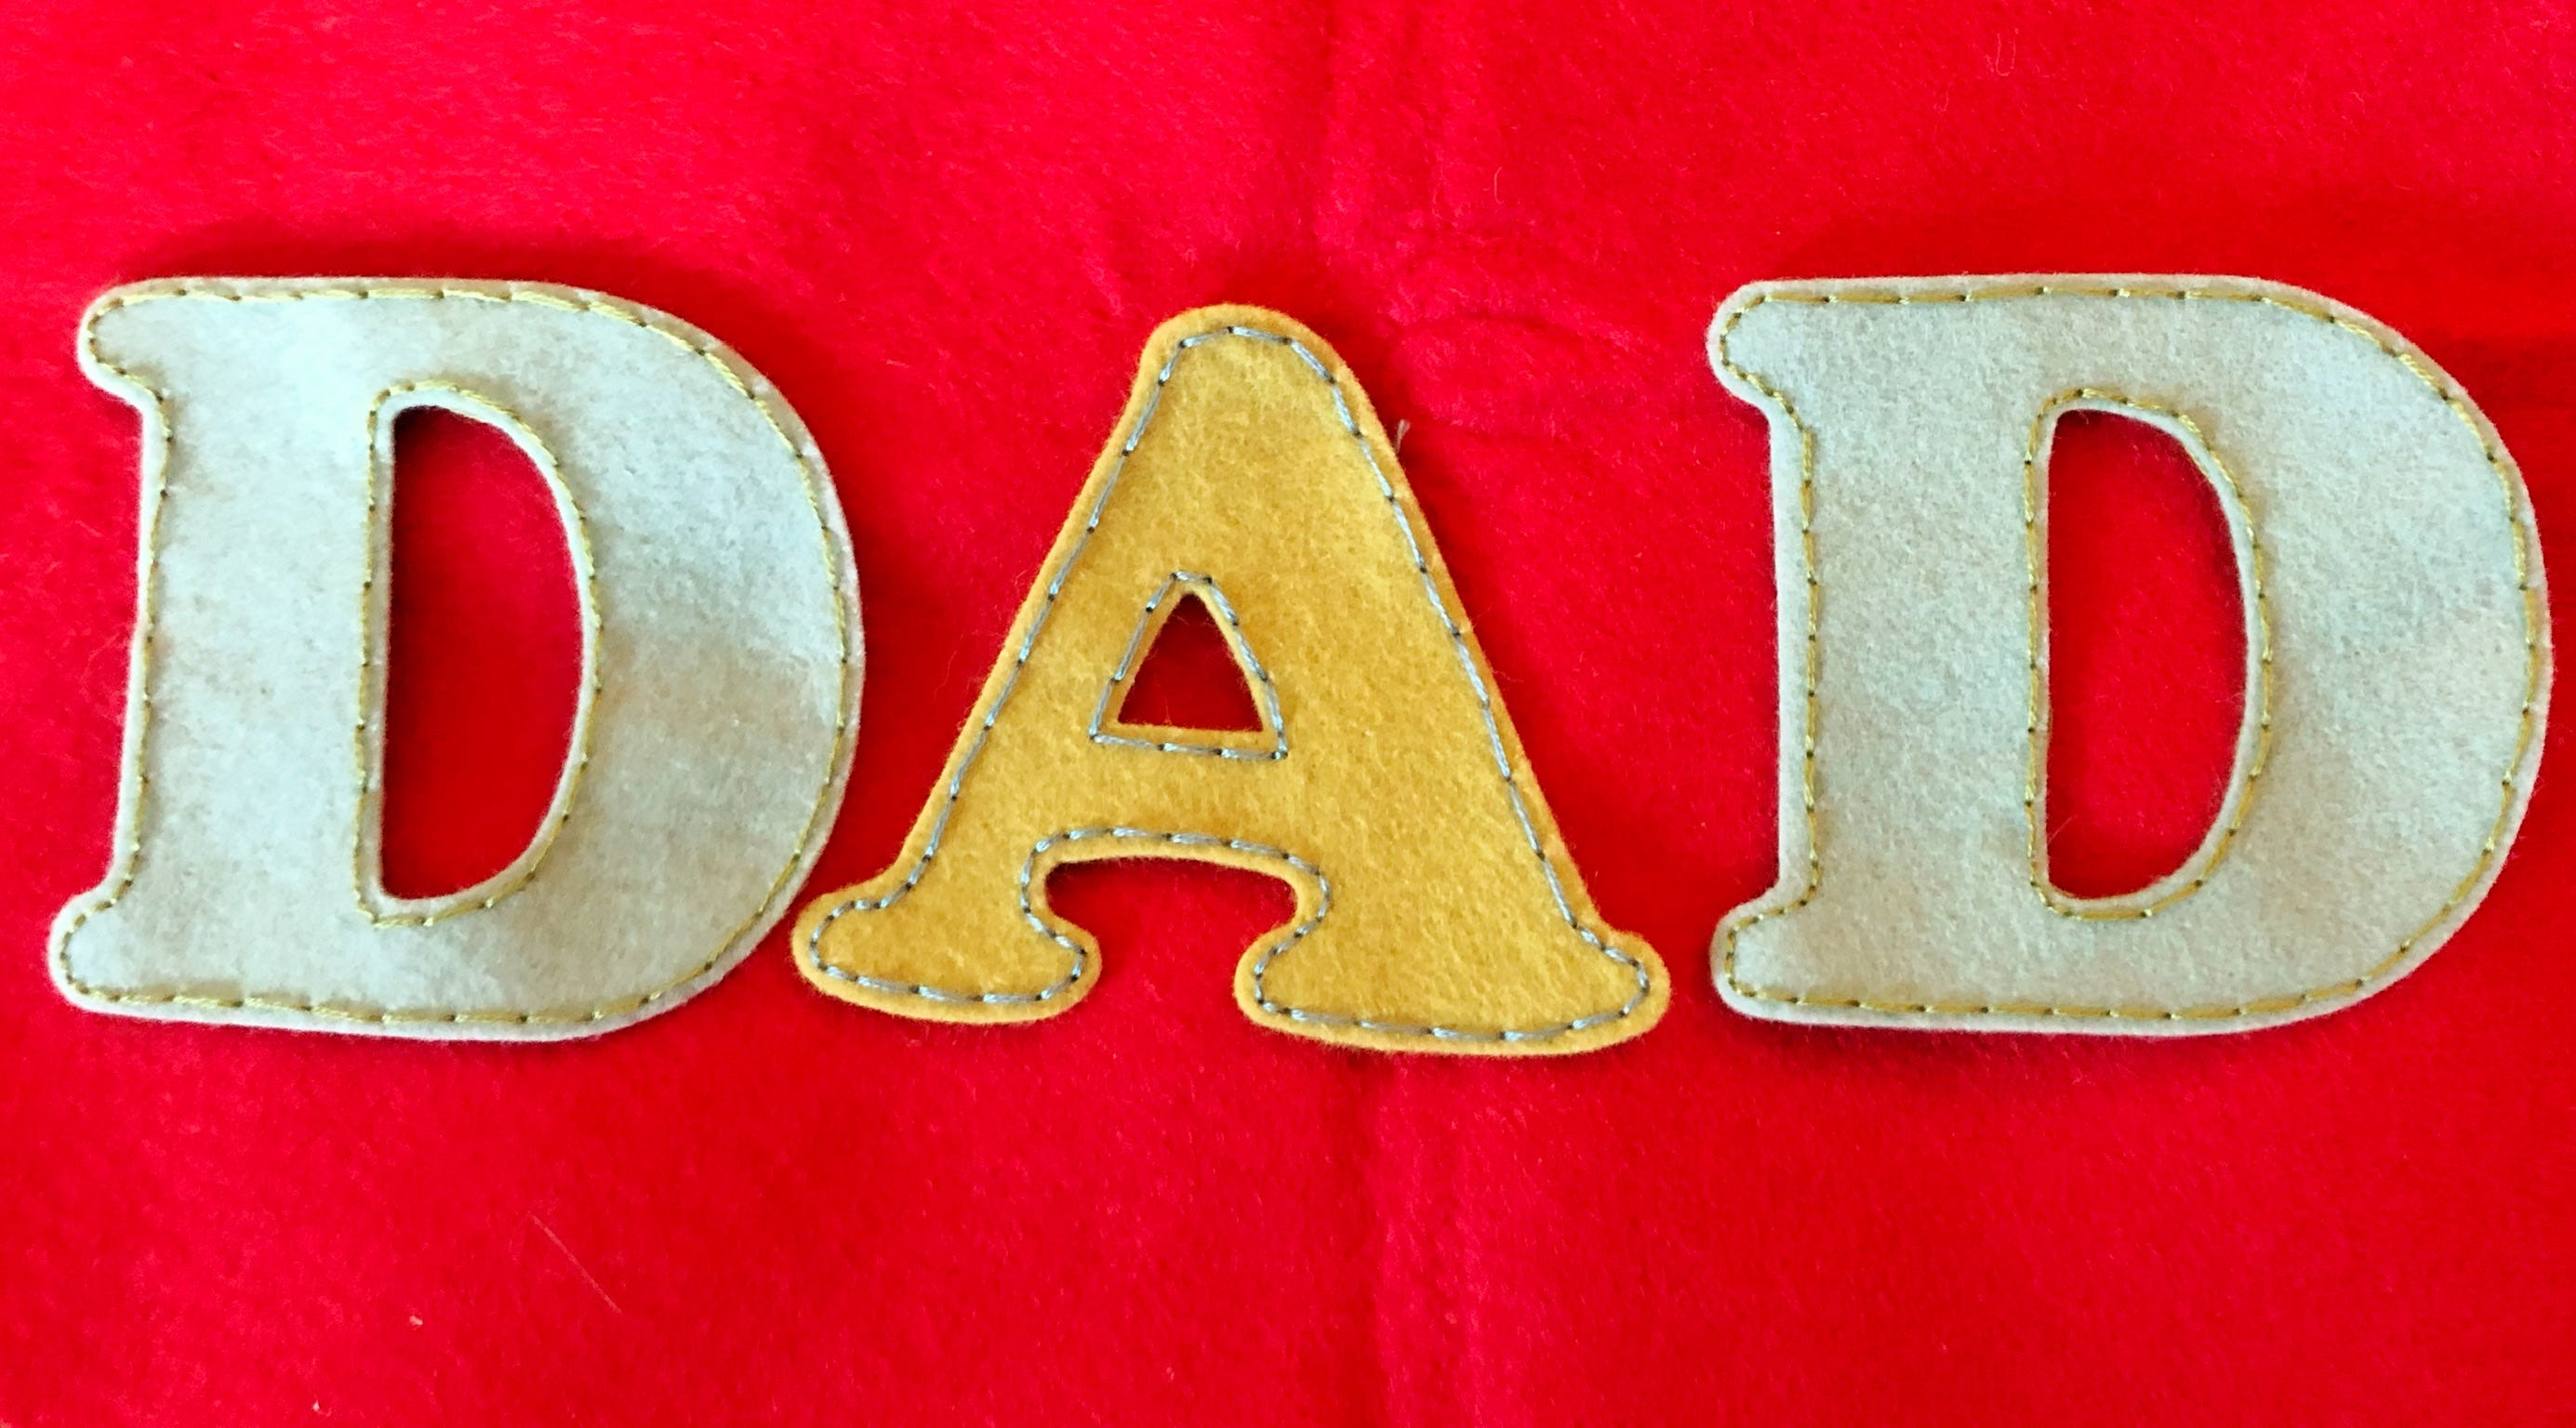
For my stocking, I used the snowman (which is the 2" and 3" circles on the GO! Circle- 2", 3", 5" die) and the GO! Holiday Accessories die for his face, arms and clothes. I used the the Christmas tree, the sleigh, two reindeer and various snowflakes found on the GO! Sleigh & Snowflake and GO! Holiday Medley dies. And finished it all off with the alphabet dies to spell the name of the stocking's owner.
After you have all of the the shapes cut out, then you can decide how you'd like to embellish them. There are so many ways you can do this. You can use sequins, beads, buttons, glitter puff paint, etc. Below are all the appliqué pieces I made for my stocking.
My Snowman
My Tree
My Sleigh

My Reindeer

My Snowflakes

The Name and Lettering
Once you have embellished all of the appliqué shapes to your liking, you will attach them to the stocking. You can hand stitch them to the stocking or you can hot glue them if you'd like.
NOTE: if you are using hot glue, you can wait to attach the appliqué until the stocking is sewn together (I chose to do this option). If you are stitching them down, do that before you assemble the stocking pieces together.
Cut the white fur into two 18" x the width of the top of the stocking (so that's 18" x 11½ for the template printed at 115% and 18" x 10½" for the template printed at 100%). Fold one of the short sides over ½" and then another ½". Sew along that fold, securing it in place. Repeat to the second piece.

Sew the fur to the stocking, along the top edge. To do this, you will lay the stocking, right side up, and then lay the fur trim, right side up with the non-hemmed side laying along the 11½" (or 10½") top edge of the stocking. Sew them together, ¼" from the raw edges. Repeat for the back of the stocking.
To begin assembling the stocking together, pin the stocking front and back together, with the right sides facing out (away from each other). Pin the stocking hanger roughly 2" up from where the stocking meets the fur. It needs to be sandwiched in fur layers so that you sew over it (and secure it in the seam) when you sew the two layers of fur together. Sew (about ¼" from the edge) down one side of the cuff, all the way around the stocking, and up to the other side of the cuff.

Fold the cuff over.


Then, if desired, use a large needle and cotton yarn and blanket stitch around the red felt portion of the stocking.

That's it...the stocking is finished! I really love making stockings and I hope this tutorial has inspired you to make some! The AccuQuilt dies make this so easy and fun! Thanks so much for following along with me and be sure to follow me on Instagram, @jessicadayon and on my blog, Jessica Dayon, to see my newest patterns, sew alongs, and tutorials.
Don't forget to subscribe to the AccuQuilt blog to see all the GO! Getter tutorials and projects as well as quilting tips, tricks and inspiration.