
Hi, quilters! It’s Bea Lee from Beaquilter. I’m here to show you a cute winter quilt I made by combining GO! Qubes and the GO! Pineapple-10" Finished Die!
Dies Needed
- GO! Pineapple-10" Finished Die
- GO! Qube Mix & Match 10" Block
- Shapes 3 and 4
- GO! Qube Mix & Match 5" Block
- Shapes 2, 4, and 5
- GO! Strip Cutter-3 1/2" (3" Finished) 2 Strips with Angled Guidelines Die
- GO! Strip Cutter-1 1/2" (1" Finished) 5 Strips Die
Fabrics Needed
- 1 1/8 yards of snowflake print fabric
- 3/4 yards of light blue fabric (called LB1 below)
- 1/4 yards of another light blue fabric (called LB2 below)
- 1/2 yard of white fabric
Let's Get Started!
Every quilt that I make starts with an EQ8 printout and then, I pick the fabrics. In this printout, you can ignore that the size says 44” x 44”, because I had the blocks set to 12” in EQ8, forgot that they actually needed to be 10”, and the pineapple block is not perfect either before I printed this guide out.
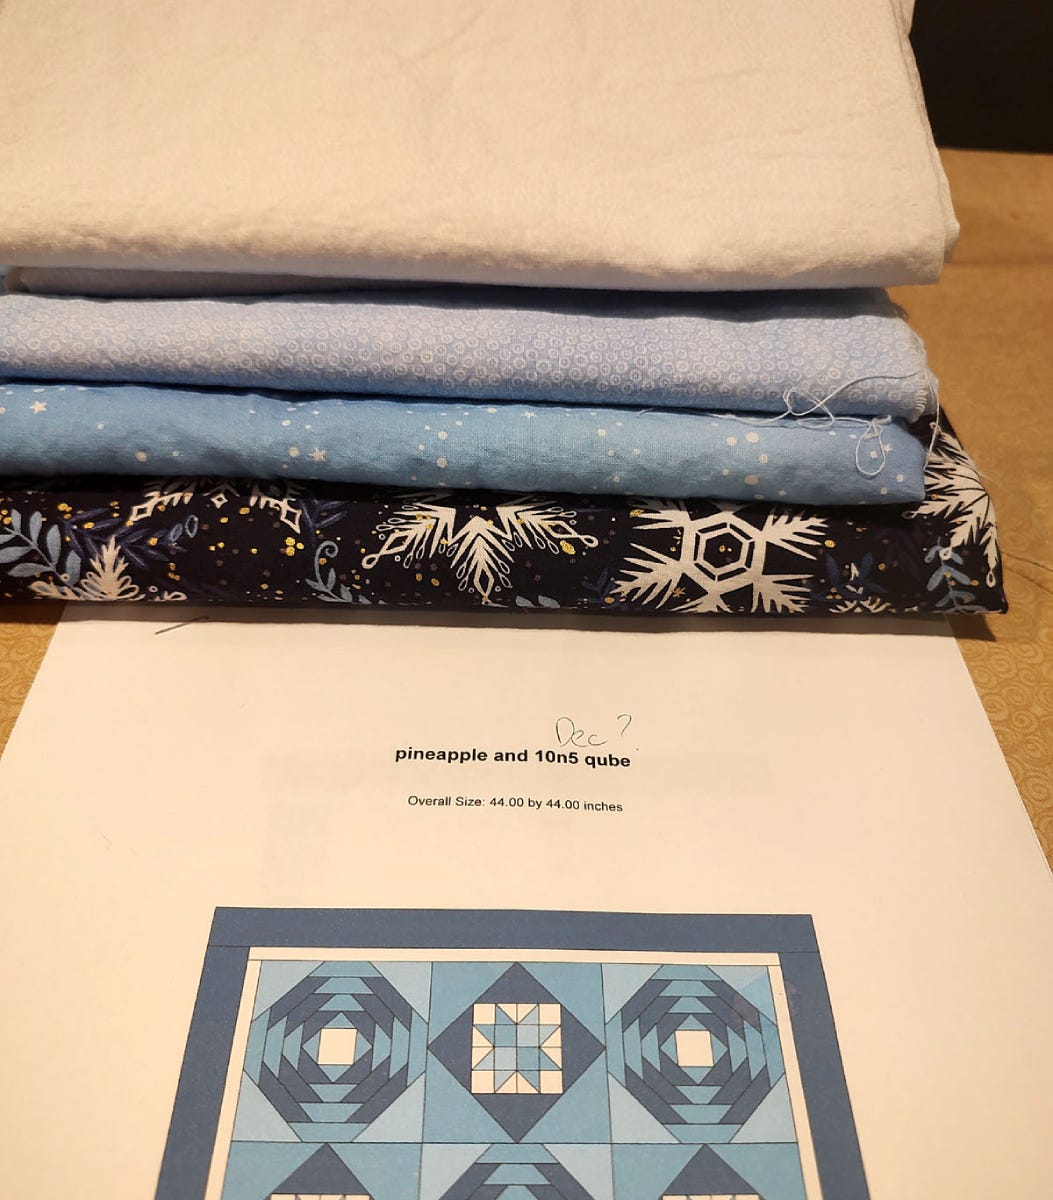
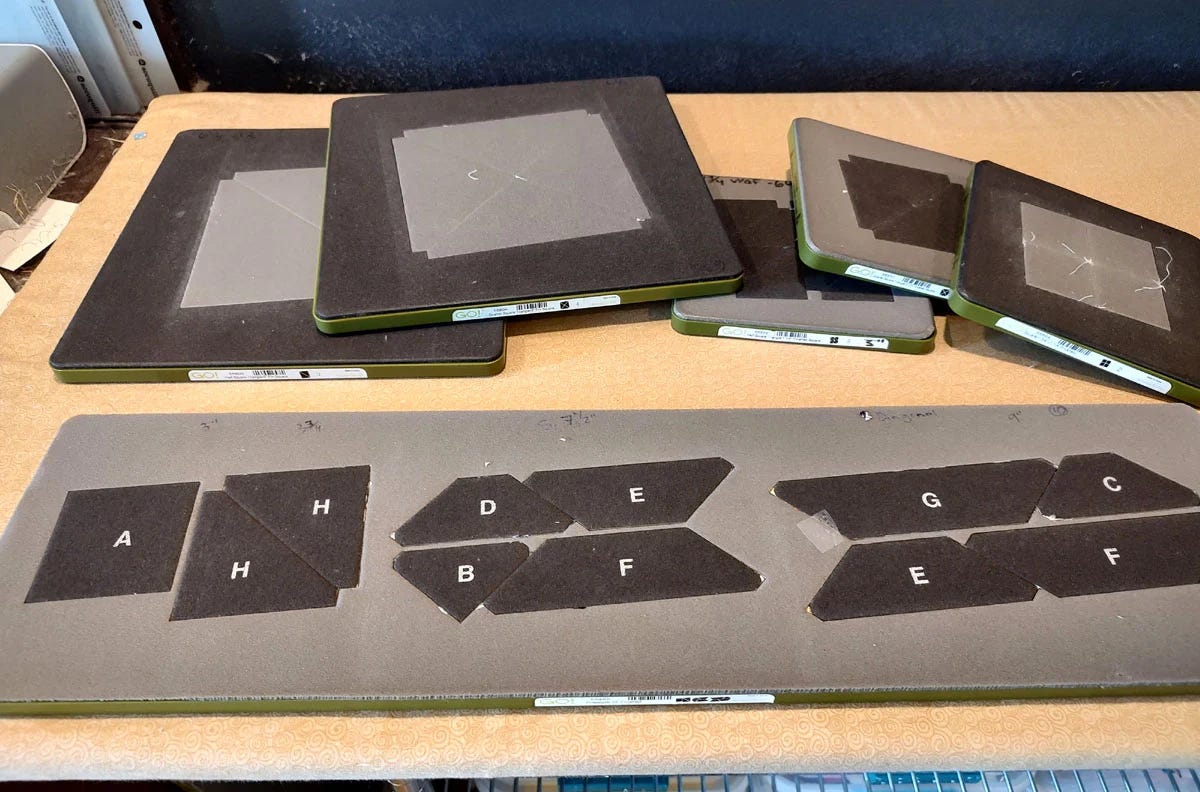
Once I had the fabric and guide ready to go, I gathered all the GO! Dies I needed and got started with cutting all the pieces out.
Cutting Instructions
1. For the dark blue fabric, cut:
- Two 9” x Width of Fabric (WOF) strips. Then, subcut 20 each of Shapes C, D, E, and F from the GO! Pineapple-10" Finished Die.
- One 6 3/4” x WOF strip. Then, subcut 16 of Shape 4 from the 10” Qube.
- Five 3 1/2" x WOF strips for the outer borders with the GO! Strip Cutter-3 1/2" (3" Finished) 2 Strips with Angled Guidelines Die.
2. Using the first light blue (LB1) fabric, cut:
- Two 7 1/2" x WOF strips. Then, subcut 20 each of Shapes B, D, E, and F from the GO! Pineapple-10" Finished Die.
- Two 6 1/4" x WOF strips. Then, subcut 16 of Shape 3 from the 10” Qube.
- One 4 3/4" x WOF strip. Then, subcut out 15 of Shape 5 from the 5” Qube.
- From all the scraps, cut out eight of Shape 2 from the 5” Qube.
3. With the second light blue (LB2) fabric, cut:
- One 4 3/4" x WOF strip. Then, subcut 16 of Shape 5 from the 5” Qube.
- One 4” x WOF strip. Then, subcut eight of Shape 2 from the 5” Qube (or use scraps).
- One 3 3/4" x WOF strip. Then, subcut 20 of Shape H from the GO! Pineapple-10" Finished Die, also using scraps.
- Five 2 1/2" x WOF strips for the binding.
4. From the white fabric, cut:
- One 4 1/4" WOF strip. Then, subcut 16 of Shape 4 from the 5” Qube.
- One 3” WOF strip. Then, subcut five of Shape A from the GO! Pineapple-10" Finished Die.
- 16 of Shape 2 from the 5” Qube out of the scraps.
- Four 1 1/2” x WOF strips for the inner border with the GO! Strip Cutter-1 1/2" (1" Finished) 5 Strips Die.
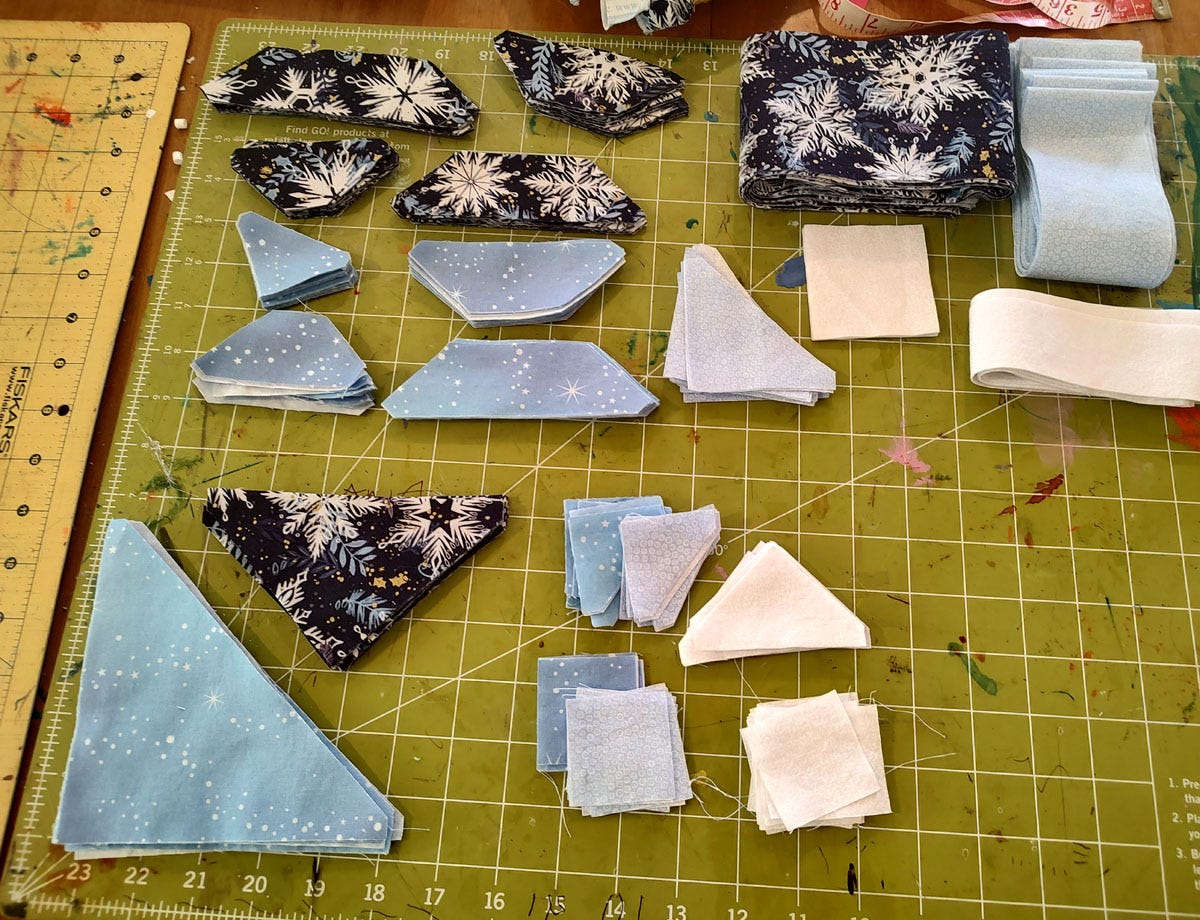
Here are all my pieces laid out and organized together:
Putting It All Together
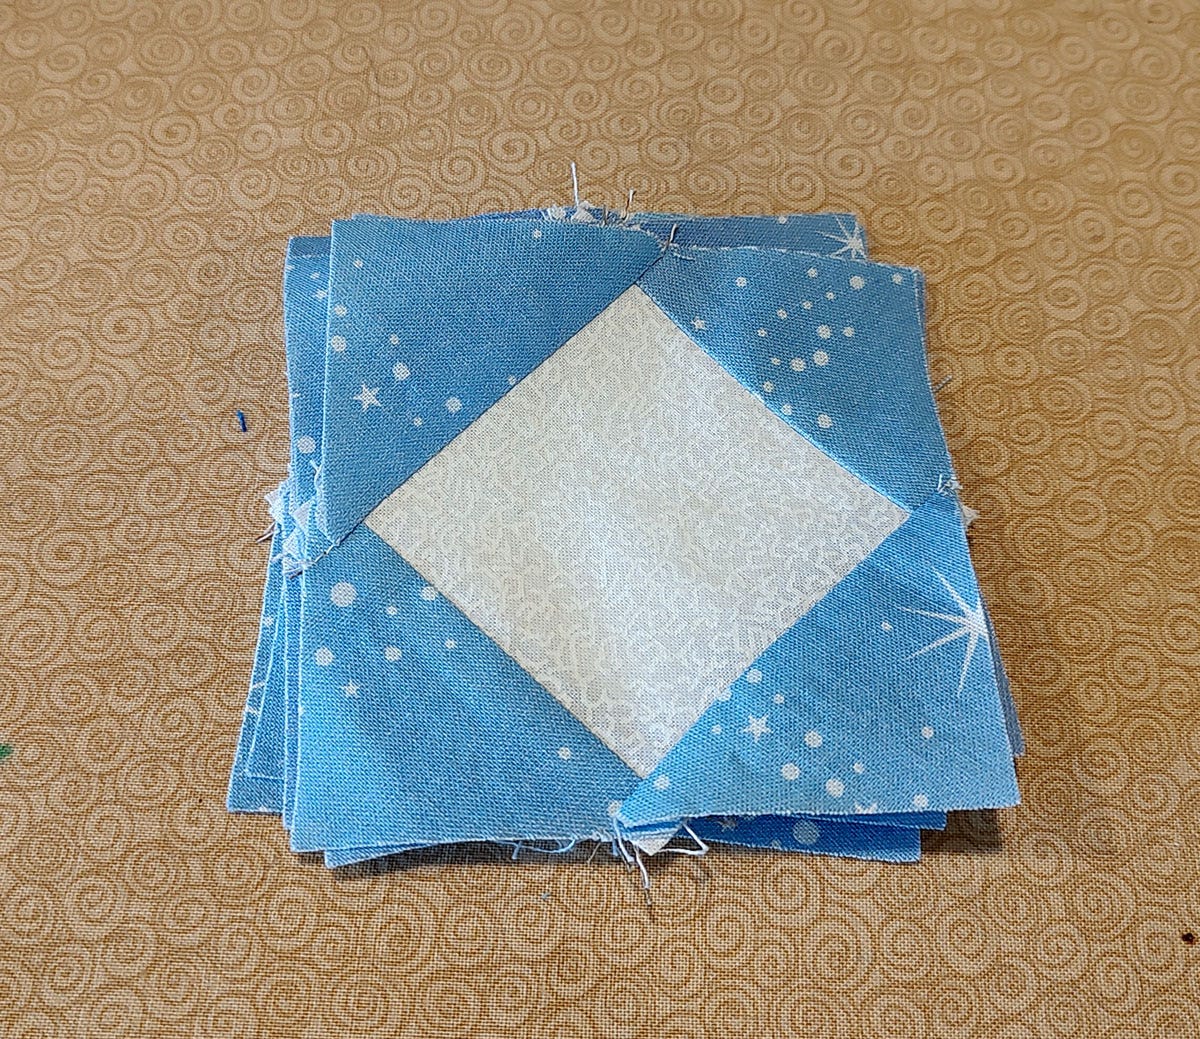
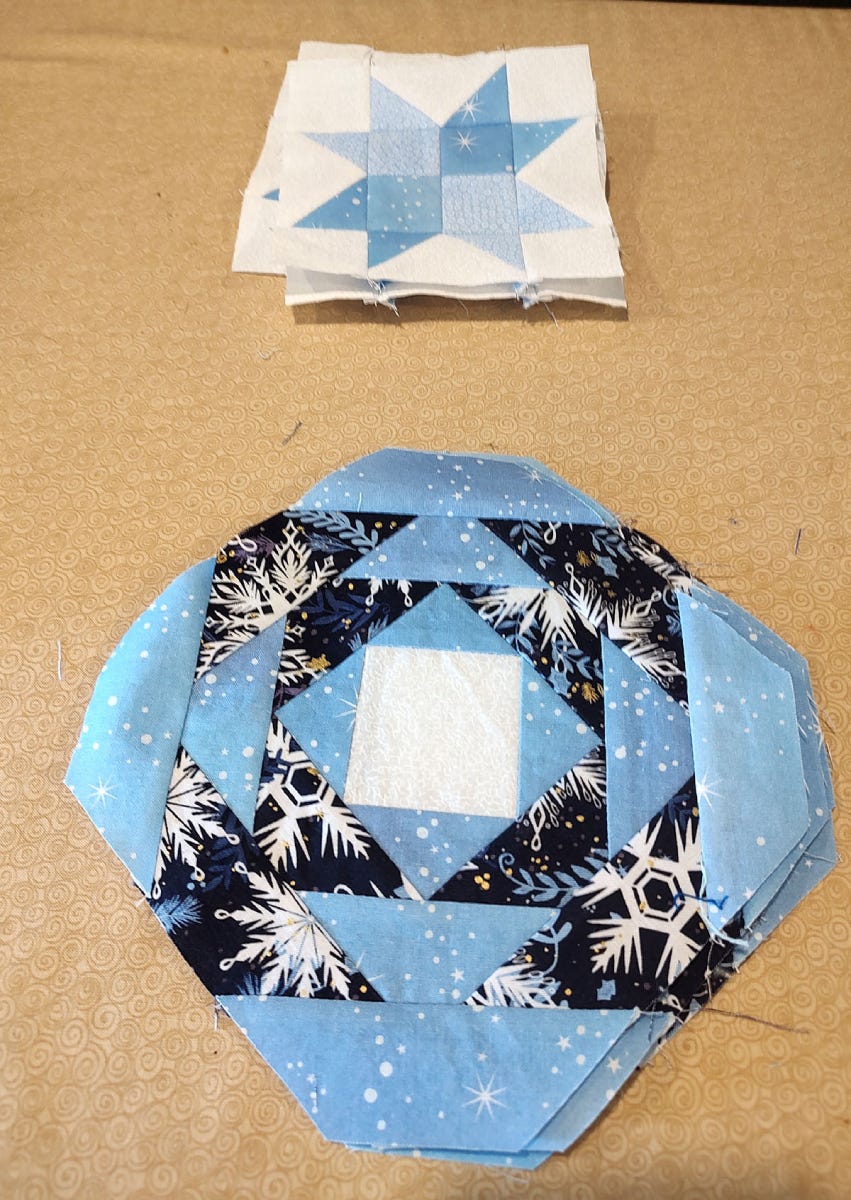
1. Sew the Shape B LB2 triangles to the center white Shape A squares, making a total of five of these units. These will be the center of the Pineapple blocks.
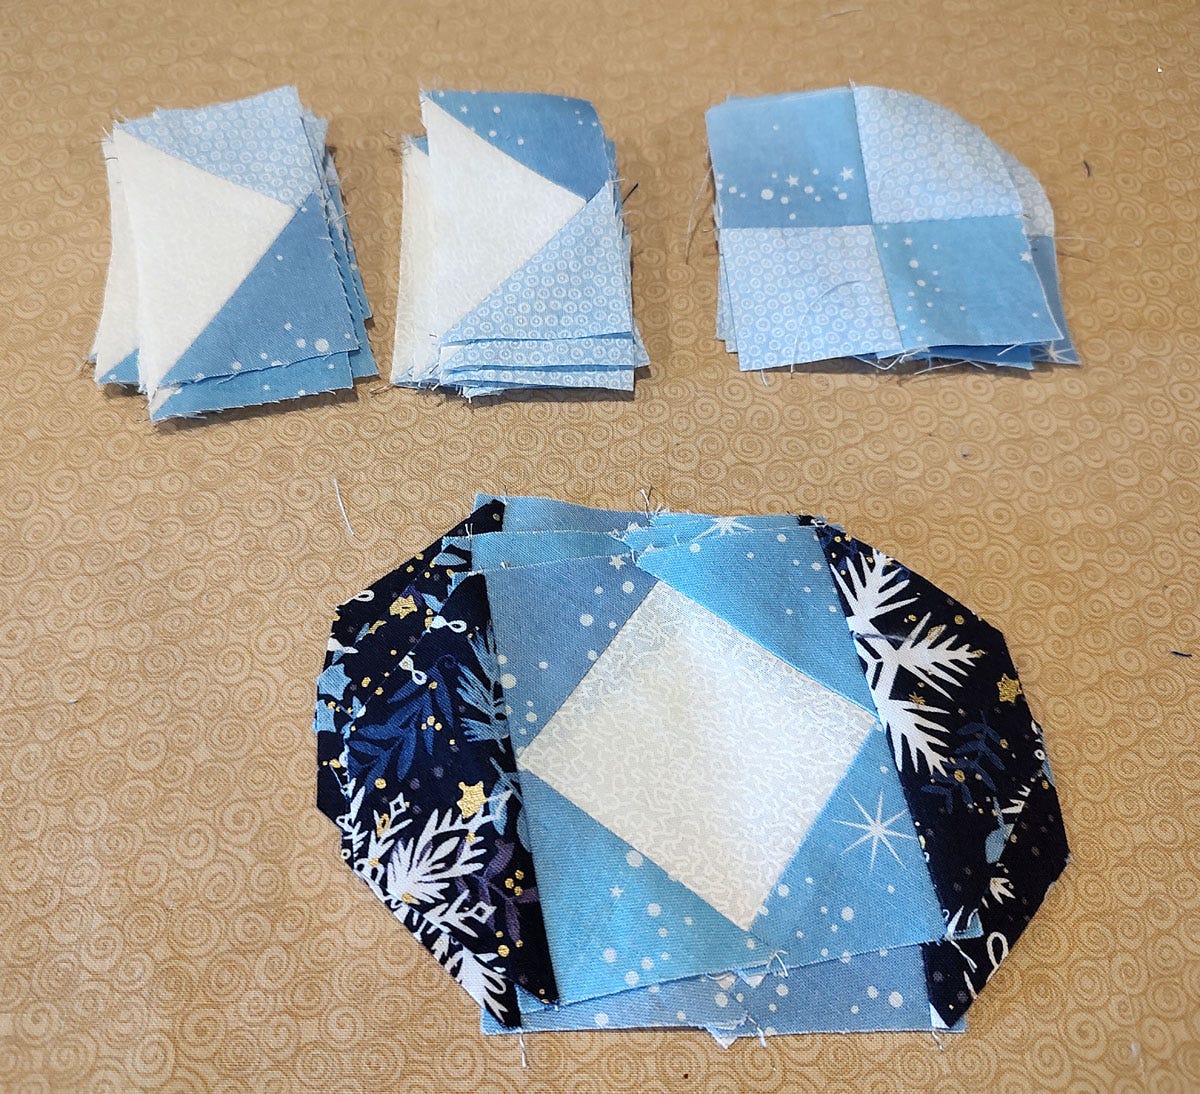
2. Create the 4-patches and the Flying Geese units for the star blocks, with two sets of four where the “wings” of the flying geese are swapped.
3. Keep adding the dark blue shapes onto the Pineapple blocks, as shown below.
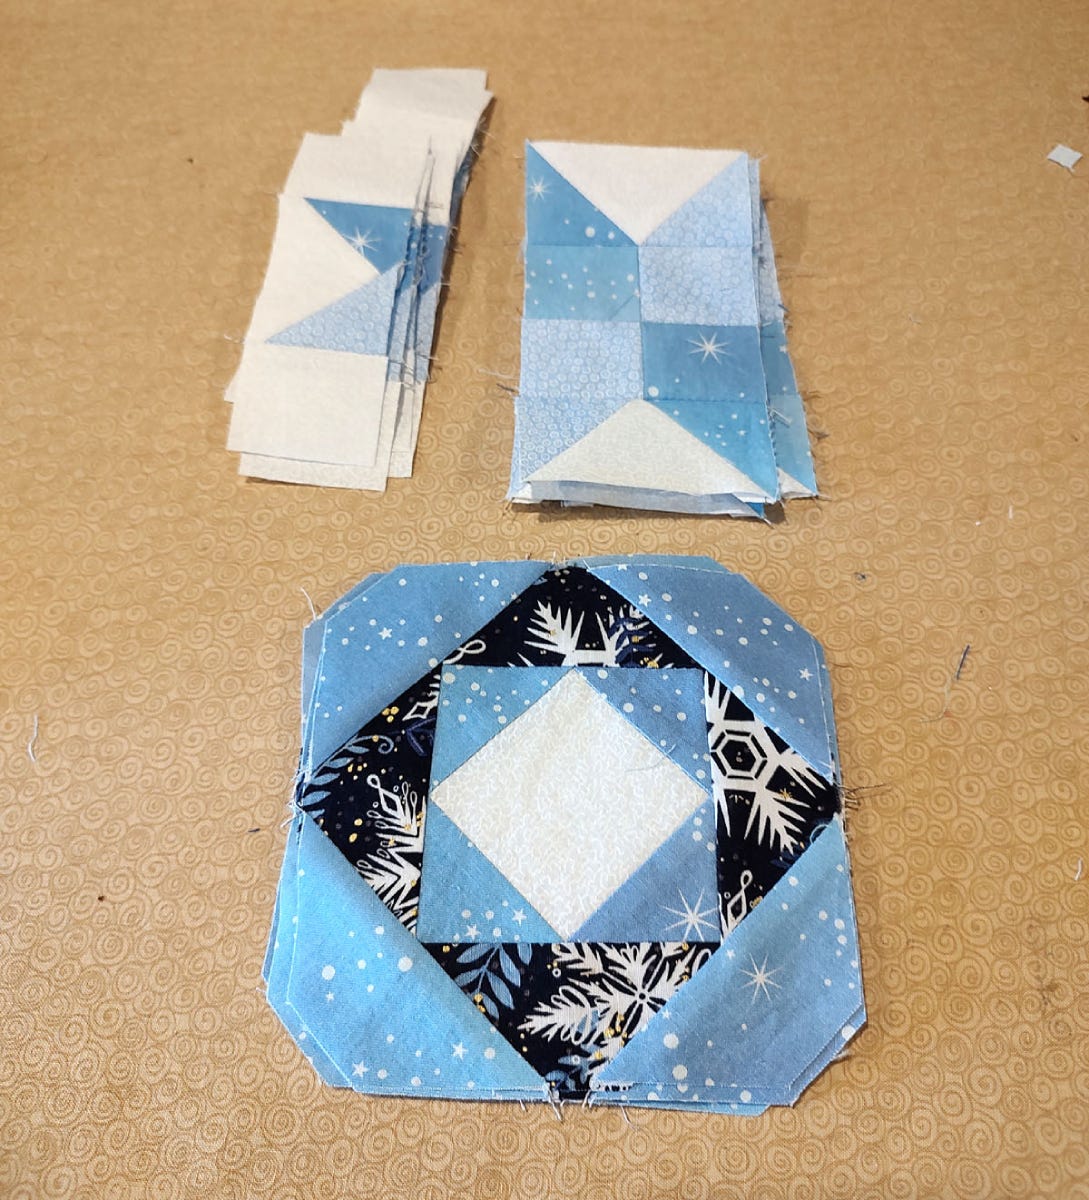
4. Add the Flying Geese units to the 4-patches.
5. Add the small white squares to the remaining Flying Geese units and then, more pieces to the Pineapple blocks (as shown below).
6. After a while of continuously adding more pieces to the Pineapple blocks, they should begin to "round" out.
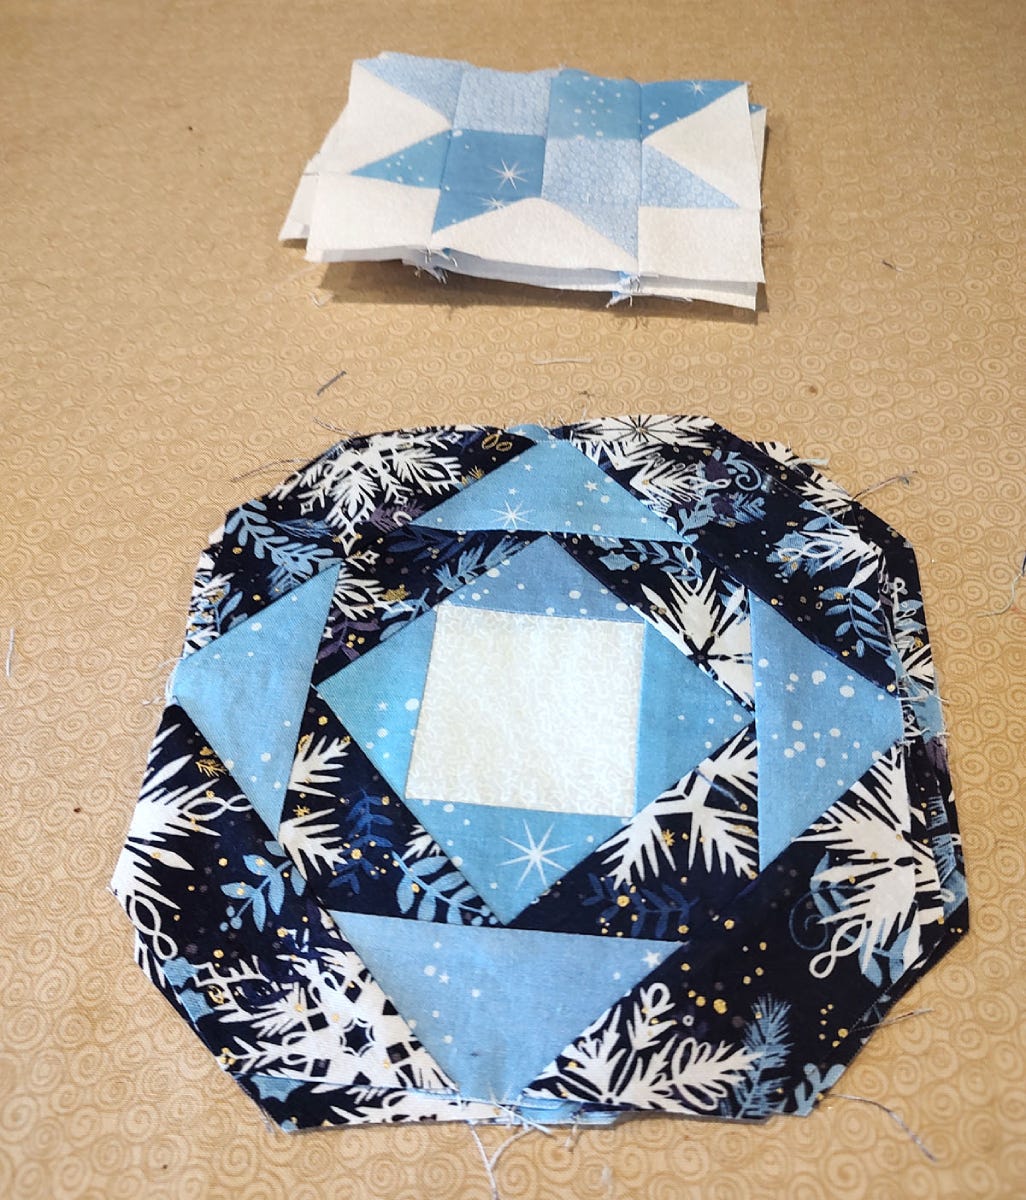
7. When the star blocks are done, add the Shape 4 dark blue large triangles to the Pineapple blocks.
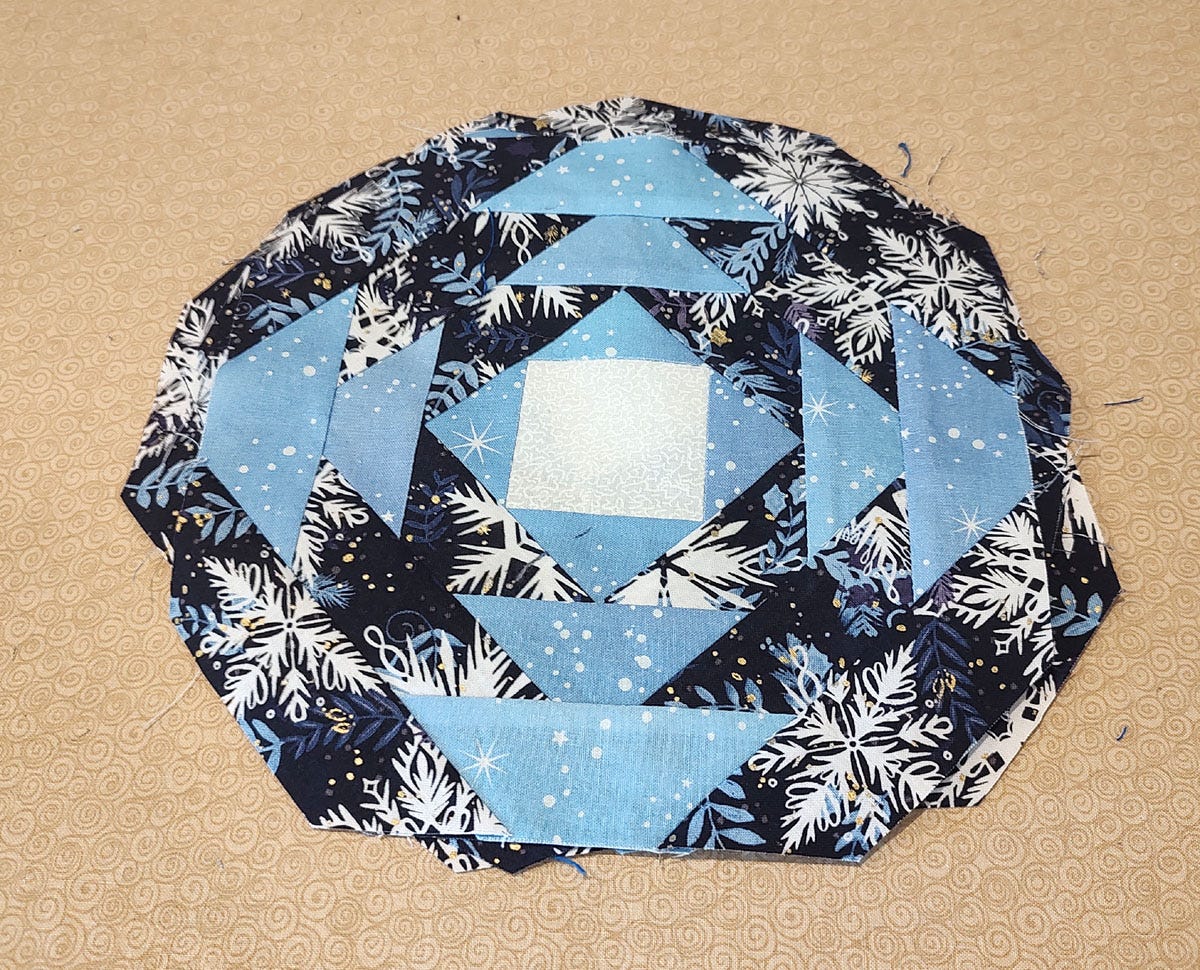
8. Then, start adding the large Shape 3 LB1 triangles.
9. Add the LB2 Shape H triangles to the Pineapple blocks.
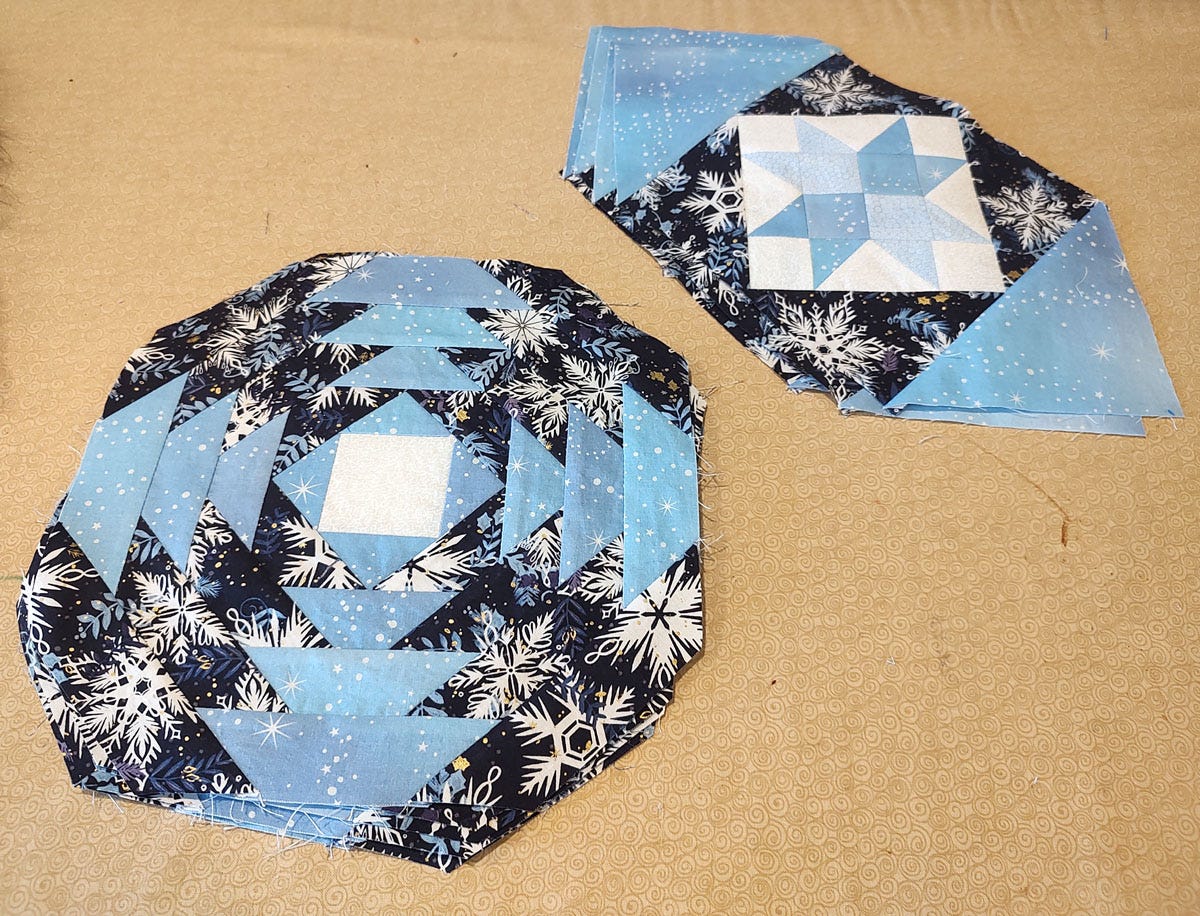
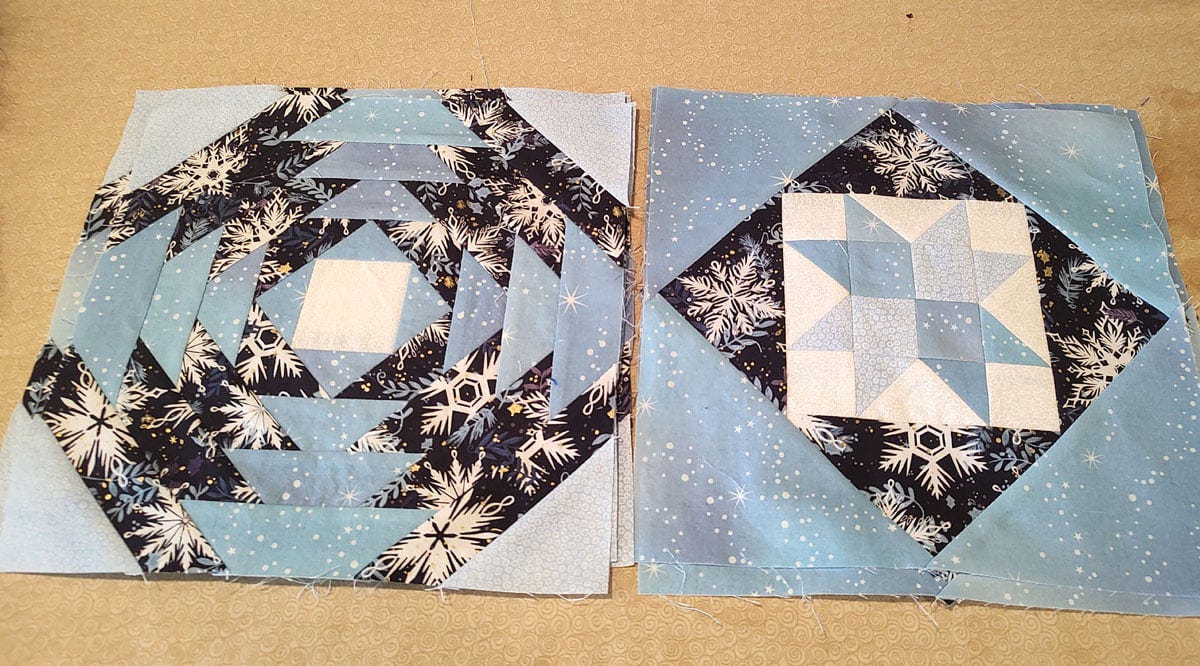
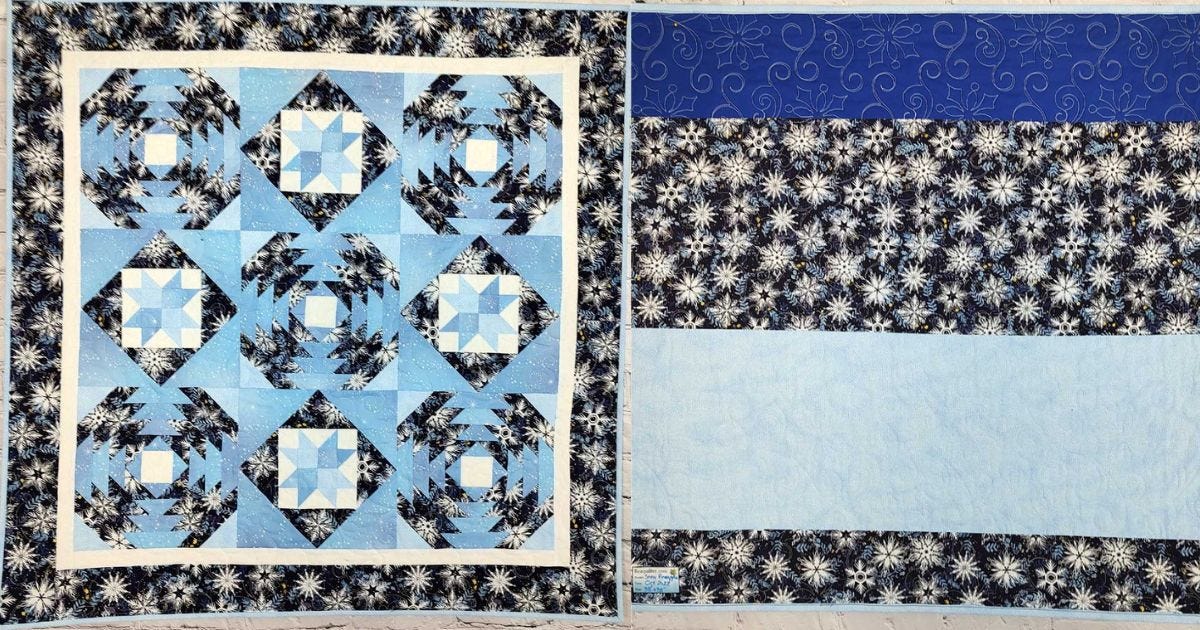
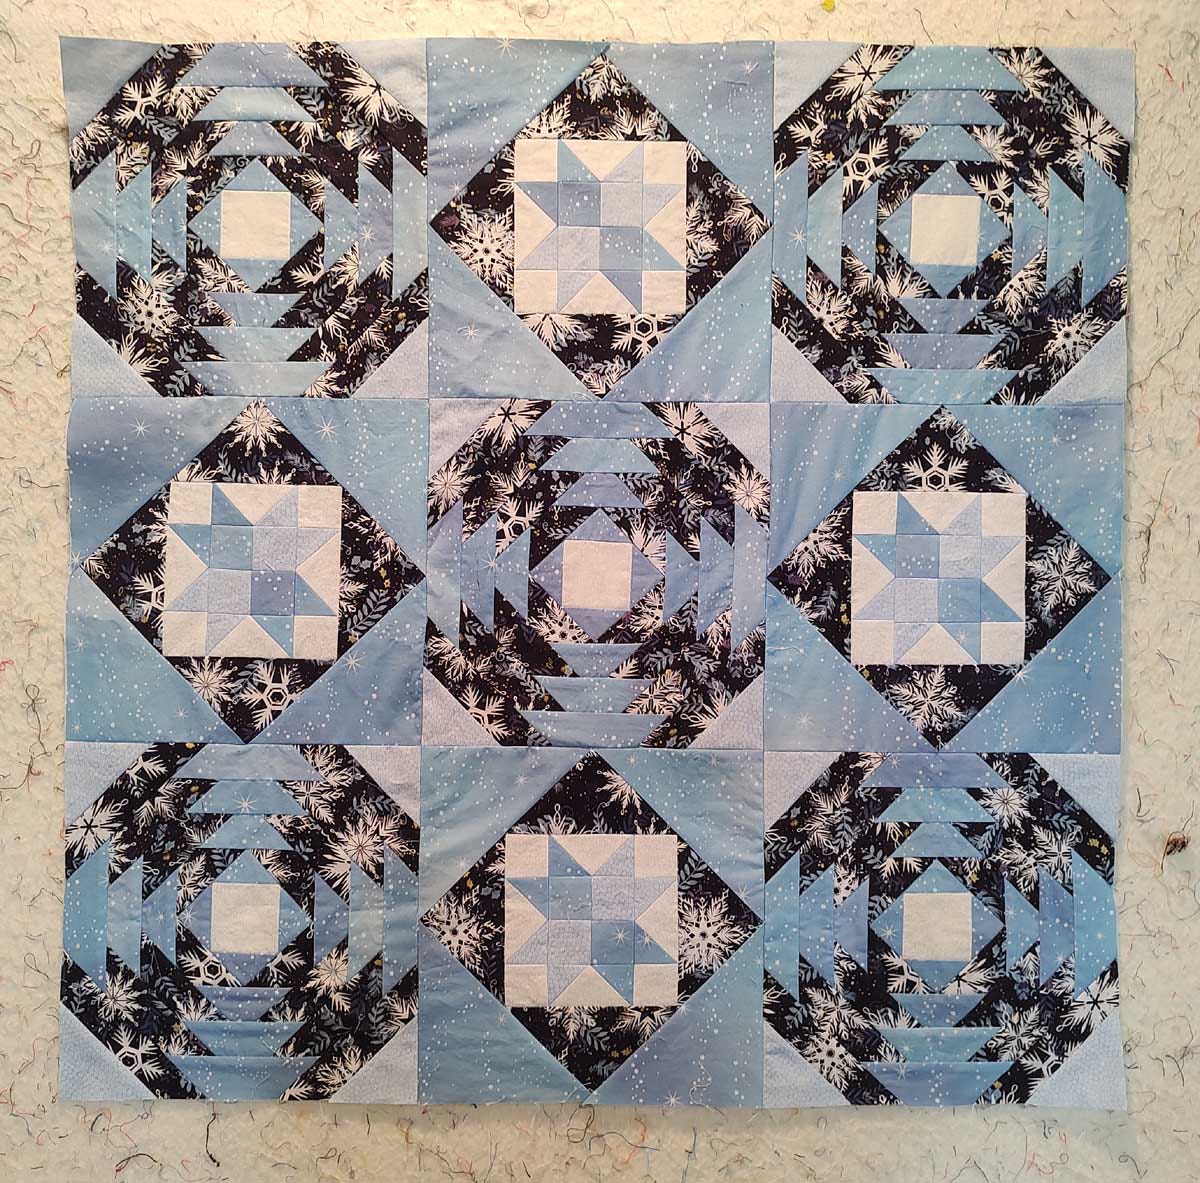
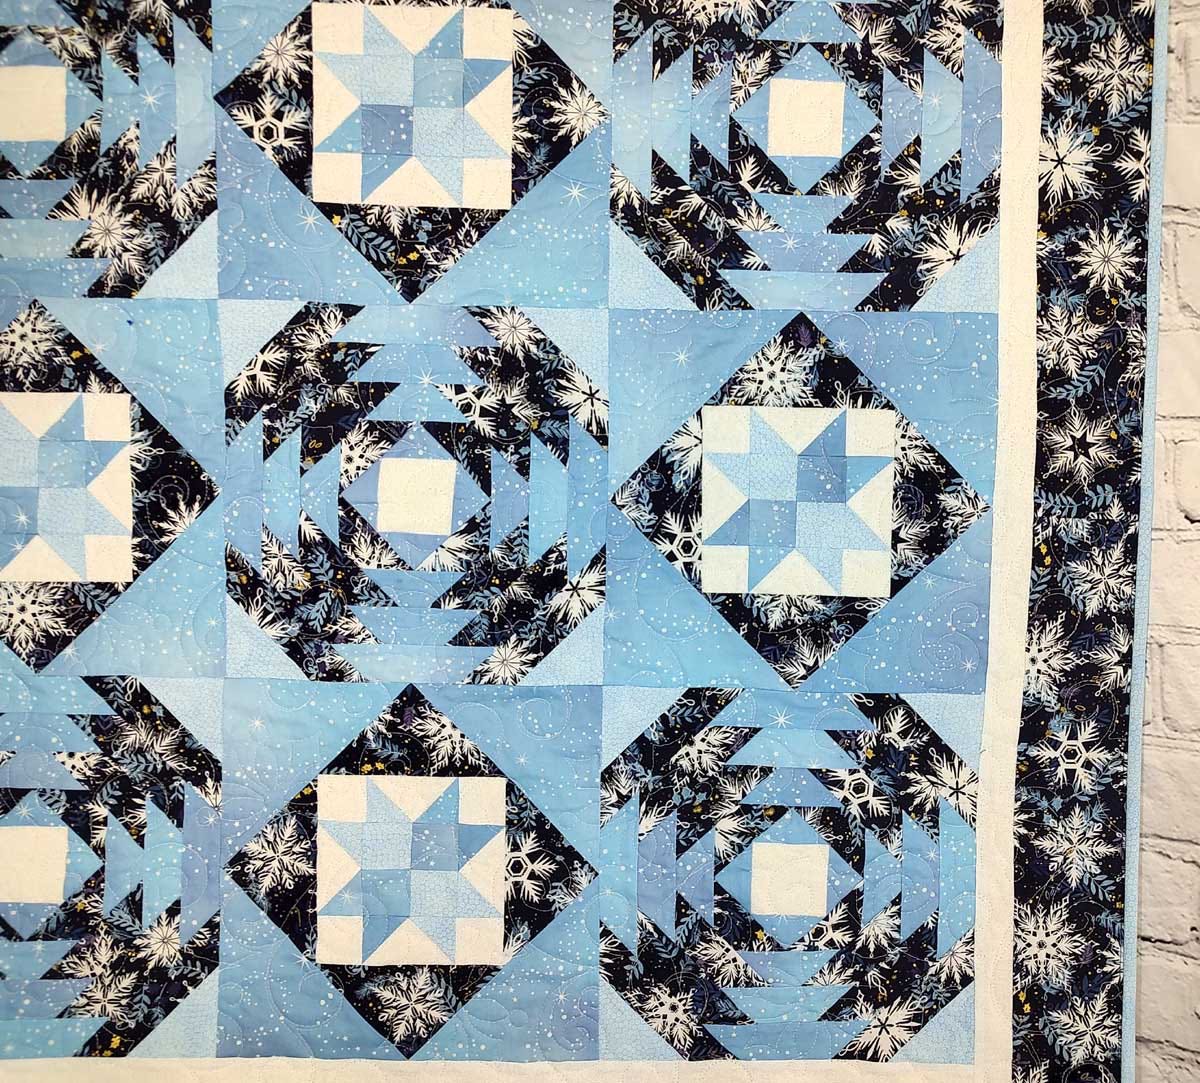
10. Once the blocks are done, sew them together, with the star blocks facing the same way up (lighter star tips towards the upper right).
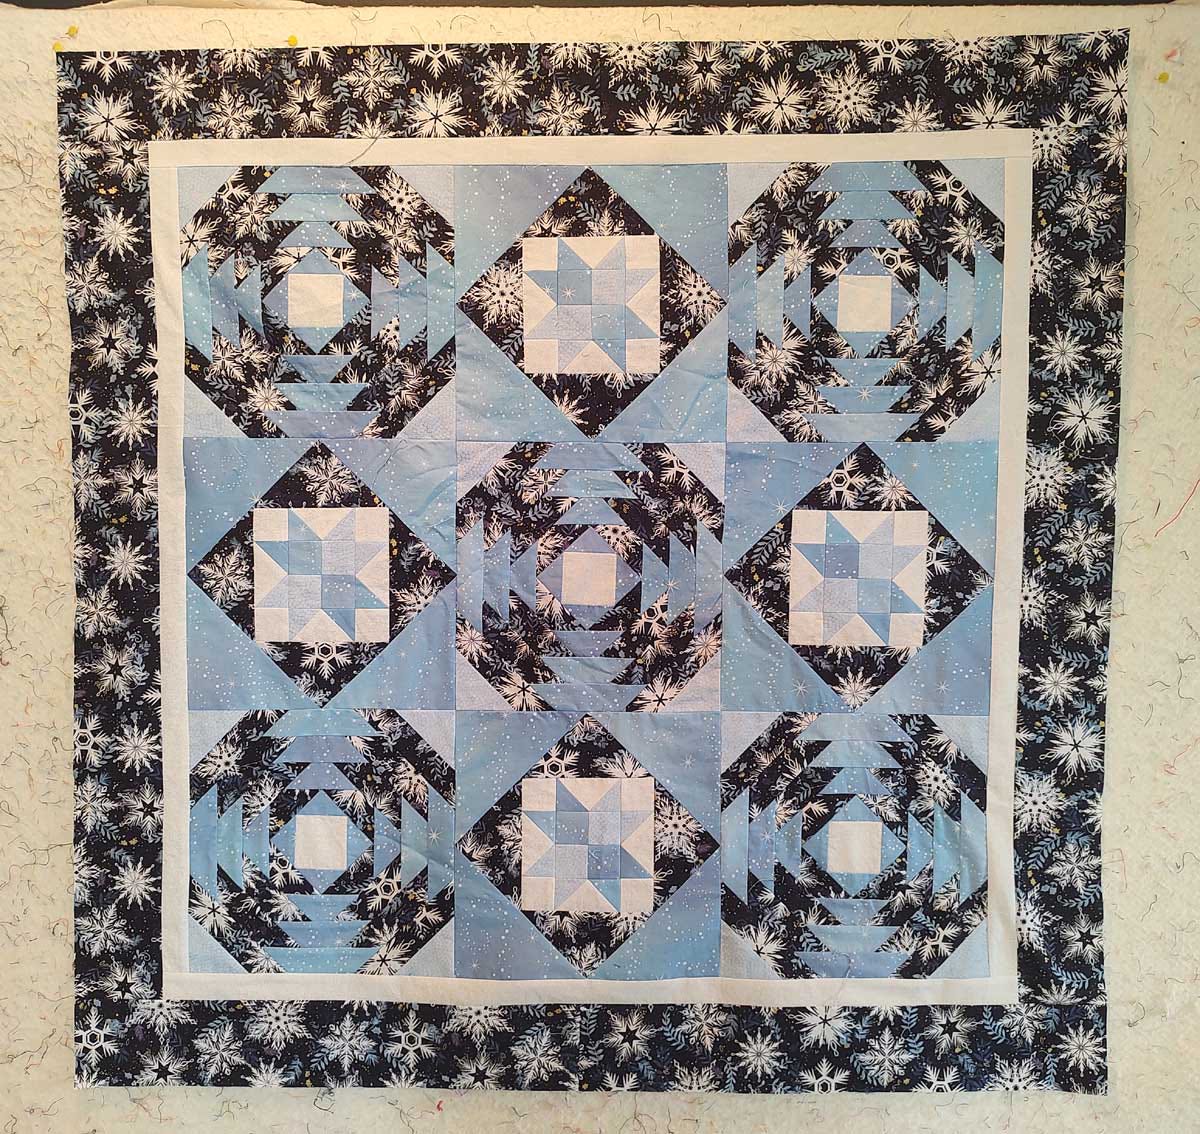
11. Now, add the borders. You will need an inner and outer border.
- White side borders: 1 1/2” x 30 1/2”
- White top and bottom borders: 1 1/2" x 32 1/2"
- Dark blue side borders: 3 1/2" x 32 1/2"
- Dark blue top and bottom borders: 3 1/2" x 38 1/2"
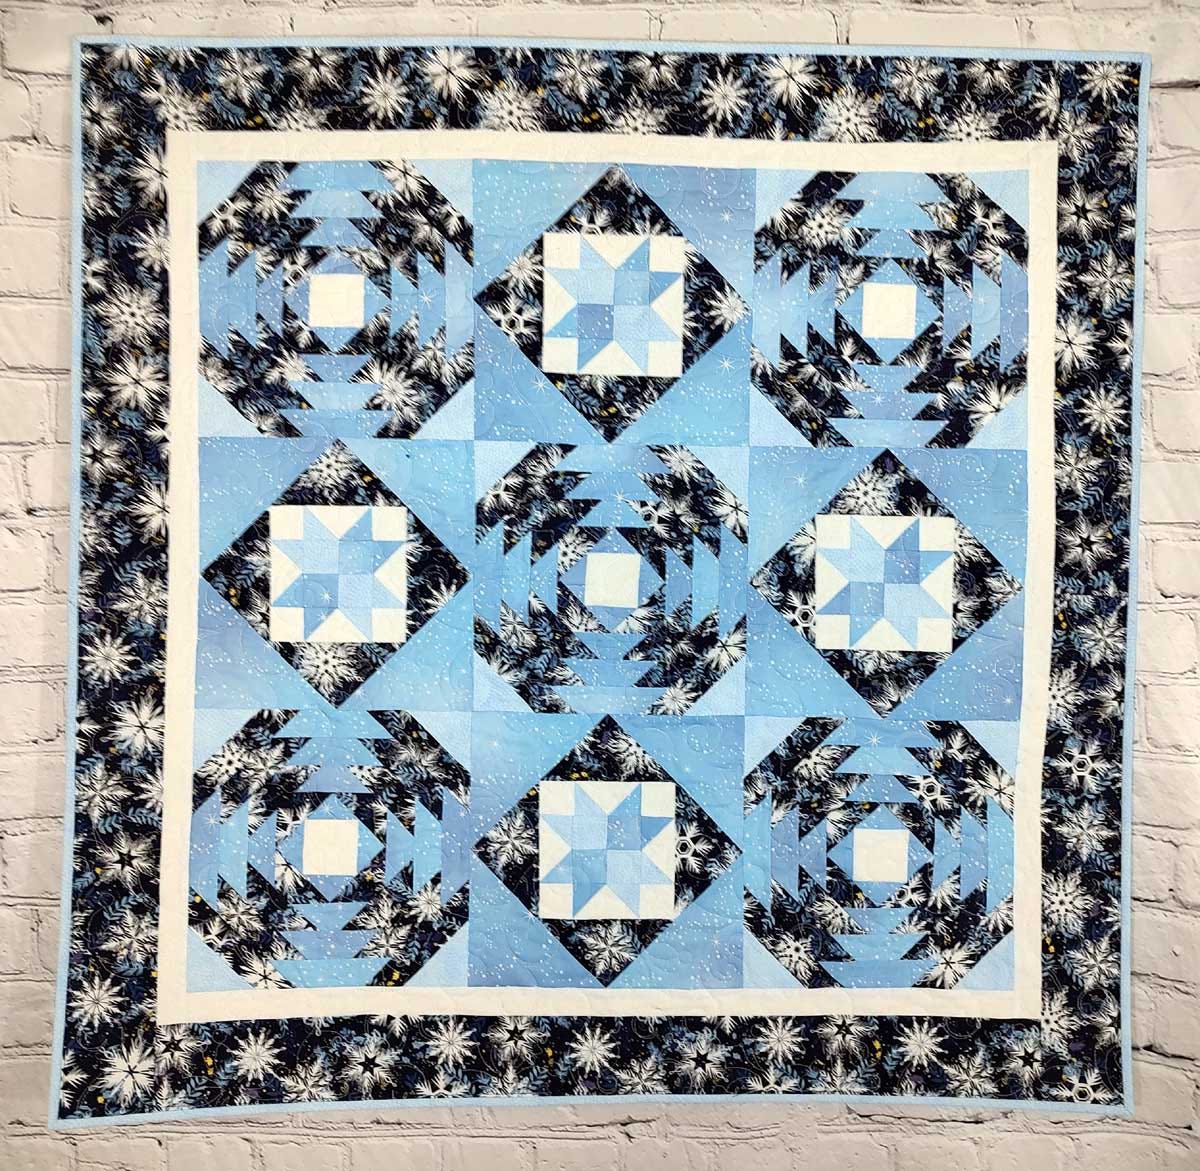
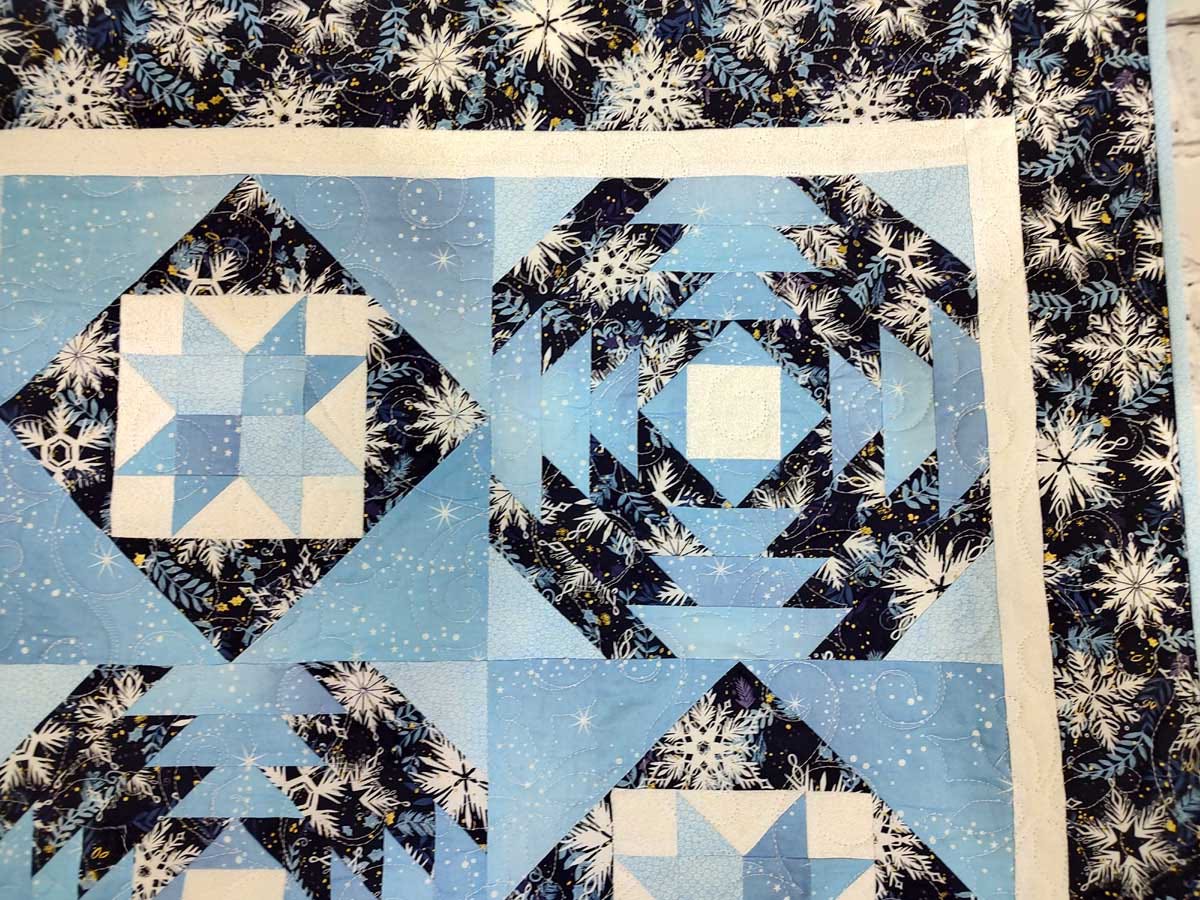
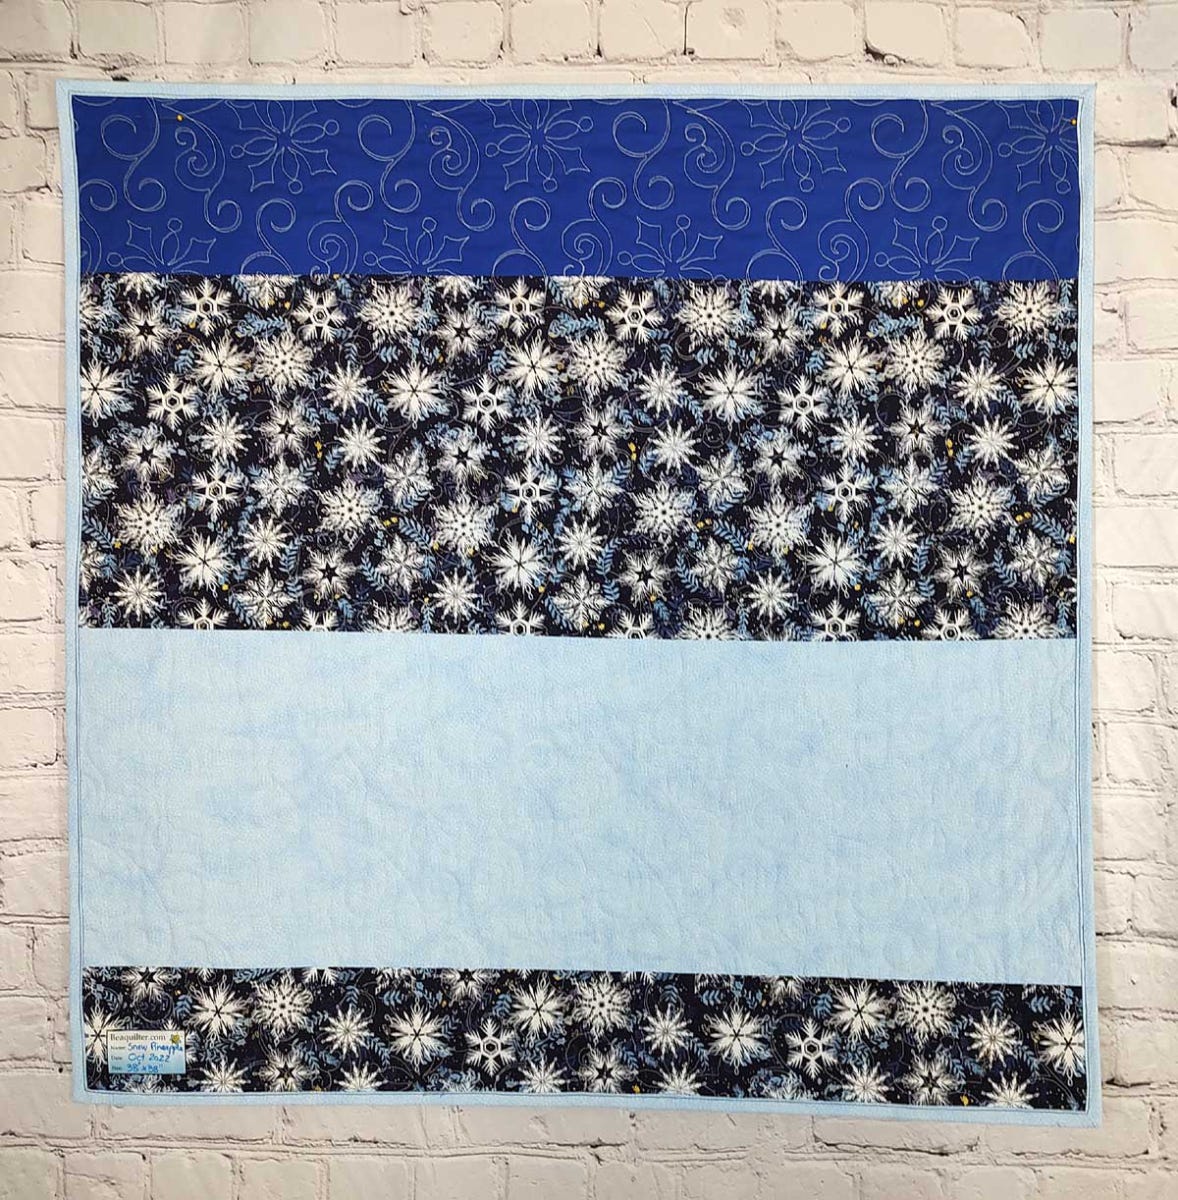
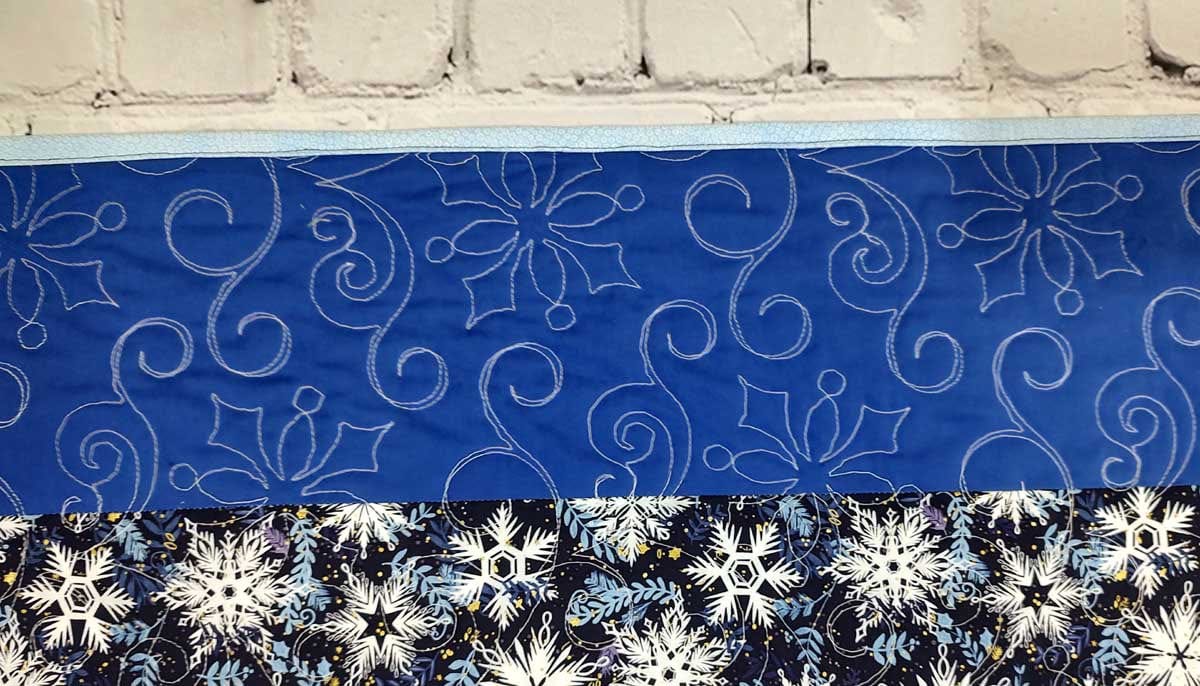
12. Add backing, binding, and quilt as desired. I quilted it with a cute snowflake design in white thread.
I like to use leftover fabrics for the backing of quilts. Here, I also added a dark blue strip.
The finished quilt measures 38” x 38”. It was a cute quilt to make and fun to combine a Block on Board die with GO! Qubes. You can really insert any 5” Qube block inside the center of the 10” block to create something different!
If you make your own starry winter pineapple and Qube quilt, use the hashtag #AccuQuiltBuilt and don't forget to tag us, @bealeequilter and @AccuQuilt, so we can see your creation!


