


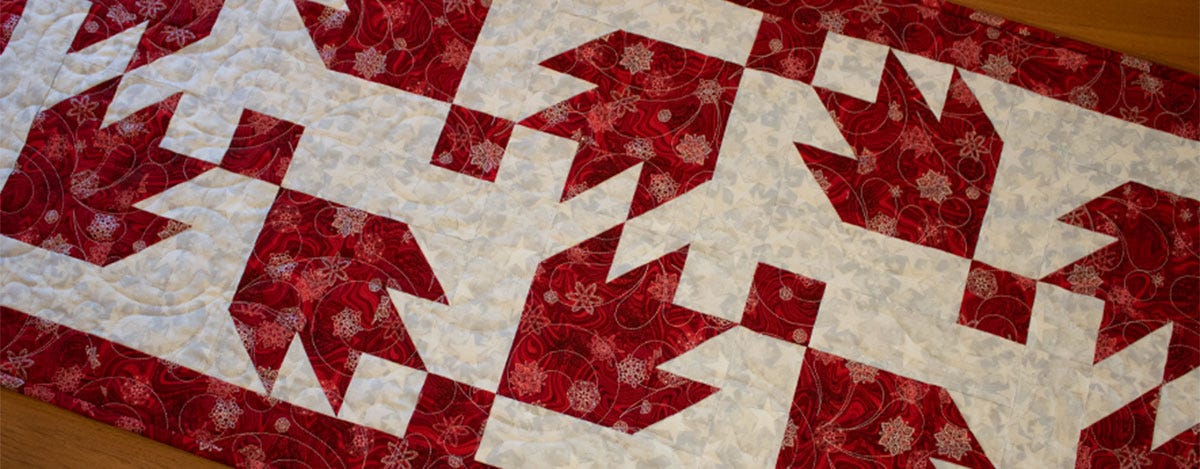
Welcome to the GO! Bear’s Paw Block on Board® (BOB®). I made a variation of the Bear’s Paw block to use as a table runner. While I used red and white, my thoughts were of falling leaves. The single "paw" unit of the bear's paw looks a lot like a maple leaf.

It was easy to make with this versatile die that includes all the shapes needed to make the Bear’s Paw blocks, as well as many other blocks. The “paw” unit of the block is a 6” Finished Square. The completed Bear’s Paw block is 14” Finished. The shapes on this die are a 4” Finished Square, a 2” Finished Square, a 2” Finished Half Square Triangle, and a 6” x 12” Finished Rectangle.
For this quilt I used two metallic prints from my stash, one is a red with silver snowflakes and the other is a silver star on white background fabric. The blocks as shown below are 8” finished quilt blocks. Using ten of these blocks, I created a table runner that is 20” x 44”.
Supplies Needed
GO! Bear’s Paw Block on Board 14” Finished die 55461
GO! 2 1/2” Strip (2” Finished) die # 55014 or 55017
AccuQuilt GO!, AccuQuilt GO! Big, or Studio (with GO! Adapter) Cutter
Fabric:
White on White (Silver) ½ yard
Red Fabric 2¼ yards (includes border and binding)
Backing 28” x 52”
Batting 28” x 52”
Cutting Instructions:
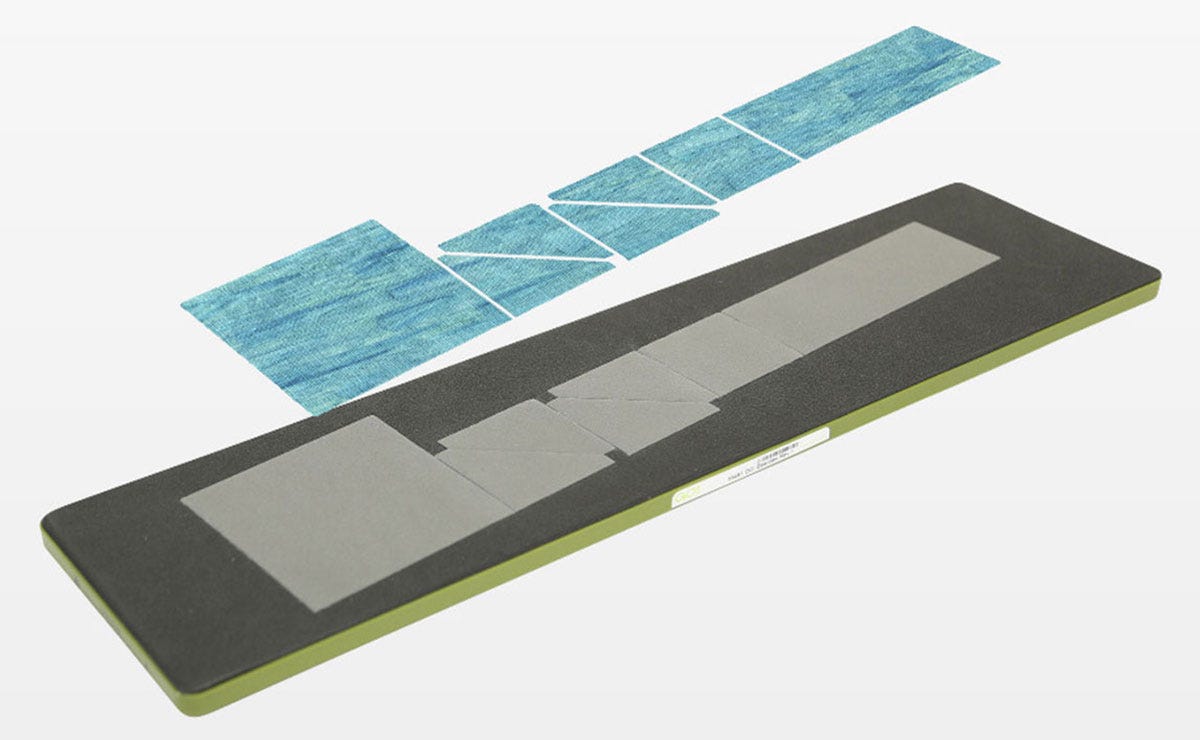
The die is laid out as shown in the illustration below:

Cut as follows:
Light Fabric
- Shape C: 2” Finished Square (10) Cut 1—3” x WOF strip. Fanfold into 3” widths and cut 10.
- Shape B: 2” Finished HST (40) Cut 1—6¼” x WOF strip. Fanfold into 3¾” widths and cut 40.
- Shape D: 6” x 2” Finished rectangle (20) Cut 2—7” x WOF strips. Fanfold into 3” widths and cut 20.
Dark Fabric
- Shape A: 4” Finished Square (10) Cut 2—5” x WOF strip. Fanfold into 5” widths and cut 10.
- Shape C: 2” Finished Square (10) Cut 1—3” x WOF strip. Fanfold into 3” widths and cut 10.
- Shape B: 2” Finished HST (40) Cut 1—6¼” x WOF strip. Fanfold into 3¾” widths and cut 40.
- Border: 128 inches – 4—2½” x WOF strips
- Binding 140” total Cut 4—2½” x WOF strips
These are the pieces when cut:

Block Diagram:
The following image shows the block in this quilt. The same block is used throughout, however the blocks are turned alternating 90 degrees as shown in the illustrations.

Block Assembly (make 10 blocks):
Each Bear’s Paw Block in the quilt is made up of two units.
Make the half square triangle units. You will need to make a total of 4 half square triangle units for 10 blocks.
Lay out and stitch the half square triangles into a square. Press open or to one side. Layout half square units as shown to make two-triangle units—each block has mirror image two-triangle units.

Make the ‘bear’s paw’ by sewing the triangle units to the 4” Finished Square (Shape A). You will make 10 units.
Lay out, pin and sew a light Shape C square to a triangle unit as shown. Sew the two-triangle unit to Shape A as shown. Sew the two-triangle unit with square to Shape A as shown.

Complete the quilt blocks as follows: Make 10 complete 8” finished quilt blocks.
Lay out, pin and sew a light Shape D rectangle to the ‘bear’s paw’ as shown. Lay out, pin and sew a light Shape D rectangle to a red Shape C square. Lay out, pin and sew the Shape D/C rectangle to the finished block.

Quilt Assembly:
Arrange the ten blocks as shown, turning blocks to create the design. Stitch the blocks together to make six rows and then stitch the rows together to complete the quilt.

Add Borders to the Quilt:
Measure through the vertical center and left and right sides of the quilt and average the three numbers. Use that measurement to adjust the length of the vertical borders and cut to measurement. Stitch the borders to the quilt.
Measure through the horizontal center and top and bottom sides of the quilt and average the three measurements. Use that number to cut the horizontal borders to size. Stitch the borders to the quilt.
Quilt as desired. Bind and Enjoy!


