


If you’re a collector of tshirts and find yourself with drawers of memories that you don’t want to forget but really don’t want to wear anymore, consider giving them some practical value by upcycling them into a tshirt quilt.

Tshirt quilts are a fantastic way to preserve memories or create a truly one-of-a-kind gift. With just a little bit of prep work (and a whole lot of tees), you can give some of your treasured tees a second life.
While there are online services that can make a tshirt quilt for you, in this tutorial we are going to teach you how to make them on your own.
Where to Begin?
While it’s perfectly acceptable to turn your entire collection into a quilt, consider dividing your tees into themes and making multiple quilts. You might have a closet full of tees from high school or college. Maybe you've collected them from various vacation spots or concerts. Whatever you decide, make sure you have enough. Here’s a simple guide:
Quilt Size Shirts Needed
Lap 16
Twin 24
Full 30
Queen 49
King 64
Step 1 – Determine the fabric needed for your tshirt quilt
To make a full size tshirt quilt (60" x 72") you will need the following:
- 30 tshirts - Works best with graphics that are 9" or less wide and 10" or less tall. If you use the front and back of a single tshirt, you will need fewer.
- 14 ½ yards Pellon Featherweight Fusible (911FF)
- 60" x 72" batting
- 3/4 yard binding
- 60" x 72" backing
PRO TIP: It’s best to wash and dry your tees before beginning. Shirts that are a little worn are fine but avoid using those with holes or rips.
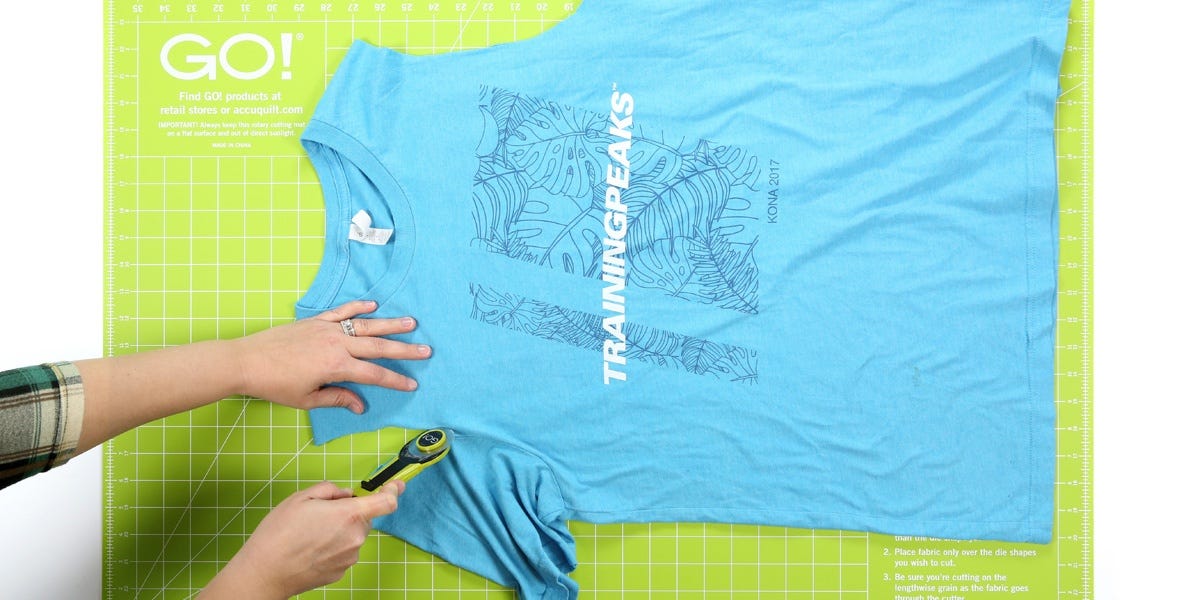
Step 2 - Cut your tshirts
Using your rotary cutter, cut 30, 16" x 16" squares from the lightweight fusible interfacing.
Next, cut the shoulder seam, sleeve seams and side seams of each t-shirt. Then, position the fusible on the back of each tshirt, paying attention to the graphic on the front of the tshirt. Press the fusible interfacing onto the back of each piece according to the manufacturer’s directions.
PRO TIP: Do not place your iron directly on the tshirt graphic because the ink may melt. Press on the back side of each tshirt.
Now it’s time to cut out your squares. To help you, AccuQuilt has two Studio dies that make cutting the tshirts a breeze. The Studio T-Shirt Quilt Square-12" and Studio T-Shirt Quilt Square-16" feature registration pins for perfect alignment. If you are working with adult-sized tees, your block can be up to 16”. For child or junior shirts, the 12” square is best.
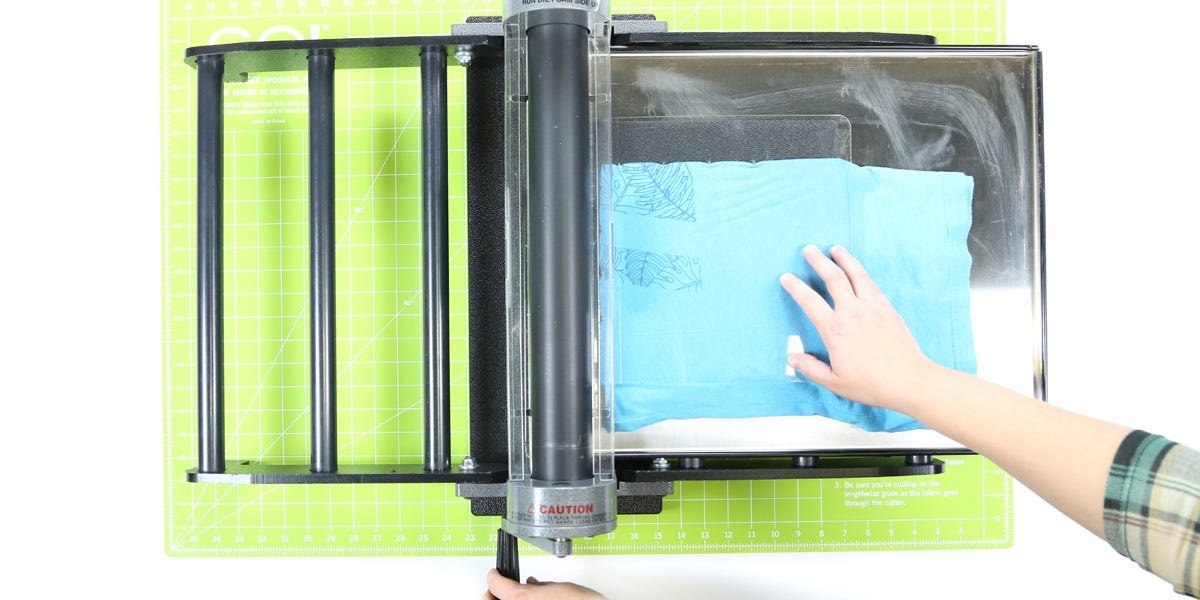
Cutting one tshirt at a time is recommended so you can pay careful attention to the placement of the design. Feel free to cut more—keeping in mind that fusible web counts as a 1⁄2 layer of fabric and that t-shirts are thicker than typical quilting fabric.
Place your tshirt on the die positioning the graphic in the center and cut.
Cut 30 squares.

Step 3 - Sew your tshirts together
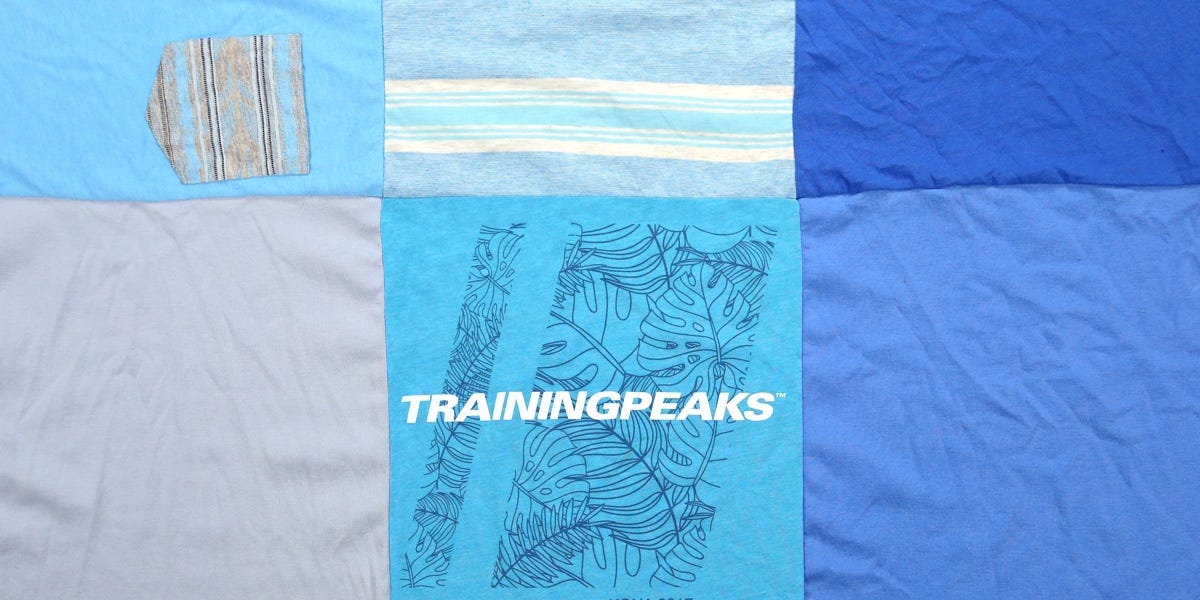
Lay out your squares to find a pleasing configuration. Remember that the top, bottom and sides will be trimmed later. Now it’s time to sew your rows. Take your first and second squares from the first row graphic sides together and sew the left side. Next, put square 3 on square 2 and sew the right edge together. Continue until you’ve sewn your row. Press seams open to reduce bulk.
Once all your rows are made, it’s time to put them together. Pin row 1 to row 2 graphic sides together, aligning seams and sew the top seam. Then, press your seam open. Repeat until all your rows are sewn together.
Step 4 - Finishing your Tshirt quilt
Use your 6" x 24" ruler and a rotary cutter to square up the quilt along the top, bottom and both sides. Layer batting between the quilt top and backing. Next, pin or baste layers together.
Finally, machine quilt with your desired design. Add binding, mitering corners.
Pam's Easy Steps to Making a Tshirt Quilt:
{% video_player "embed_player" overrideable=False, type='scriptV4', hide_playlist=True, viral_sharing=False, embed_button=False, width='1920', height='1080', player_id='6517956790', style='' %}
Planning for Special Occasions
While tshirt quilts are not hard to make, they do take planning. Make sure to mark your calendar for birthdays, anniversaries, end of season sports banquets, high school and college graduations and any other occasion you might want to commemorate. The recipient will be blown away by the gesture and the quilt, making it a day to be remembered. If you're short on time and are interested in having your tshirt quilt made instead of tackling it yourself, there are companies online that might be able to make your deadline.
Happy quilting!


