Eleanor Burns is back again sharing more tips from her 136-page GO! Sampler book! If you haven't bought this book yet, be sure to put it on your wish list this holiday season! With a wealth of quilt block designs and patterns, it is something every quilter should add to their quilt book collection.
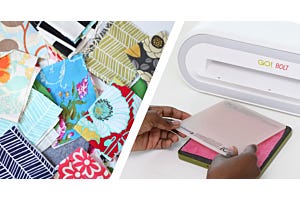
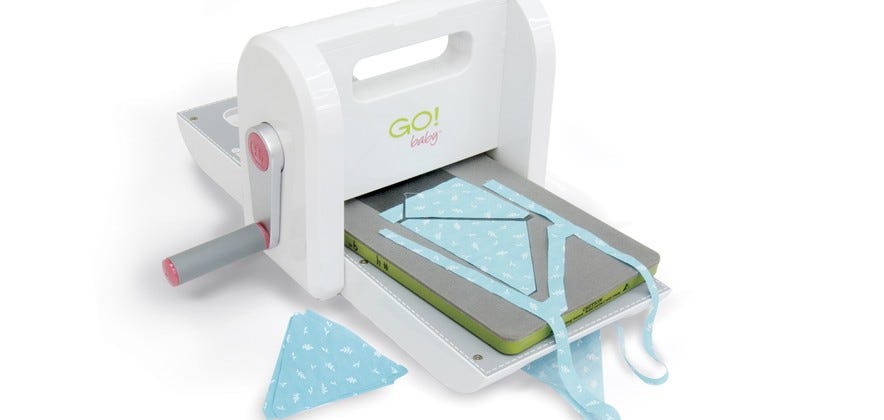
Whether you're a beginner quilter or a more advanced one, there are all sorts of helpful tips and reminders for you as you use the GO! Fabric Cutting System.
The tips below are all about fabric selection . . . how to cut fabric on your GO! Fabric Cutter, how to cut multiple layers, how to prevent fabric waste, and more. Eleanor even shows you her two new techniques: Smart Stacking and Smart Cutting.
Quilters can easily follow the block instructions in the GO! Sampler book because Eleanor gives such explicit details. Additionally, the clear and crisp images accompanying each design leave no guesswork.
There is so much to choose from in the GO! Sampler book that before you know it you will have made everything in no time!
Be sure to check out Eleanor’s GO! tips every Tuesday on our blog!
Fabric Selection
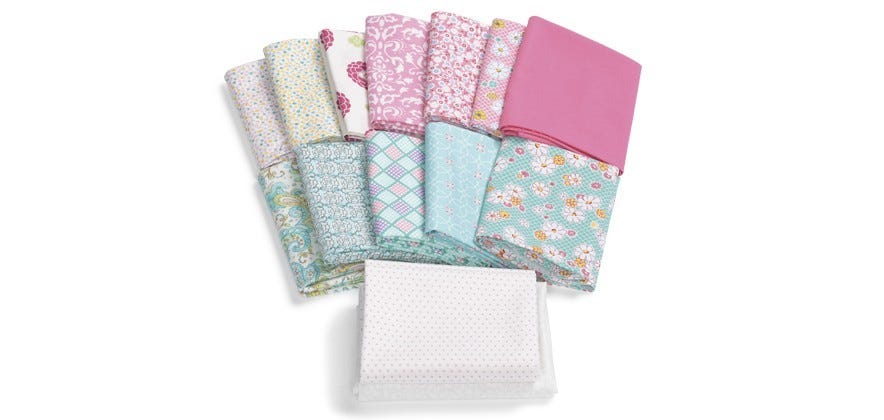
The easiest way to select fabric is to purchase a bundle of 100% cotton, coordinated fat quarters in a variety of colors and scales of prints. Select at least fourteen fat quarters in light, medium, and dark values. Small scale prints, one or two large scale prints, small checks and dots, narrow stripes, fabric suitable for fussy cuts, and prints that read solid from a distance make blocks interesting. Since the project is a scrappy looking sampler, you can always purchase additional fabric or add coordinating scraps as your AccuQuilting progresses.
Select two to three yards of light Background that read solid from a distance. Setting fabric can be “auditioned” after several or all blocks are made. Yardage is given for different settings, beginning on page 108.
Instructions for thirty-four blocks are in alphabetical order. Start at the beginning and work through the book, or jump around, selecting blocks that interest you. Make a sampler with different blocks, or the same block for a repeat pattern quilt.
Practice Cutting Multiple Layers
Cut scrappy squares for jumper scraps to start sewing triangles. Dog-eared corners on AccuQuilt triangles tend to get caught in a wide throat plate.
1. Select Die #55022 for 6" blocks or Die #55395 for 9" blocks in the Mix and Match Collection. Jumper scraps for 6" blocks are 2" square, and jumper scraps for 9" blocks are 2 3/4" square. They can be planned or scrappy.
2. Measure width of shape on your die. Add 1/2" to that measurement for economical use of fabric. Strip widths are 4 1/2" for 6" Die #55022, and 3 1/4" for 9" Die #55395.
3. Cut or tear strips with lengthwise grain, which is straight of grain parallel with the selvage. This is the strongest grain in your fabric, has very little stretch, and achieves the most accurate cuts. Fabric should be laid on your die on the lengthwise grain.
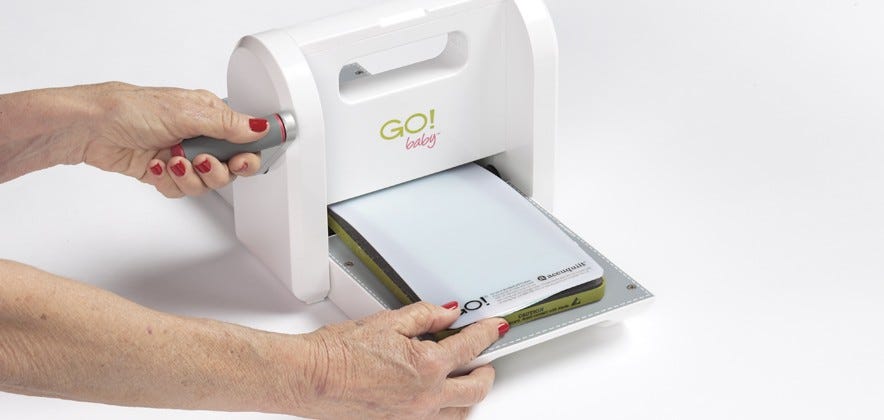
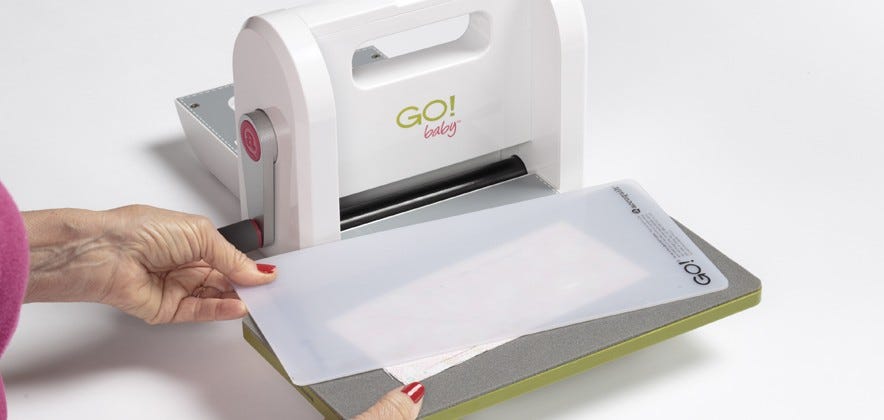
4. Place appropriate die on cutter, foam side up.
5. Accordion fold strip for multiple layers. Think of the accordion fold as a Z. Cutters can cut up to six layers of 100% cotton at a time, so you shouldn’t have more that six. Press.
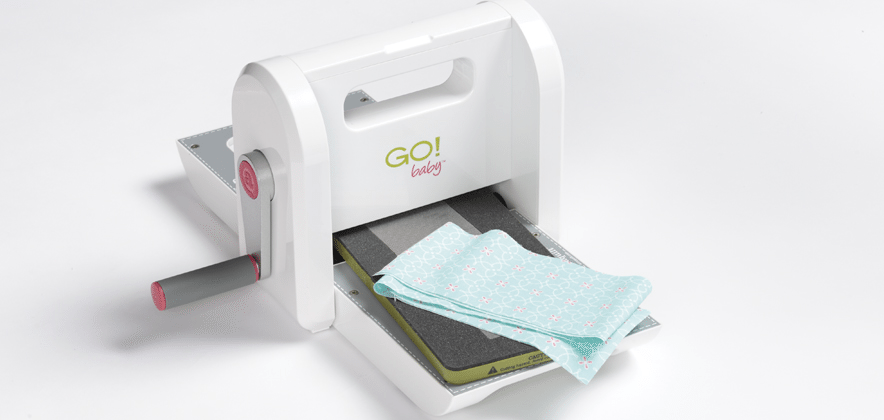
6. Center designated fabric on die, checking that fabric covers blades. Line up straight of grain with blades, overlapping edges 1/4".
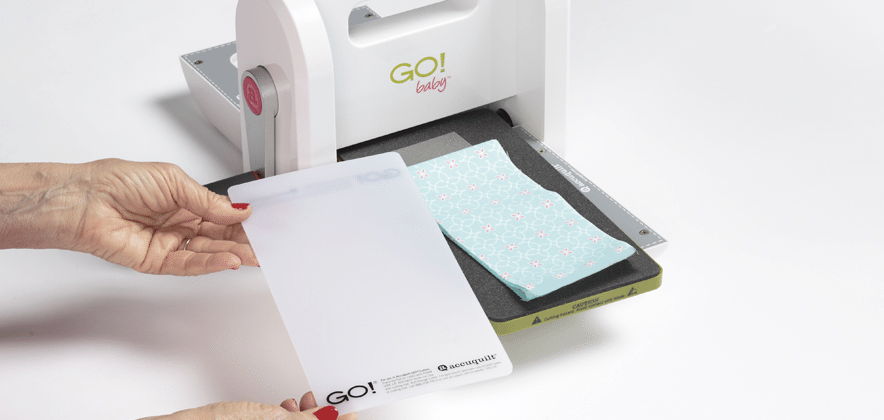
7. Cover fabric with mat same size as die board.
8. Slightly angle die. Push die, fabric, and mat firmly against roller. Turn handle in same direction you want die to go. Push die out on opposite side.
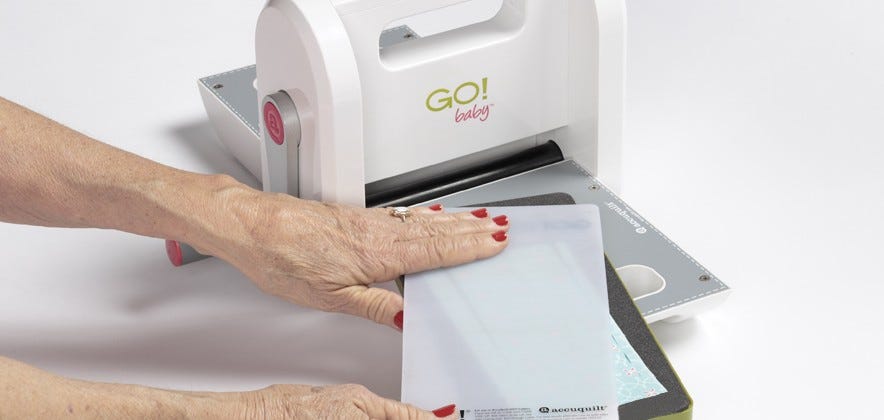
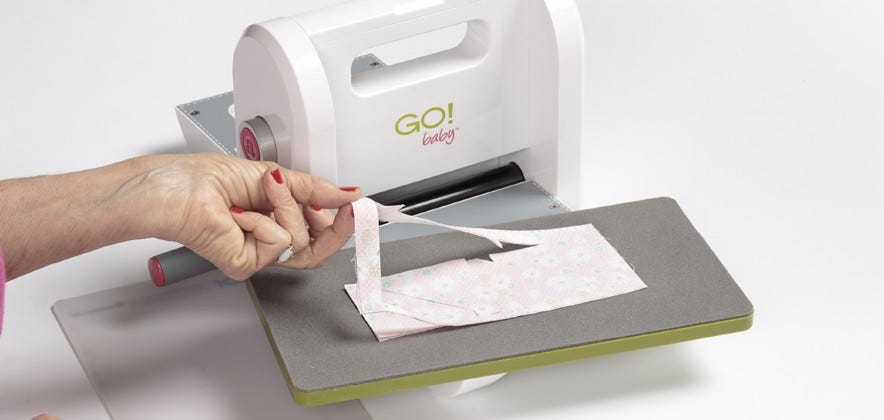
9. Slide mat off fabric to keep pieces in order.
Mats do become brittle with time, and pieces stick to bottom of mat, or scatter. If this happens, cover fabric with a piece of clean white paper to keep pieces in place. Place mat on top.
As soon as possible, purchase new mats!
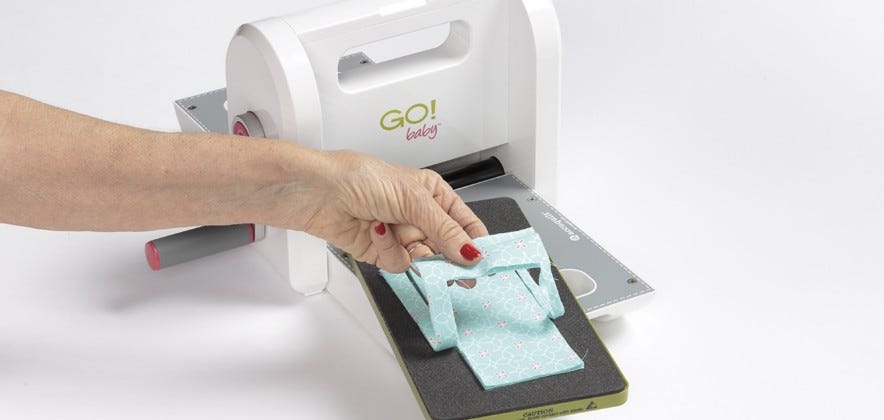
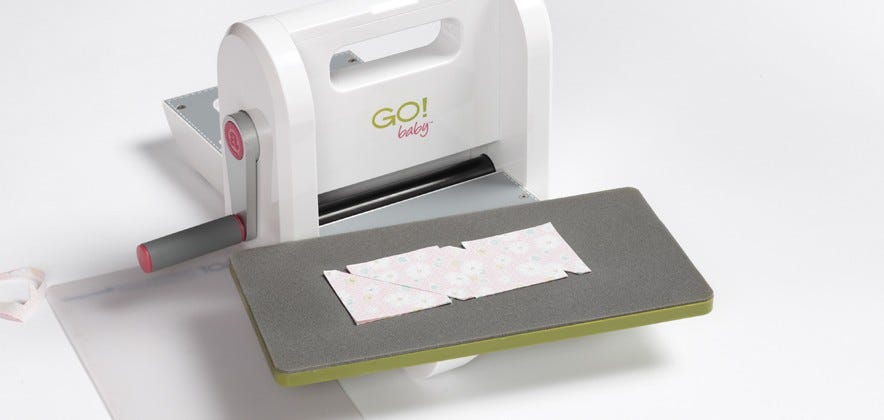
10. Remove excess fabric around cut pieces, and toss in waste basket.
11. Stack squares and place on bed of sewing machine. Use as jumper scraps to start sewing triangles.
Rough Cutting Single Blocks
For minimum waste when cutting fabric one block at a time, sizes are given with block instructions for cutting each patch 1/2" larger than shape on die. Scraps larger than given sizes can always be used.
Smart Stacking©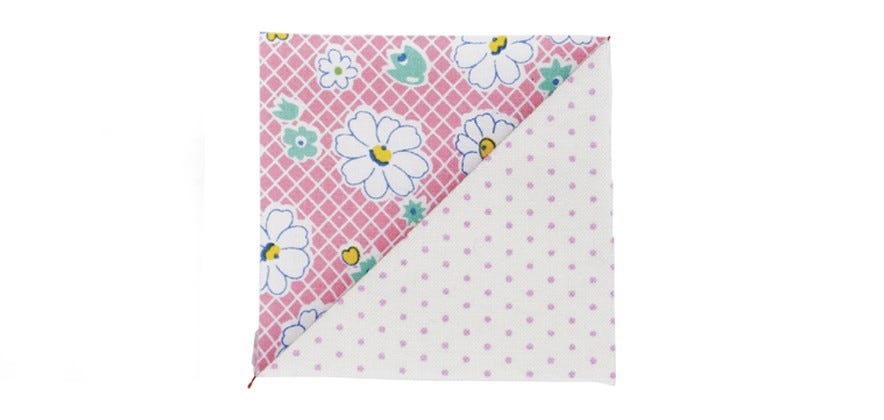
Many patches in blocks use Pieced Squares, or two triangles sewn right sides together. Save time by organizing your sewing and pressing by placing two fabrics used in this patch right sides together.
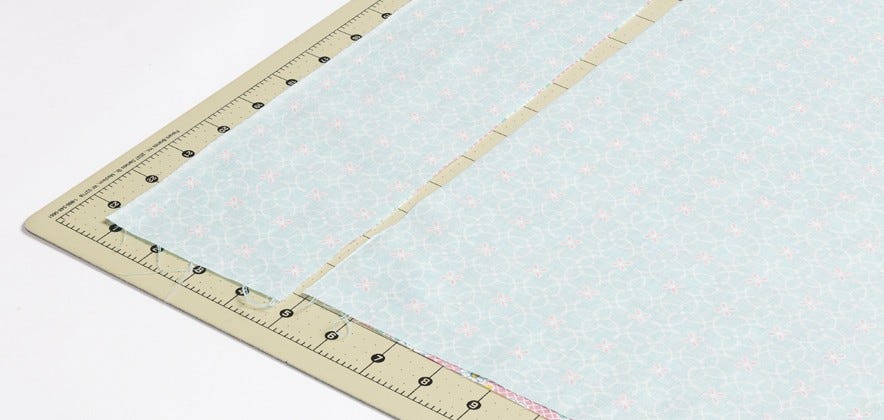
1. Place 18" x 24" cutting mat, rotary cutter, and an assortment of acrylic rulers as 6", 9 1/2" and 12 1/2" square in cutting area.
2. Put light or medium fabric on cutting mat right side up.

3. Place darkest fabric right sides together to lighter fabric.
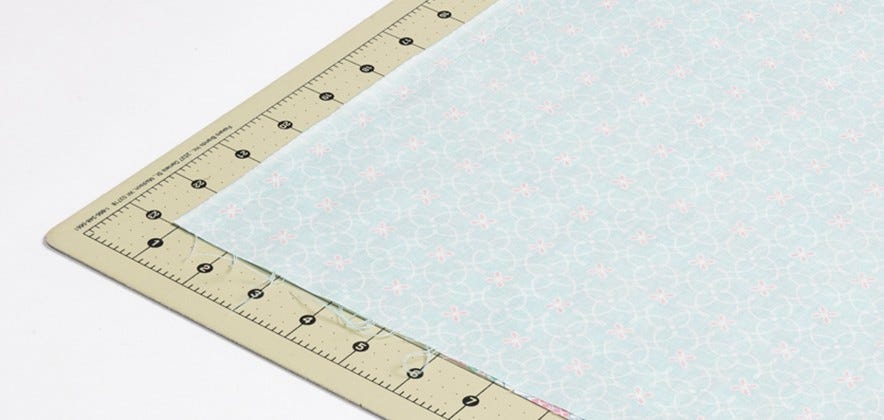
4. Cut layered piece with lengthwise grain, or straight of grain parallel with the selvage. This is the strongest grain in your fabric, has very little stretch, and achieves the most accurate cuts.
5. Fabric should be laid on your die on the lengthwise grain.
6. Place appropriate die on cutter, foam side up. Center designated fabric pieces on die, checking that fabric covers blades. Line up straight of grain with blades, overlapping edges 1/4".
Cutters can cut up to six layers of 100% cotton at a time. You should test and see how many layers you prefer.
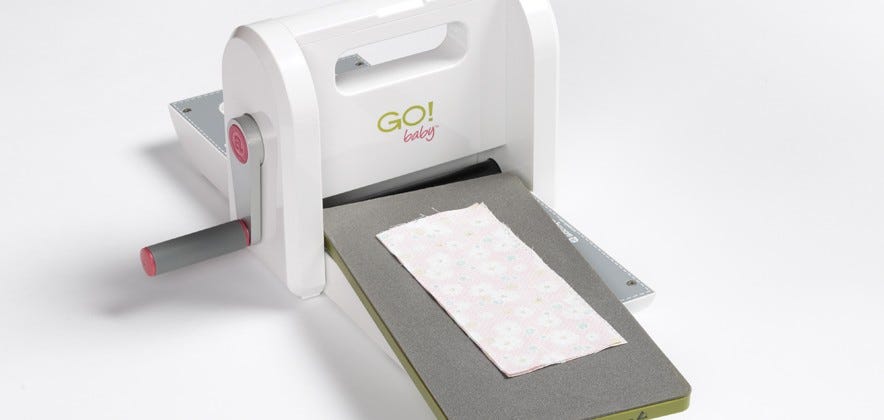
7. Cover fabric with mat same size as die board.
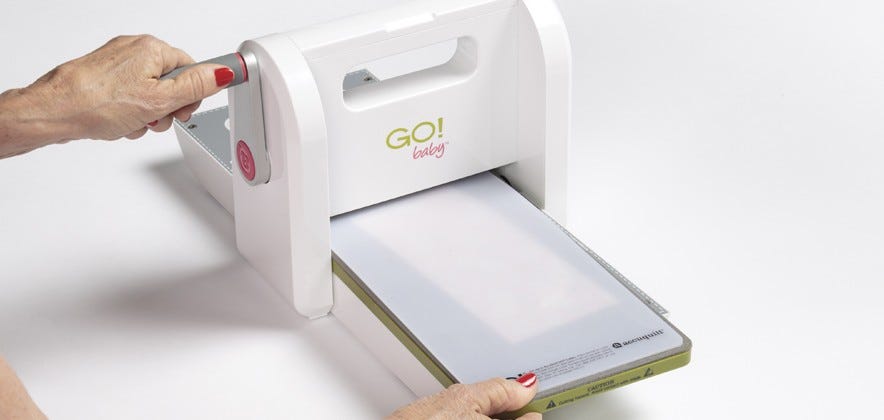
8. Slightly angle die. Push die, fabric, and mat firmly against roller. Turn handle in same direction you want die to go. Push die out on opposite side.

9. Slide mat off fabric to keep pieces in order.
10. Remove excess fabric around cut pieces, and toss in waste basket.
11. Do not open Smart Stacked© pairs. They are ready for sewing.
Save time by cutting out several blocks together. Store and label each block in a plastic sandwich bag.
Smart Cutting© Four Triangles on 9" Die #55398
1. Place fabric on die, covering three triangles. Let extra fabric hang over edge.
2. Place mat on top, and cut.
3. Remove mat and three triangles.
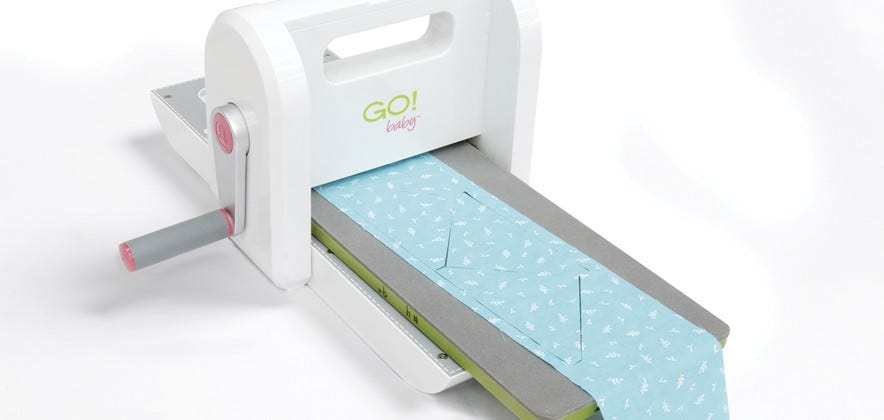
4. Cover triangle with extra fabric, and cut fourth triangle.
This information is provided to you by Eleanor Burns’ GO! Sampler Book, #1089.
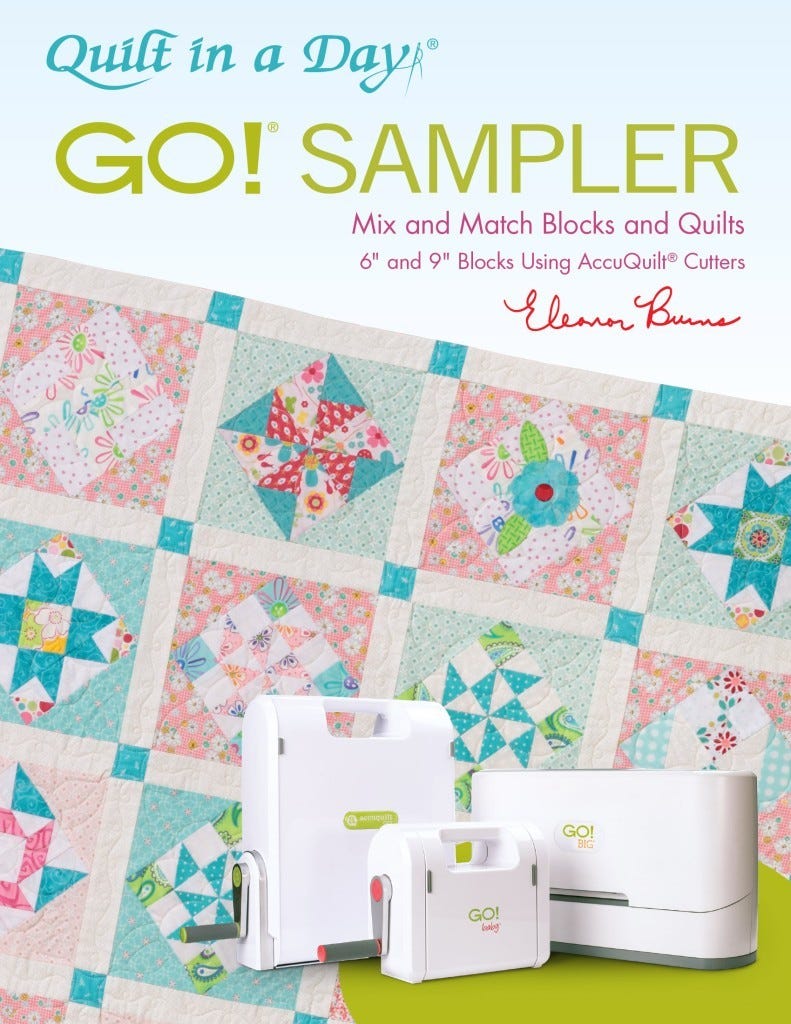
Get your own copy of the GO! Sampler book today, so you can learn how to make a variety of 6″ and 9″ blocks using AccuQuilt fabric cutters!