


We all bind our quilts, right? For the longest time, I have used traditional binding cut across the width of the fabric. However, there are times when bias binding really comes in handy. If you're feeling a little hesitant to give this binding technique a try, hesitate no more. Today, I'll explain why bias binding is so vital, where to use it and how to approach it with confidence.
Quick Take on Bias Binding
If you're just getting started or still learning the quilting ropes, it's important to know there are a few ways to bind all depending on how the binding fabric is cut. Binding can be...
- Warp or Lengthwise: Binding cut along the lengthwise grain of fabric (parallel to the selvage) with little stretch.
- Weft or Crosswise: Binding cut perpendicular to the lengthwise grain (at a 90 degree angle to the selvage) with more stretch.
- Bias Binding: Binding cut on the true bias grain (at a 45 degree angle to the selvage), resulting the most stretch.
Why and Where to Use Bias Binding
Traditionally, binding is cut along the lengthwise grain so that there is little to no stretch from the fabric, which works great with quilts that have straight edges. Quilts with a curved edge need a little more flexibility from the binding in order to lay flat. Bias binding is cut at a 45 degree angle to the lengthwise grain and gives the fabric the most stretch possible, making it easier to manipulate around curves.
TIP! Be sure to think your fabric print through when choosing the binding because it can take on a new life when the direction is adjusted, even slightly. For example, striped patterns become diagonals similar to a barber pole. Solids are a safe bet, but don't be afraid to take some risks - they might look better than you could have imagined!
Now, let's see bias binding in action! Before we get started, I'm going to create a rounded project...
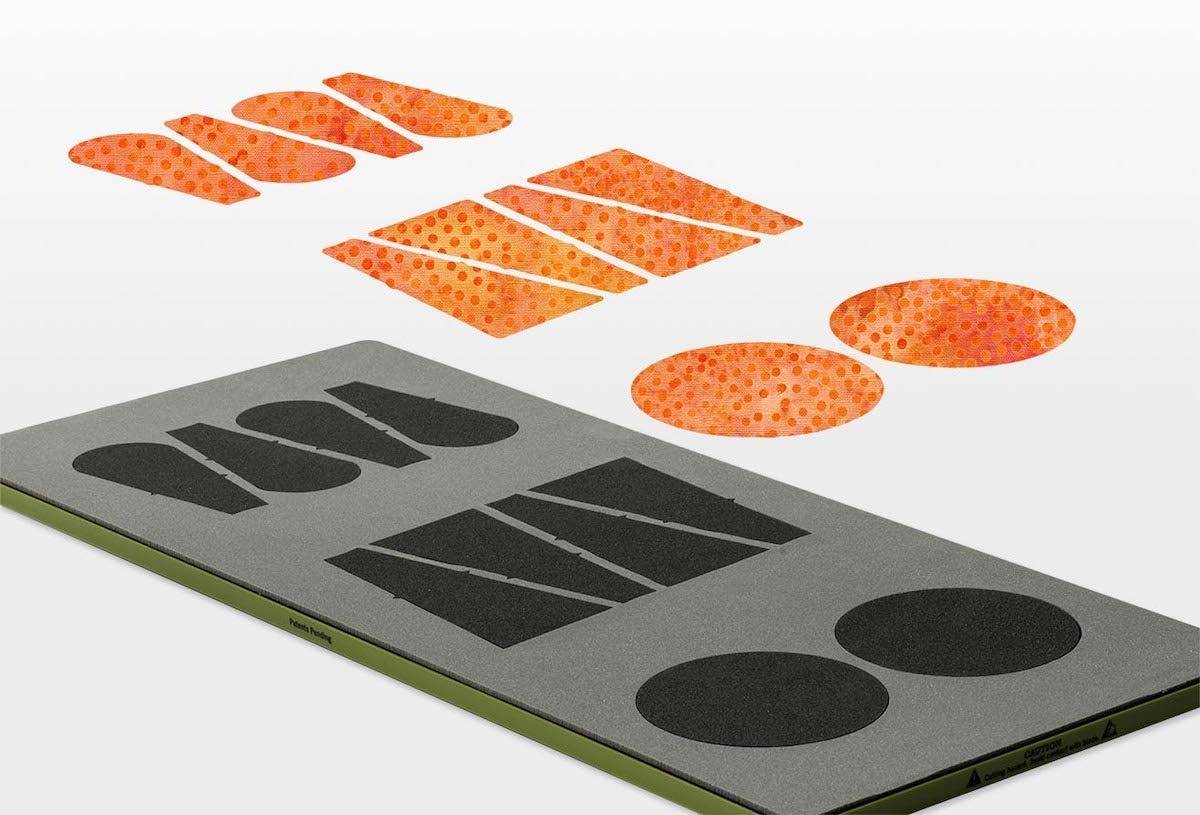
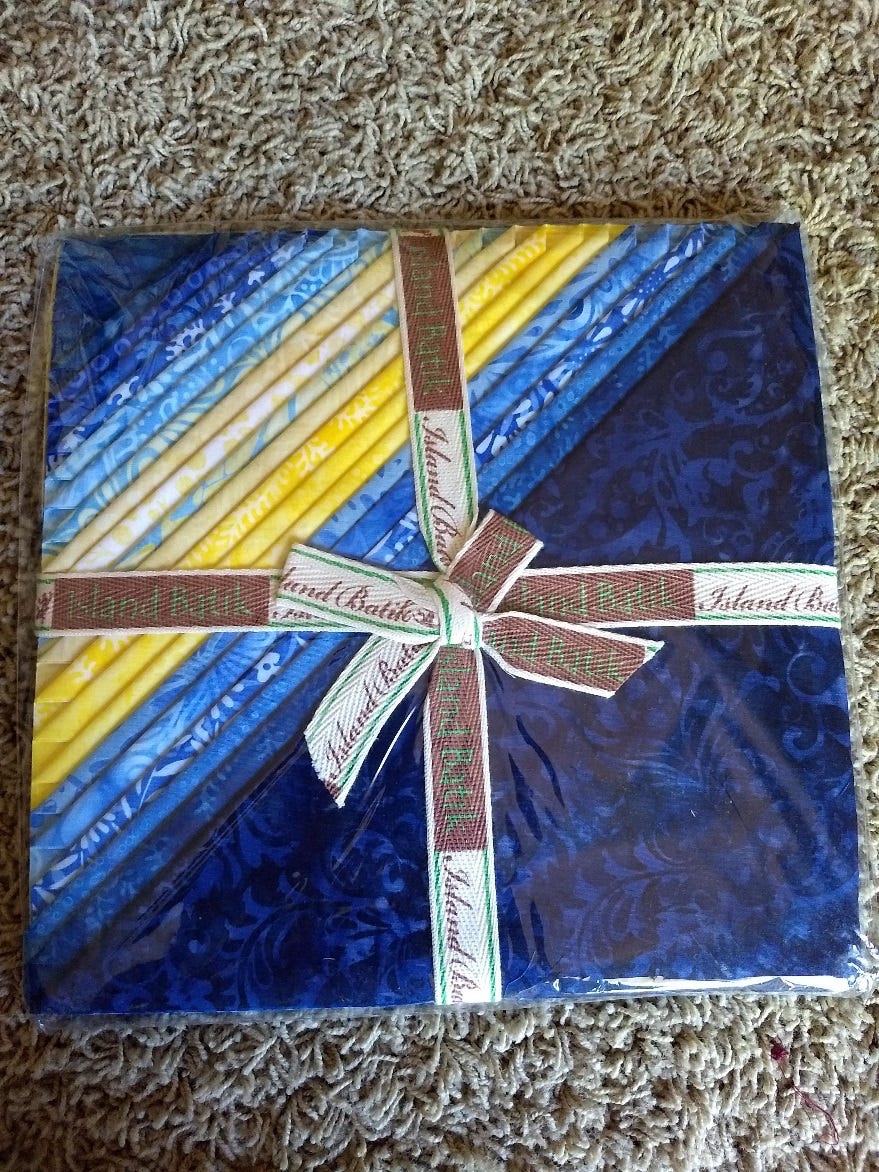
For my example project, I chose to use the GO! Dresden Plates Die (55071) without making the points and then started out with an Island Stack of Island Batik fabrics called French Blue.

I used my GO! Dresden Plates die to cut 20 wedges from blue batiks and 20 wedges from yellow batiks. I love that they have the little triangle notches on the wedge sides to help with alignment!

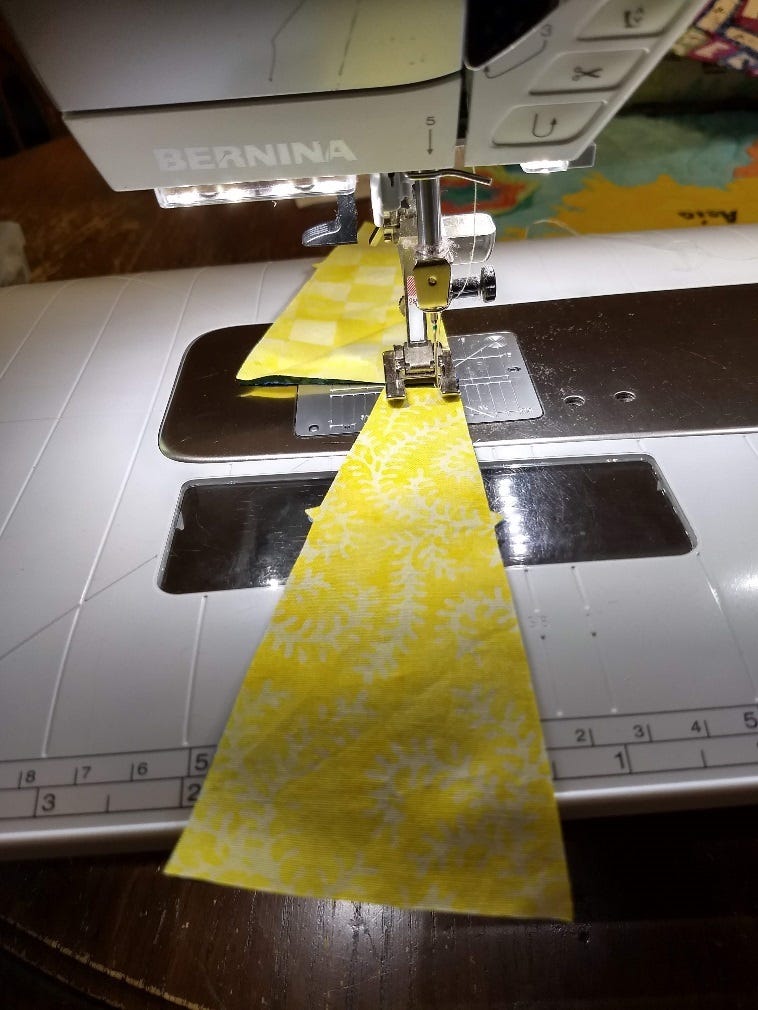
I then sewed my pieces into a circle.
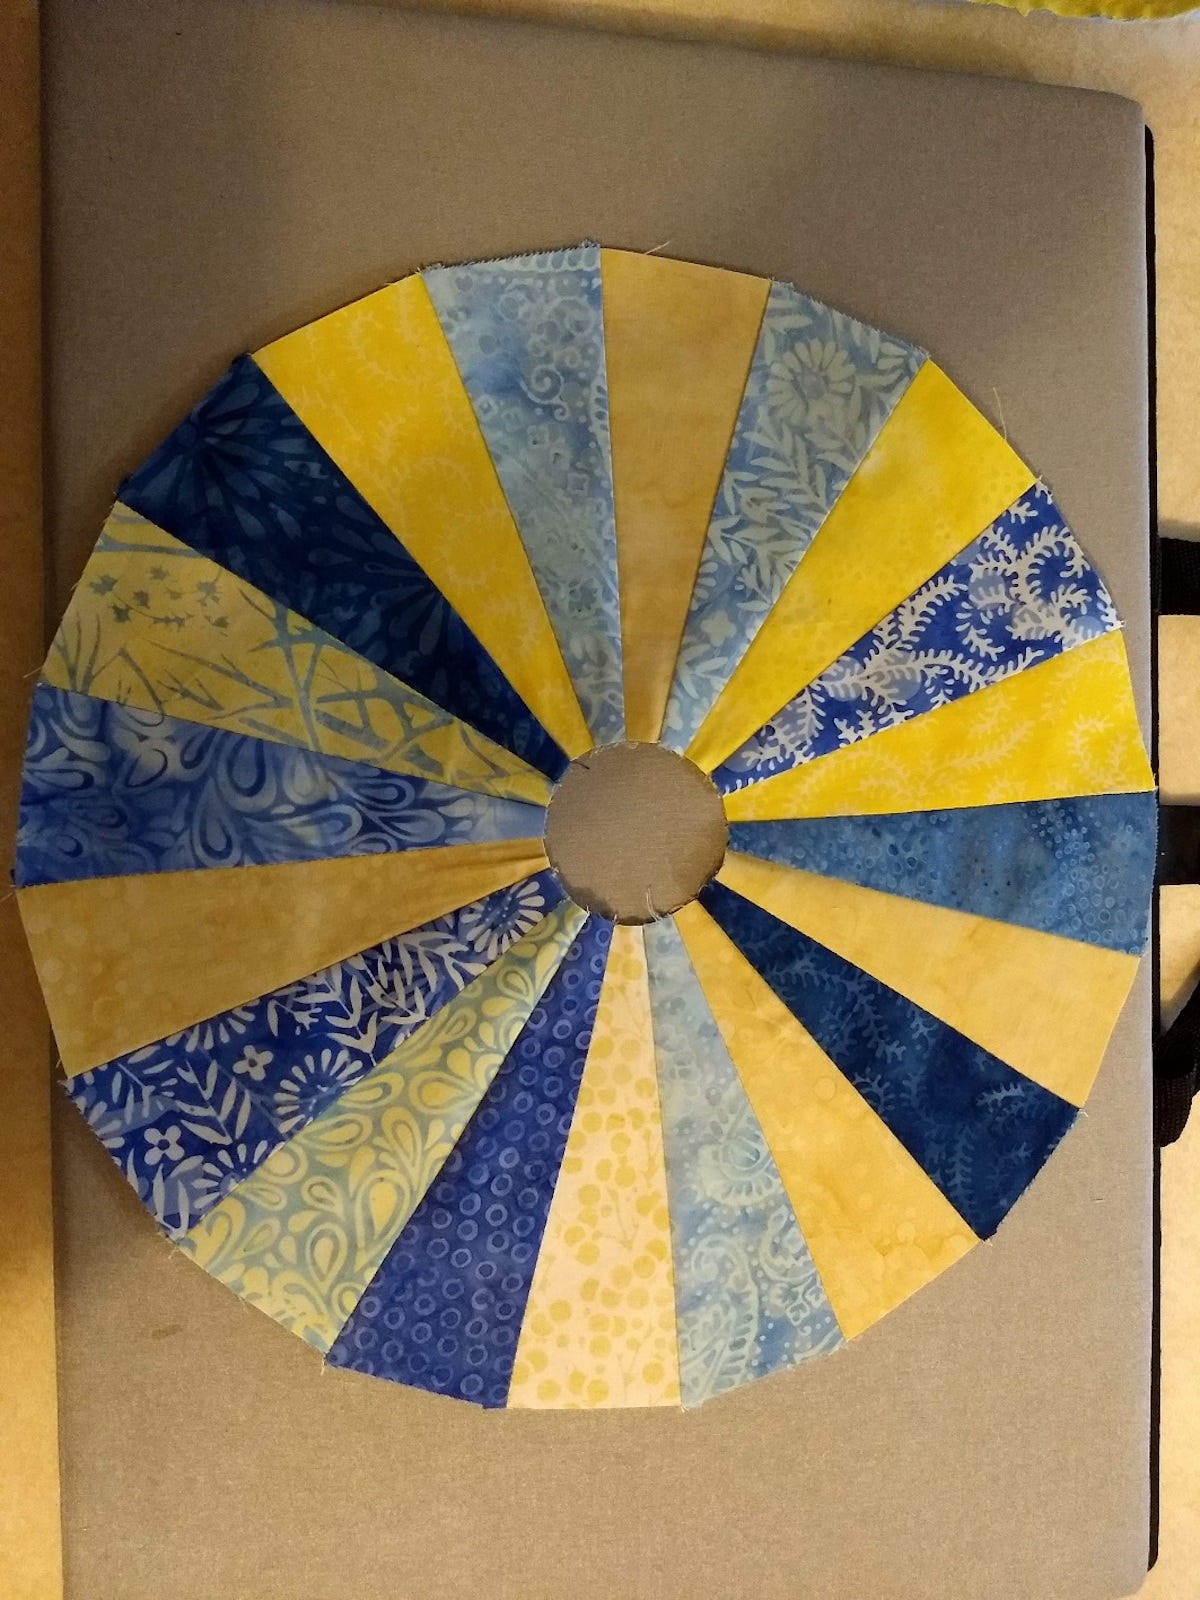
I love how the circles came out! Next, it was time to cut the centers. I saved a dark blue piece for this. First, I put fusible on the back and then ran it through my AccuQuilt GO! Big. Two perfect circles. Gotta love it!

I then layered my piece with some wool batting and had fun doing the quilting.
Preparing and Sewing Bias Binding
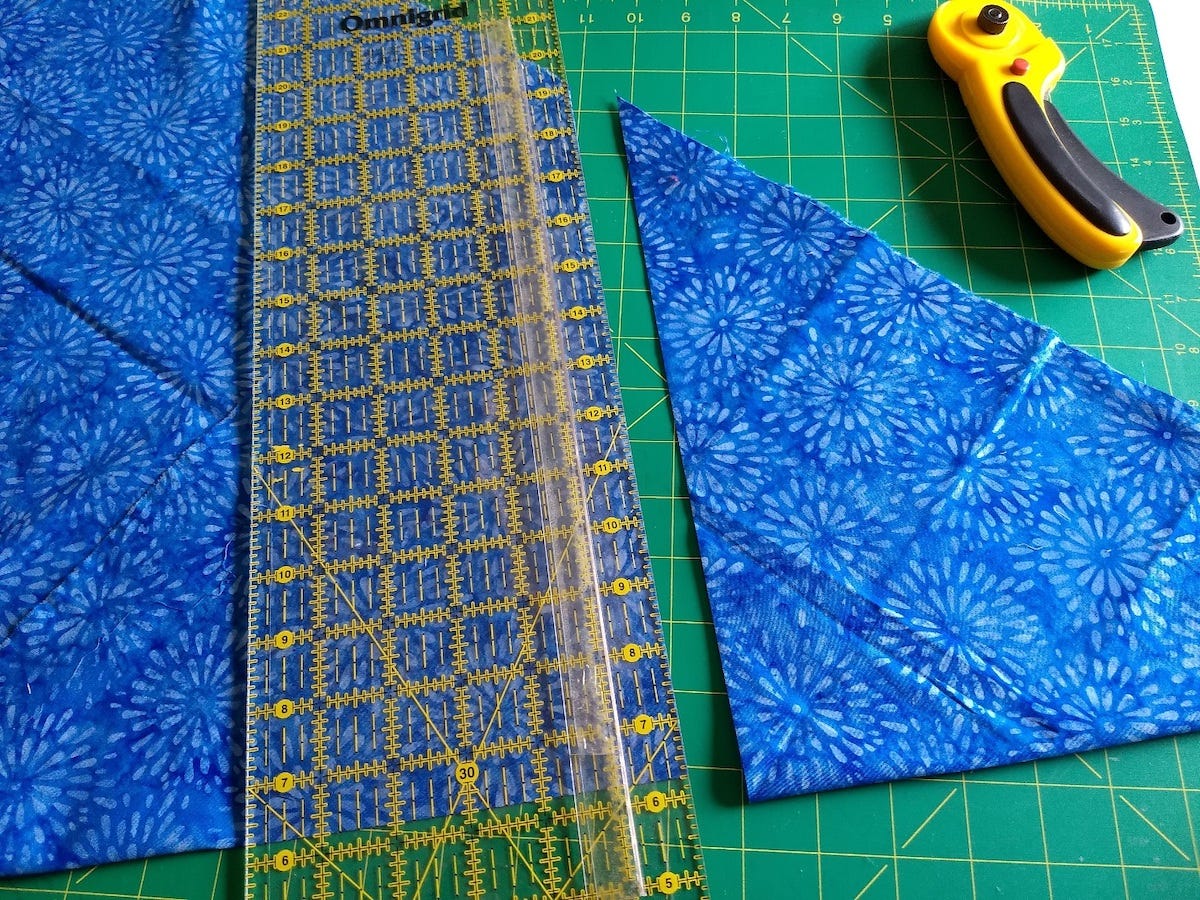
Now it was time to cut my bias binding. I found a coordinating half yard in my stash for the binding. The first step is to fold your fabric on the diagonal at 45 degrees as shown above. This is vital to getting the best bias binding because, though you can cut it at other angles, 45 degrees will provide the most stretch and best results.

Next, lay the ends together and sew the seams at a 45 degree angle as shown above.
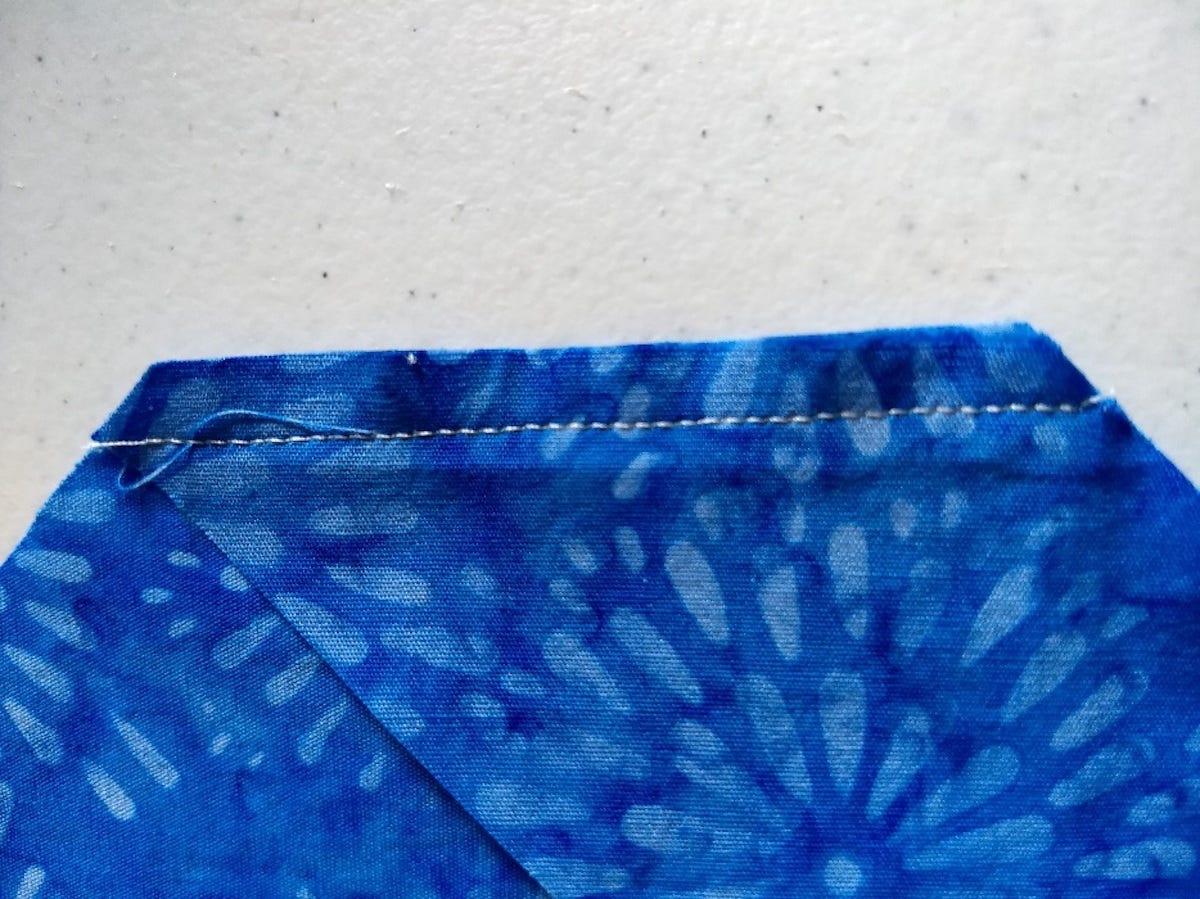
Then trim the excess so you won’t have a lot of bulk in your seam. I leave a ¼" seam allowance and angle the edges to match the original strip of fabric. When pressing, I will press this seam open instead of to one side because it creates less bulk.
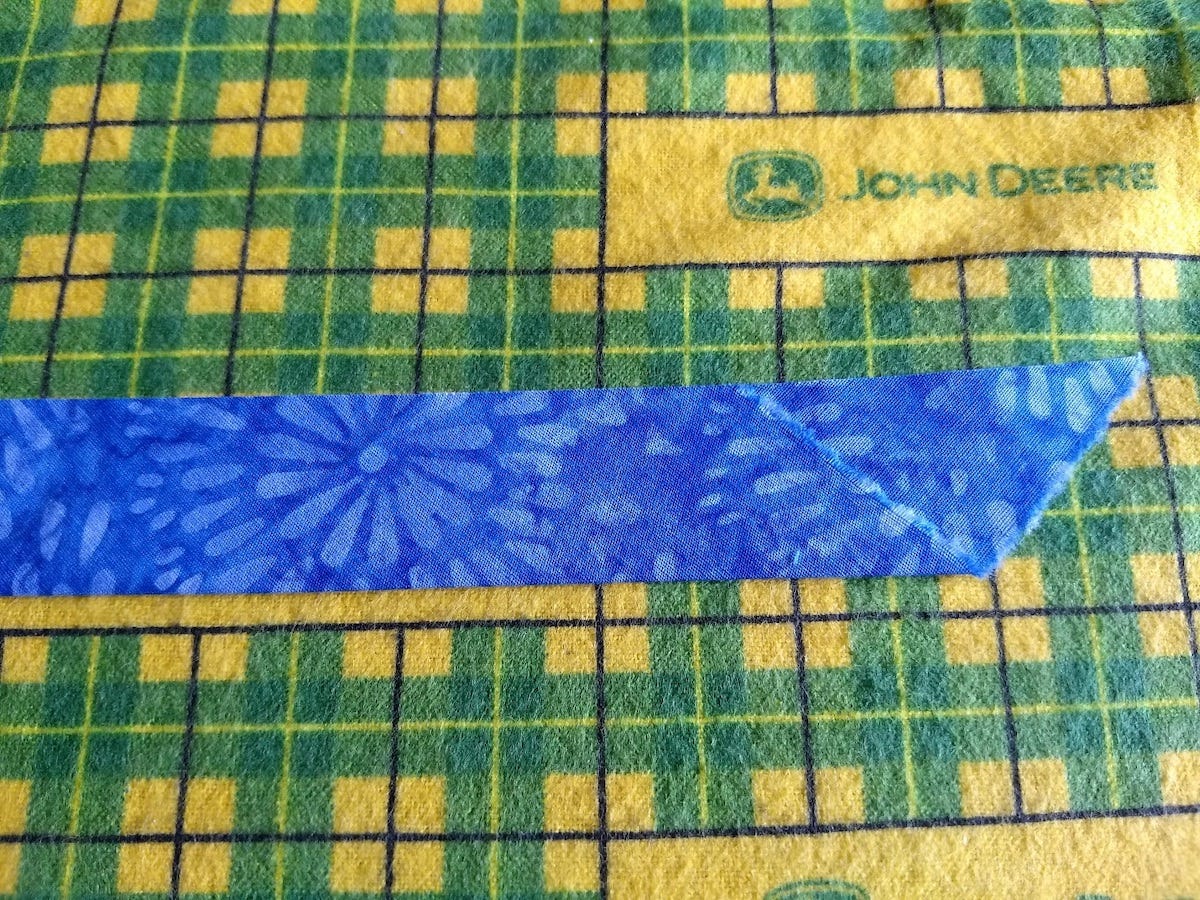
Now iron your bias in half.
TIP! When ironing, it is VERY easy to stretch the bias. To help minimize the stretch, I use a piece of flannel over my ironing board. It helps grip the fabric and and stop my bias binding from stretching.
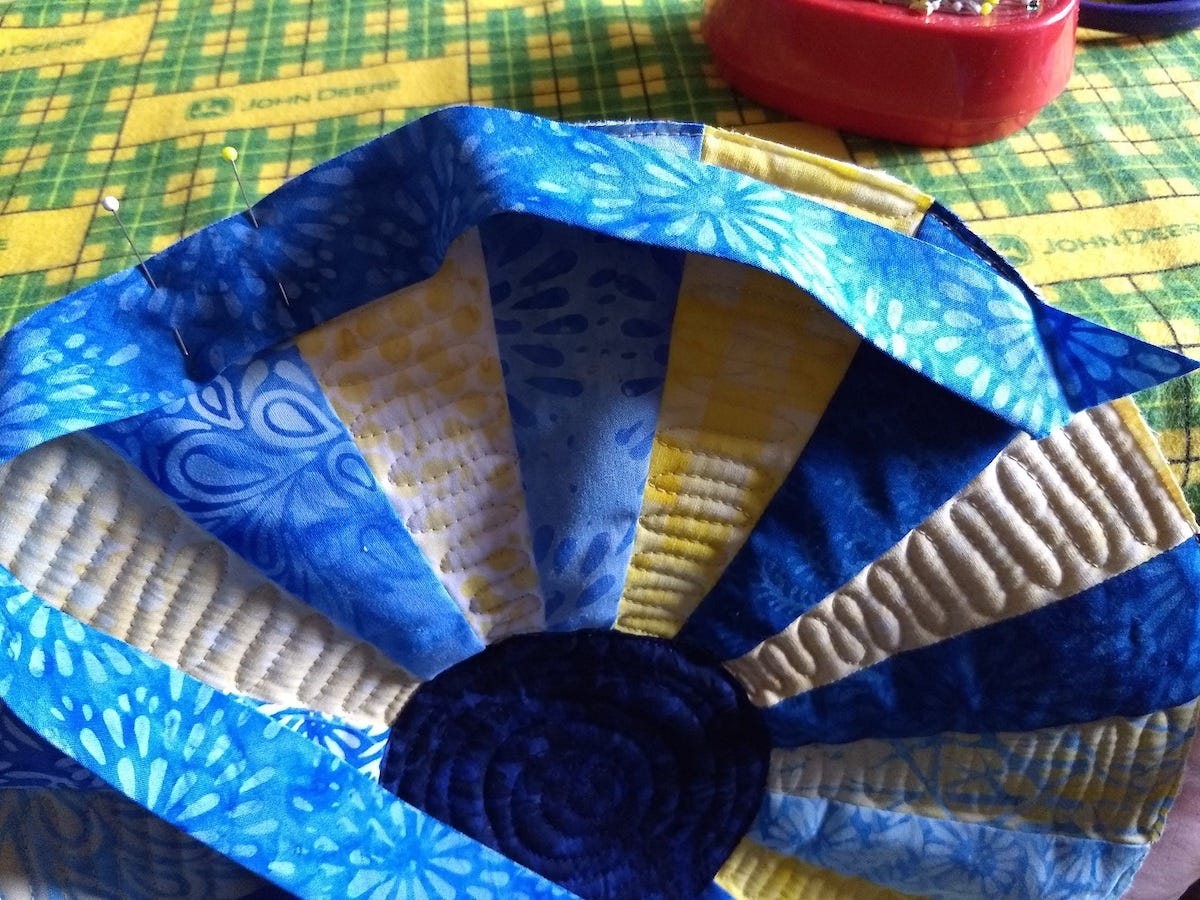
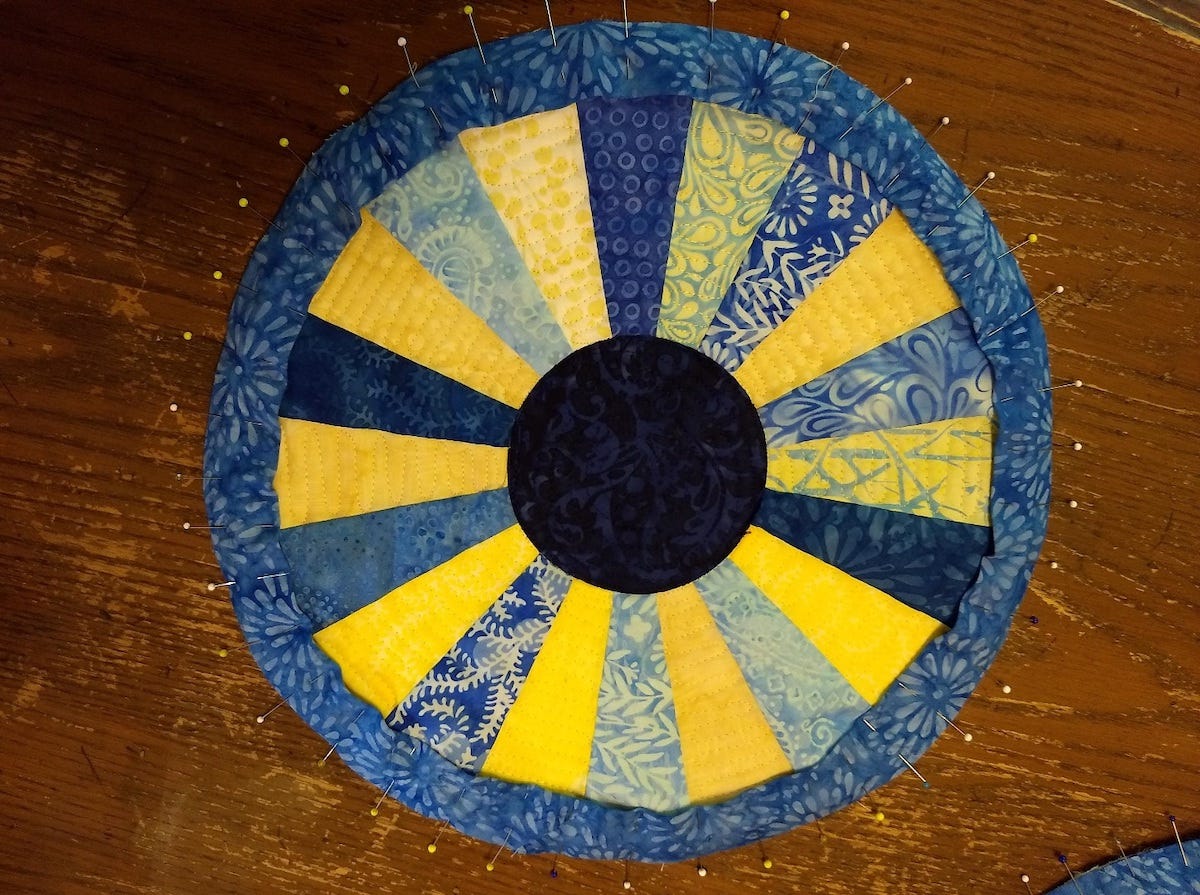
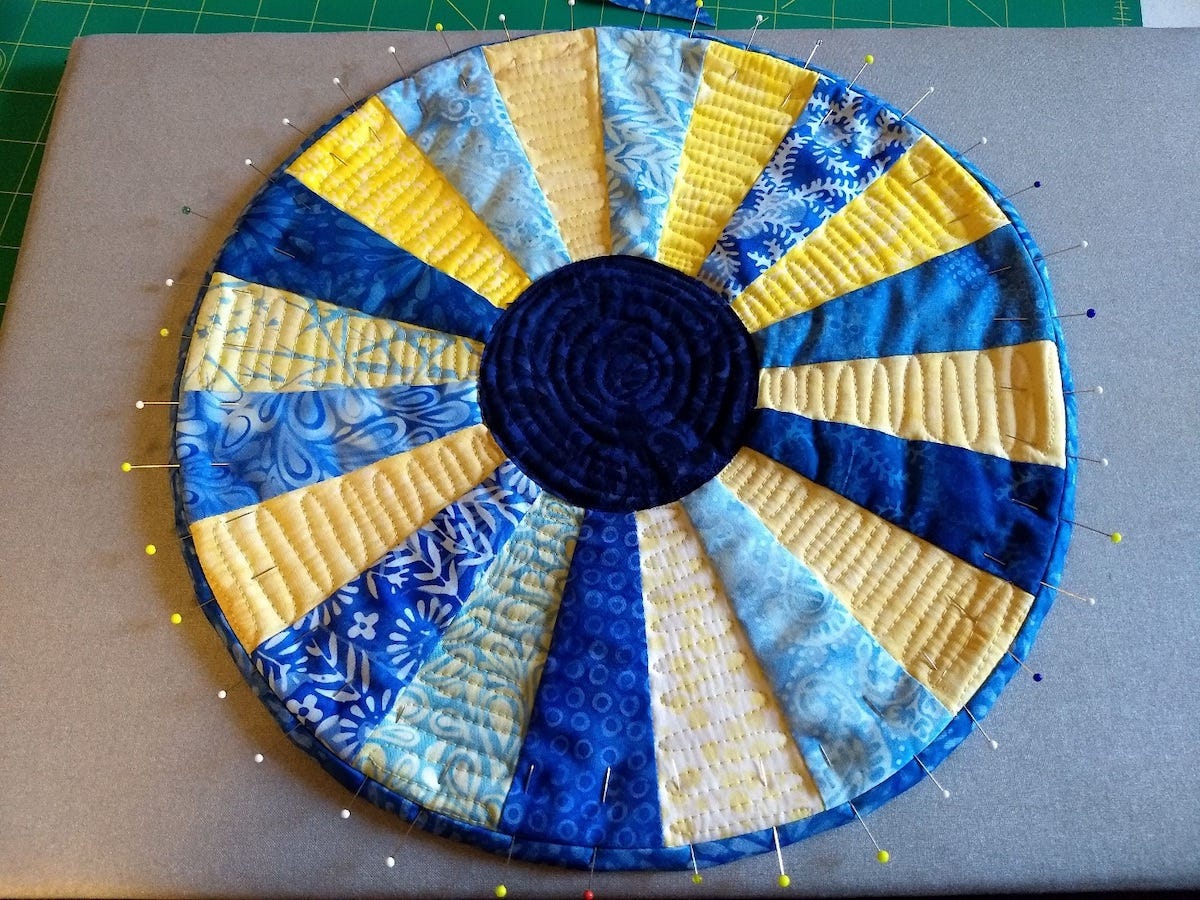
To start attaching my bias binding to my circle, I pin it in place every inch or so leaving an eight inch tail for joining the two ends together later.
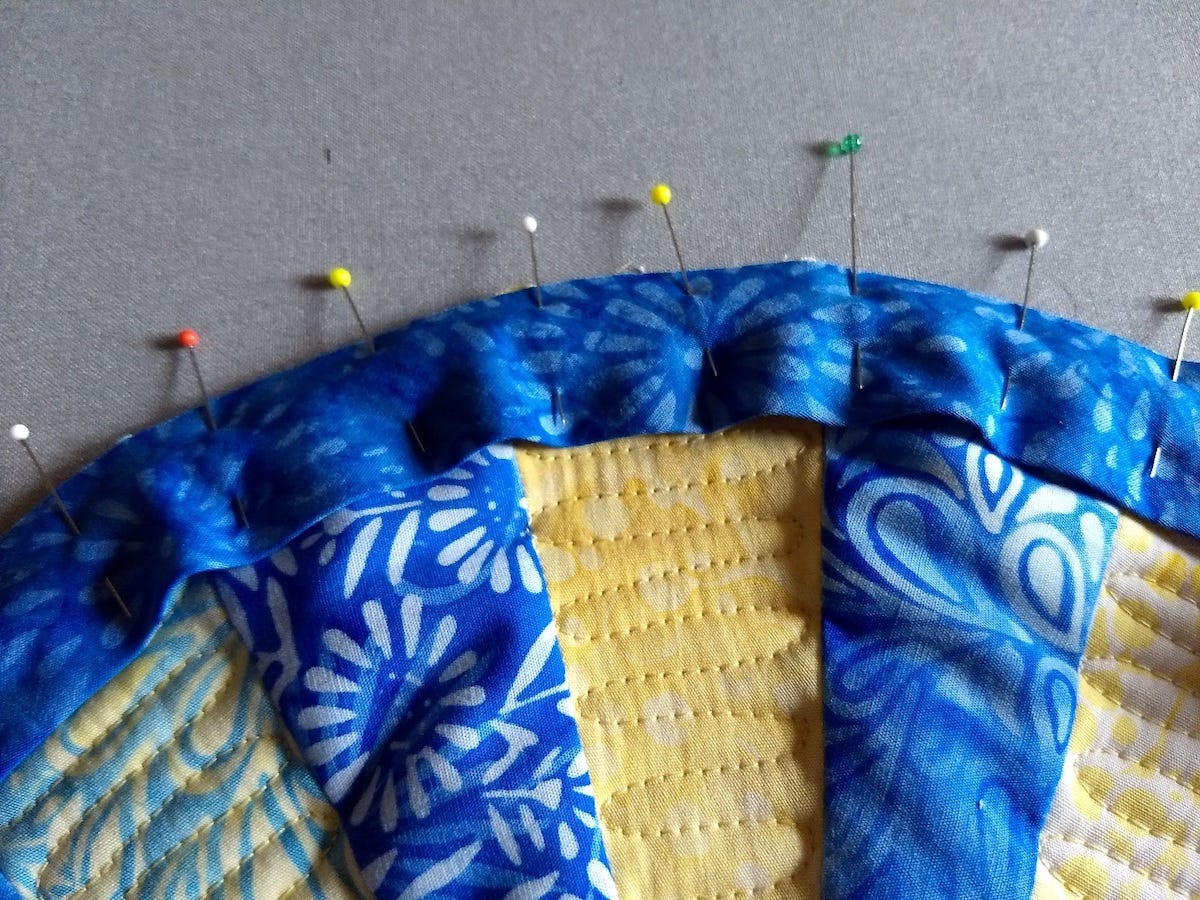
I pin a lot since it’s a curve and I want to make sure my binding is equally curvy.
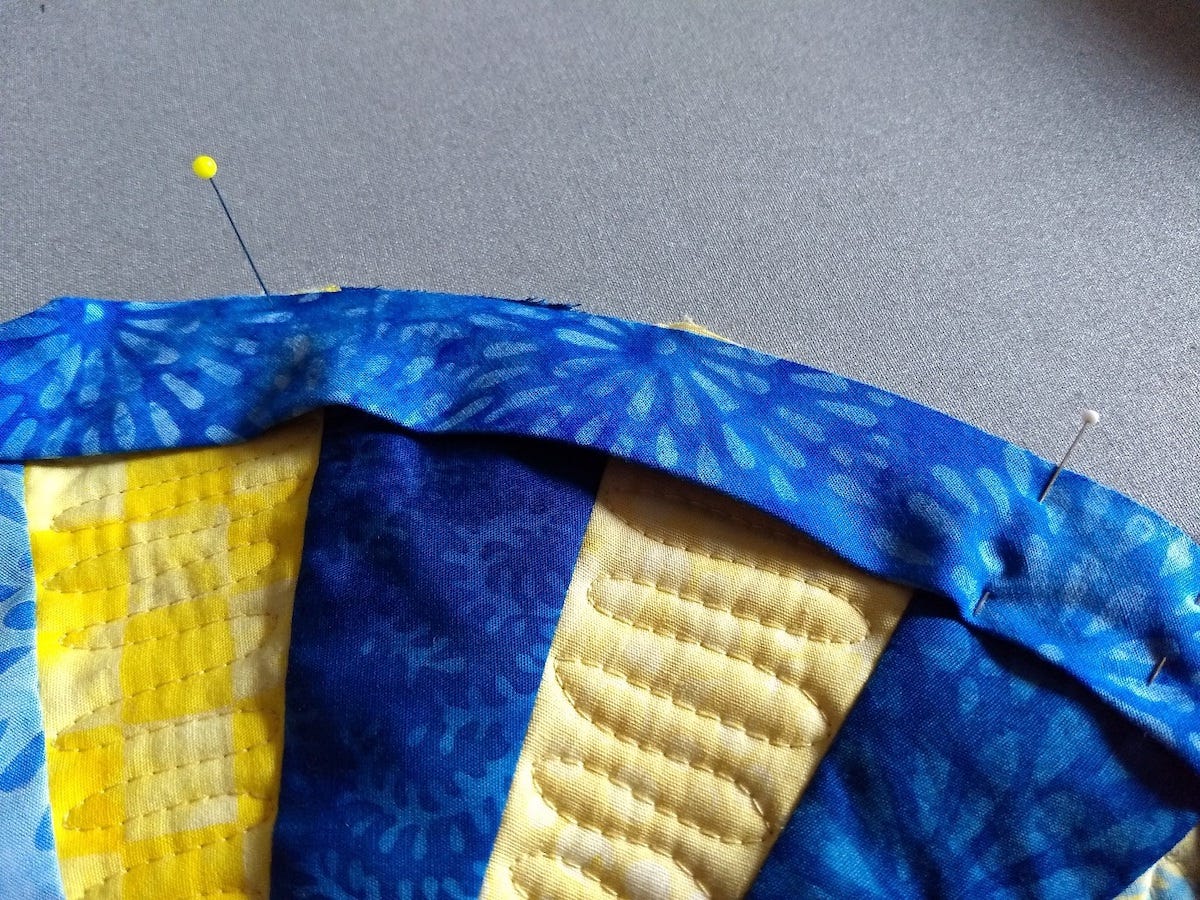
To join the two ends together, I put a pin half way between where I’ve pinned so far. This pin is standing up so I can easily see it.

I then put a second pin in the other tail at the same spot where the first pin was located.
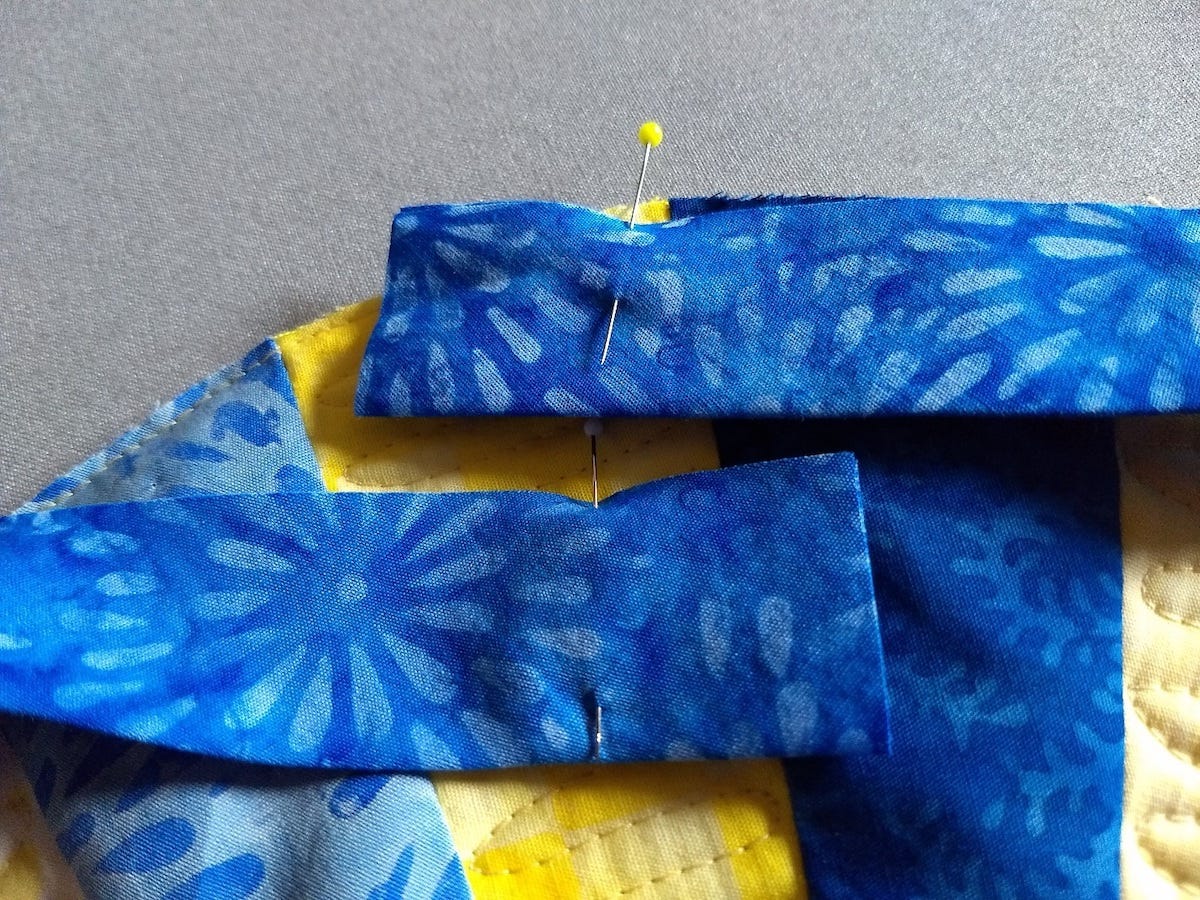
Next, I put the pins in the fabric and trim my ends. The amount of fabric beyond the pin should be a square the same width as the binding strip. I tend to use 2¼" binding cut with my GO! Strip Cutter-2¼” Die (55053). That means my square is half of 2¼" or 1⅛".
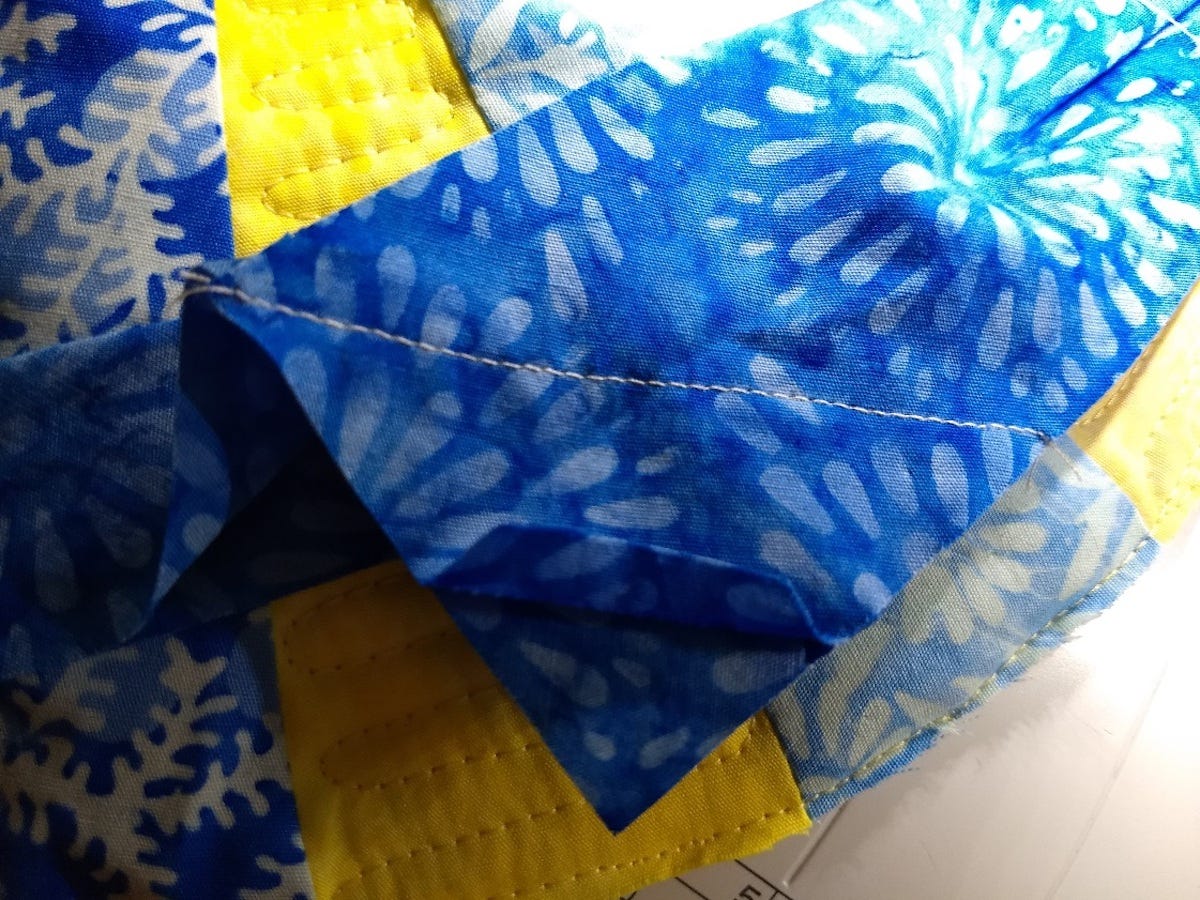
I then align my ends and sew down the diagonal.

My seam is trimmed to ¼".

Finally, my seam is pressed open.
Then I finish pinning the rest of the circle.
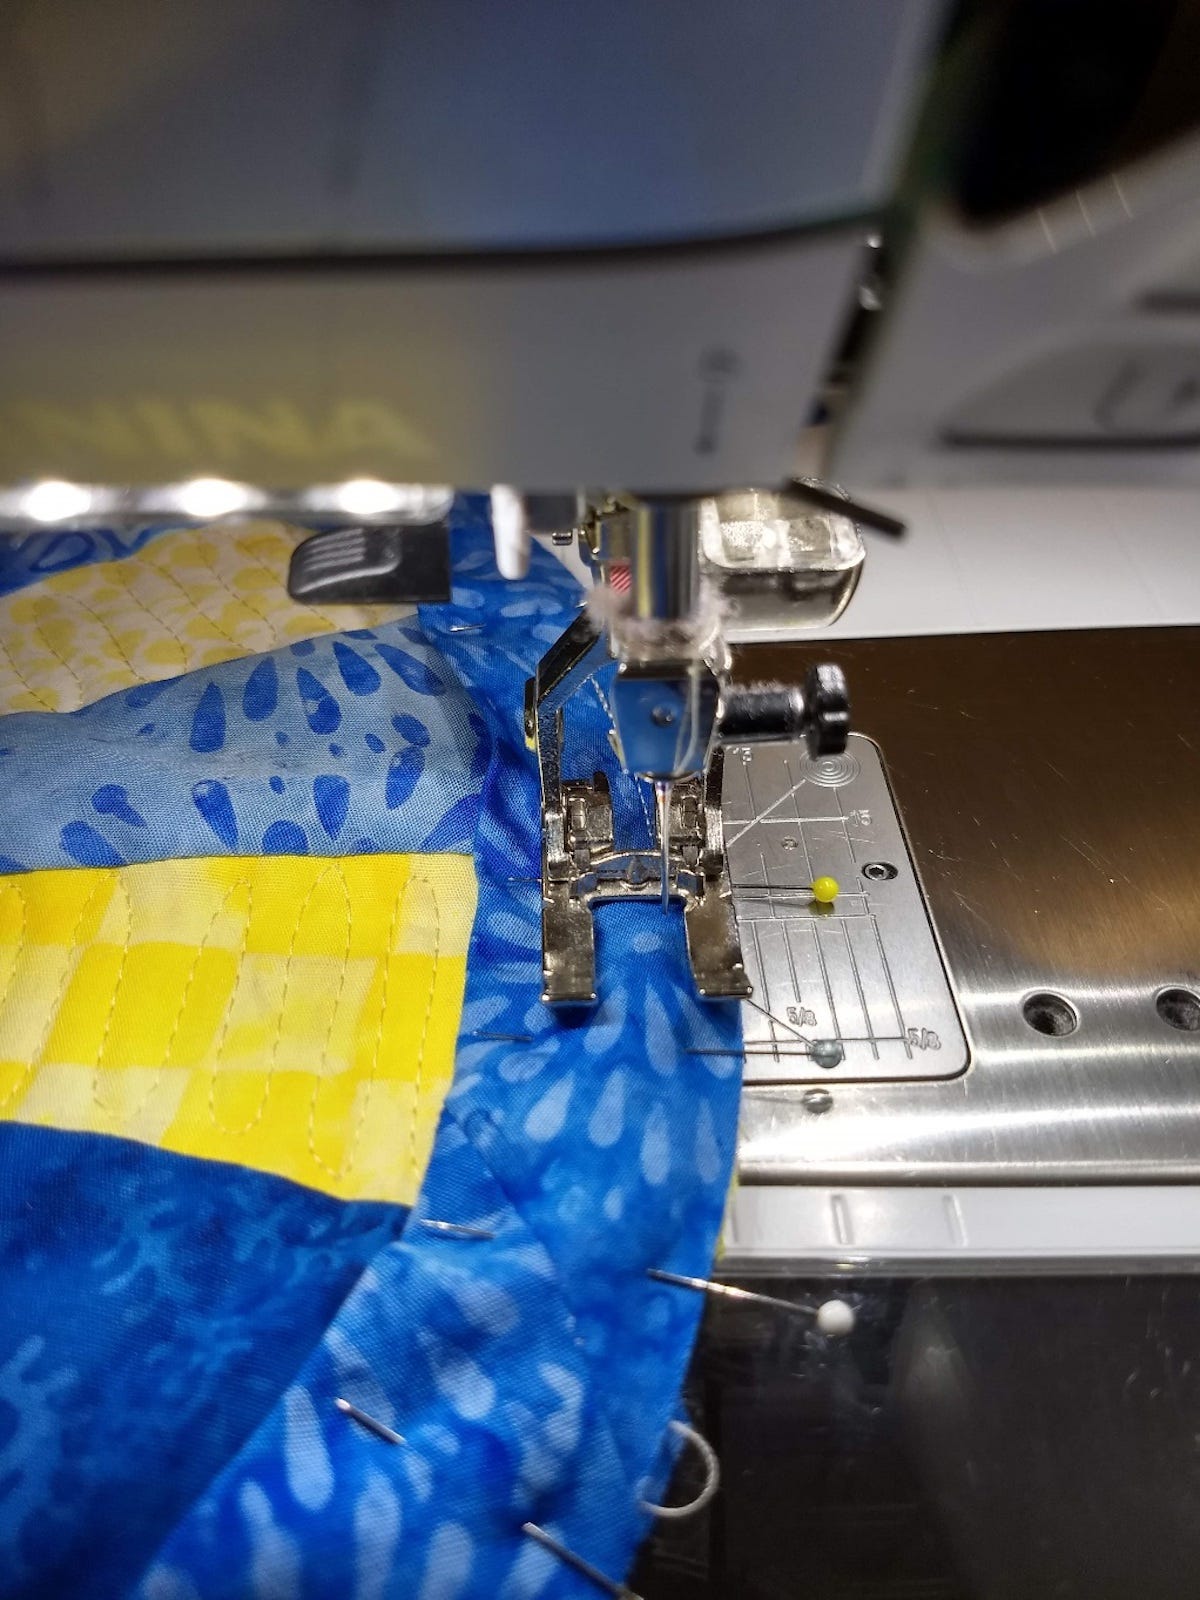
From there, I slowly sew around the edge of my circle with a ¼" seam carefully removing pins as I go.

When I’m finished this is what my binding looks like.

The next step is to iron the binding. It ends up looking like it stands up.
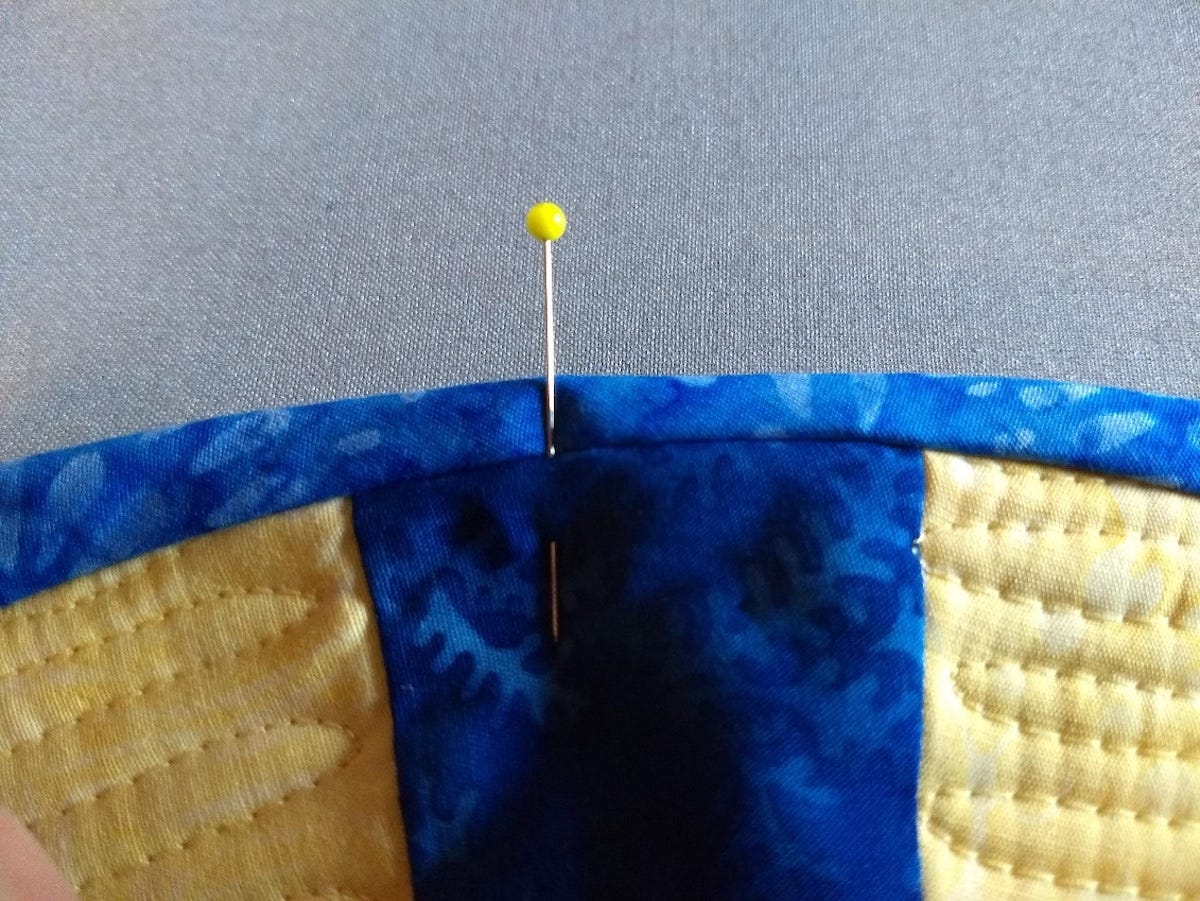
Now it is time to turn the binding to the back of the circle. I carefully do this and then use pins to hold it in place.
TIP! when you look at the pin above you can see that NO PART of the pin is IN THE BINDING. It is just UNDER the binding. This way, my binding does not distort as I am pinning and sewing it. I can also be sure that my binding will be long enough when I stitch in the ditch.
My binding is all pinned down and ready to stitch in the ditch by machine. You could also sew it to the back by hand. If you choose the handbinding option, you may want to use binding clips to hold it in place instead of pins so you don’t stick yourself all the time.
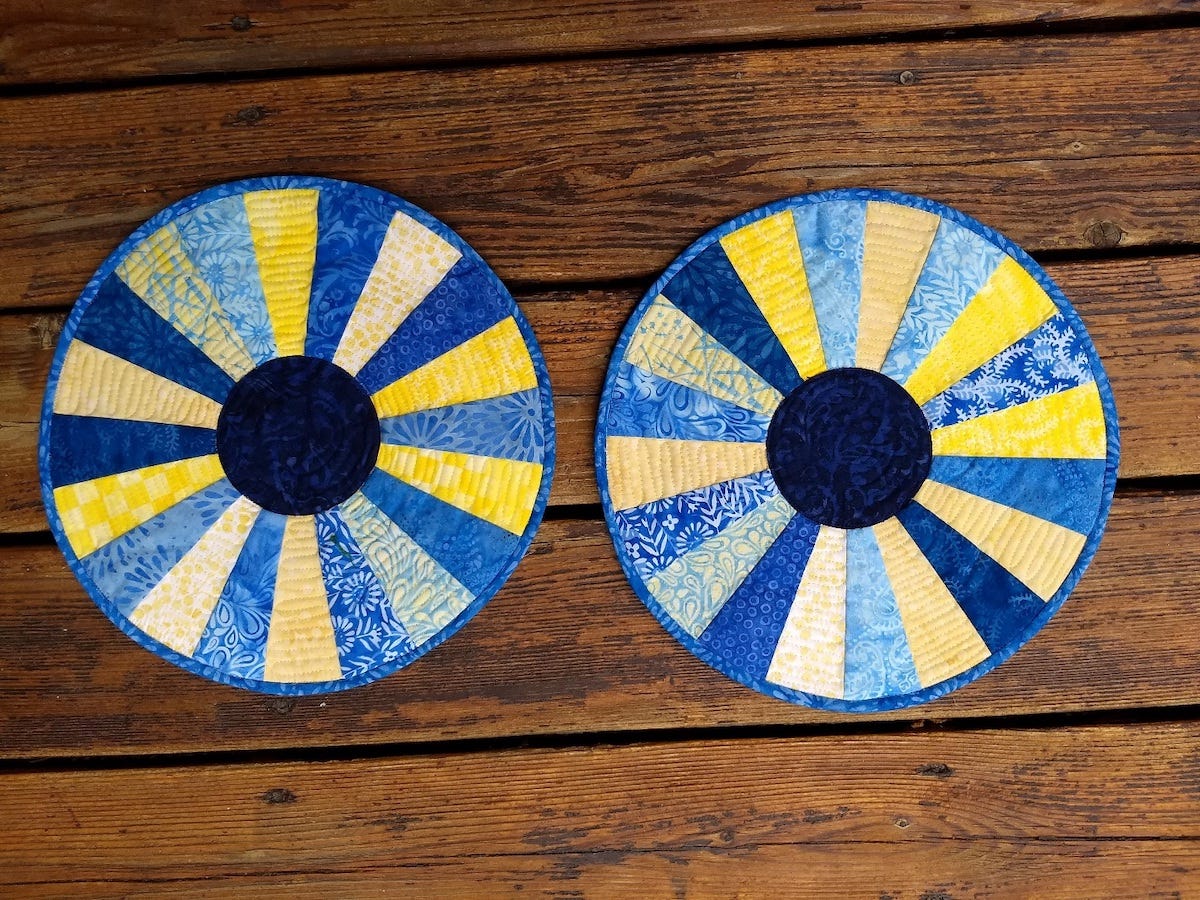
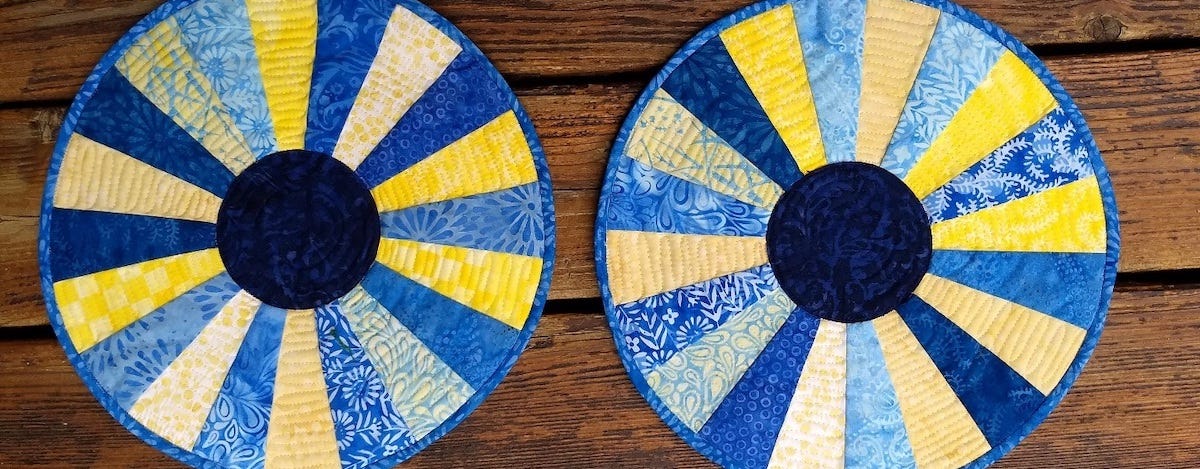
Done! Two perfect circle placemats that lay nice and flat due to the bias binding. It’s fantastic to use when finishing curvy edges.
Will you be trying bias binding? Share your projects with us! Tag @AccuQuilt so we can see what you're working on. Follow more of my quilting journey on my blog, WebsterQuilt.com, and be sure to subscribe to the AccuQuilt blog to see all GO! Getter tutorials.


