


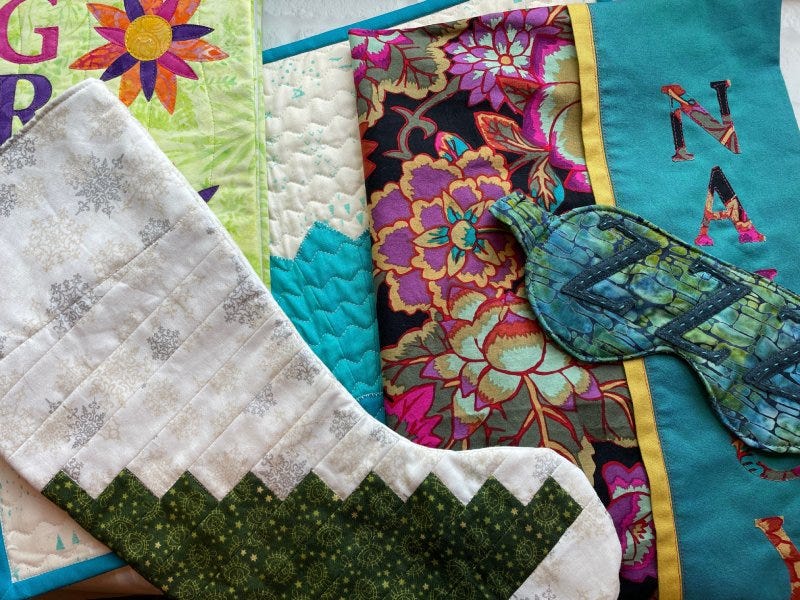
Hi, quilters! It’s Jen from Dizzy Quilter, back for another project in my 12 Months of Holiday Gifts series. I’m working on a small project every month with the goal of having a Santa Stocking full of small gifts this year.
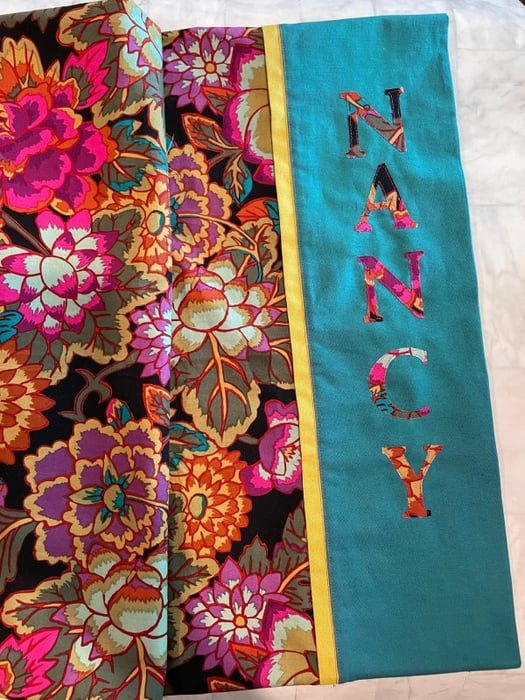
This month, I am making a personalized pillowcase.
Dies Needed
-
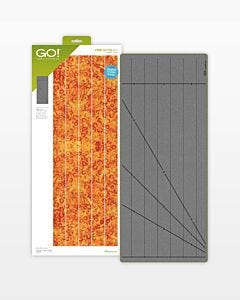 GO! Strip Cutter 1 1/2" (1" Finished) 5 Strips DieSpecial Price $139.99 Regular Price
$164.99You Save $25.00 -
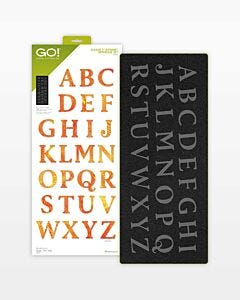 GO! Classic 2" Alphabet Uppercase Set DieSpecial Price $199.99 Regular Price
$229.99You Save $30.00
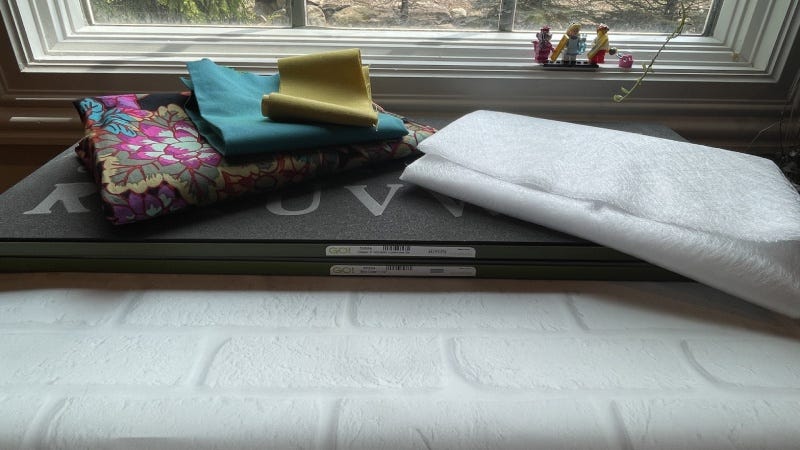
Materials Needed
- 1 yard of fabric for the pillowcase body if fabric measures 43" wide or more
If the Width of Fabric (WOF) is less than 43", you will need 1 1/2 yards - 1/2 yard of pillowcase cuff that will measure 11" x 43"
If the WOF is less than 43", you will need 1 1/2 yards, unless you piece the cuff - 1/4 yard or smaller of pillowcase trim that will measure 1 ½" x 43"
If the WOF is less than 43", you will need 1 1/2 yards, unless you piece the trim - Fabric for the letters
One 2” square of fabric is needed per letter. I like to use the scraps from the body fabric - Fusible webbing
Cutting Instructions
Instructions are for one standard sized pillowcase.
1. For the pillowcase body, cut a rectangle that measures 27” x 43”.
2. For the Pillowcase cuff, cut a rectangle at 11” x 43”.
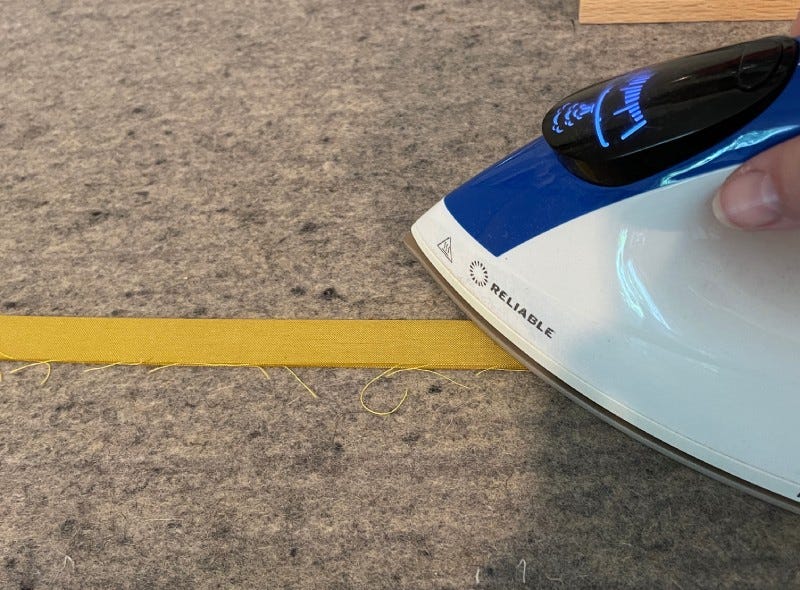
3. For the pillowcase trim, cut a rectangle 2” wide x 43”. Place on the blades of your GO! Strip Cutter-1 1/2" (1" Finished) 5 Strips Die and cut a strip that is 1 1/2” x 43”.
4. For the letters, cut a strip that is 2 1/2” x two times the number of letters you need. For my pillowcase, I wanted five letters, so I cut a strip that is 2 1/2” x 10”. This is because a 2" square of fabric is needed for each letter.

5. Apply fusible backing to the letters strip according to the manufacturer's directions.
6. Cut the fused strip into 2 1/2” squares.
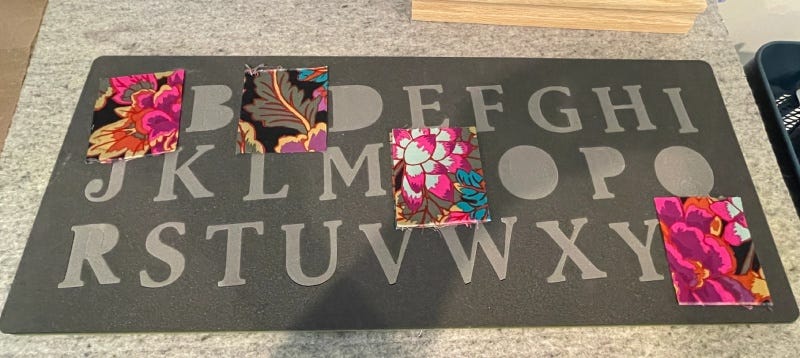
7. Place over the letters on the GO! Classic 2" Alphabet Uppercase Set Die with the fabric facing up and cut the letters you need.
Assembly Instructions
1. Press the pillowcase trim in half lengthwise, as if you are making a narrow binding strip, and set it aside.
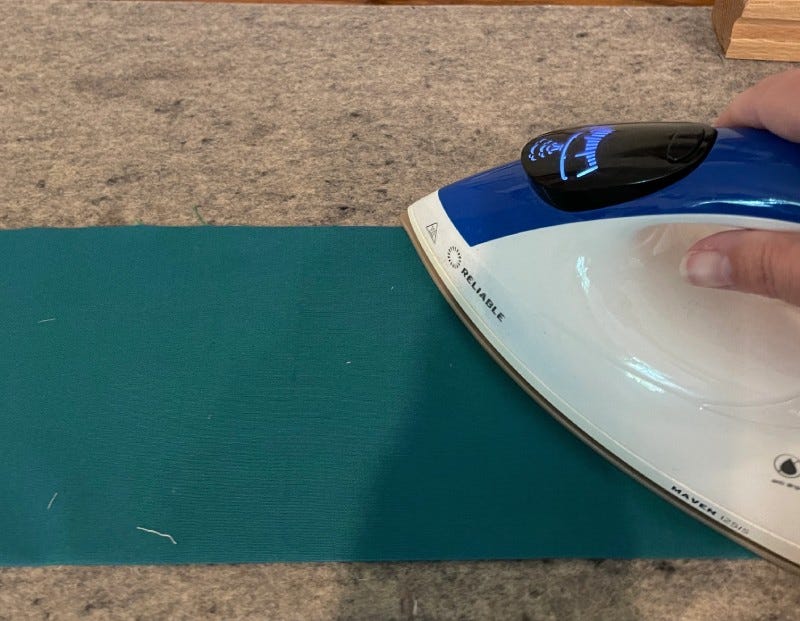
2. Press the pillowcase cuff in half lengthwise and widthwise, so you get a grid of four sides.
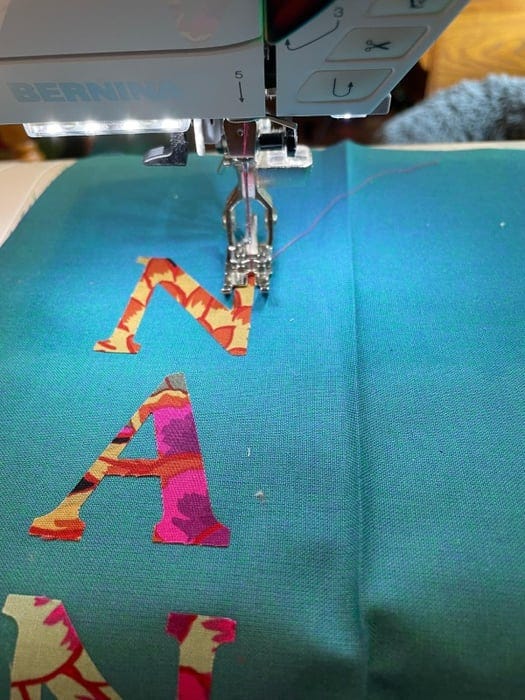
3. Line up the letters like this:

4. Stitch along the outer edges of the applique shapes using your preferred stitch.
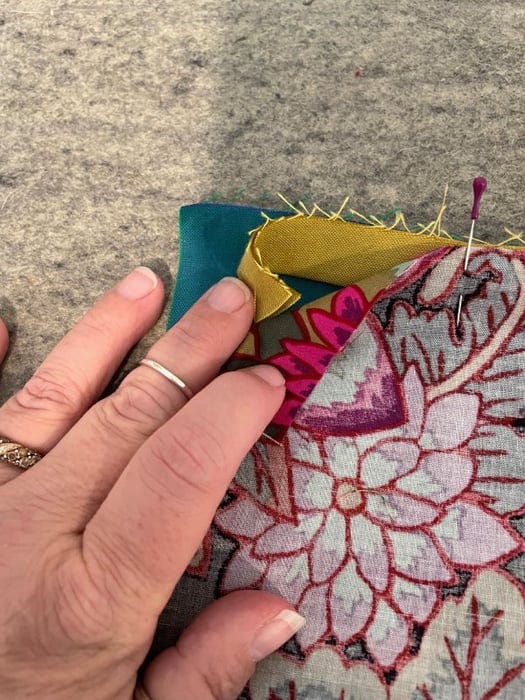
5. Layer the raw edge of the cuff (letters up), the trim pillow piece and the pillowcase body (print down) and pin.
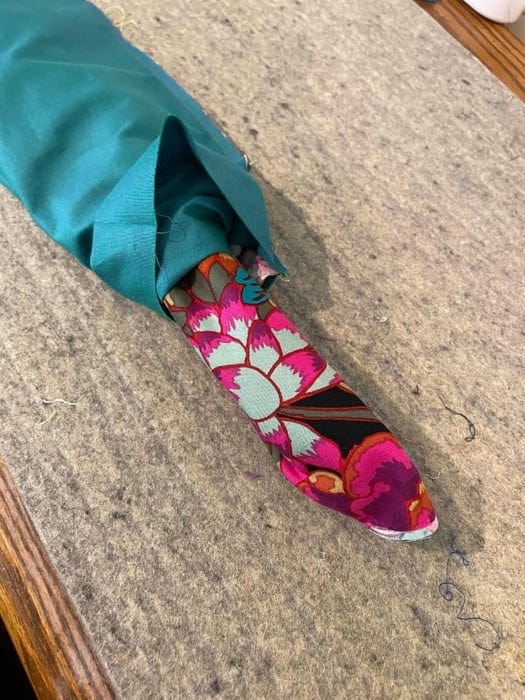
6. Roll up the body, starting from the unpinned edge.
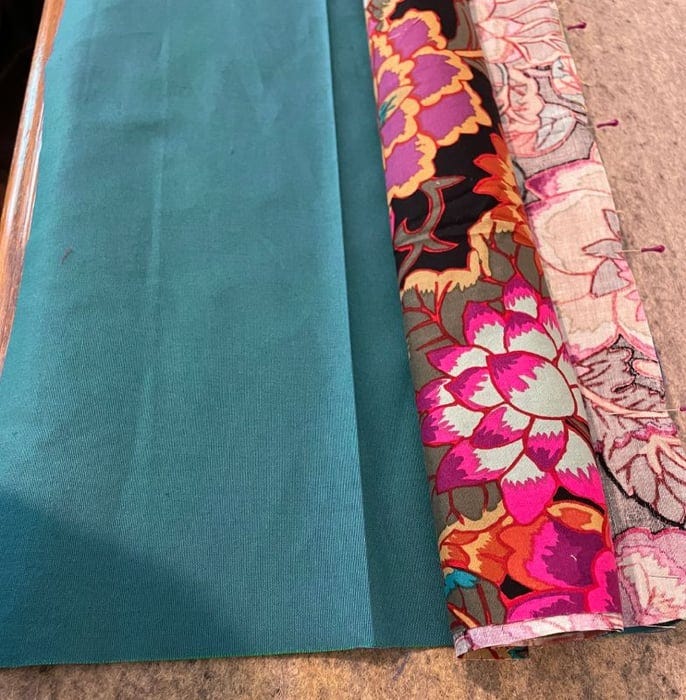
7. Bring the other edge of the cuff around the rolled body and pin to the raw edges that are already pinned.
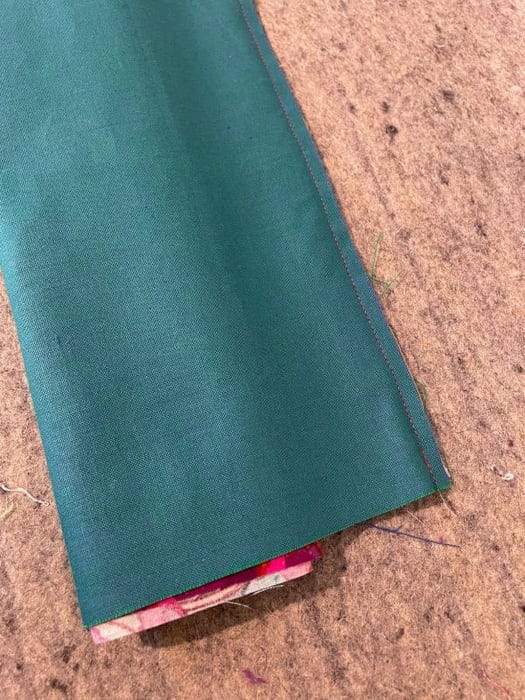
8. Stitch using a 1/4” seam allowance.
9. Pull the body out of the tube. Be gentle and it will all come out.
10. Press the stitched line.
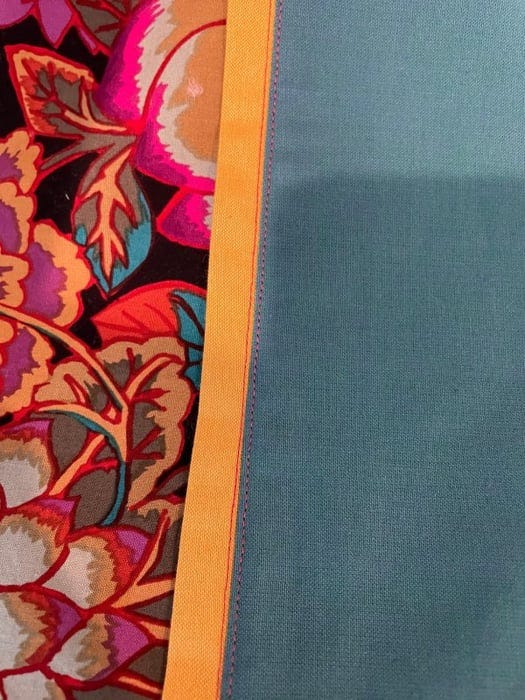
11. Top stitch along the cuff and the trim if desired. I find that keeps things in place nicely.
12. Pin the pillowcase together.
- If you have a serger, pin the pillowcase top together, right sides in and serge. Then, turn right side out and press.
- If you don't have a serger, pin the pillowcase top together, right sides in. Sew around the outer edge using a 1/4” seam allowance.
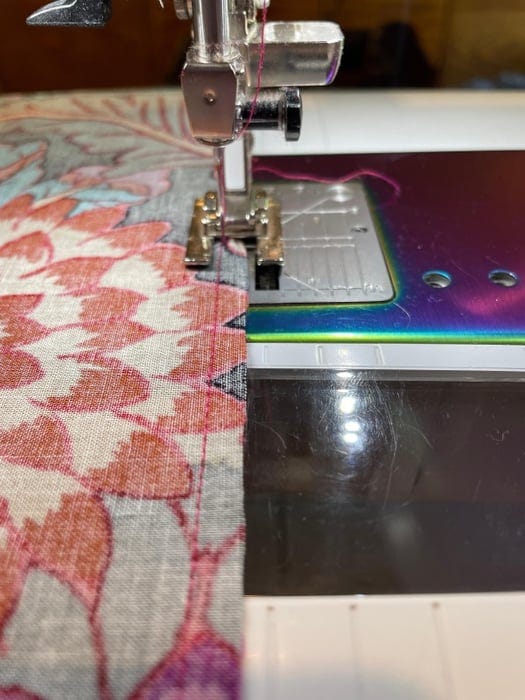
13. Go around again using a large zig zag stitch and overlap the edge slightly. This will keep the pillowcase from unraveling.
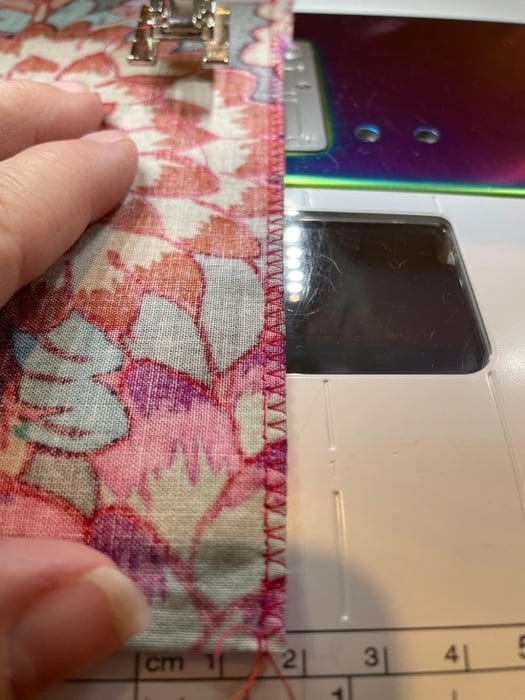
14. Turn it right side out and press.
If you want some extra help making this, head over to my YouTube channel for a video tutorial.
Stash the finished pillowcase in your completed Santa Stocking and relax. Only seven months until the winter holiday season and you already have five gifts done!
If you make your own personalized pillowcase, please tag @jenstrauser and @AccuQuilt on social media. Don't forget to use the hashtag #AccuQuiltBuilt so that we can see your fun creation!


