
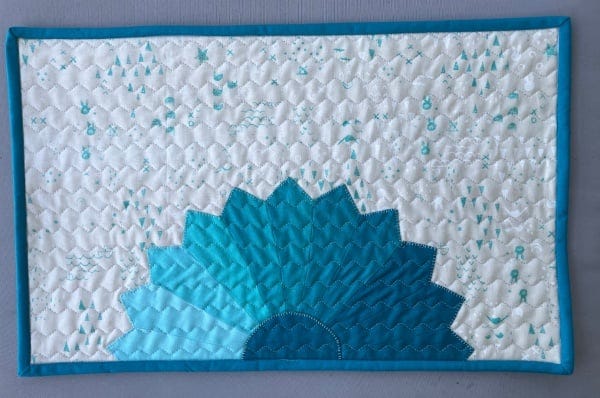
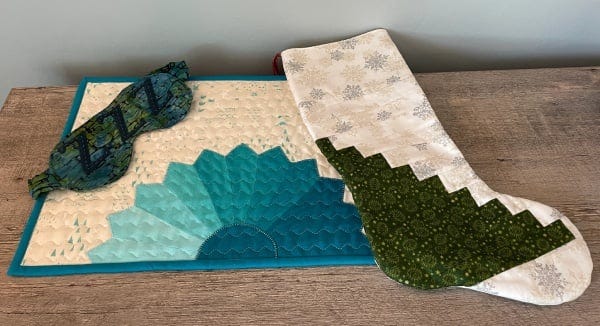
Hi, quilters! It’s Jen Strauser from Dizzy Quilter and I’m back with my March installment of 12 Months of Holiday Gifts! For 2023, I’m putting together small gifts all year long with the goal of filling some Santa Stockings. In January, I made a scrappy stocking, and in February, I made an eye mask. This month, it’s a placemat! I just got the GO! Dresden Plates Die and I was so excited to use it that I decided to incorporate it into a placemat.
Wouldn’t it be fun to make one for everyone in your family - all different, but coordinating? Maybe use different GO! Applique Dies, but the same colors of fabric, or all Dresden Plates and the same base fabric, but different scraps?
Alright, now that I’ve changed my quick one day project into a plan for a huge project, let’s get started on this one before I decide I need to make hundreds to donate!

Dies Needed
Fabric Needed
- Fat quarter for the front of the placemat
- Fat quarter for the back of the placemat
- Fat quarter for binding
- 12” x 18” batting
- Scraps for the Dresden Plate half block (a fat quarter would be plenty)
Fabric Preparation
1. Press the fabrics before cutting.
2. If the batting is rumpled, you can give that a press, too - as long as it is not fusible!
Cutting Instructions
1. Cut a 12” x 18” rectangle for the front of the placemat. Be mindful of directional prints.
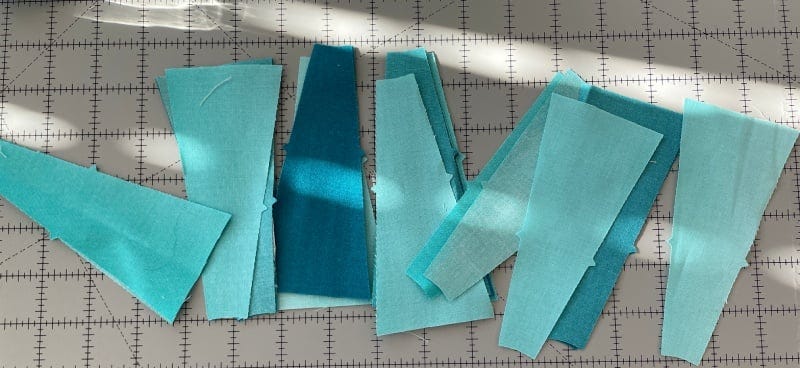
2. Cut 6” strips from scrap fabric and lay over pointed fan blades (Shape B) on the GO! Dresden Plates Die. You will need 11 blades for each placemat you make.
PRO TIP: You can fanfold your strips into 8 1/4” lengths.
3. Cut a 4 1/2” x 9” piece of fabric to cut two of the Shape C circles on the GO! Dresden Plates Die.
4. Fold the binding fabric in half width-wise and place over the GO! Strip Cutter-2 1/2" (2" Finished) 3 Strips Die to cut four strips at 2 1/2” x 22”. Trim off the selvages.
Make the Half Dresden Plate
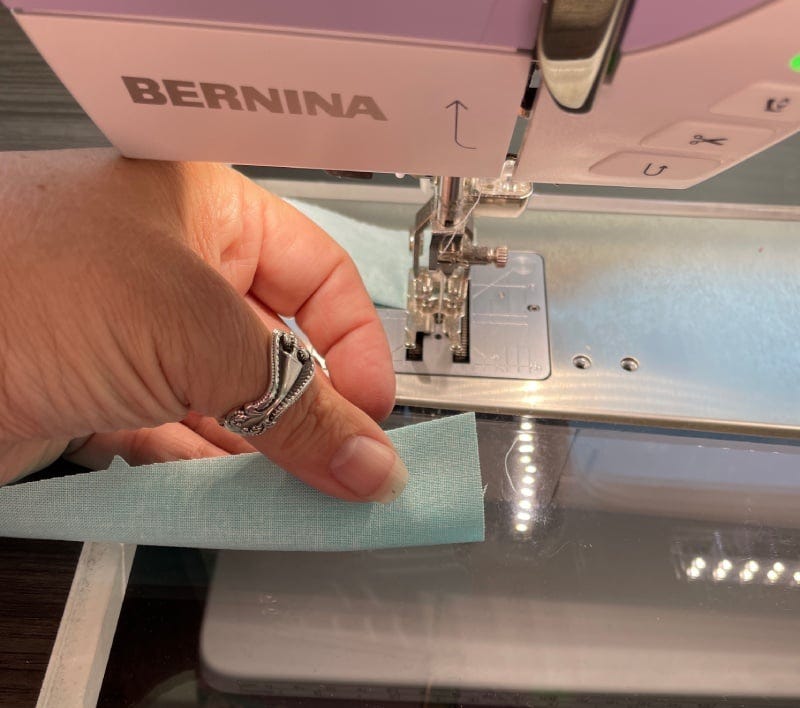
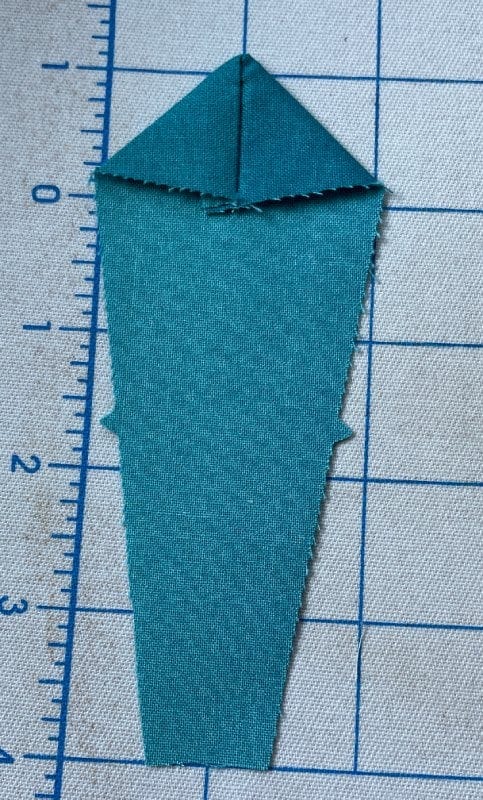
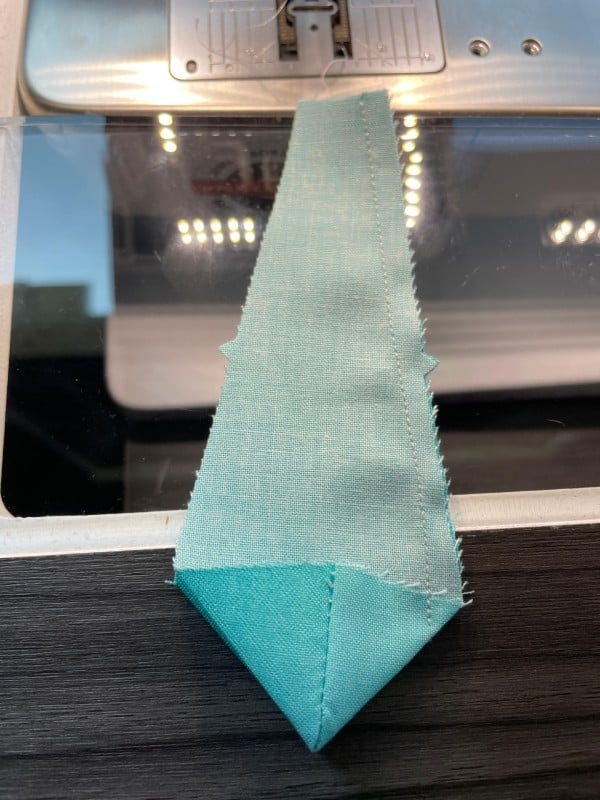
1. Fold the blades in half, right sides together. Stitch along the top to form the point of the blade.
2. Using a pointed object, like a Hold It Precision Stiletto, turn the points right side out. Gently ease out the tip for a nice point.
3. Place the stitched blade right side down on the pressing surface and press. Keep the folds evenly aligned along the middle of the blade.
PRO TIP: Marking a line on the pressing surface can help keep things even. My surface has a grid, and it is very helpful.
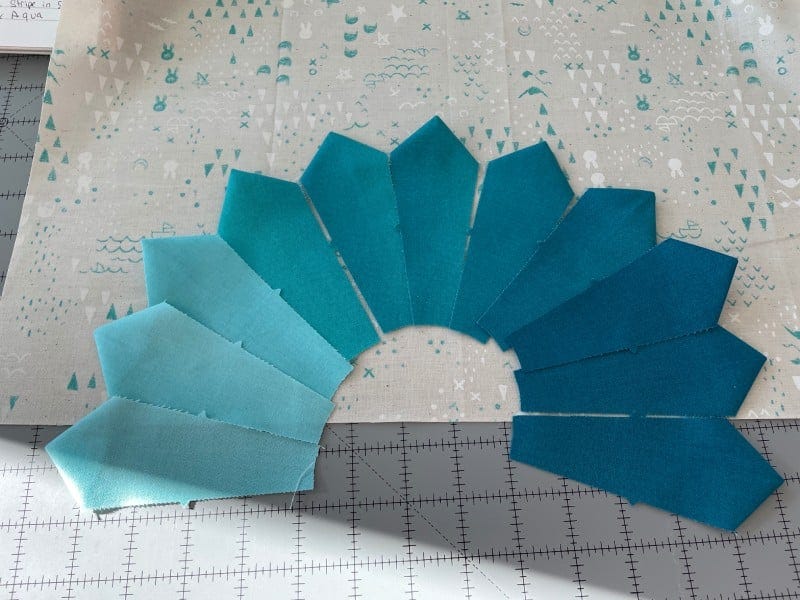
4. Lay out the blades into a pleasing color progression. I used an ombre fabric, so I sorted the pieces from lightest to darkest.
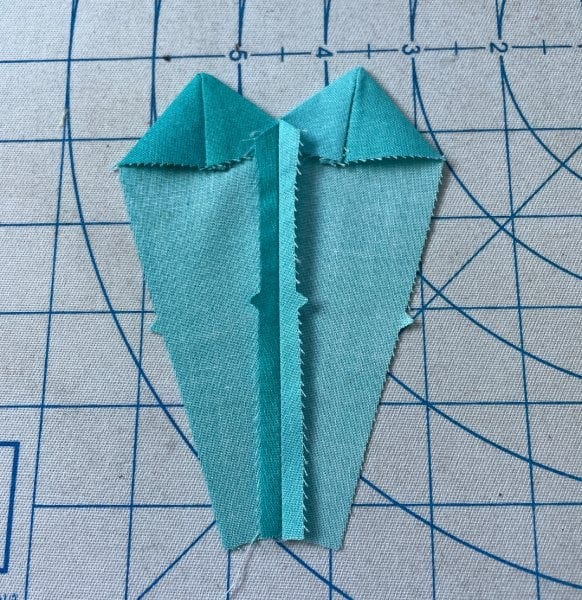
5. Sew the blades together. To do so, hold two blades right sides together. Stitch from the bottom of the blade to the top, back stitching for several stitches at the top to hide the thread tails.
6. Press the seams open. I like to sew in pairs and then sew the pairs together. I find it easier to sew pieces that are about the same size rather than adding small pieces to a larger piece.
7. Give the completed fan one last press and set it aside.
PRO TIP: If the seams are not staying flat, a mist of spray starch helps.
Make the Center Circle
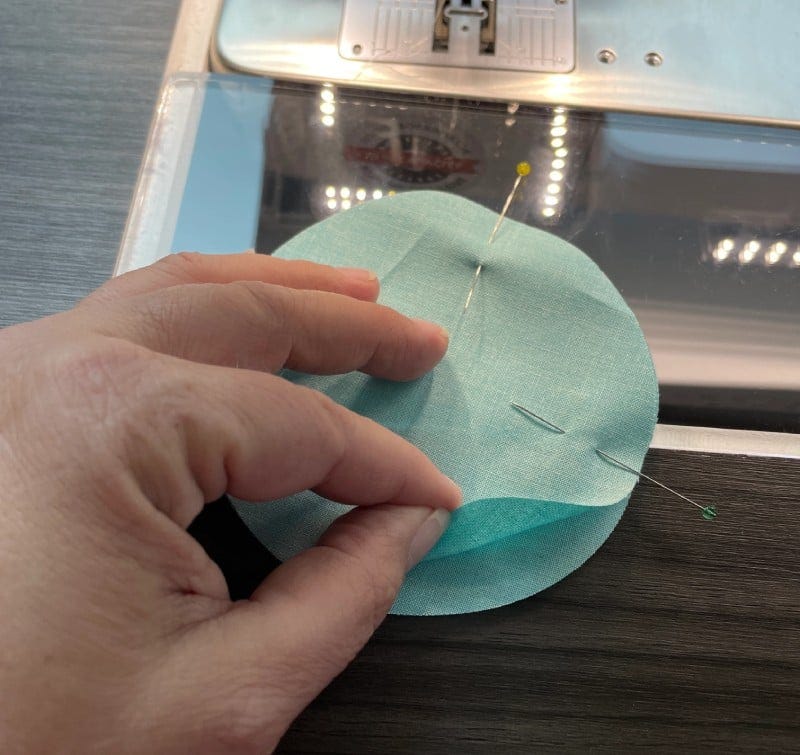
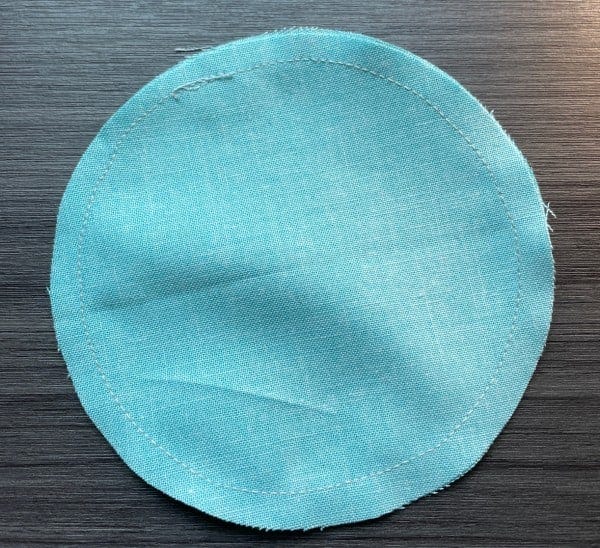
1. Using the two cut circles from earlier, sew them, right sides together, using 1/4" seam allowance. Pin them together to make it easier when sewing.
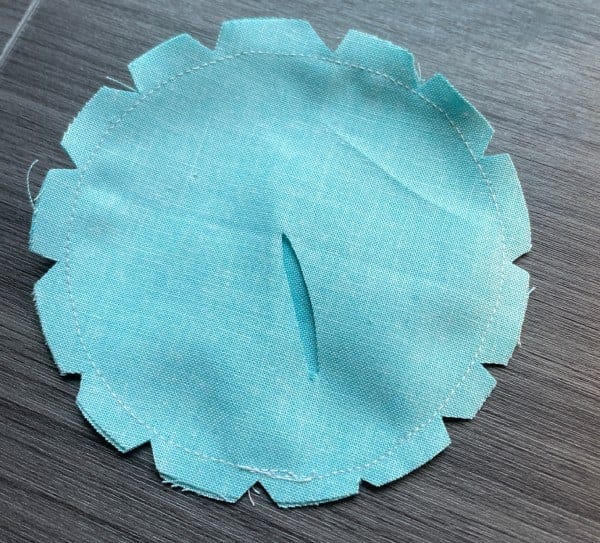
2. Clip the notches into the seam allowance, being careful not to clip into the stitching. This will help make a smoother curve.
3. Carefully cut a slit into the back of the circle and turn it right side out.
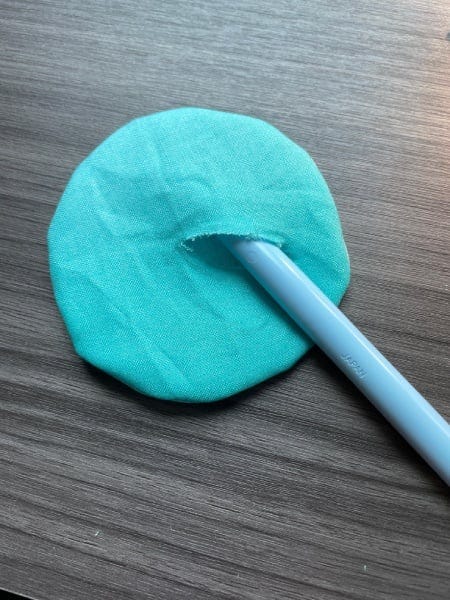
4. Run a stiletto along the inside seam line, pushing out to smooth the circle.
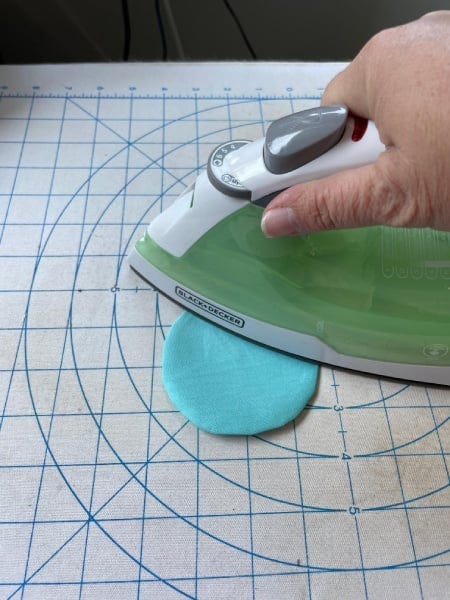
5. Press.
Assemble the Placemat
1. Lay the placemat top onto your work surface. Fold in half lengthwise and press the fold with your fingers. This will be your registration line for aligning your Dresden Plate half block.
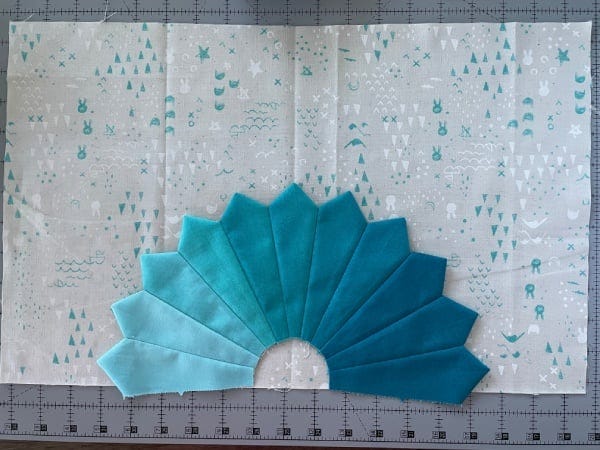
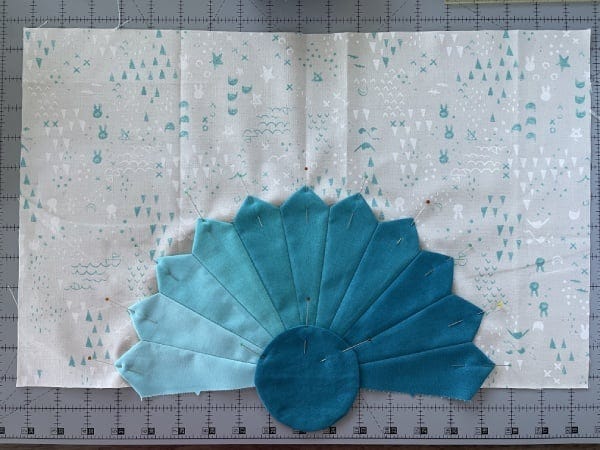
2. Align the Dresden Plate half block with the middle point along the fold, and the edges slightly overlapping the edge of your rectangle. Pin in place. I put a pin on each fan blade.
3. Layer the circle in place, lining up with at least 1/4” overlap. Pin.
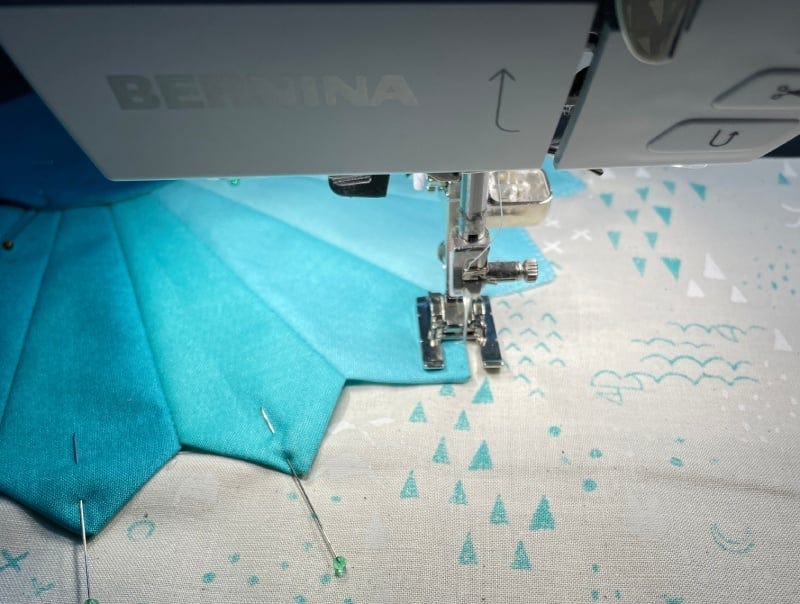
4. Using the decorative stitch of your choice on your sewing machine, stitch along the outer edge of the Dresden Plate half block and along the circle. I chose a blanket stitch, but there are lots of stitches that look great.
5. Once all of the pieces are fastened, give the top one last press.
6. Layer the backing, batting and top on your work surface, as you would a quilt. Baste in place, using pins or your preferred method.
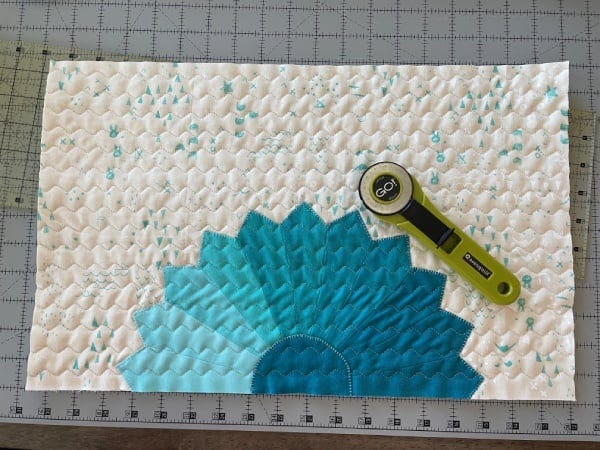
7. Quilt as desired.
NOTE: I experimented with a serpentine stitch on my machine this time - I’ve been seeing people use it a lot on social media, and this was my first time trying it. I love it! The lines are about 3/4” apart because I want to make sure it stays flat after washing. Straight lines would be fun and easy, too. The goal of this piece isn’t to make art, but to make a functional placemat, and do it relatively quickly. Don’t get lost in the weeds wondering if your stitching is good enough. It’s definitely good enough!
8. Trim your placemat, bind and put it with your stocking and eye mask!
If you make a Dresden Plates Placemat, use the hashtag #AccuQuiltBuilt and don't forget to tag @jenstrauser and @AccuQuilt on social media so that we can see how yours looks!


