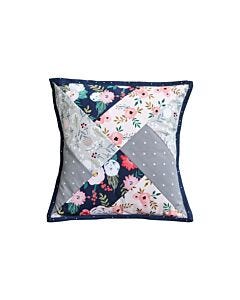
One of my favorite ways to freshen up the look of my house is by changing pillow covers – it’s quick, easy and inexpensive. Oh, sure, you can buy pillow covers, but they make great little projects for quilters – and they are great for using up scraps, too!
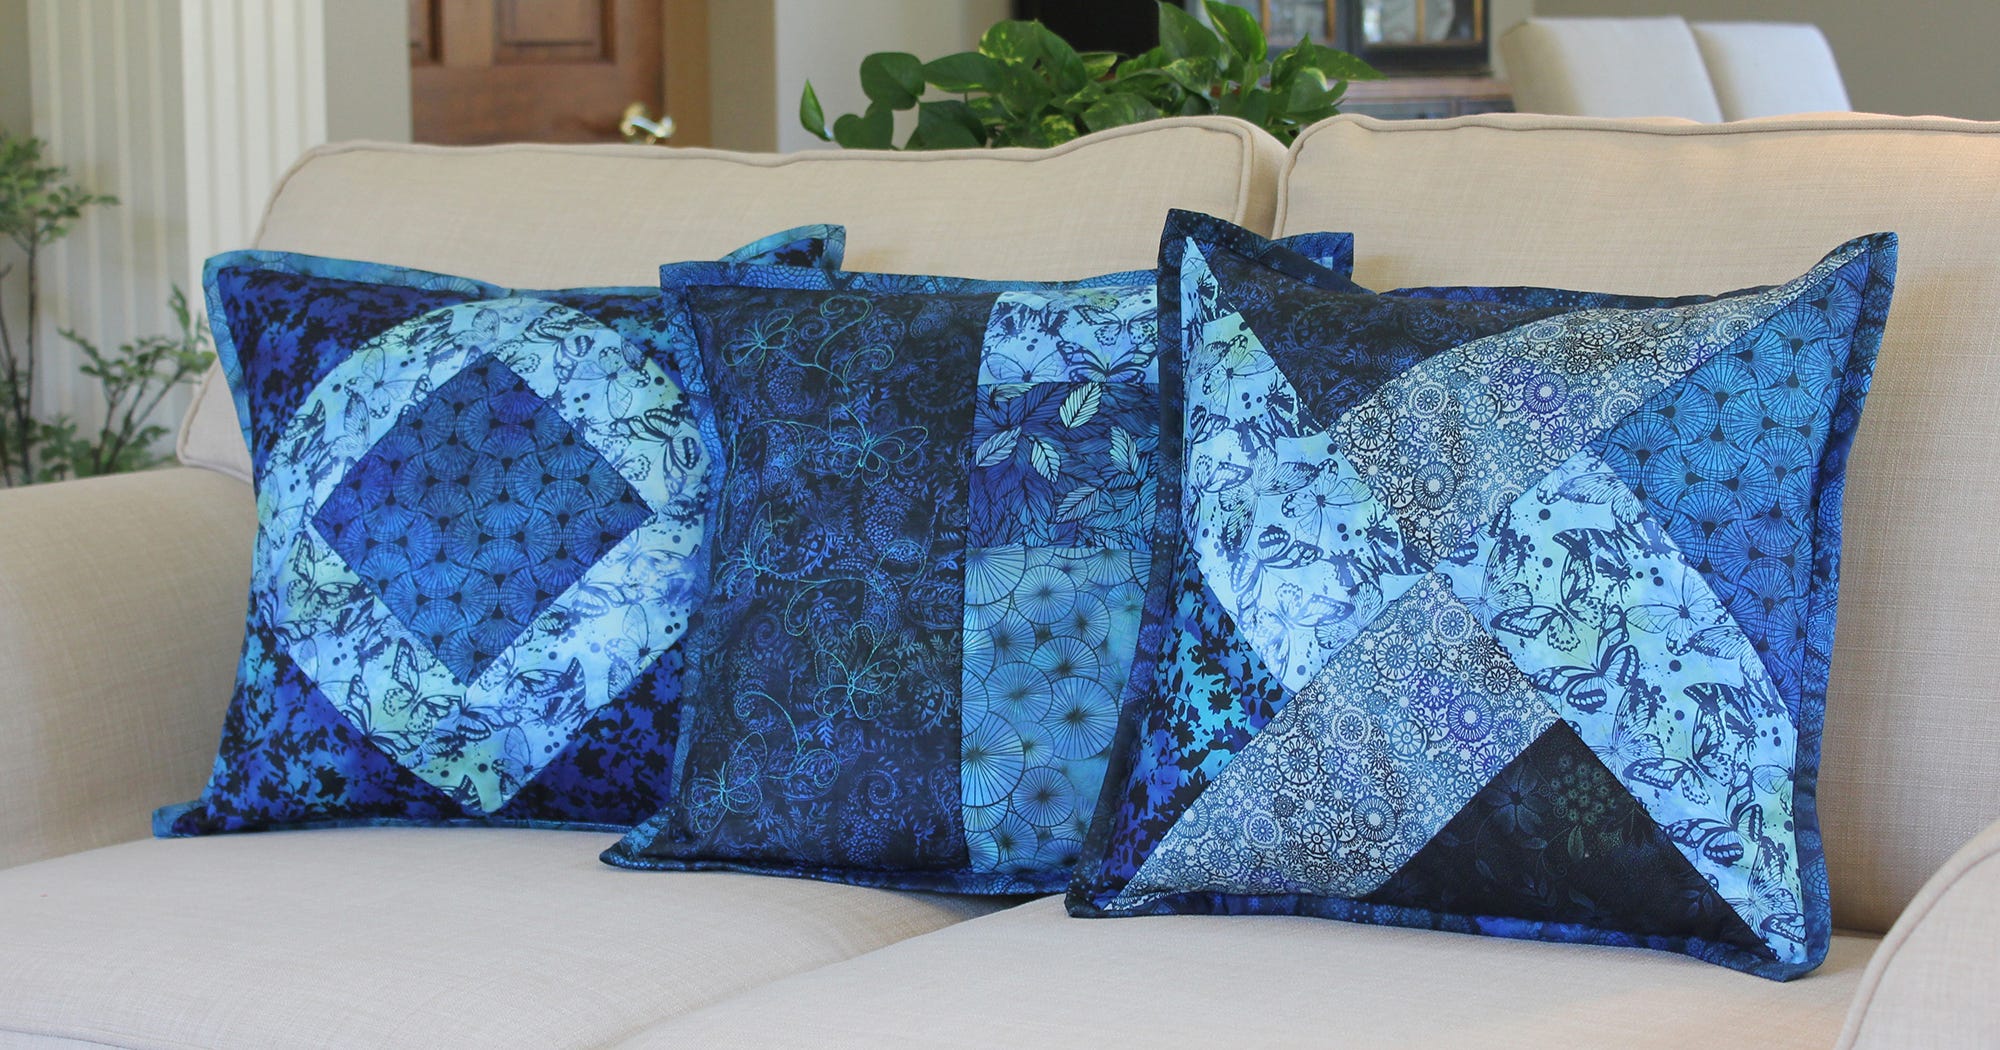
It doesn’t get much easier than using the June Tailor Quilt-As-You-Go Pillow Cover kit, either! This kit includes the printed batting you need to make 3 pillow covers, just add fabric. These pillow covers are designed for 16” x 16” pillow forms.
Getting Started
Each kit will include detailed instructions for you to follow, including directions on how to prepare and cut your fabric. Be sure to read the instructions before getting started on your project.
Each of the included pillow covers is a different design, so all 3 can coordinate and be used together if you use similar fabrics, or you make them different, it’s all up to you.
The instructions will give you the cutting directions for each pillow design.
Here are my tips for this project:
- Prep your fabric with Starch Savvy before you start cutting. This will help give you good, crisp seams.
- Finger press or use a June Tailor Magic Seam Wand for your seams during construction. The batting may stretch, shrink or distort if ironed before all your sewing is complete.
- Sew with a scant ¼” seam, just slightly smaller than your standard ¼” seam.
- A walking foot isn’t essential but can be helpful in reducing any distortion.


Fabric Time
My favorite part of starting any project is picking out the fabric! Maybe you’re looking for a way to use some of your favorite fabric scraps, or how about making pillow covers to match other projects? You could make them to match a bed quilt to add an extra touch to any bedroom or to match a throw quilt used in the living room or den, it’s all up to you!
These pillow covers are great for adding applique, also! How about one in green and white fabric with some shamrocks using the GO! Shamrock die?
With spring and Easter right around the corner, how about gathering up some pastel fabrics and embellishing them with the GO! Spring Medley or some of our many flower dies.
Here’s another thought – GO! dies cut a wide variety of materials beyond cotton! Maybe you want to add some dimension to your pillow cover with something like super soft Cuddle by Shannon Fabrics, wool or even vinyl!
If you’re adding applique shapes cut from GO! dies you have some fantastic options for finishing those shapes off.
- Do a raw-edge applique method, sewing around each shape with a straight stitch just inside the outside edges.
- Use a decorative stitch with your domestic machine. One of my personal favorites is the blanket stitch.
- Finish by hand
Now, if you have an embroidery machine, you have so many other options to choose from! AccuQuilt provides 3, free downloadable embroidery outline stitches for each non-designer applique die – blanket stitch, satin stitch, and a motif stitch. These are available in all the standard machine formats.
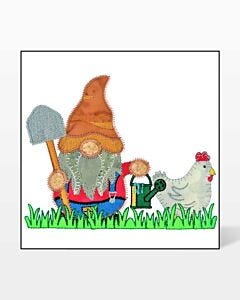
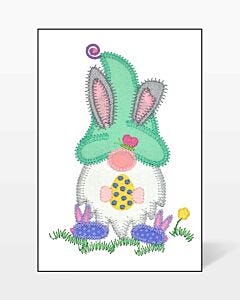
There’s also a wide array of downloadable designs that are available to purchase, which are more detailed designs, so be sure to check them out. You'll find gnomes for all seasons made with the GO! Gnome and GO! Gnome Accessories dies paired with embroidery, like the GO! Little Bunny Slipper Gnome Embroidery by V-Stitch Designs.
With this method, you will want to hoop your completed pillow top. The designs will stitch out a placement stitch so you can line up your perfect die cut shape and fuse it down. From there, the machine will do all the hard work, and make you look like a rock star!
Finishing Touches
Adding extra little touches like ribbon, trim and buttons is simple to do and will add big impact to your finished projects.
Once your pillow top is complete, you’ll follow the kit directions for finishing the pillow cover off with an envelope-style close on the back. This method makes it easy to change out your pillow covers without having to add a zipper!


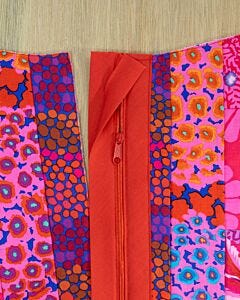
If you prefer to use a zipper, I suggest picking up the Zippity-Do-Done Zippers by June Tailor! These innovative zippers are already sewn into a casing making it simple to add to any project – and you don’t even need a zipper foot.
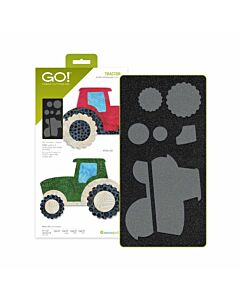
Be sure to watch AccuQuilt Live from Feb. 7 - Pam made a pillow cover and embellished is with a tractor made from February's Die to Try, the GO! Tractor die. This adorable die cuts all 7 shapes in one pass through any GO! Cutter so adding them to projects couldn't be easier.
The GO! Tractor is only available this month - or while supplies last! Get this great die from our website or your local AccuQuilt retailer.
I hope you’ll enjoy making seasonal pillow covers to freshen up your home as much as I do! Be sure to share pictures of your completed projects on social media using #accuquiltbuilt so we can all be inspired by your creations!


