
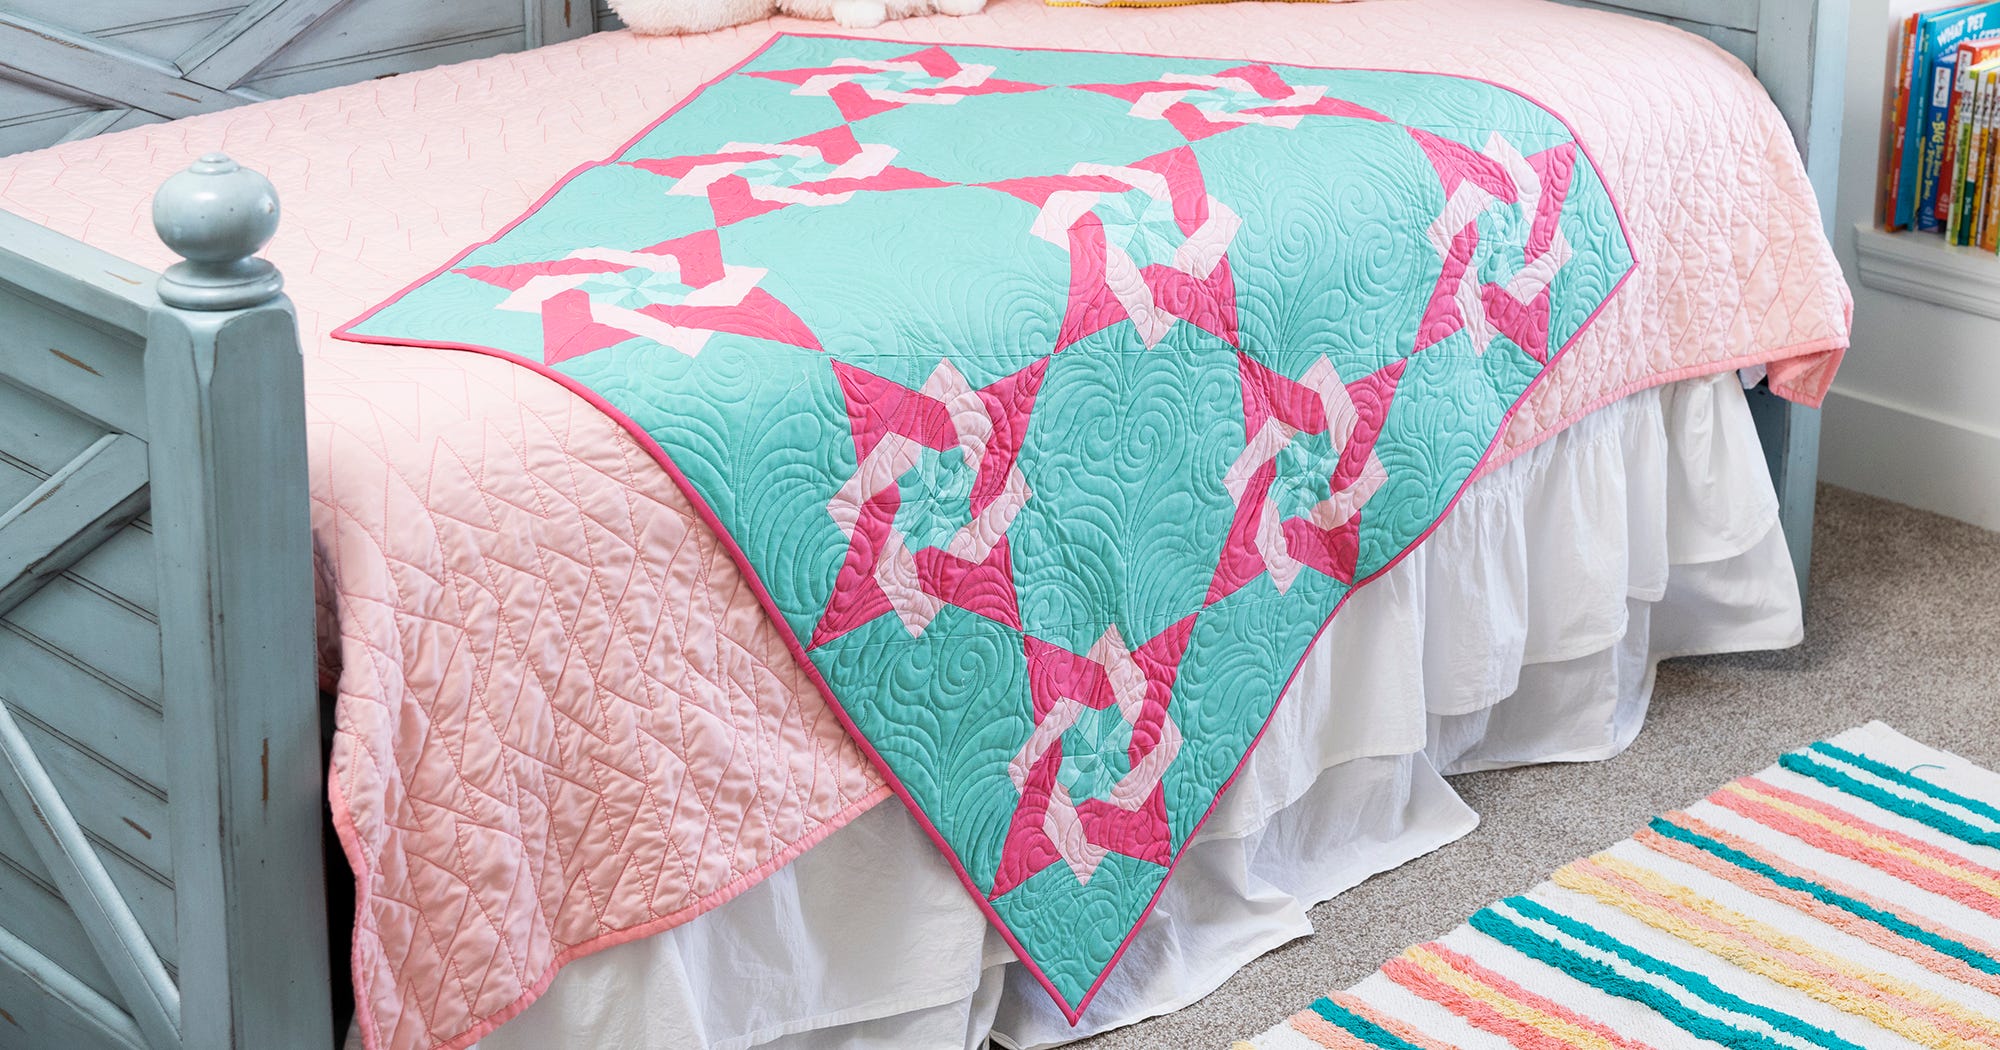
Are you ready? It’s time to jump in and get started on the first of five AQS & AccuQuilt-Alongs for the year. We’ll be making the Grapefruit Slice Throw Quilt using GO! Tangled Star blocks, so let’s get started!
In case you missed the introduction to this project, you can find it on the our blog from Jan. 31 or on the AQS blog as well. This post talks about options for cutting your pieces and sharing your progress along the way as we all make this quilt together.
Because we want everyone to be able to participate, that blog includes traditional cutting directions and the link to a printable template if you don’t have a GO! cutter or the GO! Tangled Star. No matter how you choose to cut your project, be sure to download the free pattern for the assembly instructions!
-
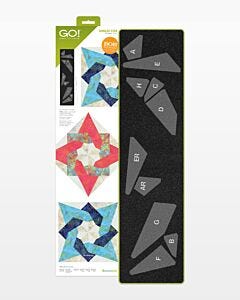 GO! Tangled Star-10" Finished DieSpecial Price $89.99 Regular Price
$104.99You Save $15.00
AccuQuilt Cutting Expert, Pam Heller, has decided to follow the pattern colors to create a fun, sunny look with a variety of her favorite Grunge fabrics by Basic Grey for Moda, while I’ve decided to also use Grunge, but all in shades of blue. If you chose to change up your colors, you may want to use GO! Quilt to create a picture of your project with your selected colors, or to make use of the free, downloadable coloring page for the GO! Tangled Star block.
To find the coloring page, you’ll need to go to the product page on our website for the GO! Tangled Star Block on Board or BOB die. Scroll down on the page to download the Block Assembly directions, and the coloring page will be the last page in the directions.


Time to GO!
As mentioned above, you will want to download the free pattern for this quilt from our website whether you are using the die or traditional cutting using the information in the introduction blog and the downloadable pattern pieces (templates) for this project.
With my fabric lined up, it’s time to prep it all for cutting on the die. The pieces in this block are directional, and per the directions you want to be sure you are cutting all your pieces with your fabric right side up on the die! Trust me, this is important!
You may choose to cut one block at a time so it’s easier to keep track of your number of pieces, or you may choose to cut by color, it’s really whatever works best for you. The key is keeping track of those pieces once they are cut!

Organizing
You will want to keep track of your pieces once they are cut. The die is screen printed and each piece is lettered to help you with this. Personally, I’m using small plastic zippy bags that I can mark the piece letter on the outside with a marker. Highly technical, right?
You could also keep them pinned to a design board, in a small tote or in baskets.
We will also be cutting setting squares and triangles for this project, but not yet! For this week, all you need to do is cut the 9 blocks and get your pieces organized.
Keep in mind that you could easily expand the size of this quilt by adding more blocks, if you wish! I've also seen some busy quilters are making some test blocks and making a table runner - isn't that a great idea?
Keep in mind that this quilt along is all about having fun making a project together, and it isn't a race!

Keep in Touch
Be sure to join the AQS Quilting Project Parade Facebook page, and share pictures of your fabrics and progress there using #AQSews. This way, we can all be inspired by each other. This is a fantastically creative and supportive community of quilters that I love being a part of! Pam and I will be popping on from time to time to see what everyone is up to, to answer questions and to share our own progress as well.
Remember, we will be live on Wednesdays at Noon CT, and the recording of the show will be available to watch at any time on our website, YouTube and Facebook.
Next week, we’ll be taking you step by step through how to sew these fun blocks together!


