


After you've created a beautiful quilt top and sandwiched the batting and backing then quilted it all together, you need the perfect binding to finish your work. It can be a bit of a challenging piece to the process, especially since it's one of the last steps to completing your project. In this post, I'll go into how to prepare fabric and begin binding with your machine, plus I'll share a few tried and true secrets to save you some time!
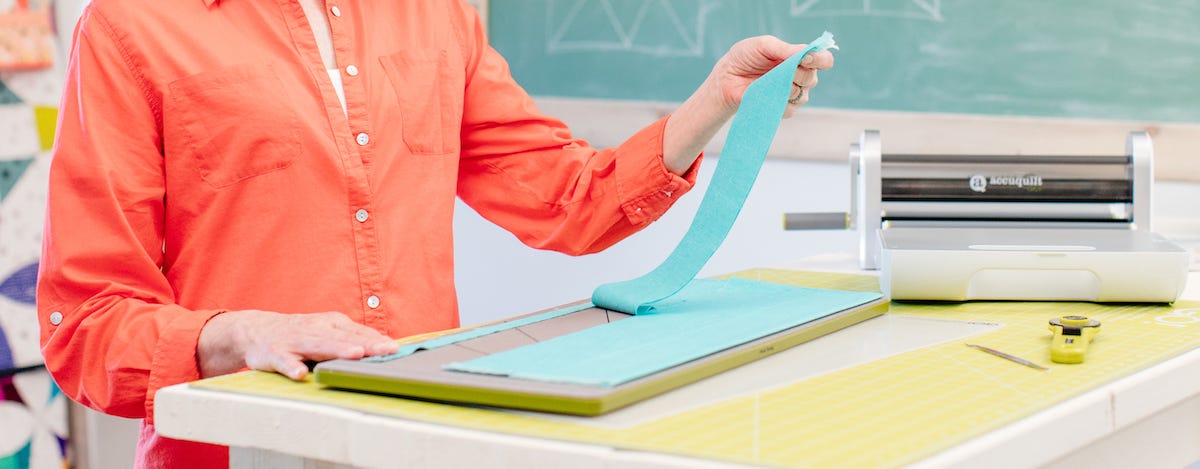
The first trick comes early! AccuQuilt's GO! Strip Cutters make cutting your binding fabric easy peasy. I like to make double fold binding where you cut strips of fabric and iron them in half so the fabric is double. Then you stitch that on your quilt and fold it over the raw edge of your quilt to finish it off. I confess that I like to use both the 2½" strips and 2¼" strip sizes for binding depending on my project. The good news is that AccuQuilt GO! Strip Cutters come in both sizes.
Strip Cutter Dies for Binding
- GO! Strip Cutter-2¼" (1¾" Finished) 4 strips (55053)
- GO! Strip Cutter-2½" (2" Finished) 3 strips (55017)
- GO! Strip Cutter-2½" (2" Finished) 2 strips (55014)
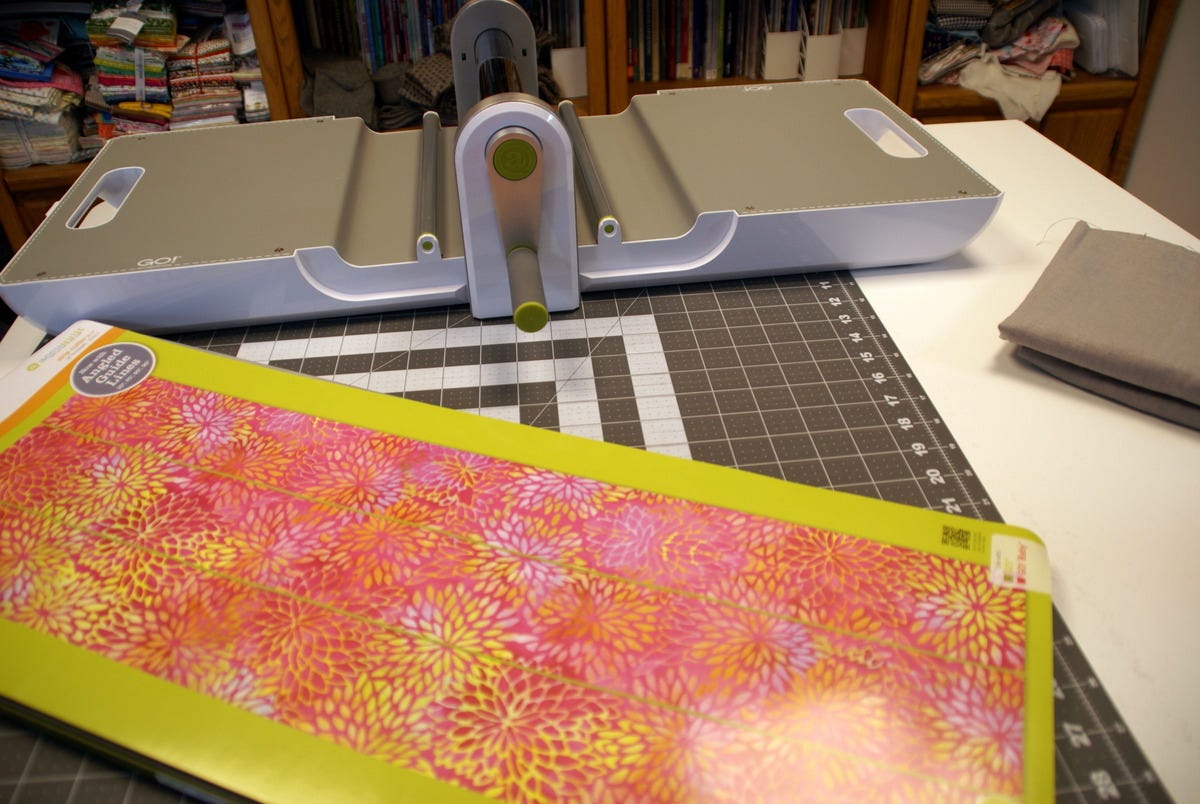
I started with the GO! Strip Cutter 2½" (2" Finished) 3 Strips (55017), which is a common and safe size to work with.
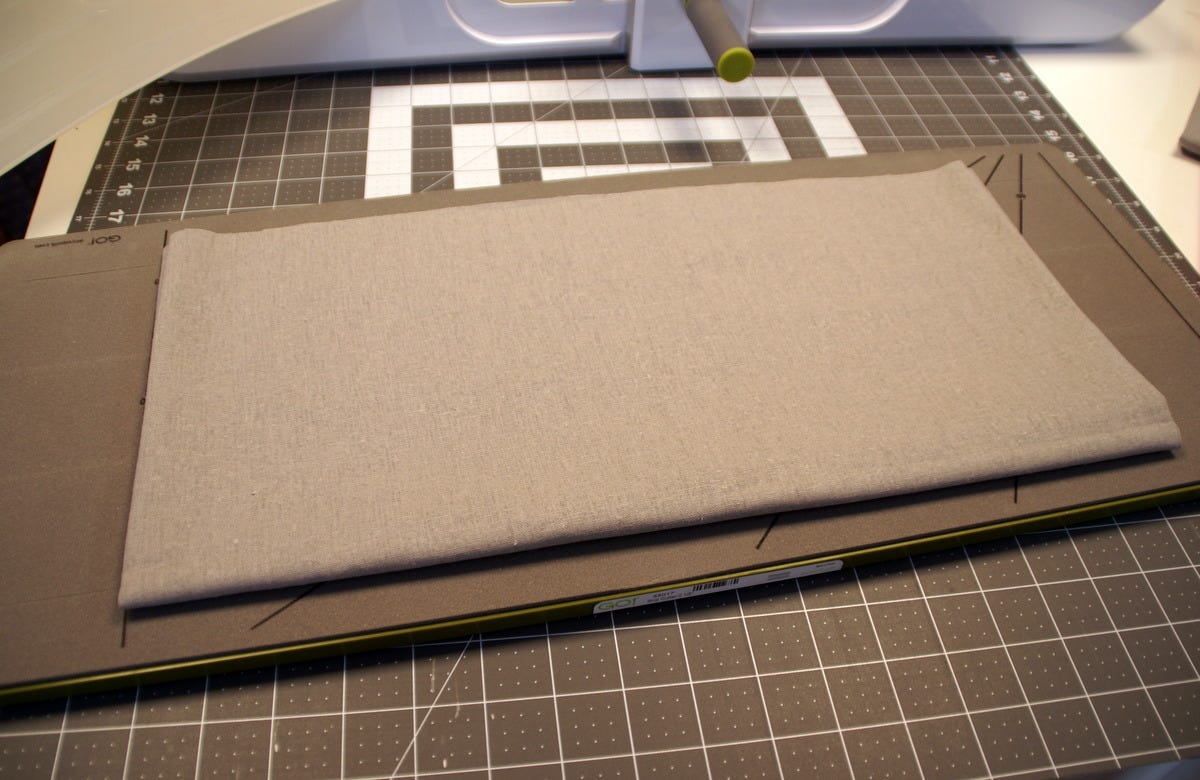
I folded my fabric and arranged it so that six strips will be cut by width of the fabric. It's important to keep your eye on the blade length and placement since you want the fabric to be cut into complete strips. For example, if you fold your fabric the entire length of the die board, your strips will not be cut completely through.
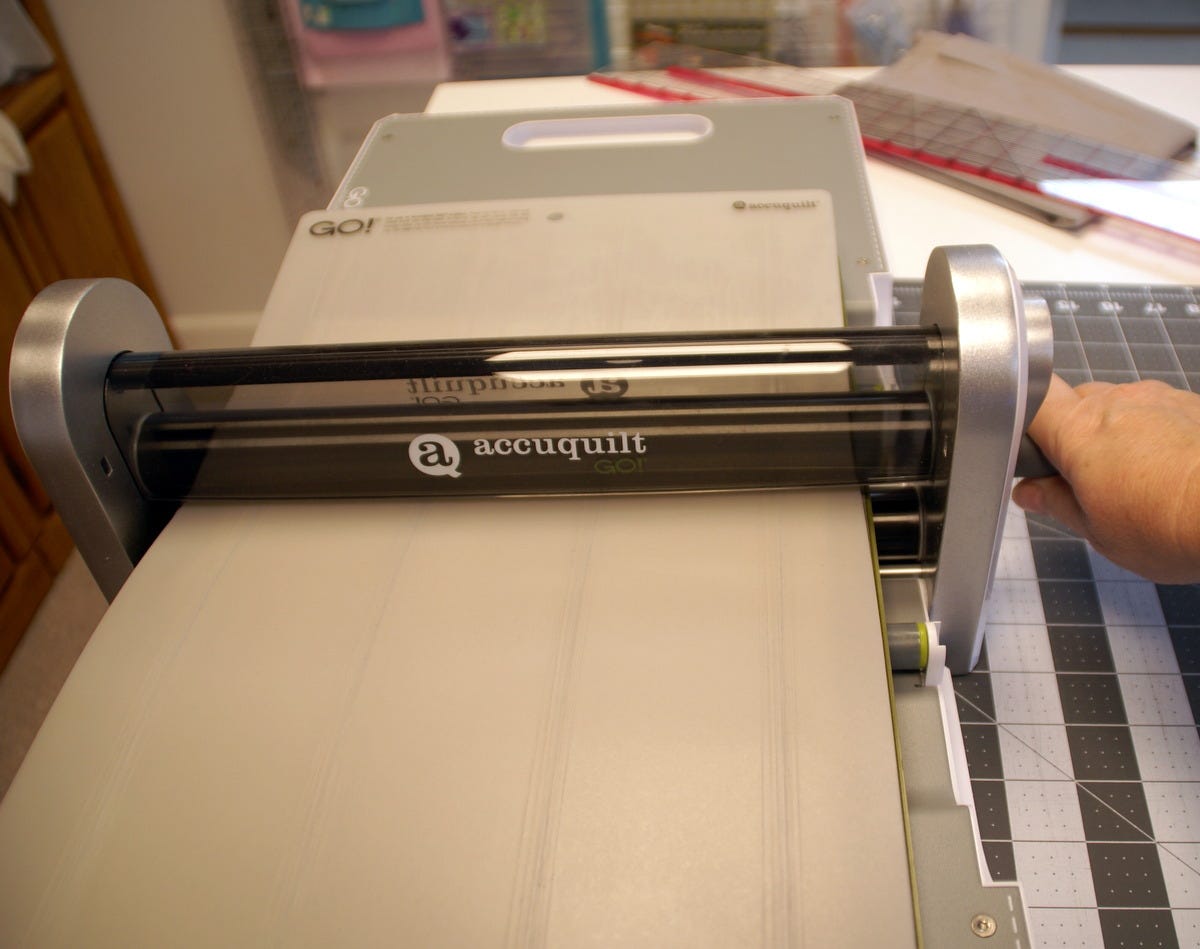
Then I placed the cutting mat on tops and cranked it through my AccuQuilt GO!
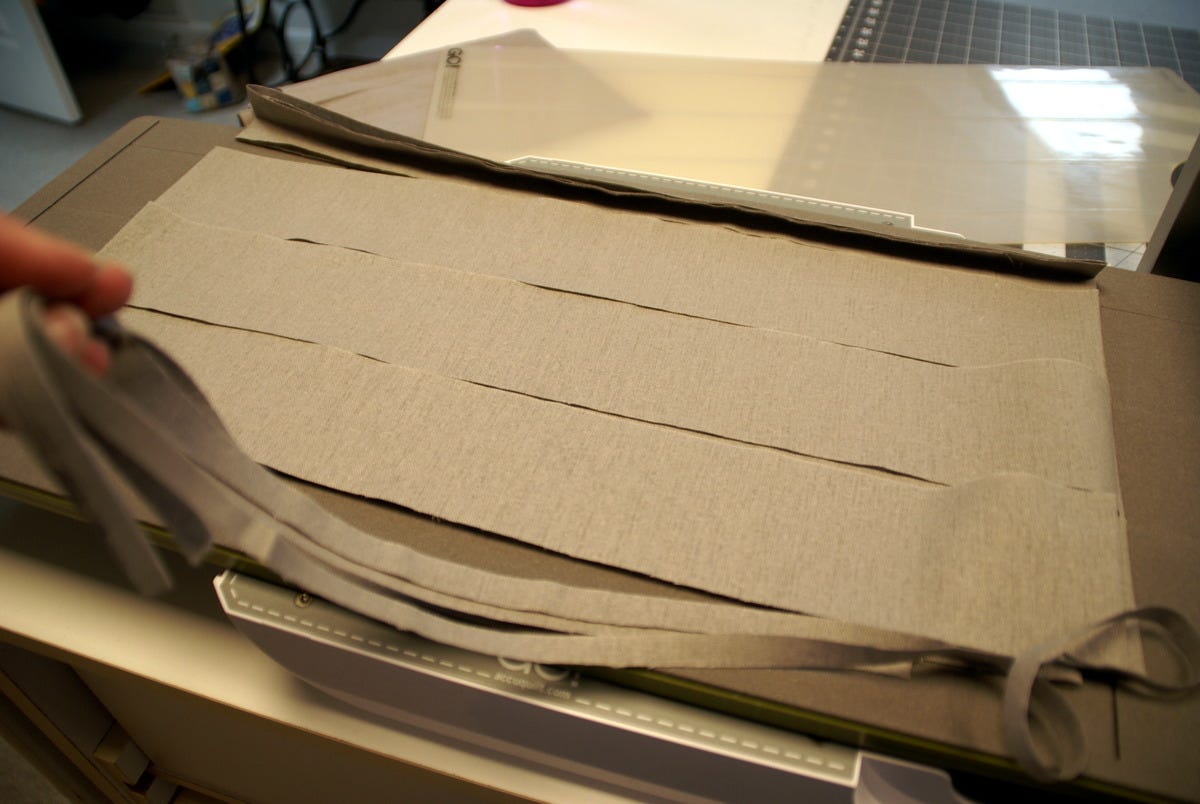
I got perfectly cut accurate 2½" strips for my binding! I continued to cut the amount I needed for my quilt. I needed to bind three quilts so you will see several colors of binding in my examples.
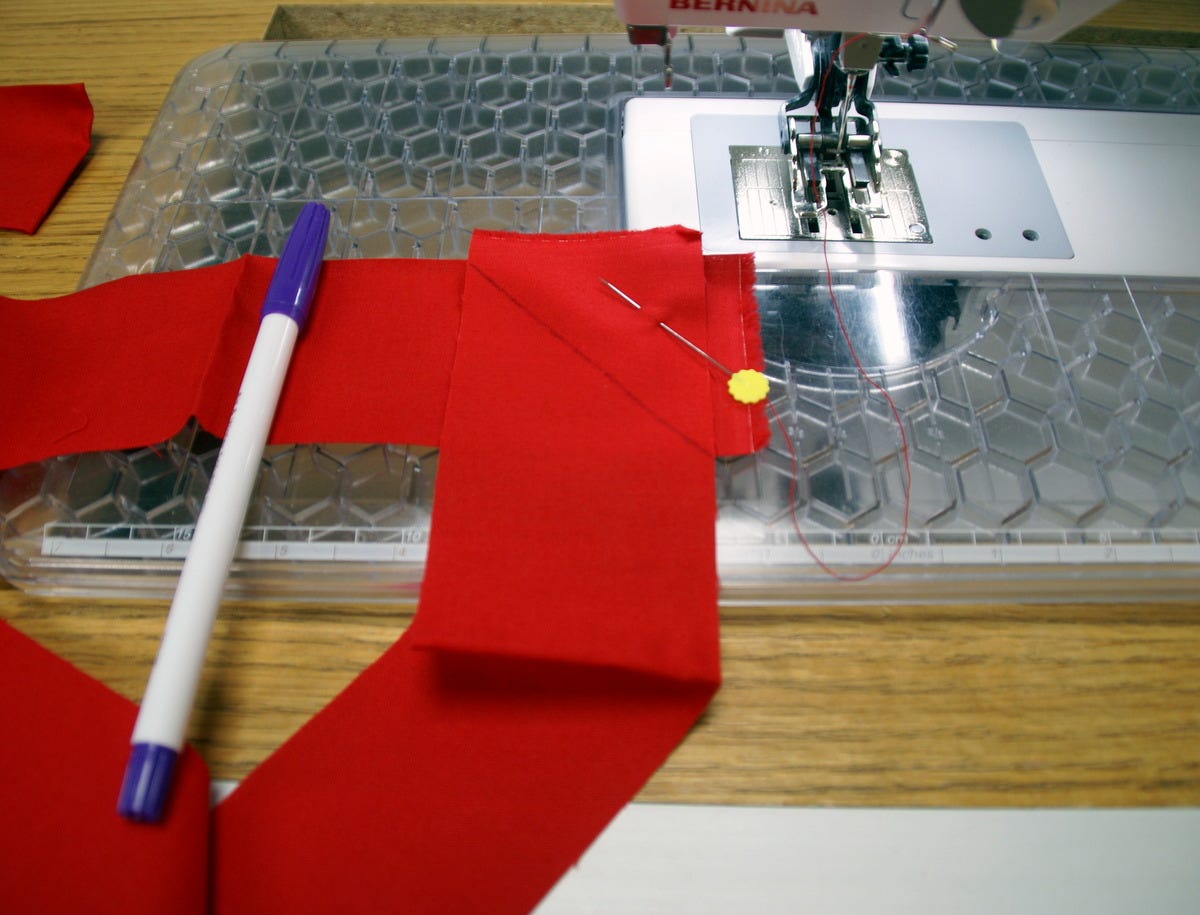
Next, I sewed the binding strips together using a 45 degree angle. You can see it marked and pinned here. It's important to remember the stitch goes from outside corner to outside corner (as seen above) and not from the inner corner to the outer corner. If you stitch this improperly, your binding will not be a straight strip and will need to seam rip and try again.
Then I stitched across my marked line and trimmed the seam allowance to ¼".
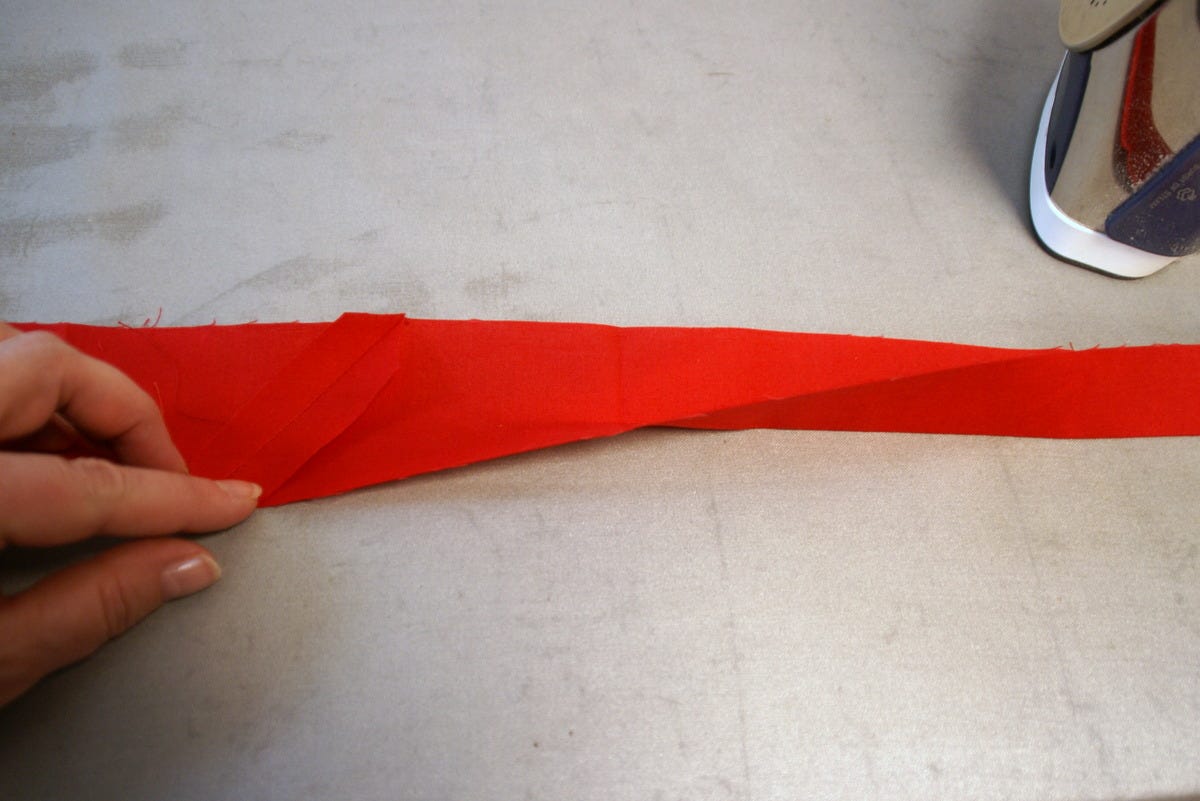
I pressed open all the seams and then pressed the binding in half the loooong way.
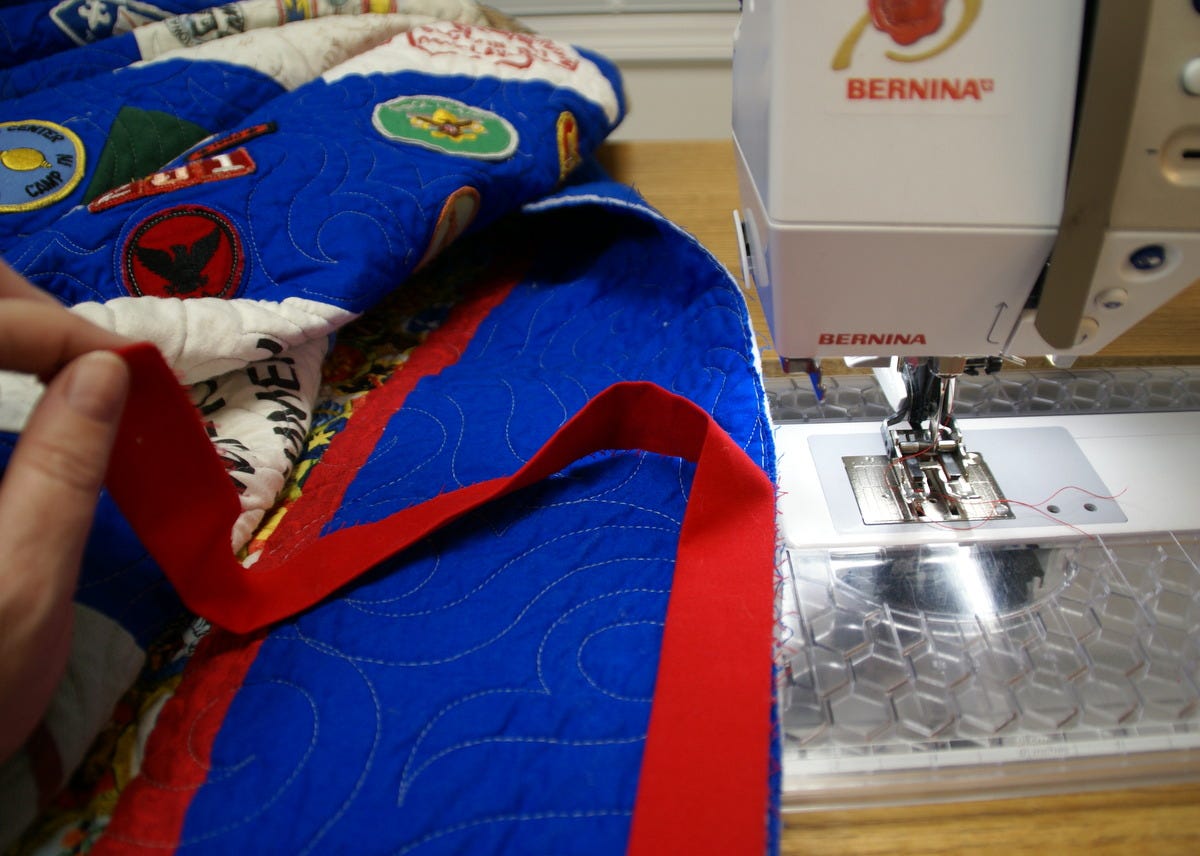
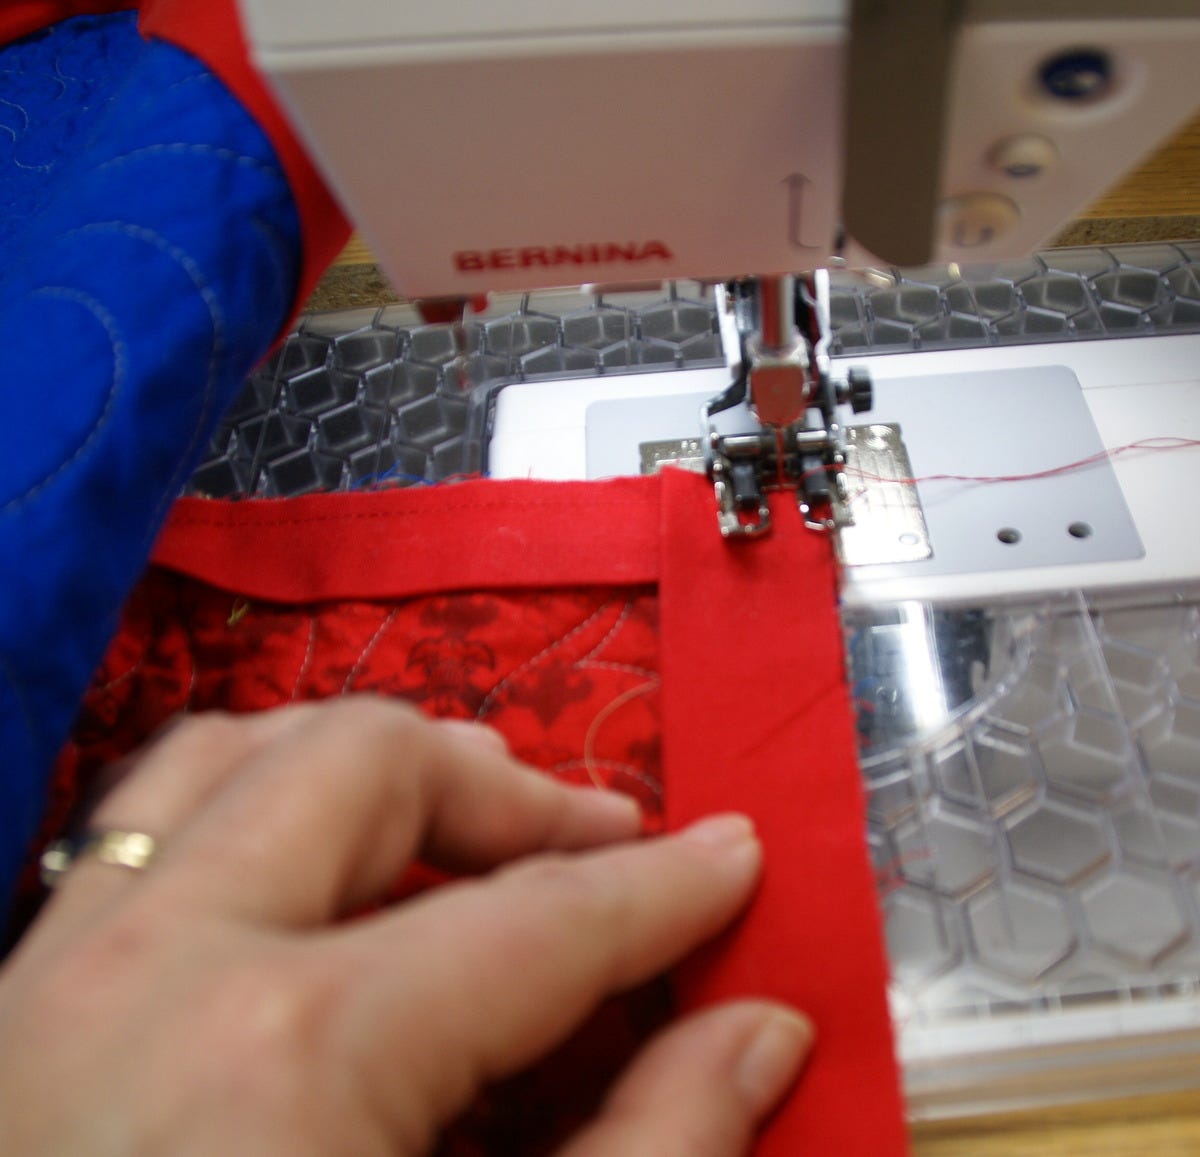
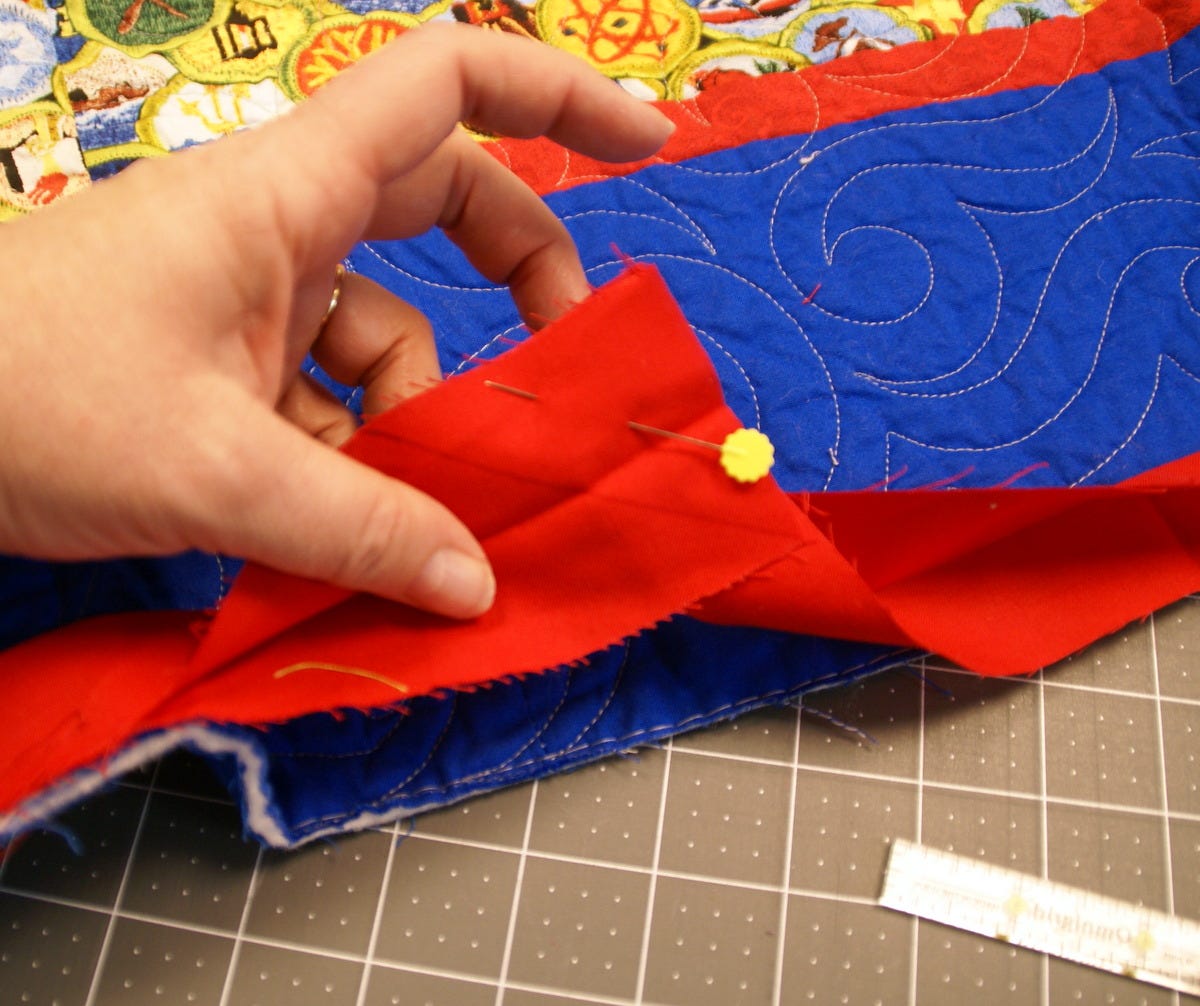
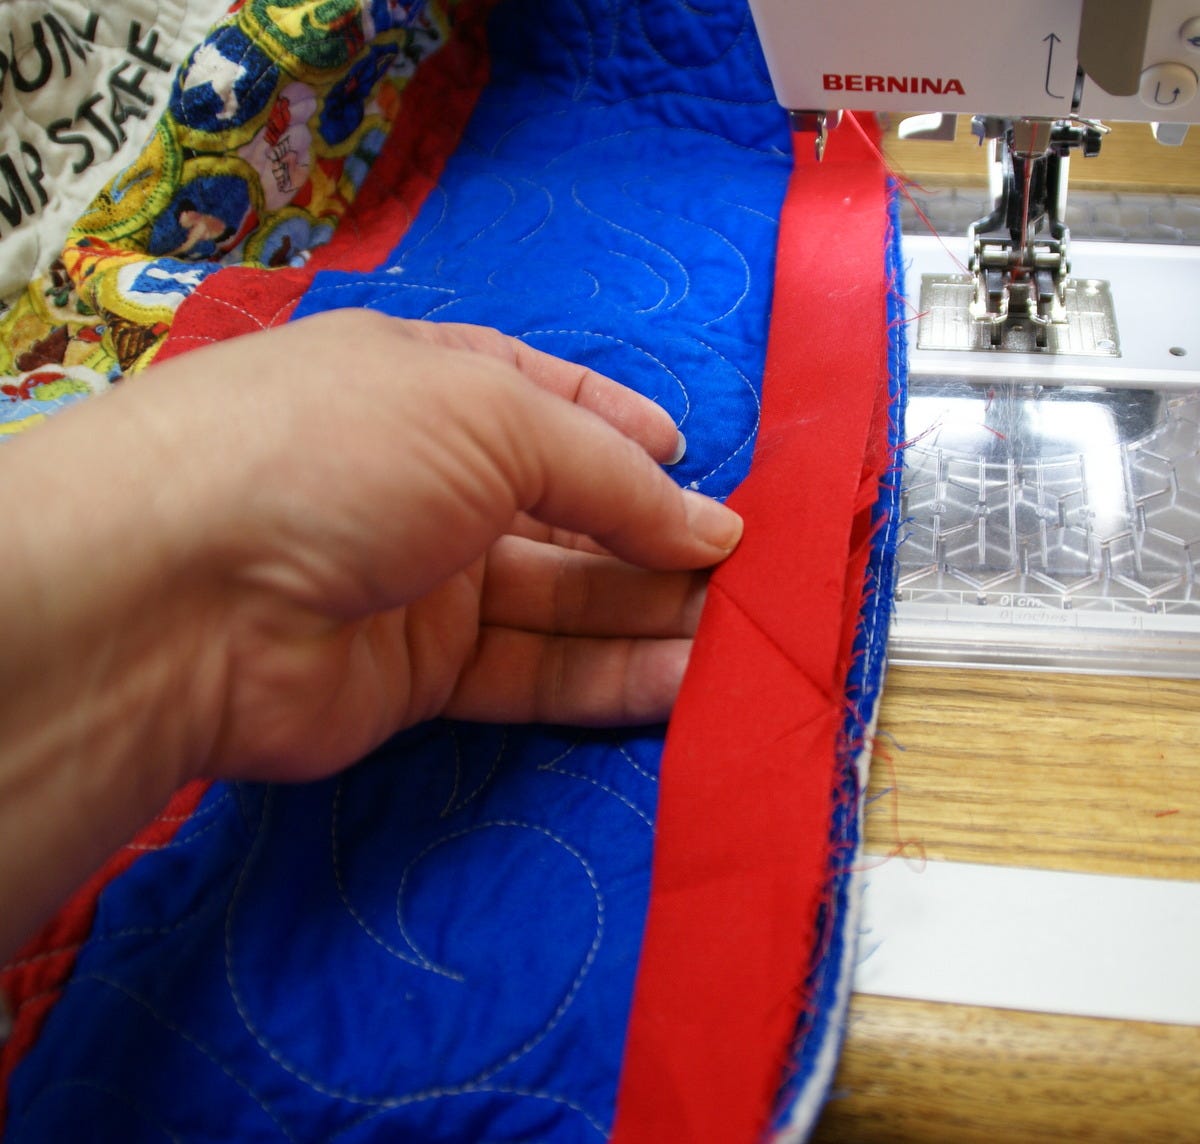
Next, start at the bottom of the quilt. It is good to attach a walking foot so it is easier to sew through all the layers. Then stitch ¼" away from the edge. I plan to sew this binding by hand, so I stitch on the front of the quilt and pull the binding over to the back side.
Hint: If you are going to sew your binding by machine, stitch your binding to the back of the quilt and pull it over to the front side to stitch it down.
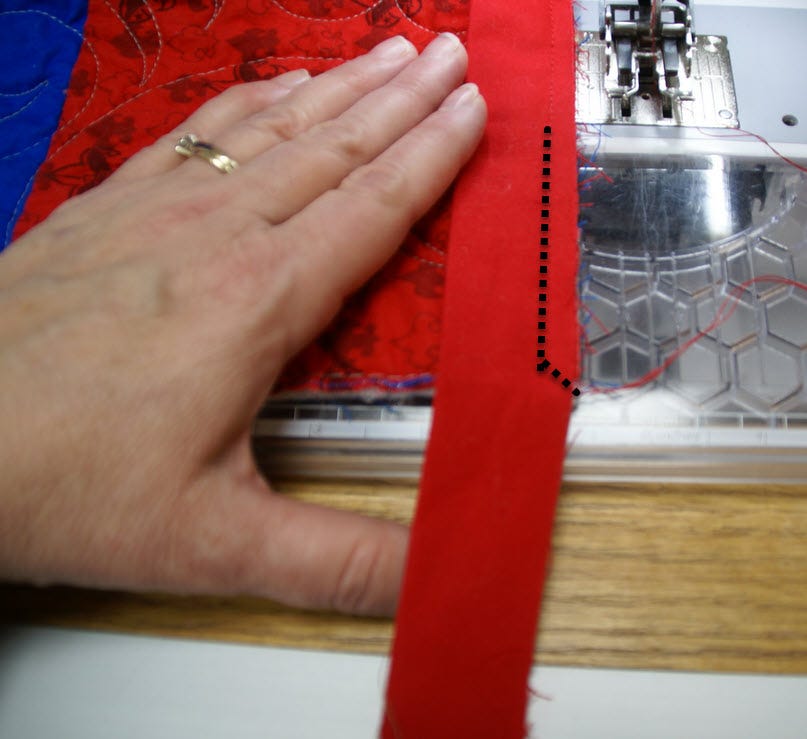
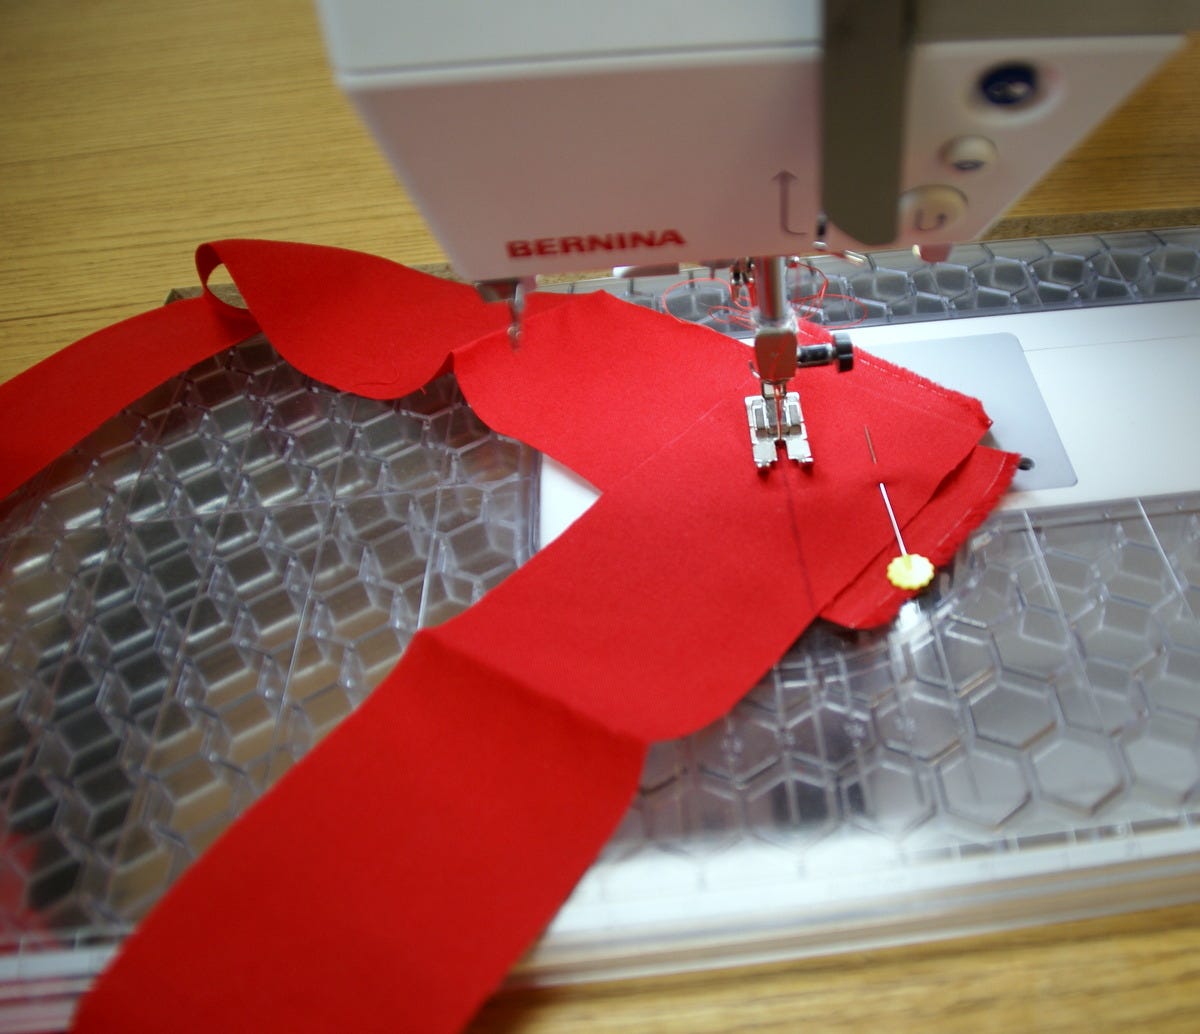
When you are ¼" away from the corner, put the needle down and pivot to stitch at a 45 degree angle right off the corner of the quilt. This angle really helps to give you a nice mitered corner. I have highlighted the stitching line here for you. Trim the threads.
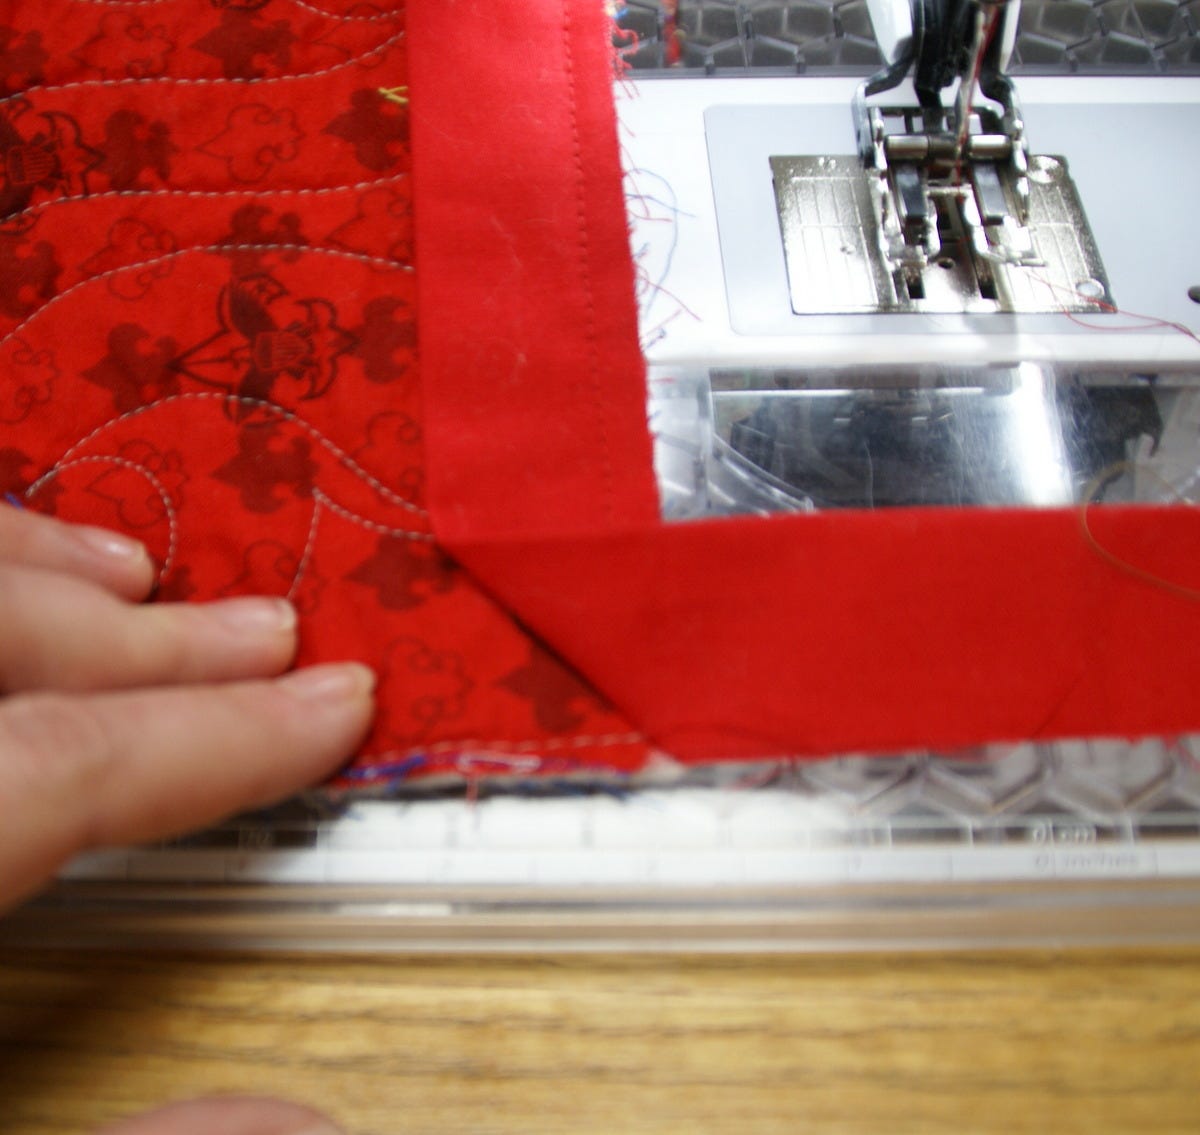
Then pull your binding to the right along the 45 degree angle as seen above. You want the unsewn binding strip to be in line with your quilt edge and be sure to keep the binding straight.
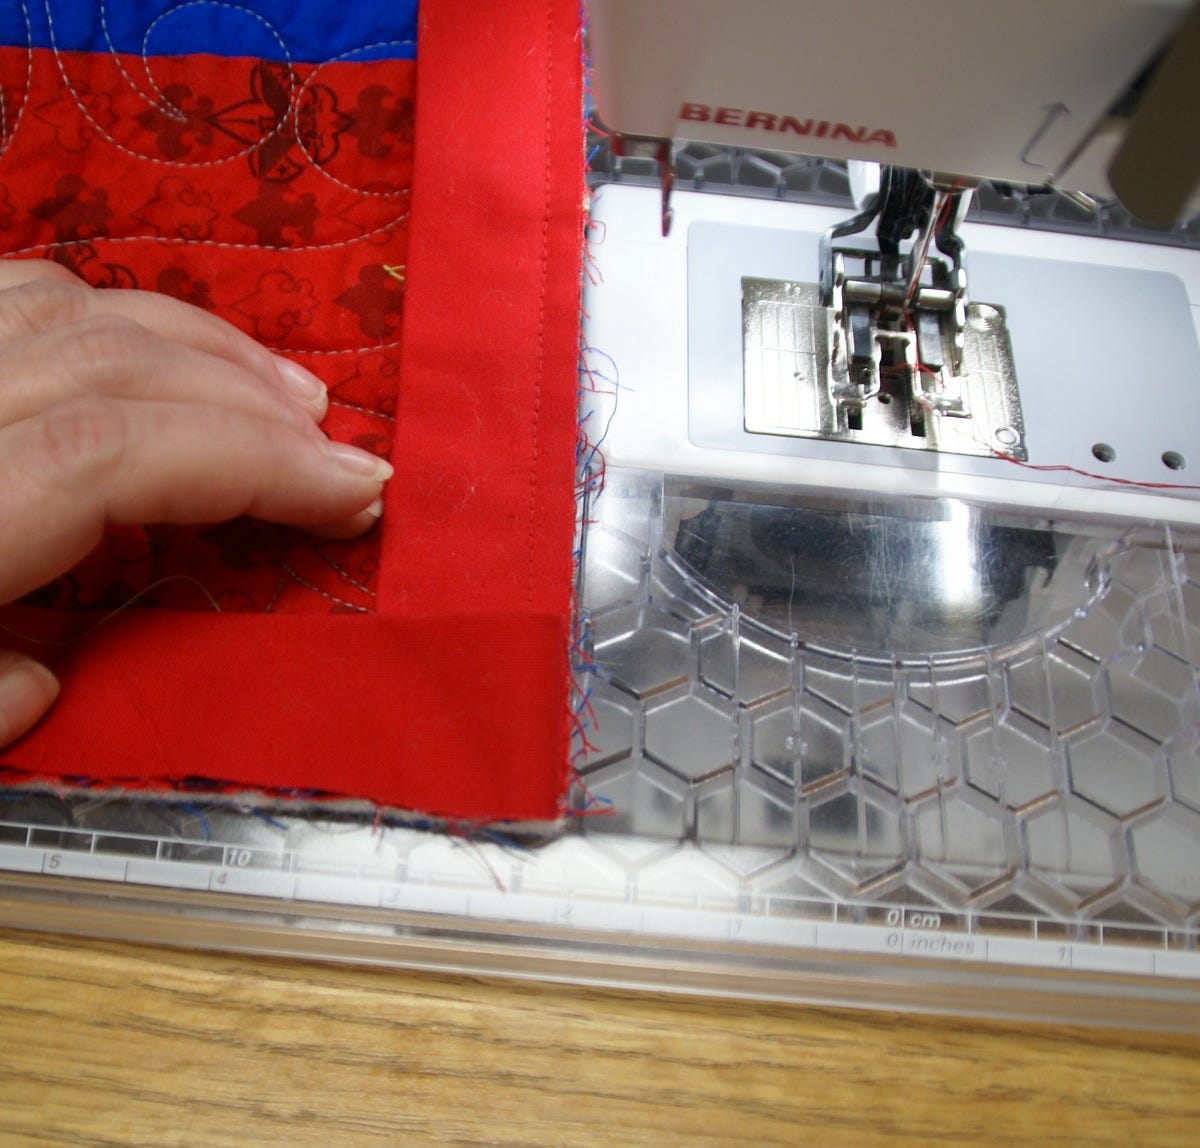
Then fold the binding back using the outer edge of the quilt as a guide. The little triangle shape will be on the inside.
Then turn your quilt and stitch along the next side of the quilt. Follow the same process for each of the corners.
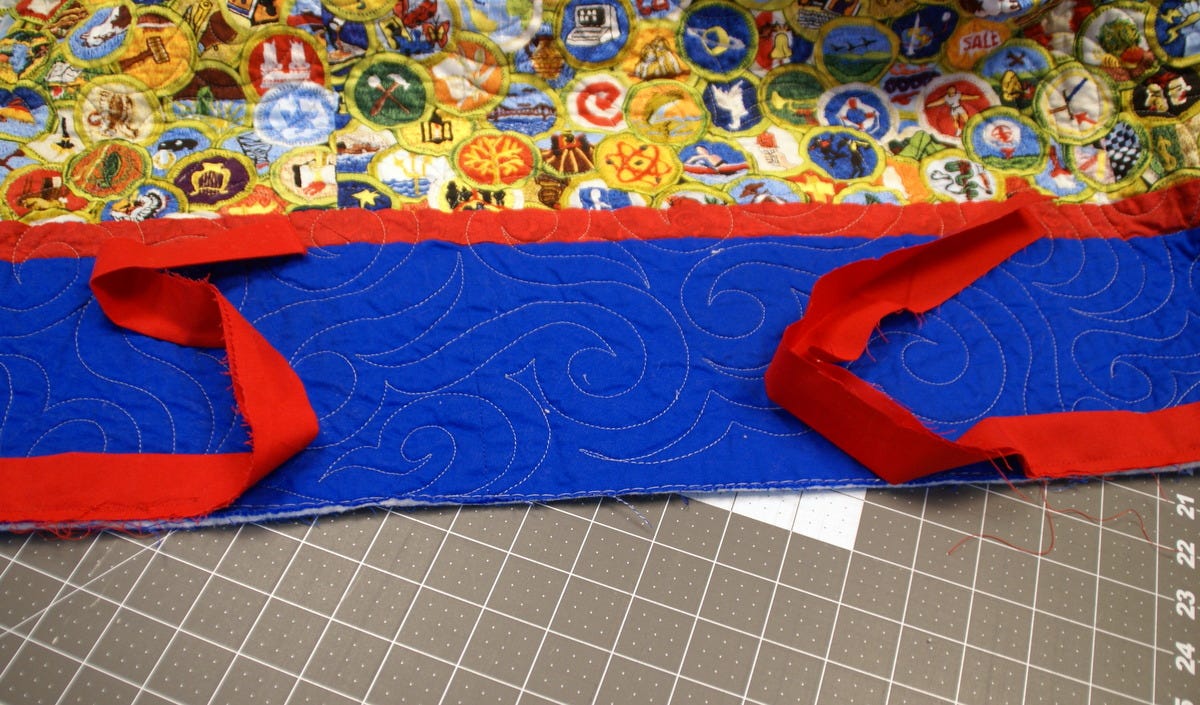
Continue to sew until you have about a 12" gap from where you started.
Super Secret Method to Join your Binding
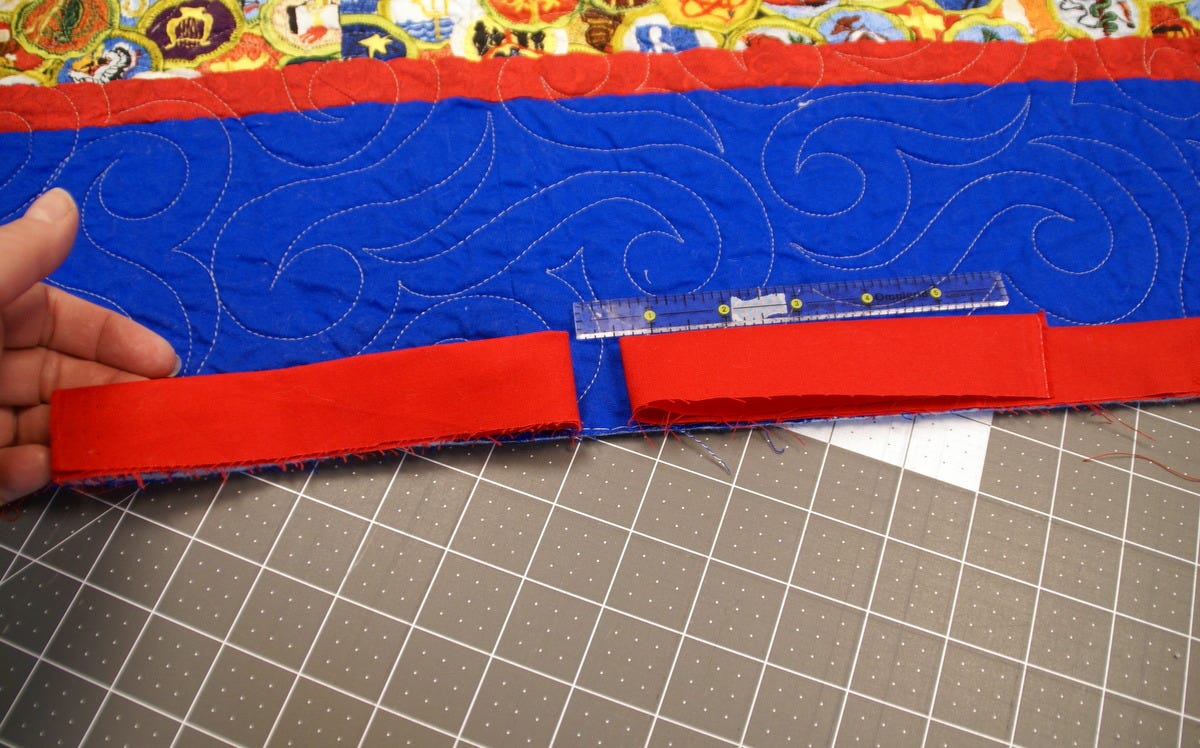
Fold back each binding end leaving about ½" gap between them.

Cut off the left binding right on the fold. Then pick up the piece you cut off.
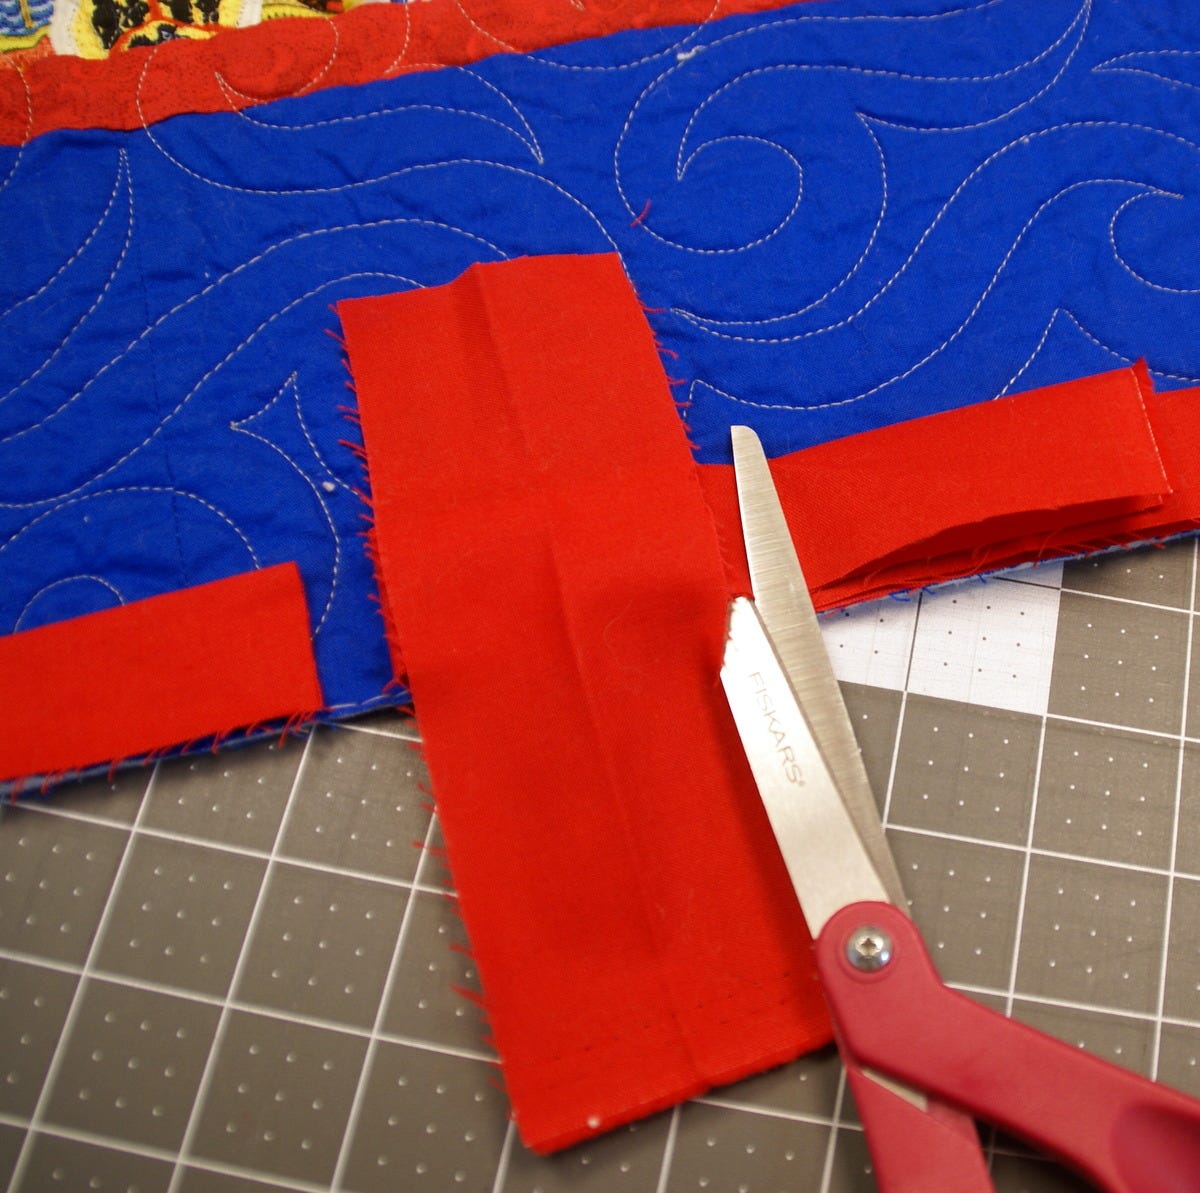
Open it up and place it even with the left edge of the remaining folded binding. Cut off the excess strip of binding just past the open right edge.
Open up each of the pieces of binding and with right sides together, turn one binding so you can sew a 45 degree angle across the binding. Trim the seam allowance to ¼" and finger press seam open.
Refold the binding and stitch on to the quilt. That little gap we had when we cut the binding helps the binding lay flat with no bunching.
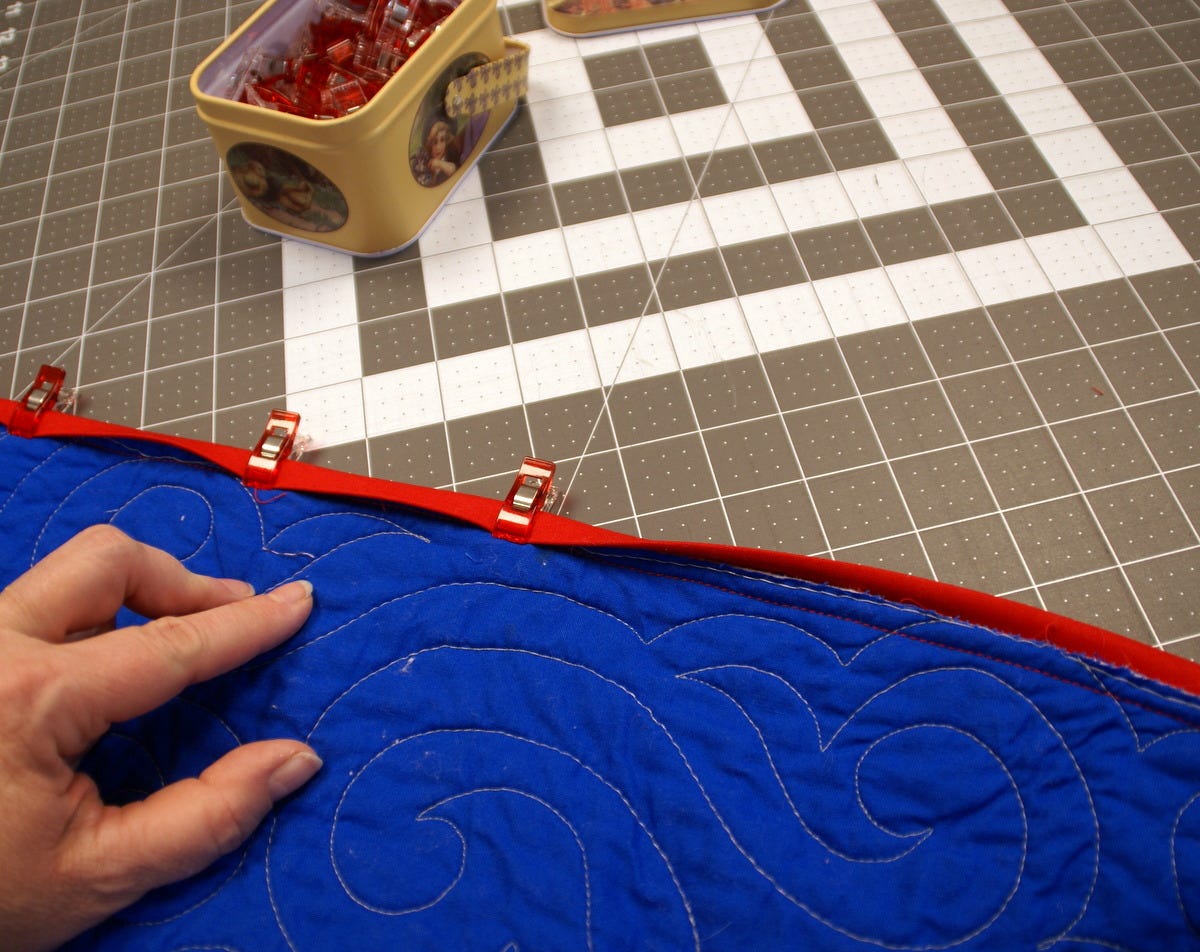
Now the binding is on. Use some wonder clips to fold the binding over the raw edge and hold in place until you can stitch it down. I hope you try my super secret binding method to join your binding ends. I find it to be a time saver too.
Want to try your hand at Bias Binding? AccuQuilt has a great tutorial: How to Cut Bias Binding with AccuQuilt GO! Strip Cutter Dies
Do you have a handy tip to share on binding your quilts? Any tips when using your AccuQuilt GO! Strip Cutter dies? Please share in the comments below! Be sure to follow my adventures on Instagram, Facebook or my blog. And subscribe to our blog for more advice like this from our GO! Getter team.


