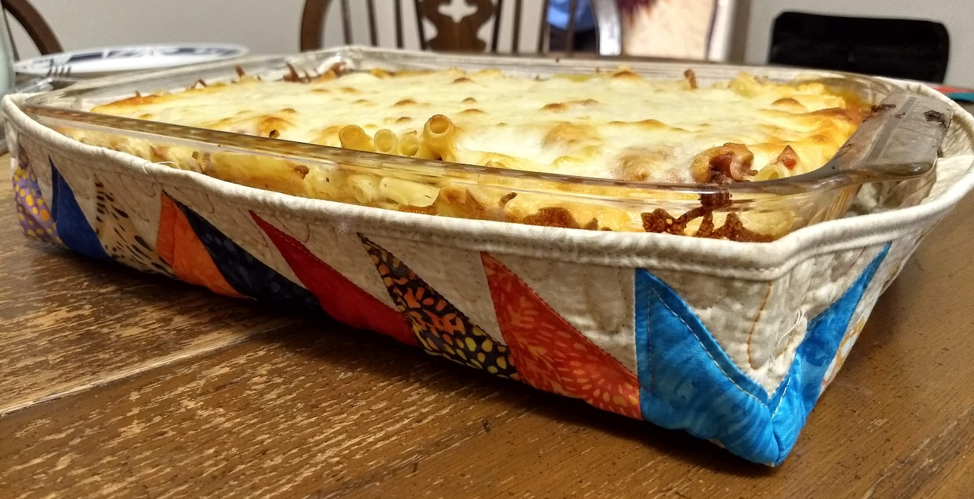
It’s the time of year where we commonly make casseroles or large dishes of delicious foods to share with friends and family. It can be a challenge keeping them warm during a festive occasion, so I made a quilted casserole warmer to keep it hot as long as possible. This project can easily be customized to fit the team, holiday or event you're celebrating, too!
Materials
- Background Fabric (¾ yard – includes binding)
- GO! Qube Mix & Match 6" Block
- GO! Half Square Triangle - 1½" Finished Square (55775 or 55396) (Shape 5)
- GO! Qube 6" Companion Set - Corners
- GO! Chisels - 1½" x 3" Finished (55784) (Shape 9)
- Scrap fabrics for piecing – highlight your occasion if you can
- Special batting for keeping in heat – make sure it is heat resistant!
Directions
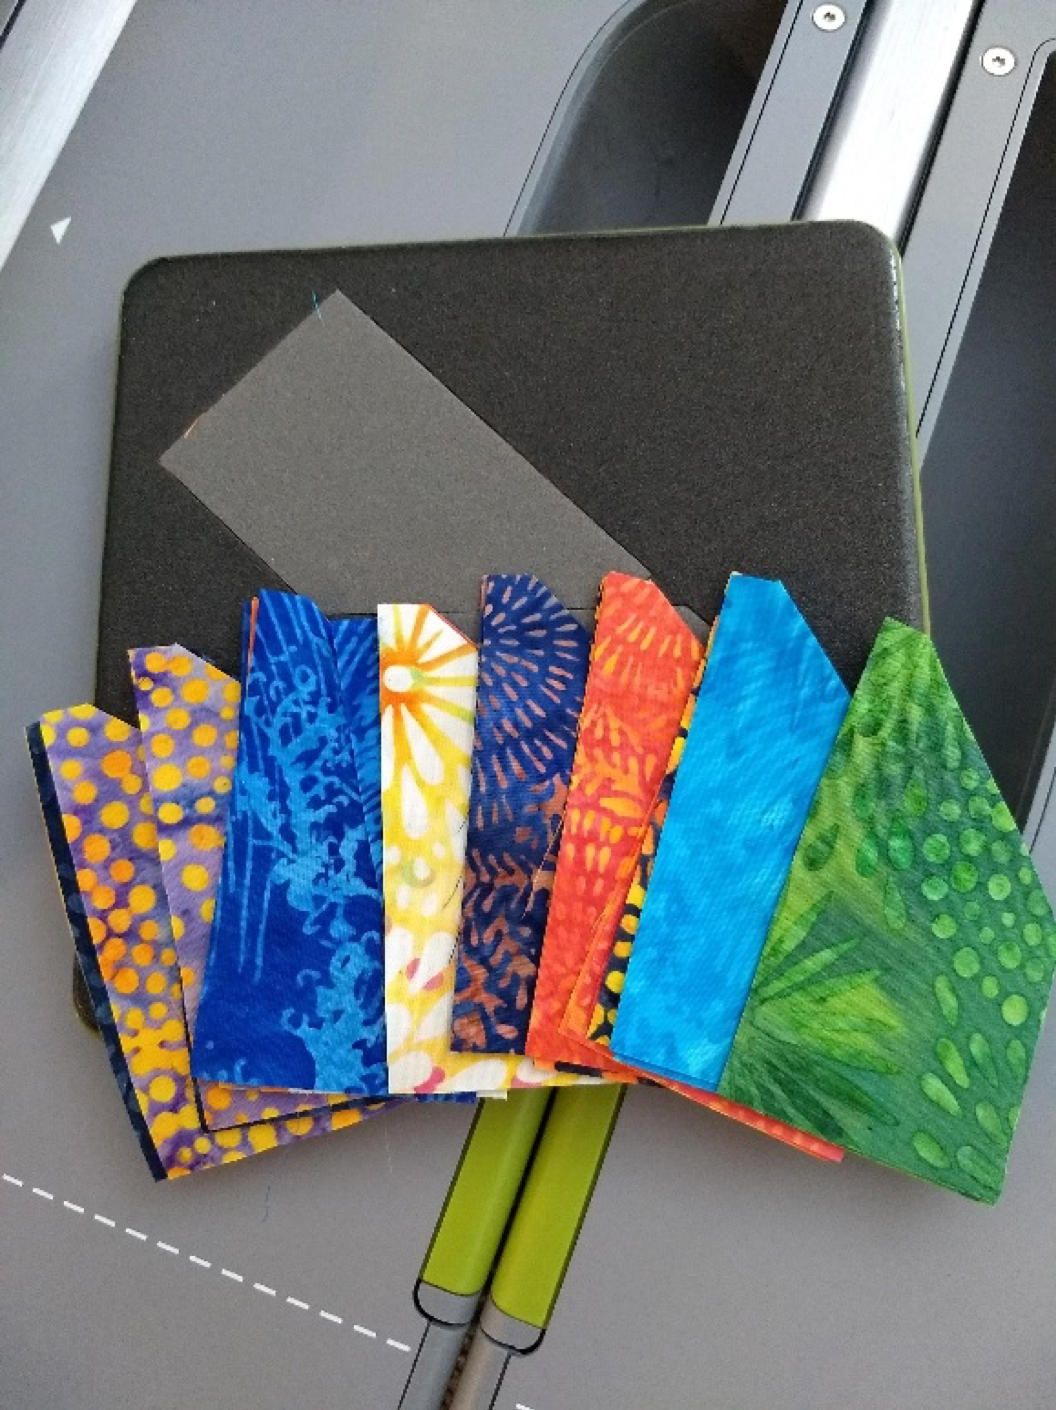
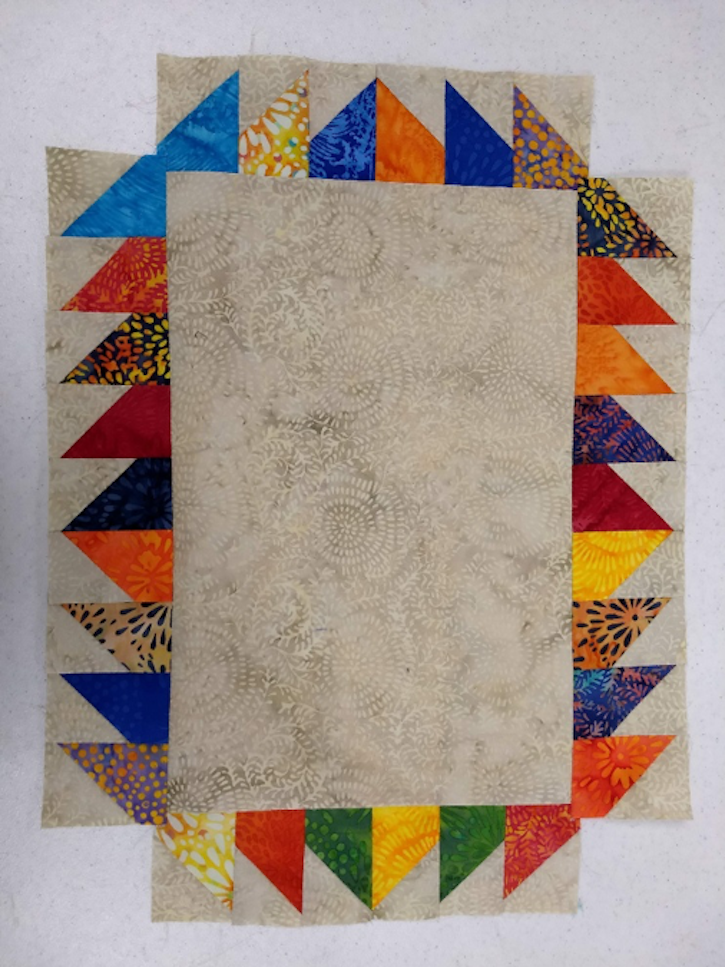
Start by cutting 30 trapezoids with die #9 from GO! Qube 6" Companion Set - Corners. Then cut 30 half square triangles with die #5 from GO! Qube Mix & Match 6" Block. You will also need to cut a rectangle for the bottom of the warmer that is 9½ by 13½. Binding will also need to be cut from the background fabric.
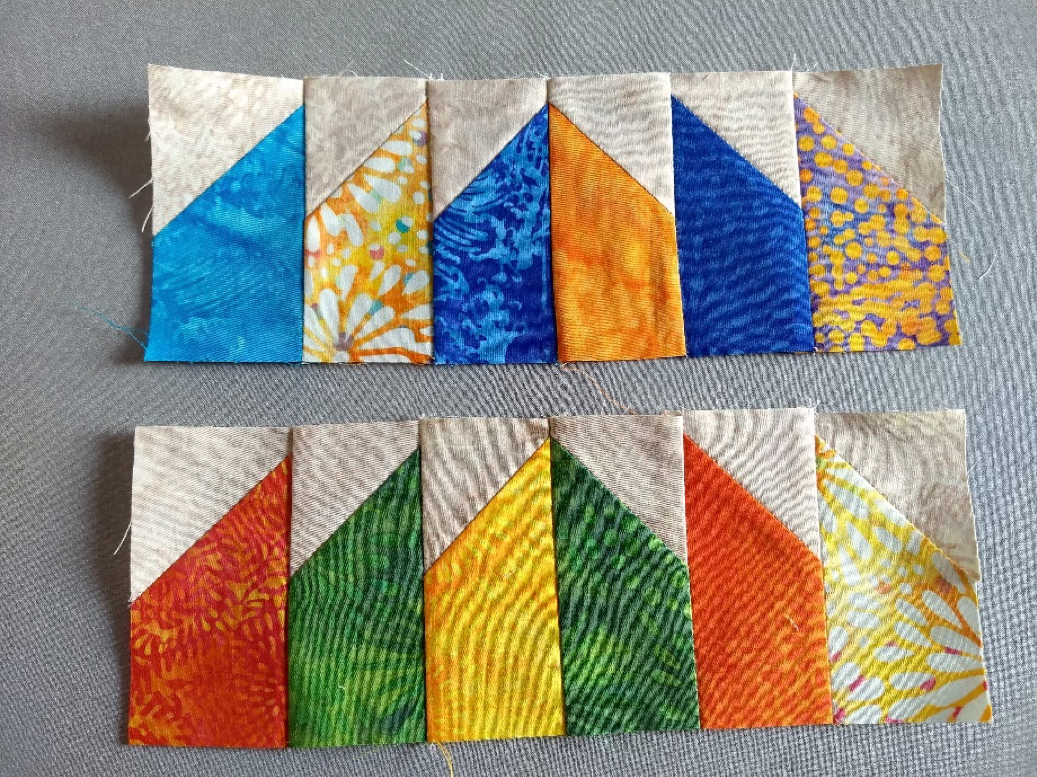
Step two is to sew your triangles to your trapezoids and assemble them as shown below: (two rows of six and two rows of 9).

Depending on the depth of your casserole dish, you may need to cut your trapezoids shorter. I had to trim mine ½ inch to make my warmer the same height as my casserole dish. MEASURE yours and check the height as they tend to vary.
Sew the strips onto your central rectangle as shown below. You will have empty corners.
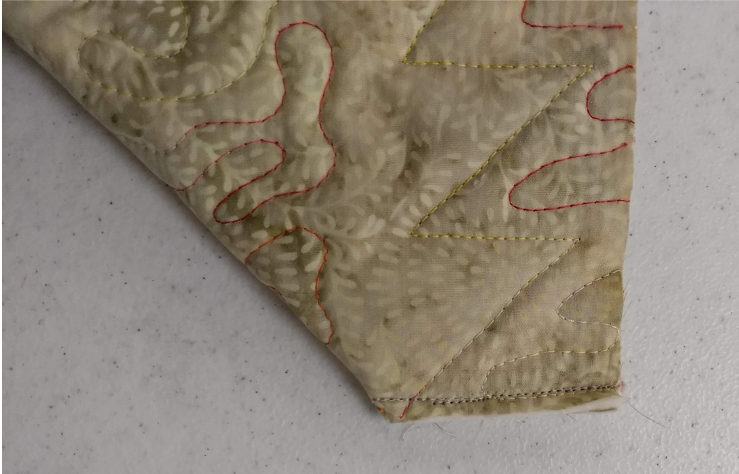
Next, layer your quilt with HEAT RESISTANT batting designed specifically for use in potholders, etc. Then quilt as desired. I chose to use a fun variegated thread and do an all over pattern.

The next step is to trim around the edge of your warmer. Then fold at the corners and stitch a seam to create the corner of your warmer. Make sure you reinforce the beginning and ending of the seam to keep it from coming apart.
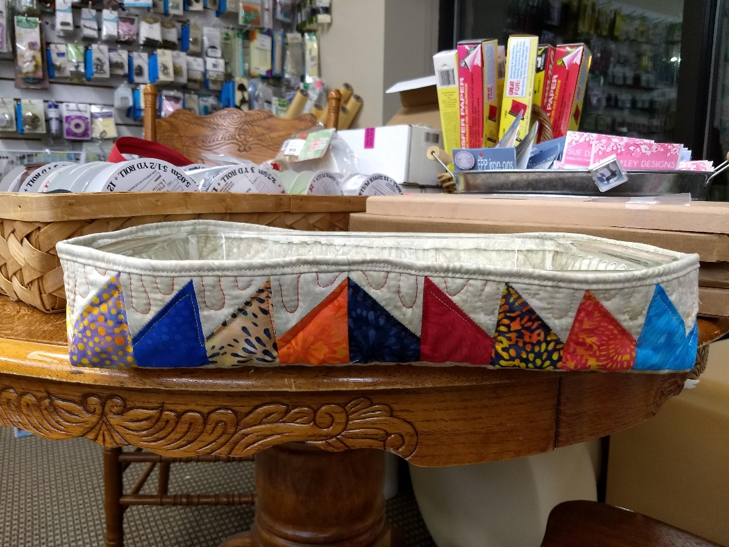
Finally, sew the binding around the top of your warmer and then flip it to the inside and either finish the binding by machine or hand stitch it down.
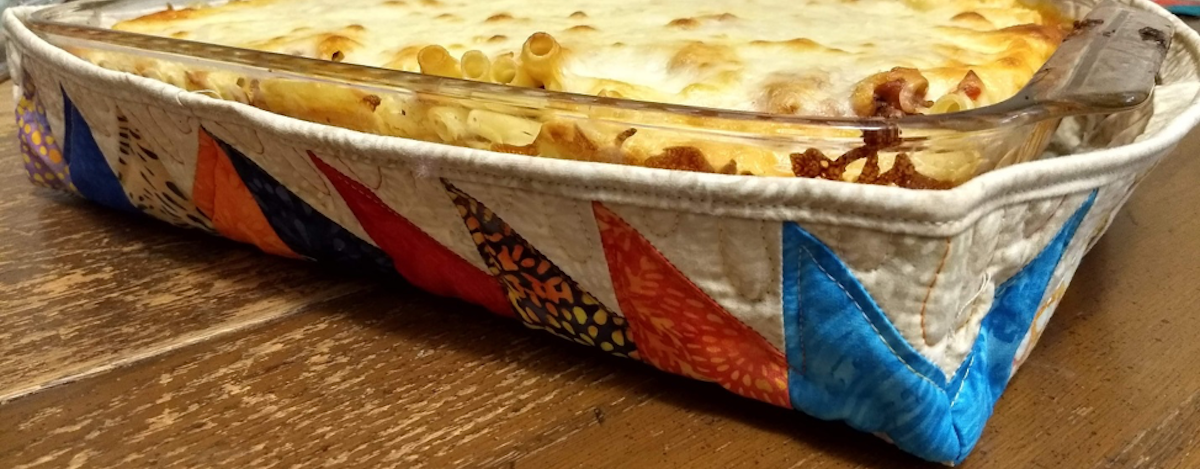
I made this project in an evening at my local quilt shop. What better place than to take a picture of it?
And here it is on my kitchen table. Baked Ziti. YUM!